
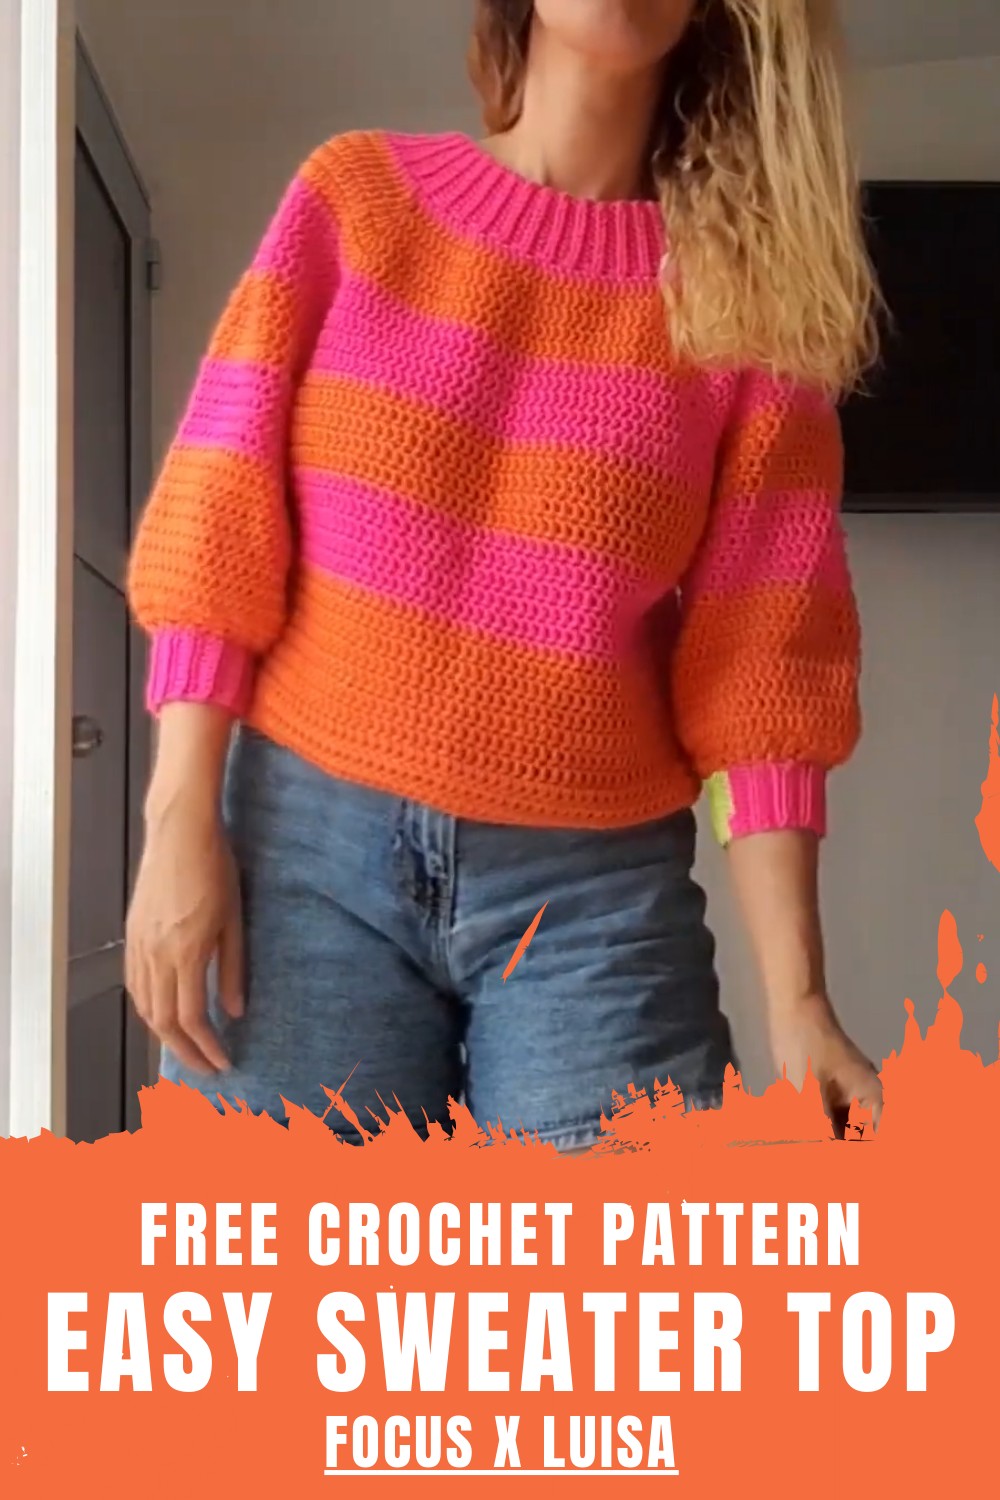
Learn Cozy and Trendy Crochet Sweater Pattern for Standout Looks
Tips like using stitch markers to track increases and testing the neckline fit ensure your sweater turns out beautifully. This sweater project is great for those looking for a seamless, beginner-friendly pattern with opportunities for personalization—a beautiful garment that’s both functional and fashionable.
Materials Needed
To get started, gather the following materials:
- Yarn: The tutorial uses "Cisne Light" yarn, a reflective thread that shimmers with light. You can use any preferred yarn with a similar weight.
- Crochet Hook: A 5mm hook is used for most of the project, while a 4mm hook is recommended for tighter cuffs.
- Stitch Markers: To keep track of yoke divisions and increases.
- Scissors: For cutting yarn.
- Measuring Tape: Useful for adjusting the sweater size as needed.
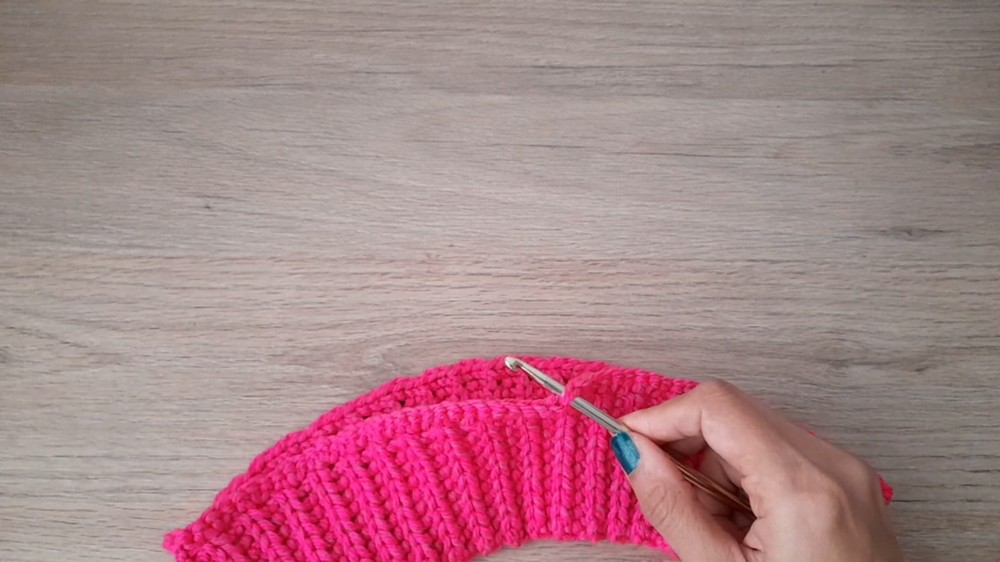
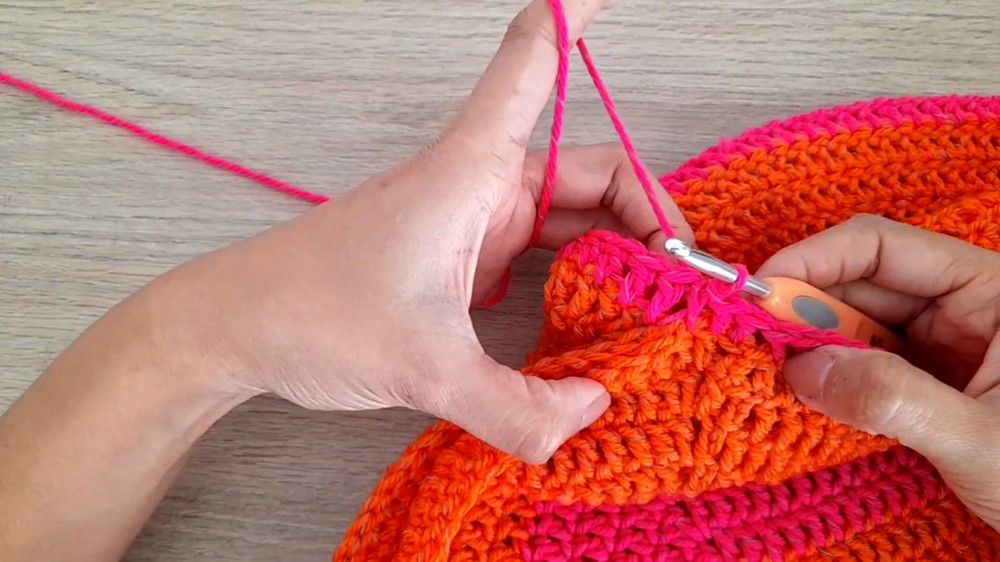
To start the project, make the neckline using half-double crochet stitches worked in rows, continuing with slip stitches in the back loops for a ribbed, stretchy effect. Once complete, the neckline is joined seamlessly using slip stitches.
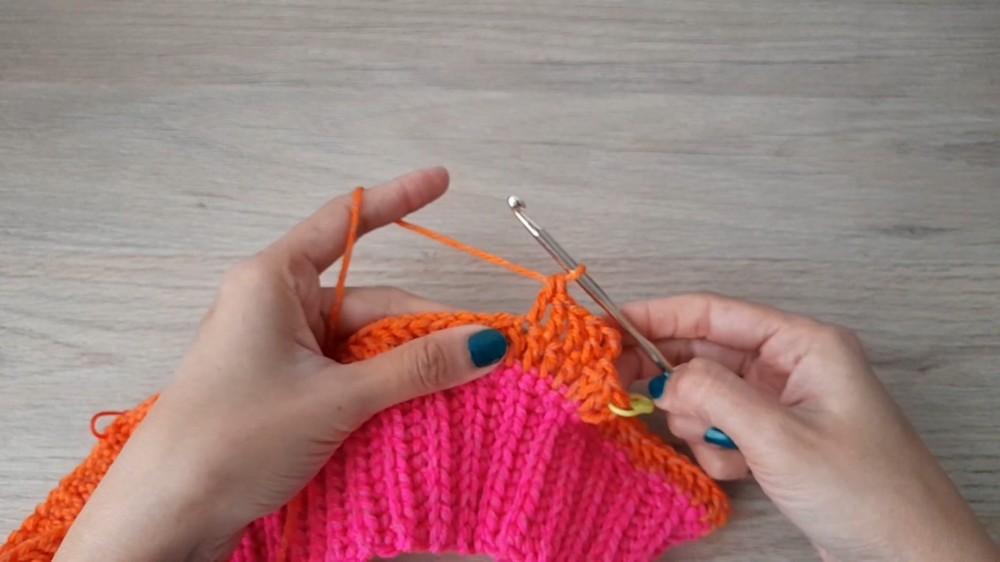
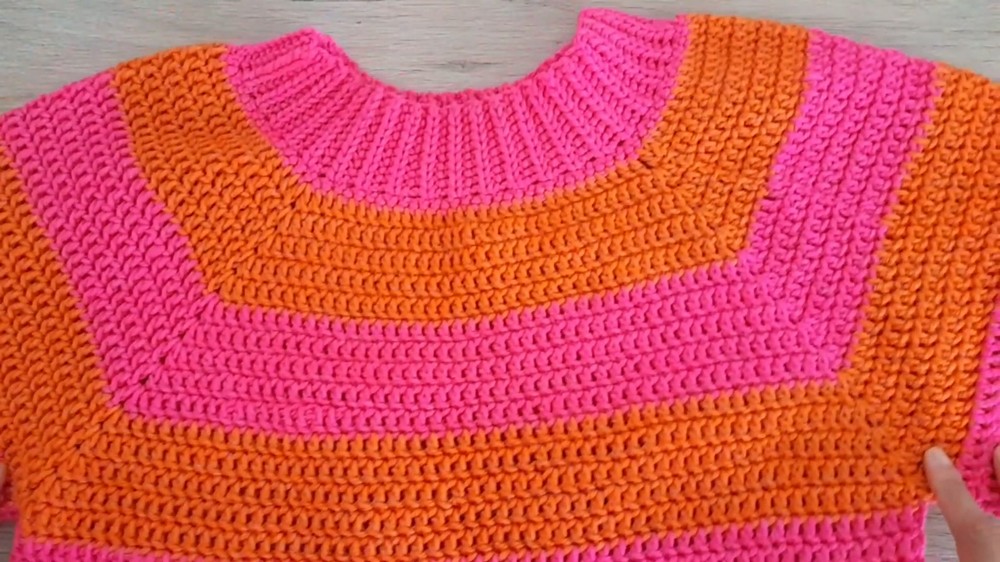
For the yoke, stitch markers make dividing the fabric into four sections (front, back, and sleeves) more manageable. Alternating rows of fuchsia and orange bring personality and brightness to the sweater.
After you complete 15 rows of double crochet increases, separate the sleeves and focus on the body, working rows of double crochets without increases. You can customize the body length for a cropped or standard fit.
The sleeves continue with the same color pattern, and decrease near the wrist ensure a snug fit before adding ribbed cuffs. The cuffs, worked with single crochet in back loops only, add elasticity and a clean finish to the overall design.
Special Features
- Top-Down Technique: The sweater pattern is crocheted in one continuous piece moving from the neckline down to the cuffs. This eliminates seams and creates a clean, polished finish.
- Elastic Neckline and Ribbing: You make the neckline resemble a knit pattern, giving it a stretchy, comfortable fit. You can customize both the cuffs and neckline for added design.
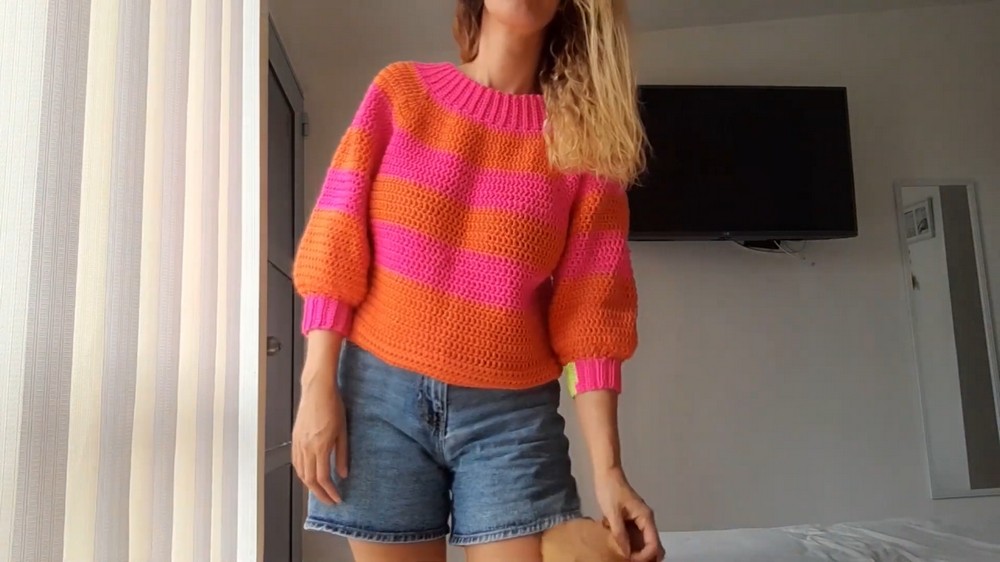
- Striped Yoke Design: Alternating fuchsia and orange bands add a bold, visually striking look to the yoke and sleeves.
- Customization: The sweater can be adapted for sizes M, L, or smaller/larger by adjusting the neckline and number of rows in the yoke or body.
Level of Difficulty
This sweater is classified as beginner to intermediate. The tutorial provides clear, step-by-step instructions, making it accessible for beginners who have basic crochet knowledge. However, for more experienced crocheters, the process is straightforward and can be completed relatively quickly.
Tutor's Suggestions
- Customization is Key: The tutor emphasizes knitting and measuring as you go along to ensure a perfect fit, especially around the neckline and yoke.
- Stitch Markers Help Beginners: Use markers to keep track of increases, especially when working on the yoke.
- Keep the Color Transitions Clean: The strand of yarn from previous colors can be tucked in while crocheting to avoid loose ends.
- Stretch Test Often: Open and stretch your work occasionally to ensure the piece lies flat and doesn’t wrinkle.
Uses
This crochet sweater is versatile and stylish:
- Casual Wear: Perfect for everyday outings or layering in cooler weather.
- Customizable Gifts: Use different colors and patterns to create unique gifts for friends and family.
- Showcase Your Craft: Easily adaptable for all sizes, making it a great piece to share or sell.
Step-by-Step Instructions
In this tutorial, you'll learn how to crochet a seamless sweater from the neckline down to the cuffs. Using the top-down technique ensures there are no joins or visible seams, creating a polished, professional finish. The sweater can be customized to perfectly fit and styled to match your desired look using color changes and elastic cuffs or hems.
Conclusion
Crocheting a seamless sweater using the top-down technique allows for endless customization and produces a polished, modern garment. Whether you're looking for a fun handmade project or a stylish addition to your wardrobe.
Bonus Tip
When working on the cuffs or neckline, keep your tension consistent and ensure you only catch the back loop. This small step makes your ribbing more elastic and professional-looking.


