
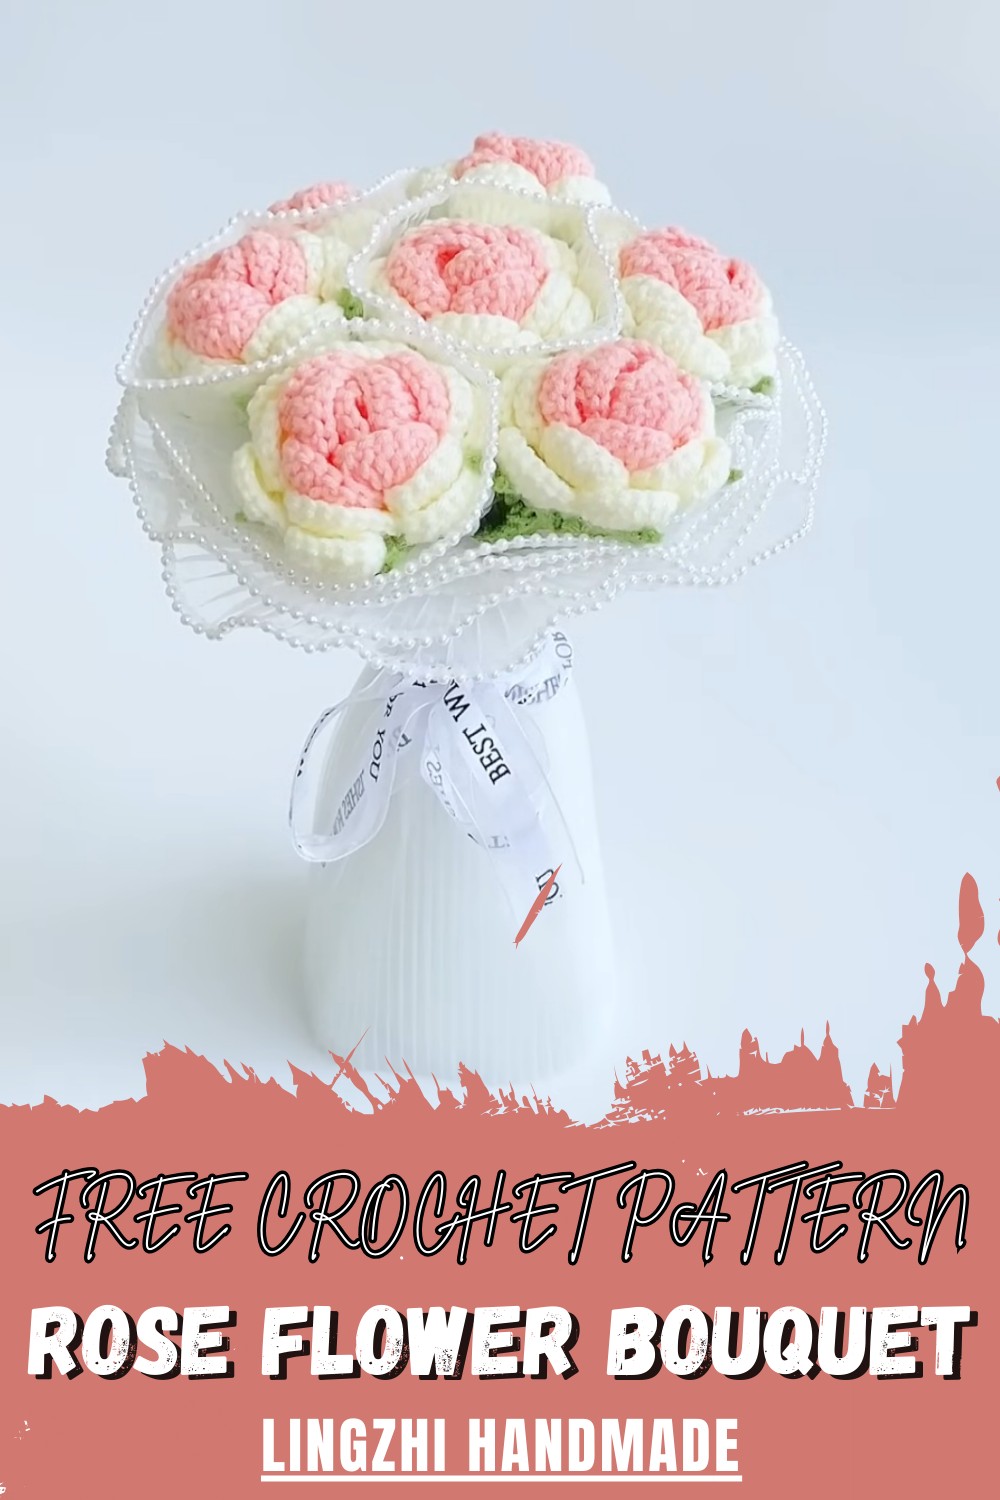
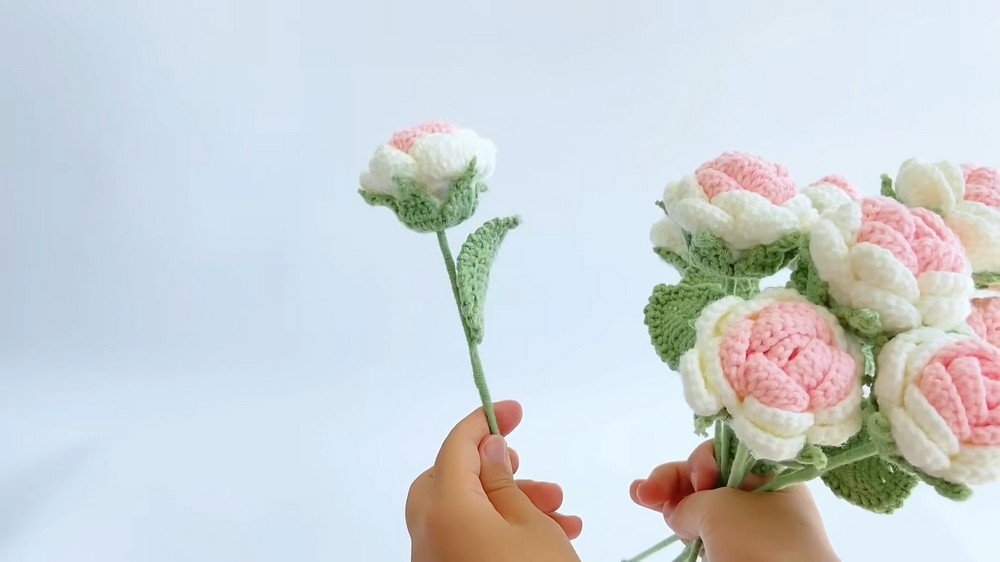
Enhance your décor with this Crochet Rose Flower Bouquet Pattern for vibrant, textured blooms that bring elegance and cheerful charm indoors.
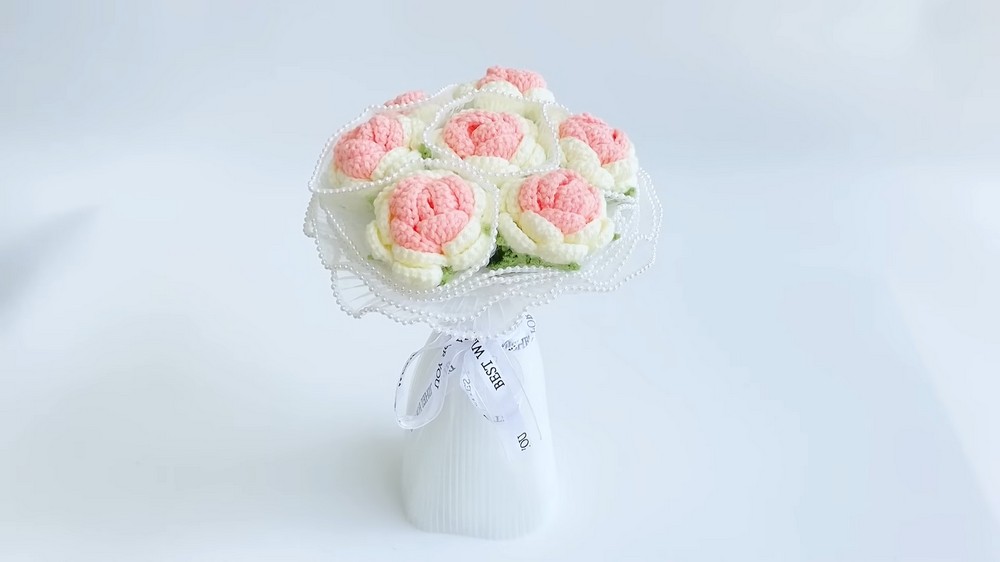
Perfect for adding a timeless touch to home décor or gifting, this rose bouquet design transforms yarn into stunning, realistic blooms. The Crochet Rose Flower Bouquet Pattern allows crocheters to create layered petals that hold their shape while showcasing delicate textures and vibrant colors. Each rose can be arranged individually or combined into a full bouquet, ideal for table centerpieces or decorative vases that leave a lasting impression.
Enchanting Crochet Rose Flower Bouquet Pattern Everyone Will Love
The pattern provides clear, step-by-step instructions suitable for both beginners and experienced crocheters, making the crocheting process enjoyable and rewarding. Lightweight yet structured, the roses maintain their form over time, offering lasting beauty and elegance.
Beyond aesthetics, the project encourages creativity, fine motor skill development, and customization through color and size variations. Combining artistry, functionality, and charm, this pattern delivers versatile, handmade floral arrangements that bring joy, sophistication, and a touch of nature into every space.
Step by Step Crochet Rose Flower Bouquet Pattern
Special Features
- Customizable Design: You can select any color combination for the petals and outer layers (e.g., pink petals and white outer layers in the tutorial).
- 3D Effect: The flower design creates a realistic, layered 3D effect when wrapped.
- Extra Details: The video walks you through creating detailed leaves and a tight flower base (torus) for a complete and polished look.
- Magical Flower Base: The flower uses a tight magic ring technique for durability and precision.
Level of Difficulty
The tutorial is geared toward beginners and intermediate crocheters. Basic crochet techniques, such as single crochet (SC), half-double crochet (HDC), and double crochet (DC), are used, making it accessible to anyone.
Step-by-Step Instructions
Step 1: Materials Needed
- Yarn in different colors: white, pink (for petals), green (for leaves and torus).
- Crochet hook (appropriate size for your yarn).
- Craft wire (for shaping the leaves).
- Scissors.
- Yarn needle for weaving ends.
Step 2: Create the Flower Structure (Base and Petals)
- Base Structure:
- Start with white yarn. Begin with a slip knot and chain 53 stitches.
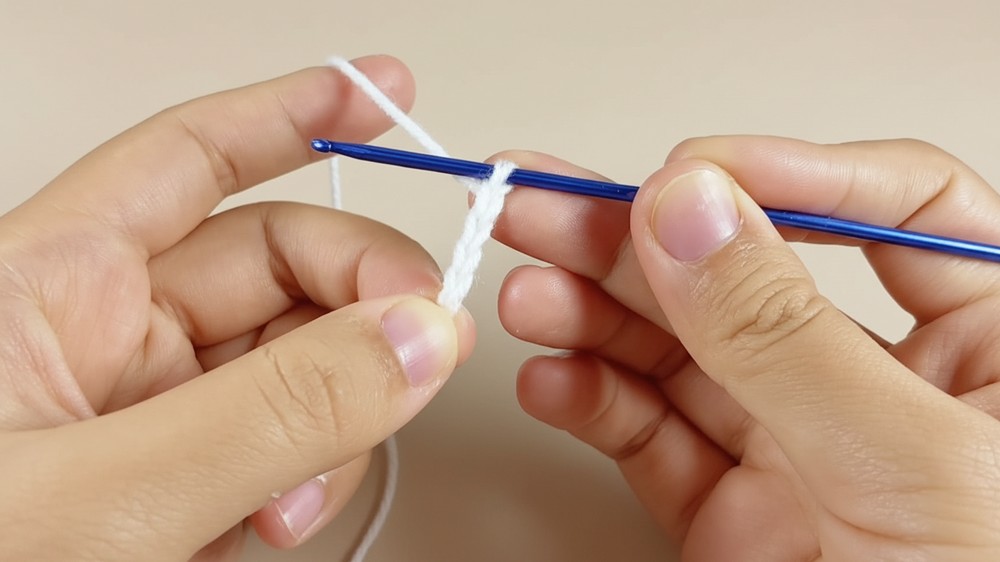
-
- Find the 2nd space from the hook and work single crochet (SC) in each space across until the end of the chain.
- Round 2 - Form Triangles:
- Chain 5, turn, and work 1 double crochet (DC) in the same space to make a triangle.
- Skip 2 spaces, work 1 DC + chain 2 + 1 DC in the same space to form the next triangle.
- Repeat until the end.
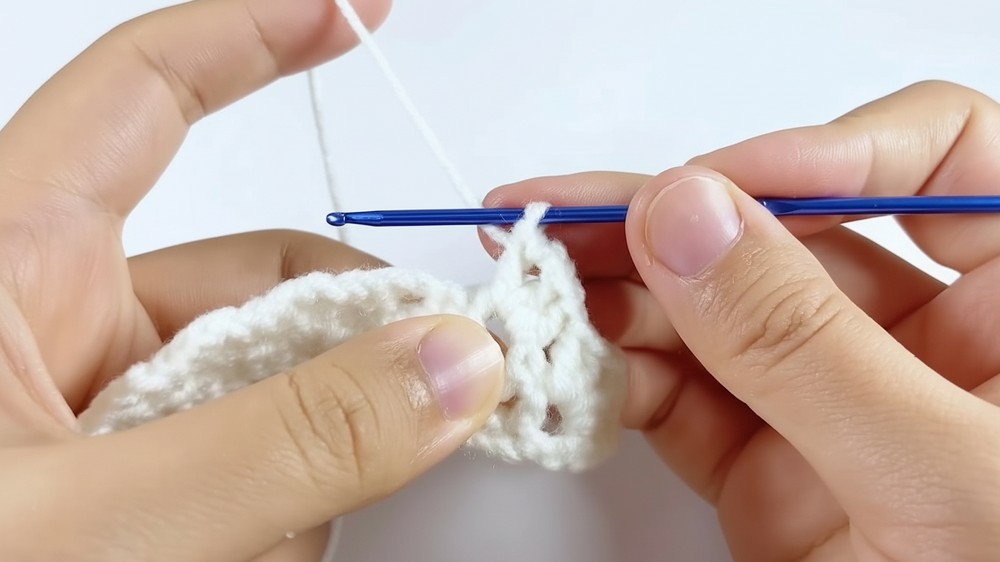
- Round 3 - Reinforce Triangles:
- Chain 3, turn, and work 2 DC + chain 2 + 2 DC under the 2-chain space of each triangle in the previous row. Repeat until the end.
- Round 4 - Pink Petals:
- Attach pink yarn to the base. Chain 1.
- In each triangle space, work 12 DC for the first petal (pull the stitches slightly longer for longer petals).
- Use a slip stitch and chain 1 to move between triangles.
- Repeat the pattern to create 7 pink petals.
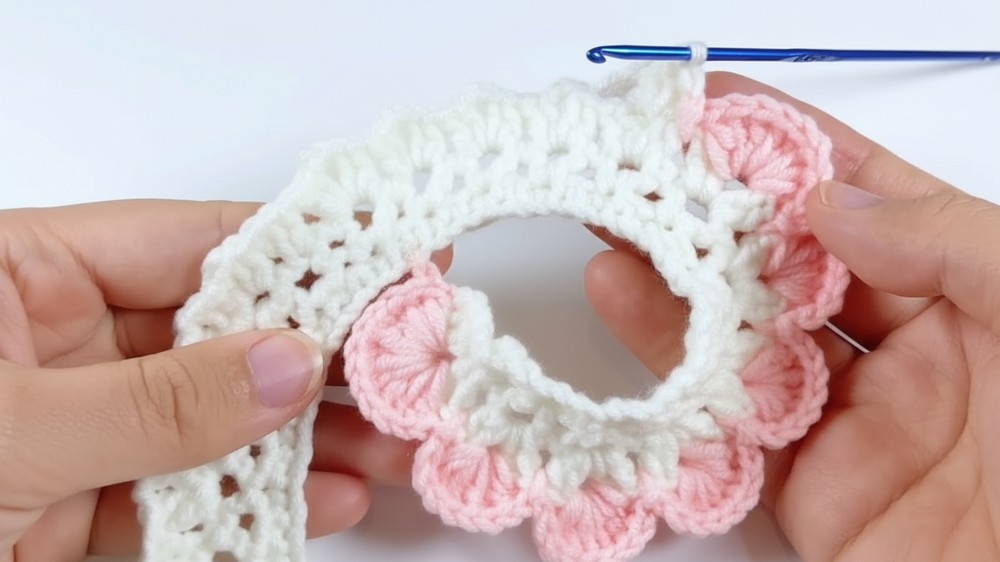
- Outer White Petals:
- Switch to white yarn. Chain 1.
- Work 8 DC in each triangle space for the outer petals. Use the same slip stitch and chain 1 technique between petals.
- Continue until all petals are complete, then wrap the structure to form the flower.
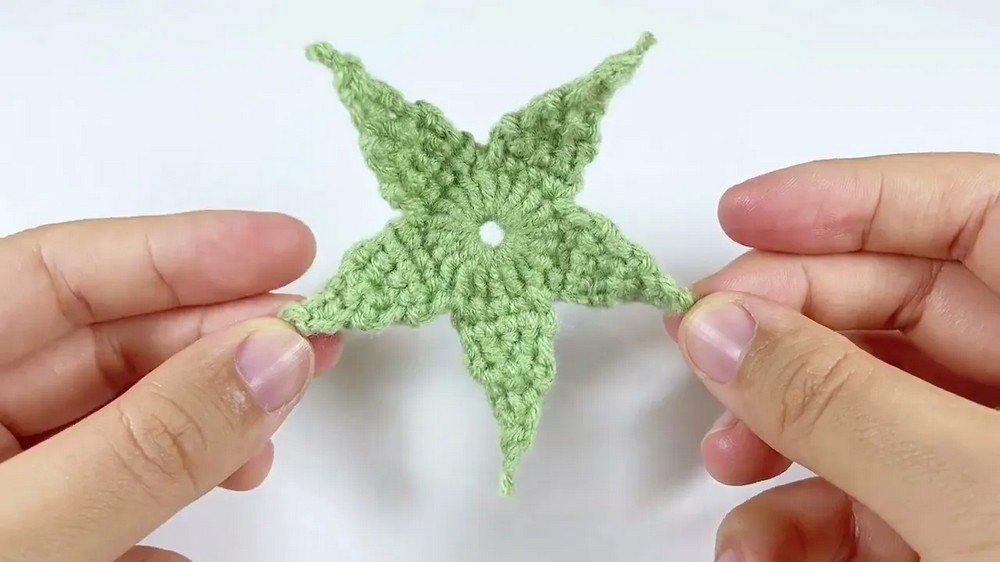
3: Create the Flower Base (Torus)
- Use green yarn. Wrap it around two fingers to create a double circle (or use a magic ring).
- Work 20 DC into the circle.
- Pull the tail to close the circle and secure it tightly.
- Chain 1 as a turning chain (do not count this as a stitch). Work 1 single crochet (SC) in each space for 4 stitches.
- Continue in rows:
- Row 2: Work 4 SC, chain 1, and turn.
- Row 3: Decrease the first two stitches, then work 2 SC.
- Repeat this until the rows taper to 1 stitch.
- Crochet the remaining 4 petals of the torus following the same steps.
- After the torus is complete, attach it to the flower’s base for added detail and stability.
4: Crochet the Leaf
- Use green yarn and a piece of craft wire for shaping.
- Start with a slip knot and chain 12.
- Work into the back bumps of the chain:
- 1 SC, 1 DC, 1 double triple crochet (DTC) to increase the height of the stitches.
- Add a DTC increase in the next space for more height.
- Gradually decrease stitch height to a triple crochet (TC), then to a DC, half-double crochet (HDC), and SC.
- Work 3 SCs in the last stitch to turn to the opposite side. Mirror the pattern on the other side.
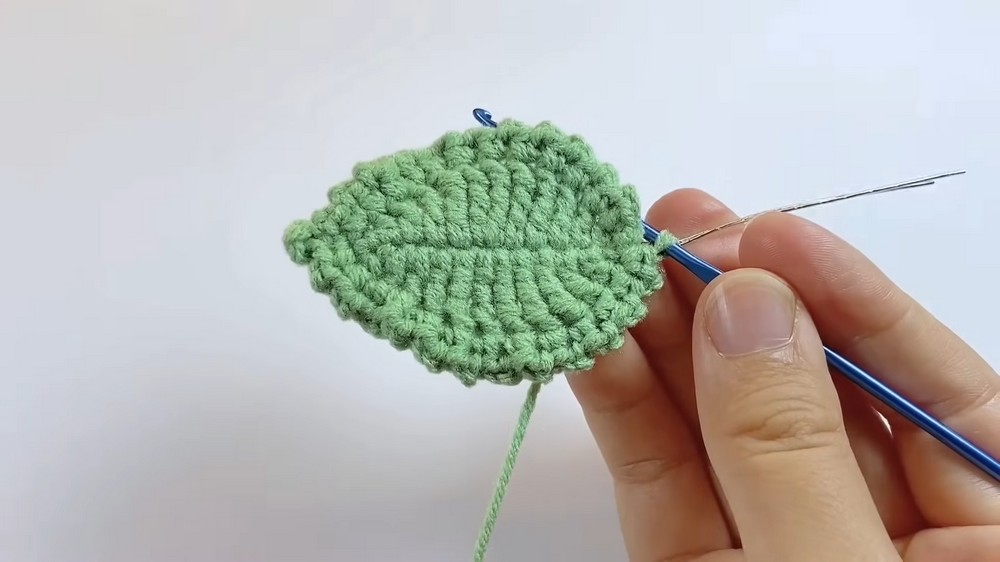
- After completing the leaf, create decorative edges:
- Chain 2, work SC, then create a 3-chain picot stitch as a decorative center.
- Attach the leaf to the flower using the wire for support.
Tutor's Suggestions
- Take Your Time: For beginners, pausing the video at each step is recommended to avoid errors.
- Customize Colors: Experiment with different color combinations for unique flowers.
- Hide Ends: Weave excess yarn and cut ends neatly for a polished finish.
- Wire Support: Properly insert craft wire for leaves to maintain structure.
Uses and Applications
- Home Decor: Use the crochet rose as table centerpieces or wall hangings.
- Gifts: Handmade roses make thoughtful gifts for birthdays, anniversaries, or holidays.
- Accessories: Add roses as embellishments to bags, headbands, or clothing.
- Bouquets: Combine multiple roses into a bouquet for weddings or decorative displays.
Conclusion
This pattern offers a step-by-step guide to crafting beautiful crochet roses from petals to leaves. It’s a beginner-friendly project with endless possibilities for creativity and customization. By following these instructions, you’ll create stunning flowers that are perfect for any occasion.
Tip
When working with crochet wire in the leaves, wrap the yarn snugly around the wire for a natural look. This will give your leaves a clean finish and prevent the wire from slipping out.


