
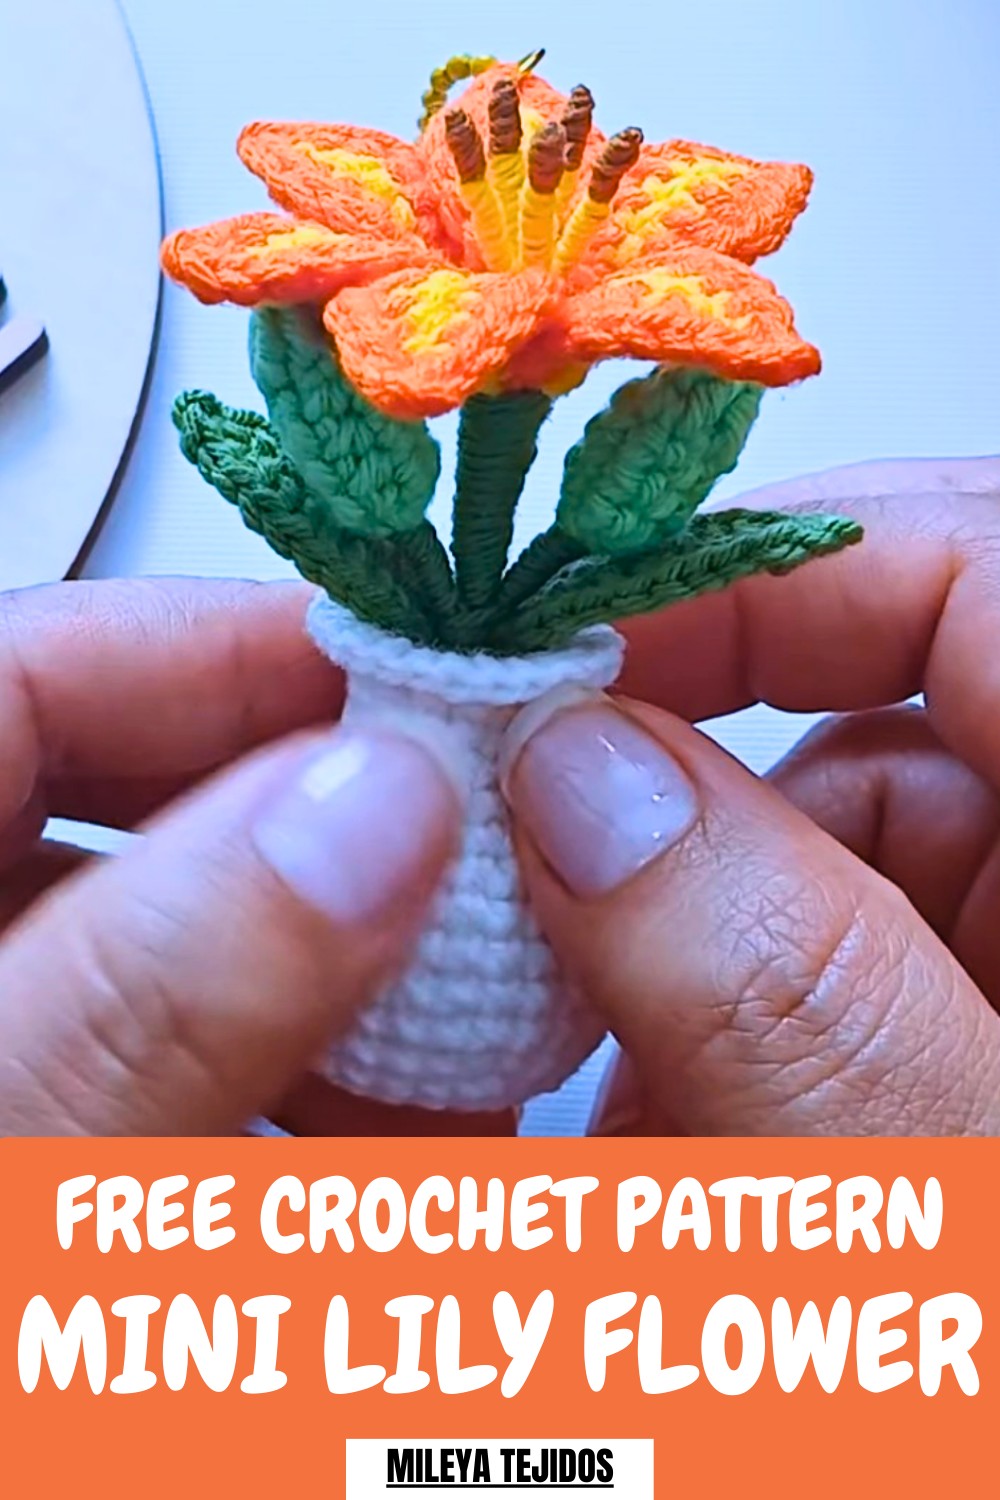
Twirl this Free crochet Mini Lily Flower Pattern into a tiny floral accessory that provides a fresh look for your hair clips or spring table decor.
A vibrant silk-like blossom provides a splash of character and natural grace to any personal corner. This handheld orange flower works perfectly as a cheerful buddy for a glass case, a gift topper, or a set of keys, staying by your side through every season.
Trendy Crochet Mini Lily Flower Pattern For Hair Clips
Choosing a self-worked version is better for us because it results in a tough, sturdy, and high-quality keepsake that feels far more special than a plastic factory item. By using soft yarn and simple wire, this project turns basic materials into a plush treasure that stays shaped and vibrant forever.
Materials Required
-
Yarn (Silvia Gurumi):
-
Orange: For the main petal bodies.
-
Yellow: For the petal centers and pistil stalks.
-
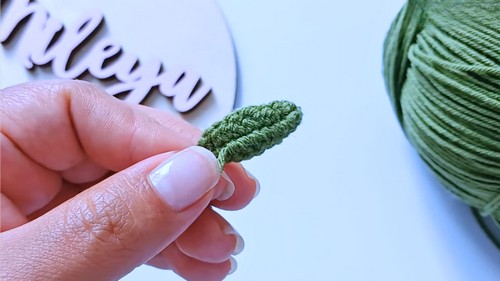
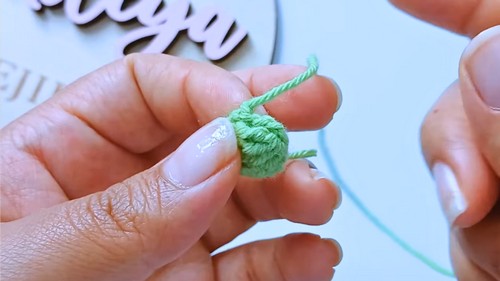
Light Green: For the flower buds.
-
Dark Green: For the leaves and stem wrapping.
-
Brown: For the tips of the pistils.
-
-
Crochet Hook: 1.10 mm.
-
Wire: Thin metallic wire for petals and 22-gauge galvanized wire for the main stem.
-
Glue: Cold silicone glue.
-
Optional: Keychain ring or a small decorative pot (the channel has a separate tutorial for the pot).
Special Features
-
Wire-Reinforced Petals: Using wire inside the petals allows you to curve them outward, mimicking the natural "open" look of a blooming lily.
-
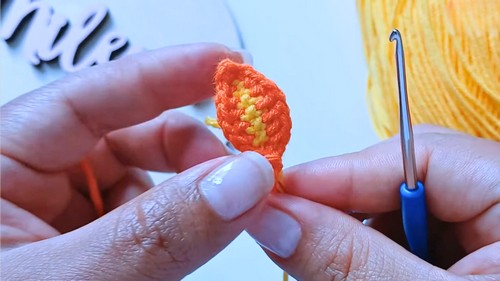
Mixed-Color Petals: The yellow-to-orange transition provides a realistic depth common in many lily varieties.
Level of Difficulty
-
Intermediate: While the stitches are basic, working with thin wire and a very small (1.10 mm) hook requires precision and steady hands.
Tutor's Suggestions
-
Customization: If you don't want a keychain, the tutor suggests placing the flower in a small glass "cupula" (cloche) for a high-end decorative look.
-
Stem Security: Use cold silicone glue at the very tips of wires and yarn ends to ensure the wrapping never unravels.
Uses
-
Keychains: A durable, charming accessory.
-
Home Decor: Small enough for desk or shelf accents.
-
Gifts: An everlasting flower for friends and family.
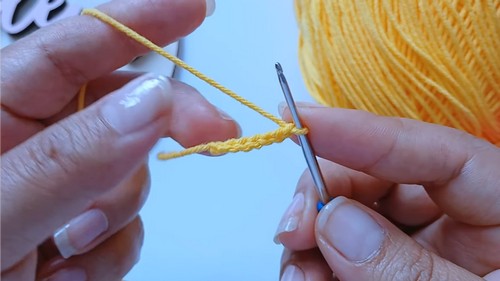
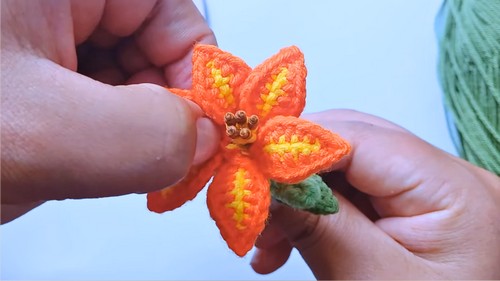
The construction begins with a sunny yellow yarn, forming a spine of seven links for each petal.
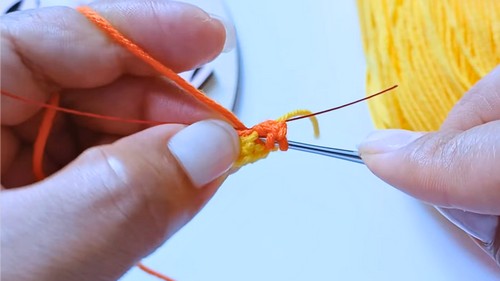
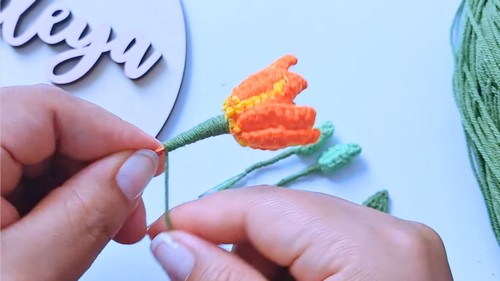
You then switch to a fiery orange thread, looping around a thin metal strand to ensure the petals can curve and bend.
A unique highlight is the set of five central stalks, which use bits of brown and yellow fiber to look like real pollen tips.
Once the six outer layers are ready, they are bundled around the middle and wrapped tightly with a forest-green cord. 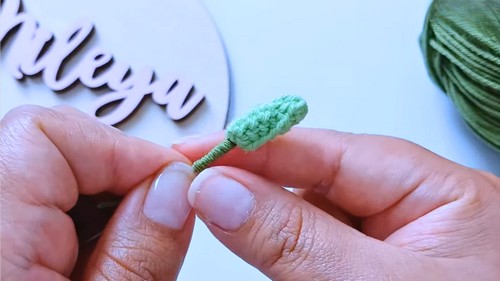
Adding two sharp-looking leaves and two round buds near the base completes the look. This simple approach yields a professional ornament using just a small hook and leftover yarn bits.
Conclusion
The miniature lily is a delicate project that rewards patience with a highly realistic result. By combining crochet with simple wiring and wrapping techniques, you can build a sturdy yet graceful floral arrangement that stays vibrant forever.
Pro-Tip
When wrapping the brown yarn for the pistil tips, fray the ends of the yarn slightly before gluing. This adds a "fuzzy" texture that looks exactly like real pollen-covered anthers.


