
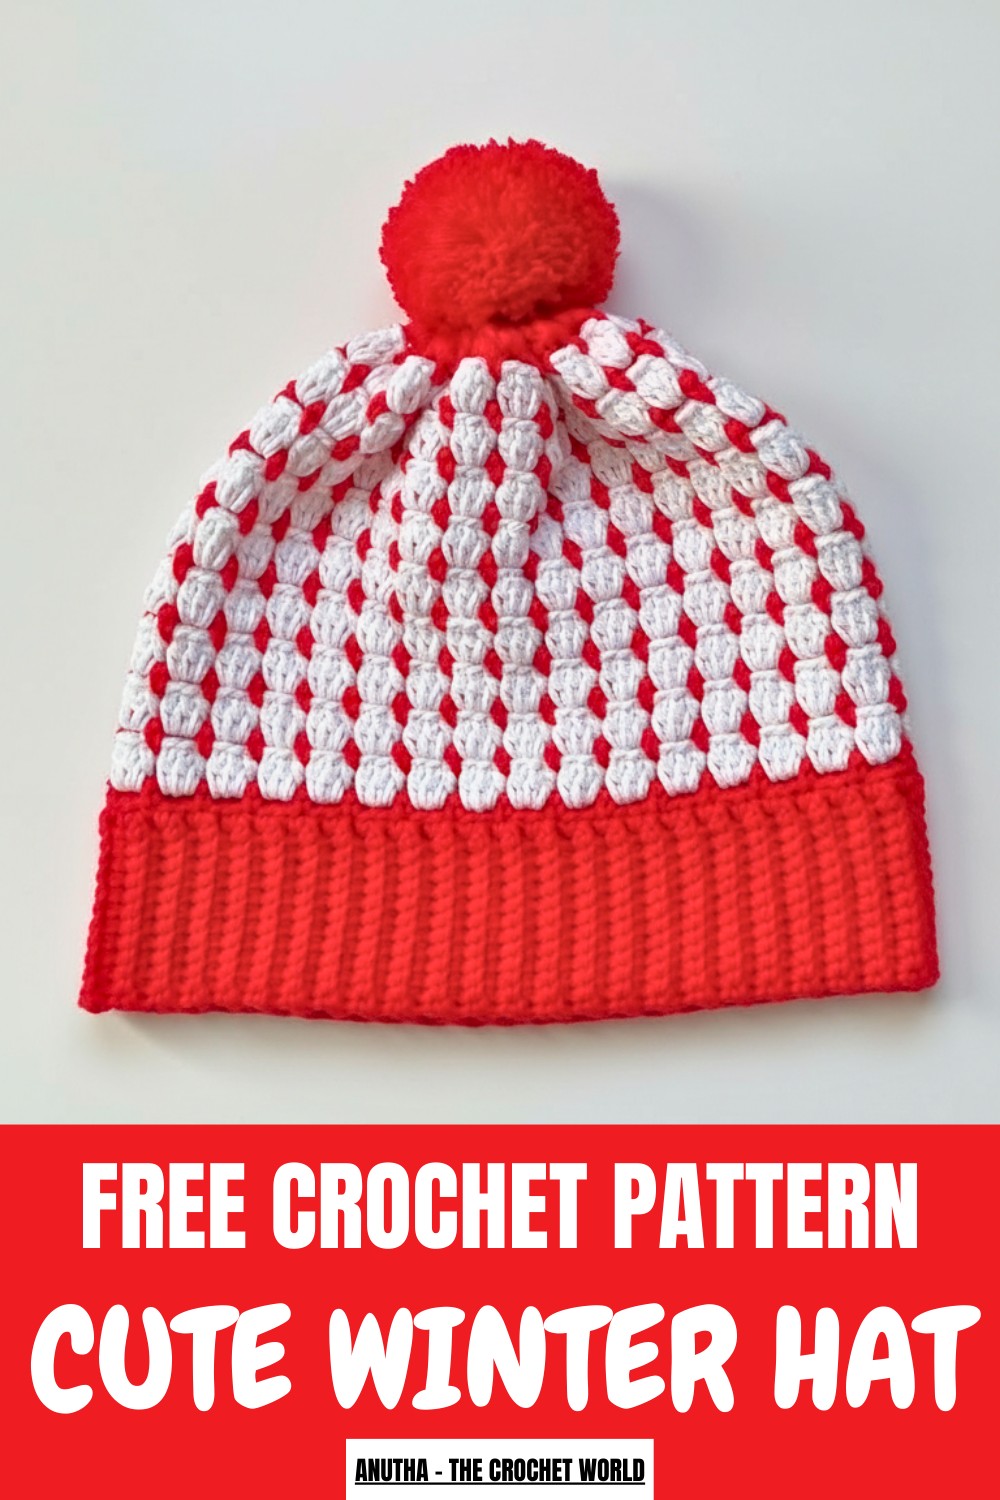
Stay snug and stylish this winter with an easy-to-follow accessory that's both practical and trendy. A crochet winter hat pattern allows you to design a cozy headwear piece that's perfect for cold-weather days. Whether you’re heading out for a snowy walk, running errands, or just adding a touch of charm to your winter wardrobe, this handmade pattern is a functional solution to staying comfortable and fashionable.
Simple Tricks to Crochet a Winter Hat Pattern for Classic Looks
It’s completely free and beginner-friendly, offering clear instructions that make the project enjoyable for all skill levels. By using soft, durable yarns and your favorite color combinations, you can customize the hat to suit your style or gift it to loved ones. Not only does a crochet pattern offer protection from the chilly air, but it’s also a sustainable alternative to store-bought options.
The benefits don’t stop at warmth—crocheting is a relaxing activity that allows you to crochet something meaningful and heartfelt while saving money. This pattern makes it easy to keep your hands busy and your heart full as you prepare for the colder months ahead. Make your winters cozier, one stitch at a time, with a hat that's as unique as your personal touch.
Materials Needed
- Yarn: 100% cotton yarn (or any preferred yarn that suits the project).
- Crochet Hook: 4mm crochet hook.
- Needle: For weaving in ends and securing the top of the hat.
- Scissors: To cut the yarn as needed.
- Optional: Stitch markers to track your rounds.
Special Features
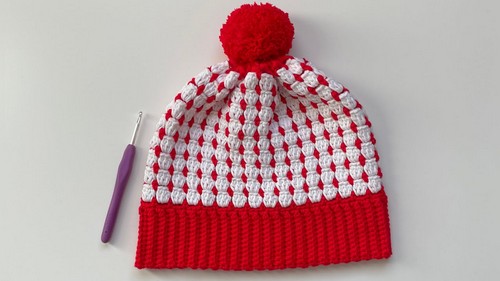
- Pattern Design: The hat features a textured design that effectively combines single crochet back-loop stitches and colorful accents.
- Color Options: The tutor highlights using holiday-inspired colors, but you can customize the palette to suit your preferences.
- Pom-Pom Addition: A handmade pom-pom adds an extra festive touch to the finished piece.
Step-by-Step Instructions
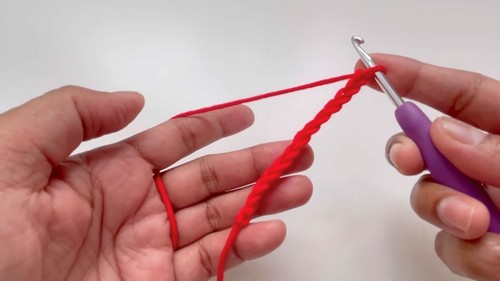
Step 1: Create the Brim
- Start with a Slip Knot: Begin by creating a slip knot on your hook.
- Chain 13: Crochet 13 chains for the foundation row.
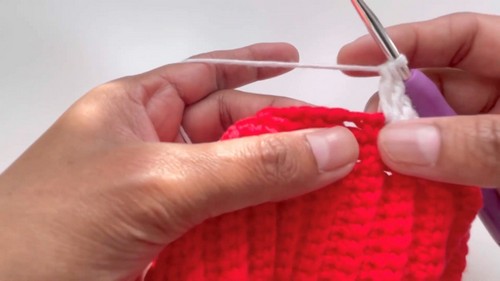
- Single Crochet Rows:
- Skip the first chain and work single crochet into the second chain and every subsequent chain until the end.
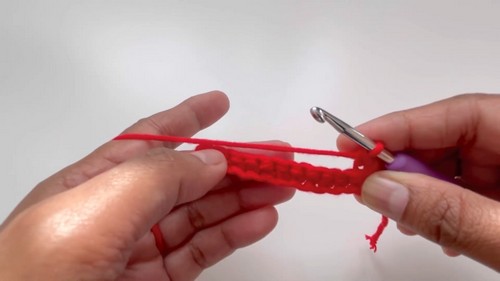
- Turn your work, chain 1, and continue working single crochet stitches into the back loop only of each stitch.
- Repeat this process until you achieve your desired length for the brim. For the tutorial, the brim is made up of 96 rows, ensuring a measurement in multiples of three.
- Skip the first chain and work single crochet into the second chain and every subsequent chain until the end.
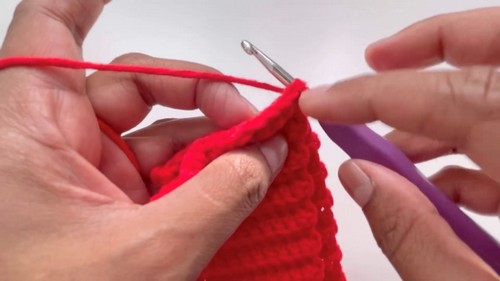
2: Join the Brim Ends
- Once the desired length of the brim is reached, fold it seamlessly and align the edges.
- Use slip stitches to attach the two sides, ensuring the foundation chain aligns with the last row. Work carefully to avoid bunching.
3: Create the Body of the Hat
- Single Crochet Around the Brim: Work one single crochet into each row of the brim. You’ll end up with a total number of single crochets matching the rows (e.g., 96 single crochets).
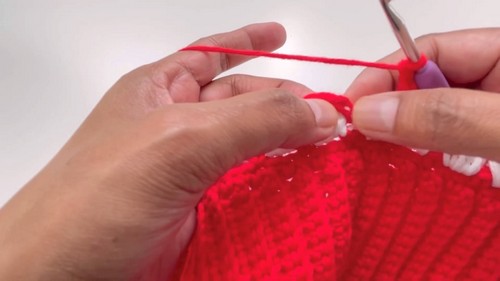
- Round 2 Pattern:
- Chain 2, skip the next two stitches, and work a single crochet after that. Repeat the pattern of chaining 2 and skipping 2 stitches around the hat.
- Close the round with slip stitches into the first stitch and chain 2 space.
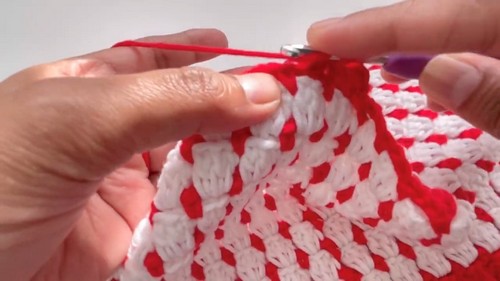
- Round 3 (Double Crochet Clusters):
- Change yarn color if desired and begin working 3 double crochets into each chain 2 space.
- Repeat this pattern all the way around the hat.
- Change yarn color if desired and begin working 3 double crochets into each chain 2 space.
- Repeat Rounds 2 and 3: Follow the alternating rounds until you reach the required height for the body of the hat. In the tutorial, Anuta’s hat was completed after 20 rounds.
4: Gather and Close the Top of the Hat
- Cut your yarn, leaving a long tail to gather and secure the top.
- Using a needle, weave the tail through the final row of stitches.
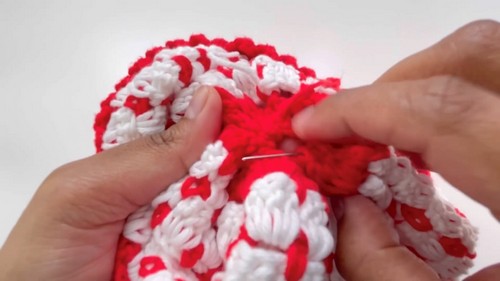
- Pull tightly to close the top, ensuring no gaps remain. Make a knot to secure the closure.
5: Add the Pom-Pom
- Create a pom-pom using leftover yarn in complementary colors.
- Attach the pom-pom securely to the top of the hat.
Tutor’s Suggestions
It emphasises precision during the brim-making process as it sets the foundation for the overall hat.
- Color Advice: Holiday-themed colors like red, green, or white can amplify the festive look, but feel free to experiment with your favorite shades.
- Repeat and Adjust: Adjust the rows and rounds based on your measurements to achieve a comfortable fit.
Level of Difficulty
This project is beginner-friendly, particularly for those comfortable with basic crochet techniques like chaining, single crochet, slip stitches, and double crochet.
Uses
- Perfect as a cozy accessory during cold winter days.
- A thoughtful, handmade gift for friends and family during the holiday season.
- Can be customized and color-matched for any outfit or occasion.
Tip
When working on uneven surfaces (like joining rows or stitching into chain spaces), use stitch markers to stay organized, especially if you're new to crochet. This will help you avoid losing track of your stitches and improve overall uniformity.
Conclusion
With clear instructions and helpful techniques, A holiday hat tutorial inspires both novice and experienced crocheters to crochet something beautiful and practical. Whether it’s for yourself or as a gift, the finished product is sure to bring warmth and joy during the season.


