
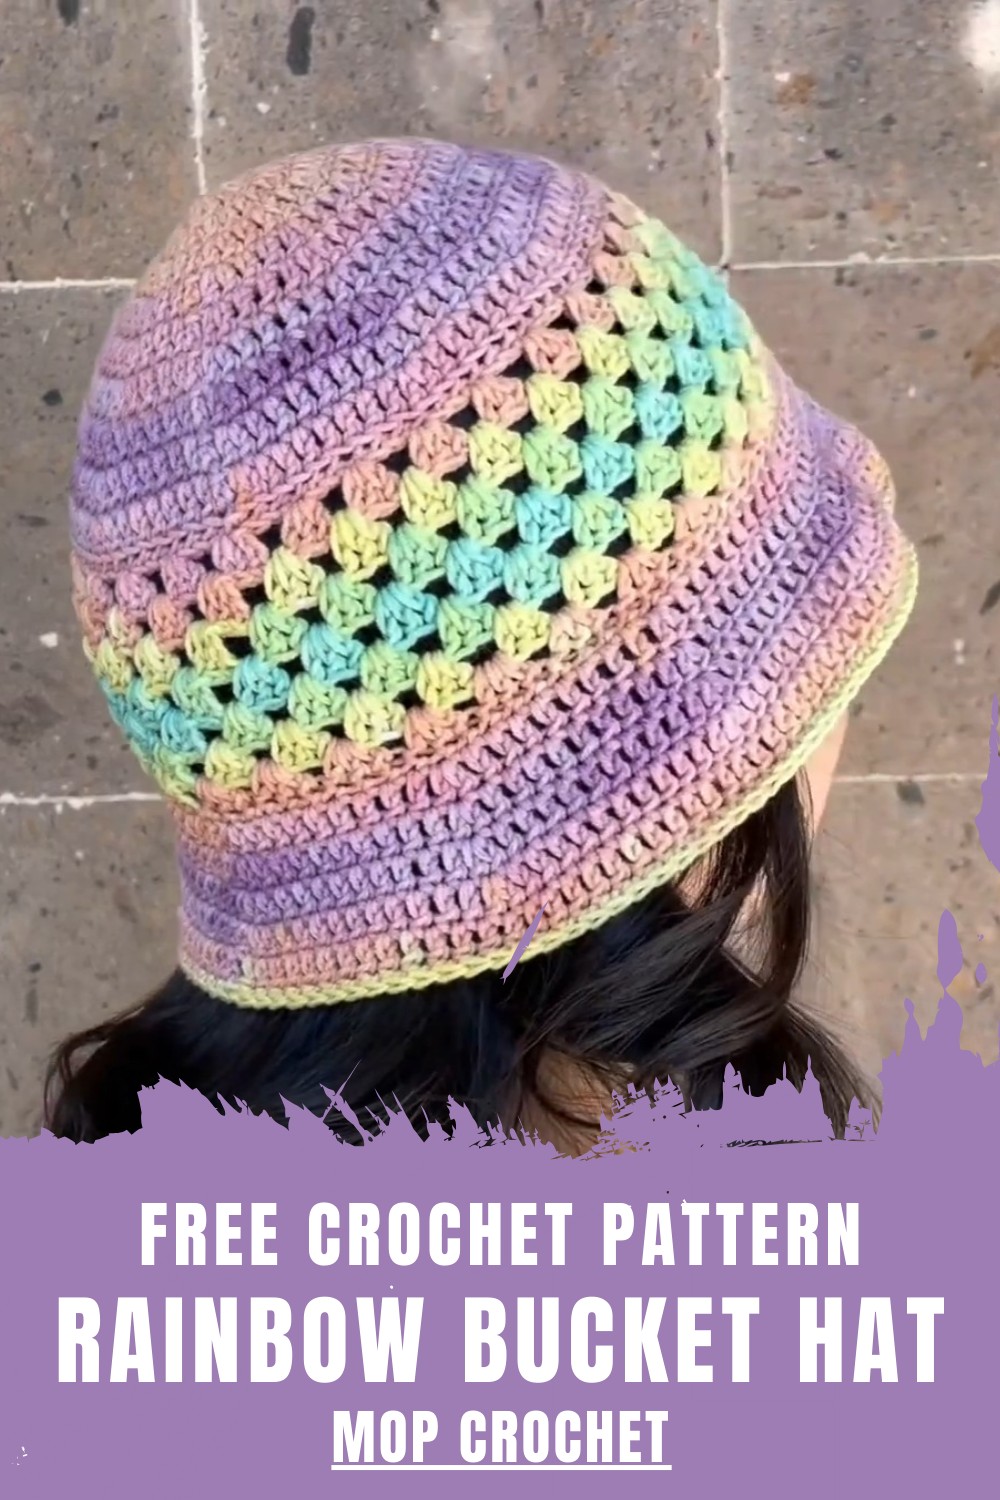
Color your crochet journey with this Free Crochet Rainbow Bucket Hat Pattern, a cheerful and easy design perfect for bright, stylish days.
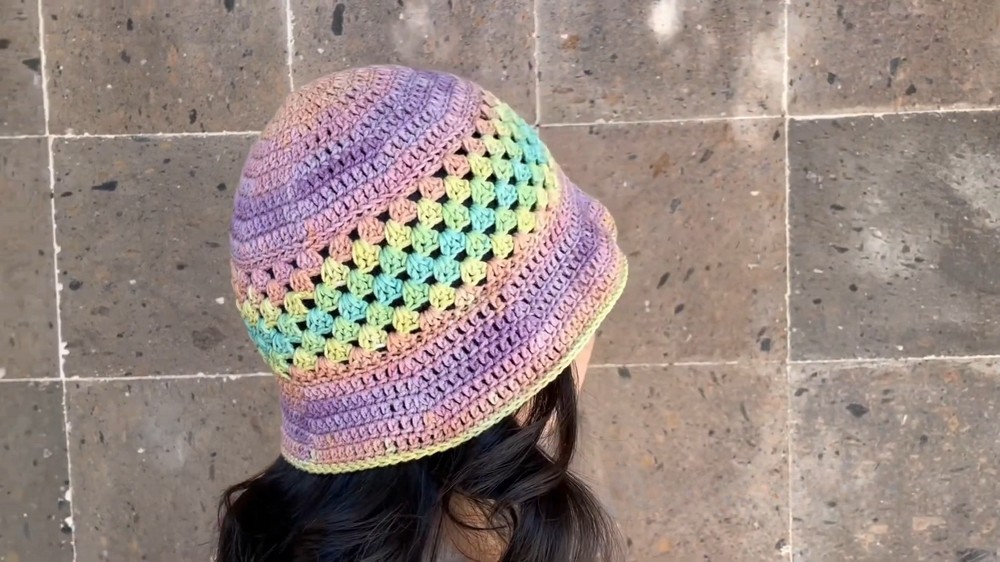
A stylish bucket hat with vibrant rainbow colors adds charm and functionality to any wardrobe. Perfect for sunny days, this pattern works as both a protective accessory and a cheerful statement piece, suitable for outdoor settings, casual events, or even gifting. Its playful yet practical look appeals to kids and adults alike, making it a versatile project for crochet enthusiasts. Additionally, the rainbow theme brings a unique touch, showcasing creativity and skill while spreading vibrant, joyful vibes that elevate outfits.
Fresh Styling Crochet Rainbow Bucket Hat Pattern for Eye-Catching Looks
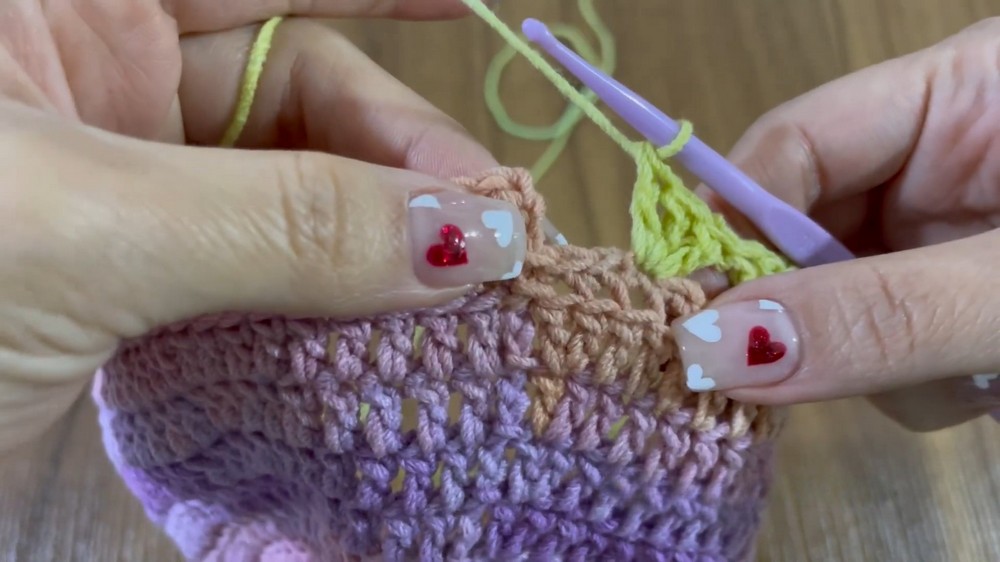
To achieve a neat result, pay attention to stitch tension throughout the process, especially during color changes. The tutor suggests finishing color switches by pulling through in the new yarn shade to prevent uneven transitions. This beginner-friendly pattern is approachable for crocheters looking to sharpen their skills while working on a functional project. With attention to detail and careful stitching techniques, this pattern becomes a charming and practical addition to any outfit.
Materials Required
The tutor suggests gathering the following materials before starting:
- Worsted-weight cotton yarn in multiple rainbow colors (or yarn of your choice).
- Crochet hook (size recommended, typically 4mm - 5mm for hats).
- Scissors for trimming ends.
- Tapestry needle to weave in loose ends.
- Stitch marker to keep track of rounds.
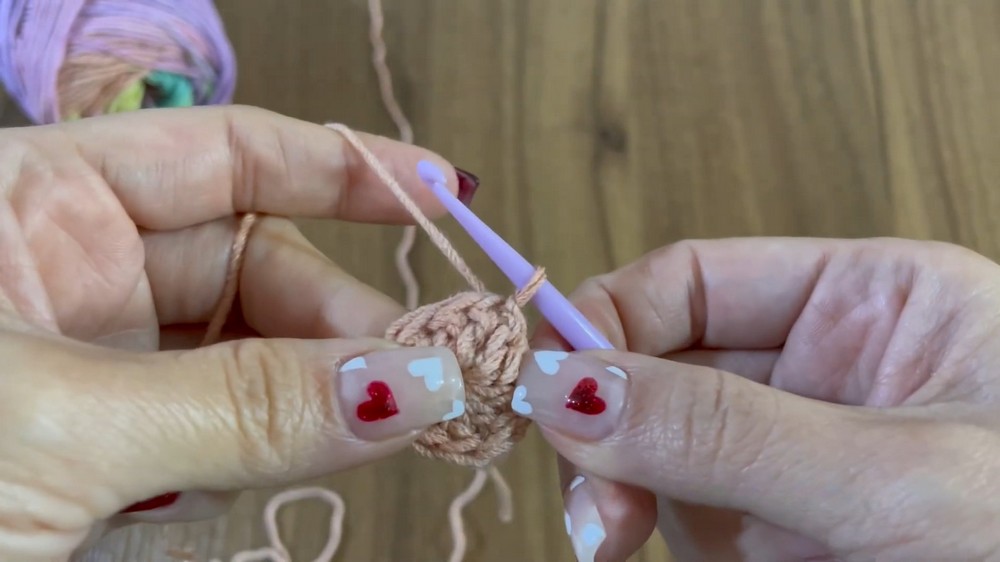
The pattern begins with a circular crown base, starting with a magic ring, followed by rounds of double crochets. Clear instructions ensure easy shaping as the crown expands with strategic increases.
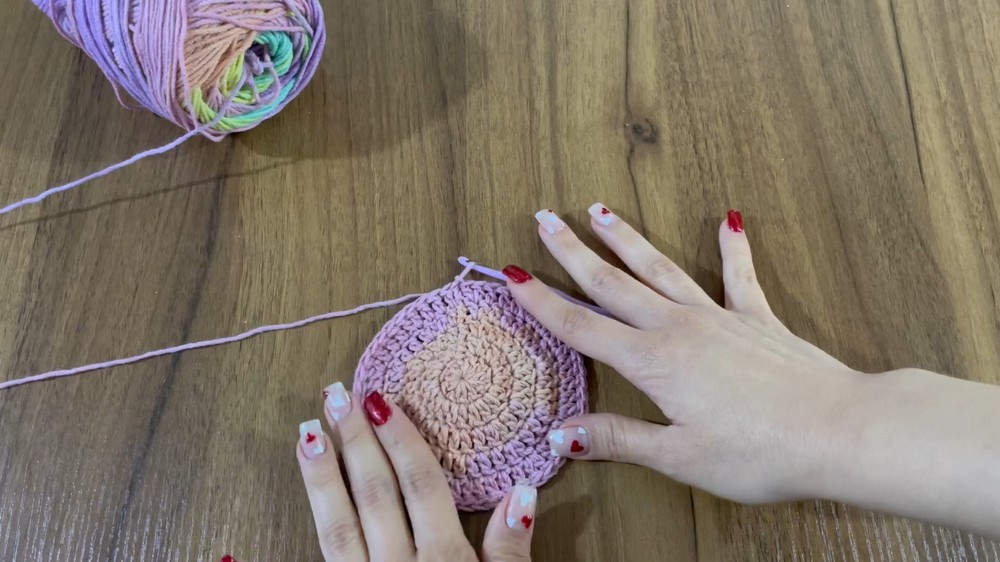
Once the crown is completed, the body of the hat is worked in rounds without additional increases, making it simpler to manage. Switching yarn colors between specific rows creates the signature rainbow effect without interruptions.
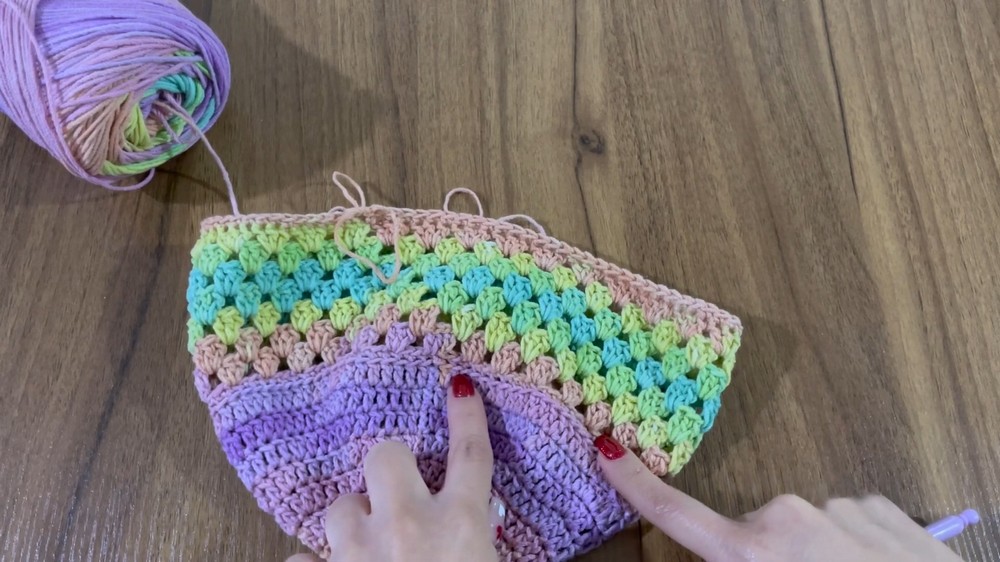
After completing the body, gradual increases are added to form the brim, allowing for a wider and structured finish typical of bucket hats. A slip-stitch round at the end tidies up the edges, and loose ends are woven in for a clean look.
Special Features of the Pattern
- Bright Rainbow Design: This project utilizes a vibrant selection of colors that mimic a rainbow, giving the hat a stunning and joyful aesthetic.
- Bucket Style: The hat features a wide brim that provides sun protection while maintaining its stylish charm.
- Customizable Sizes: The pattern can be adjusted for different sizes with clear instructions from the tutor.
- Beginner-Friendly: The pattern is easy to follow, making it suitable for beginners with basic crochet knowledge.
Level of Difficulty and Tutor’s Suggestions
This pattern is categorized as beginner-friendly but requires basic crochet knowledge, such as chain and double crochet stitches. The tutor recommends practicing stitch consistency and advises using cotton yarn for a sturdy, breathable finish.
Uses of the Hat
The rainbow bucket hat is perfect for sunny outings, beach trips, or casual daily wear. It also serves as a thoughtful, handmade gift for friends and family. Its playful and vibrant design makes it suitable for both kids and adults, adding a pop of color to any outfit.
Step-by-Step Instructions
This crochet pattern is perfect for crocheters of all skill levels who want to crochet a colorful and practical bucket hat. Its vibrant pattern stands out, making it an excellent accessory for sunny days or as a statement piece for any casual outfit. The tutorial walks you through the entire process step-by-step, ensuring a straightforward and enjoyable experience.
Conclusion
This crochet rainbow bucket hat project is a delightful and rewarding experience for anyone looking to enhance their crochet skills. The step-by-step instructions, vibrant colors, and functional design come together to produce an accessory that’s as useful as it is beautiful. Whether for personal use or as a gift, this handmade pattern is sure to impress.
Pro Tip
To achieve a seamless color change, finish the last pull-through of the final stitch in a new color. This creates a smooth transition between rounds and eliminates visible color breaks.


