
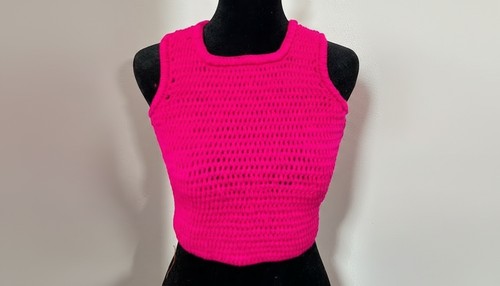
Essential Crochet Halter Top Pattern That Stands Out Every Time
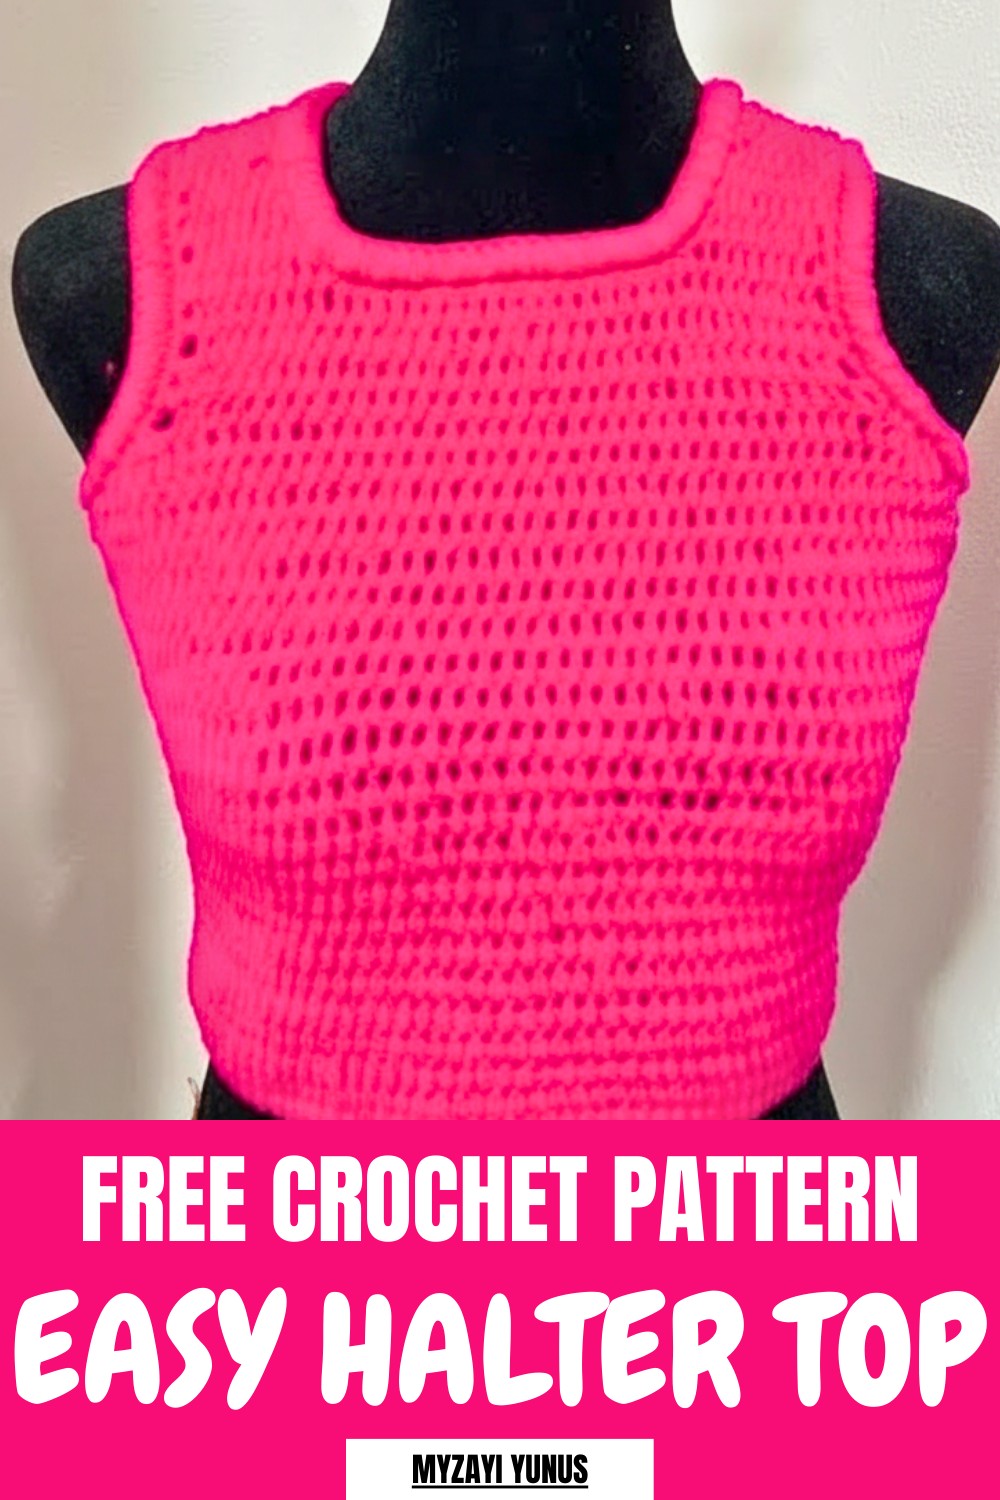
Maintaining even tension, using stitch markers for accuracy, and measuring consistently throughout will help achieve a flawless finish. This pattern is an ideal project for beginners looking for a rewarding and stylish outcome.
Materials Needed
- Crochet hook (3.0 mm).
- Milk cotton yarn (approximately 4 balls for size small; more for larger sizes).
- Scissors.
- Stitch markers or pins (optional for marking rows).
- Measuring tape.
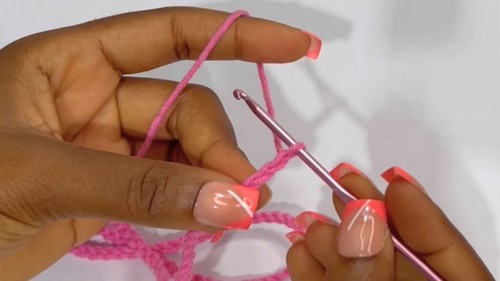
To begin, start with a slip knot and foundation chains, adjusting the count based on your desired size (130 chains for small, 150 for medium, 170 for large).
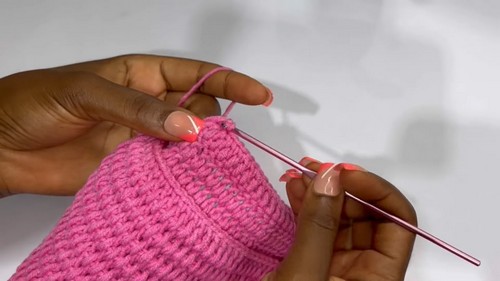
After the chains are complete, double crochet into the third stitch and continue through the row, ensuring you join the ends securely to form a circle without twisting.
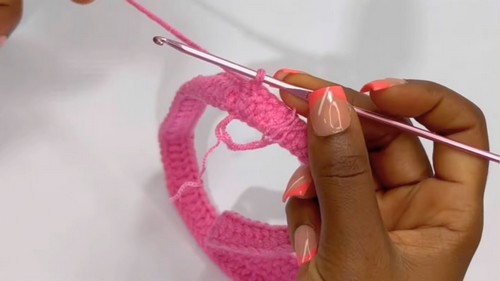
Rows 2 to 18 (or more, depending on size) involve working double crochets between stitches for a seamless look.
To shape the top, decrease rows are added after dividing the work into halves using stitch markers, employing incomplete double crochets at the beginning and end of the rows.
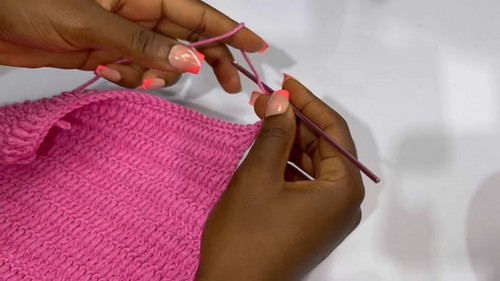
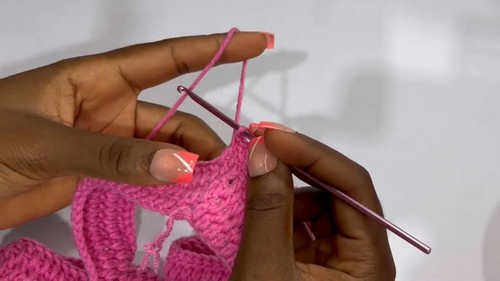
Following seven rows of decreases for small sizes (eight or nine for larger sizes), normal double crochet rows are worked to stabilize the pattern.
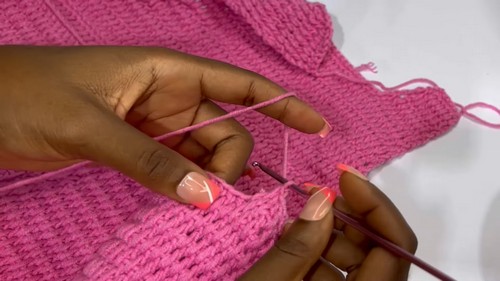
Next, the armholes are created by working evenly in a limited number of stitches, with four rows for small sizes (and more for larger fits).
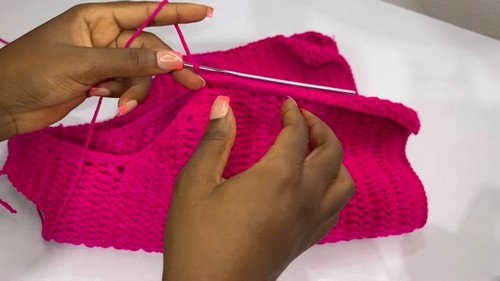
Final touches include borders with single crochets around the armholes, neckline, and hem. For decoration, a cord made using thicker yarn adds elegance and functionality.
Special Features
- Customizable Sizing: Includes instructions for small, medium, and large sizes with adaptable chain counts.
- Breathable Design: Designed to be lightweight and comfortable for warm weather.
- Elegant Style: Versatile enough for casual daywear or layering for evening looks.
- Durable Structure: Sturdy borders and neat stitching ensure long-lasting quality.
- Beginner-Friendly: Simple stitches are used, with helpful tips to improve crochet results.
Tutor’s Suggestions
- Avoid Twisting: Be mindful when connecting the foundation chain to prevent uneven stitching.
- Use Stitch Markers: These help with alignment during decrease rows and panel joining.
- Measure Regularly: Check measurements as you go to get the right fit.
Difficulty Level
Beginner to intermediate. Simple stitches like double crochet and single crochet are used, but care is required for decreases and proper measurements.
Uses
This halter top is ideal for summer wear, outdoor gatherings, or as a lightweight layering piece. It’s practical, stylish, and uniquely tailored for comfort and elegance.
Tip for Success
Always maintain even tension when working between stitches for smoother rows and fewer gaps. Also, stitch markers will save time and minimize errors during decreases or joining panels.
Step-by-Step Instructions
A crochet halter top is a stylish and breathable wardrobe piece perfect for sunny days and casual outings. Its lightweight pattern and adjustable size make it a versatile choice, whether paired with skirts, jeans, or shorts. By following this pattern, you'll crochet an elegant, handmade garment with a personal touch that is both practical and fashionable. The tutorial offers the step-by-step pattern, simple techniques suitable for beginners, making it rewarding for those wishing to learn or enhance their crochet skills.
Conclusion
This crochet halter top pattern is easy to follow and designed for comfort and customization. With clear instructions, special features, and versatility in design, it’s an enjoyable project for crochet enthusiasts of all levels. Whether you’re a beginner or looking for a relaxing project, this halter top offers a satisfying and stylish addition to your wardrobe!


