
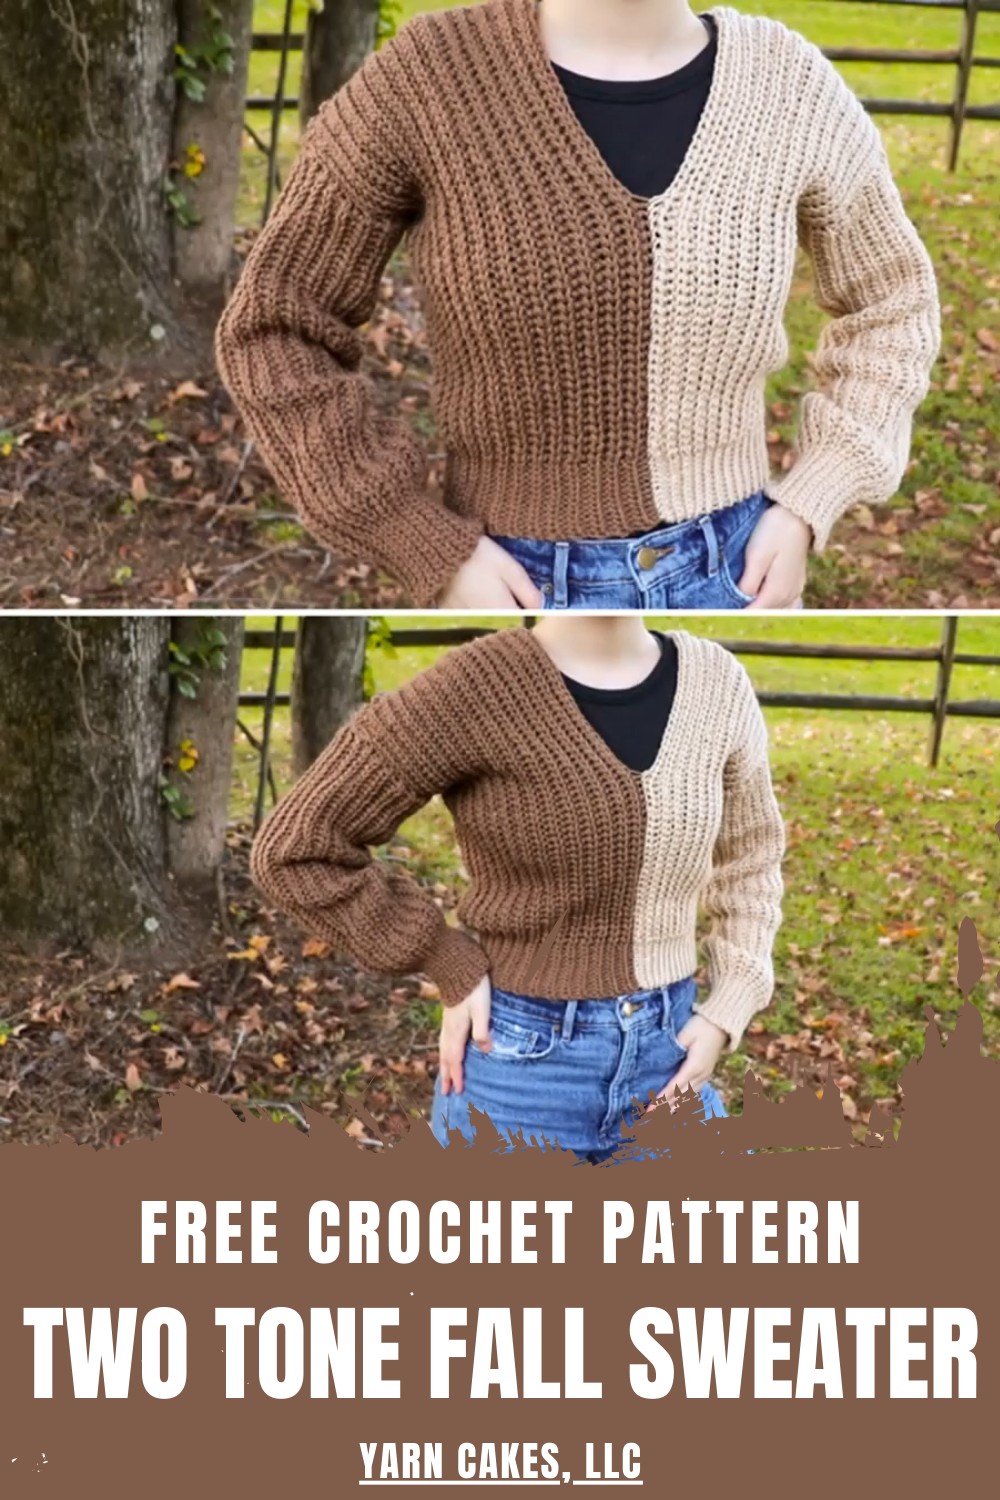
Stay cozy in style with this Crochet Two Tone Fall Sweater Pattern, featuring warm layers, autumn colors, and a comfortable fit for cool days.
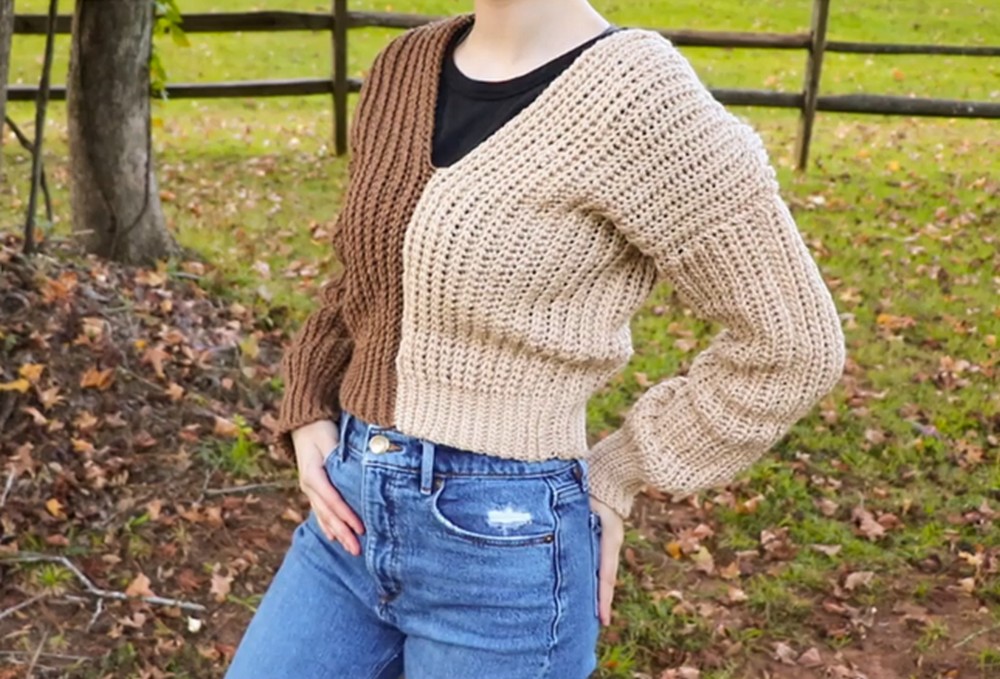
Two harmonious colors come together to create a visually striking and stylish garment for autumn. The Crochet Two Tone Fall Sweater Pattern highlights a beautifully balanced design, where contrasting shades add depth, texture, and modern charm to everyday outfits. Its versatile silhouette provides a flattering and comfortable fit, perfect for casual outings, cozy indoor moments, or layered seasonal ensembles.
Comfy Crochet Two Tone Fall Sweater Pattern That Looks Artisan-Made
Carefully arranged stitches give warmth while maintaining a soft, lightweight feel that drapes elegantly on all body types. This pattern allows creative freedom through color combinations, yarn selections, and subtle decorative details, giving each sweater a unique and personal character.
Bright, polished, and thoughtfully designed, the finished piece brings aesthetic appeal and cozy sophistication to any wardrobe. Blending fashion with comfort, the Crochet Two Tone Fall Sweater Pattern transforms simple yarn into a timeless handmade garment that celebrates the beauty, colors, and style of fall in every stitch.
Step-by-Step Details
Materials Needed
- Yarn:
- Color 1: Brown (e.g., Cafe Latte)
- Color 2: Beige
- Hooks:
- 4.5 mm for detailed sections (edges)
- 5.5 mm for the main body and sleeves
- Additional Tools:
- Scissors
- Large tapestry needle
- Measuring tape
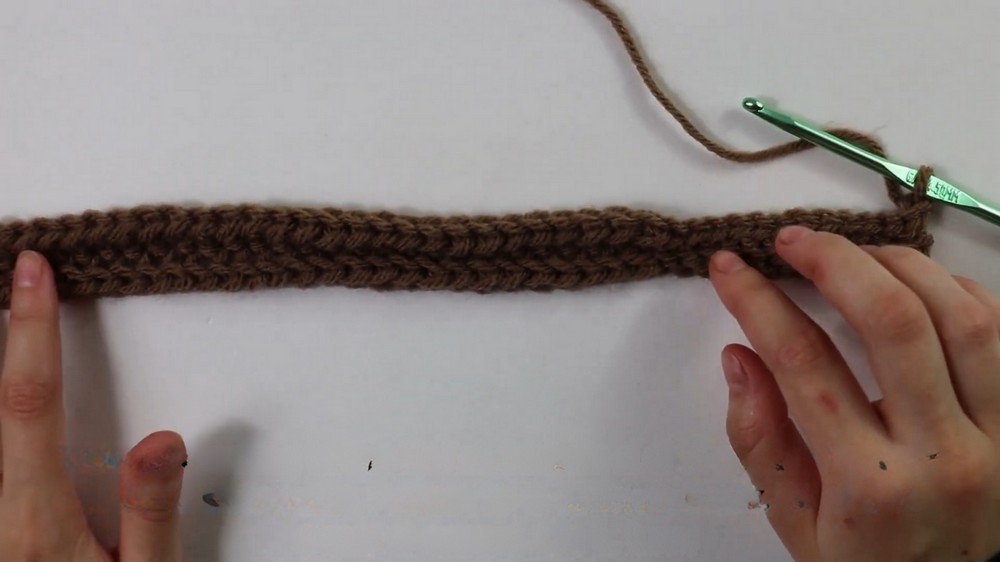
Step 1: Start the Body Panels
- Chain Setup:
- Begin with a slip knot using the 4.5 mm hook.
- Chain 12 stitches (for tighter edges).
- Switch to the 5.5 mm hook and chain 53 additional stitches, making a total of 65 chains.
- Row 1:
- Skip the first stitch and work half double crochet slip stitches into the 2nd chain from the hook, continuing for a total of 53 chains.
- Switch back to the 4.5 mm hook for the last 12 chains and work slip stitches into each chain.
- Chain 1, turn your work (chain 1 does not count as a stitch).
- Row 2:
- Work 12 back bar slip stitches (using the 4.5 mm hook). Insert your hook into the back bar only, yarn over, and pull through.
- Switch to the 5.5 mm hook and work back bar half double crochet slip stitches until the end of the row.
- Chain 1, turn your work.
- Row 3:
- Start with back bar half double crochet slip stitches across the row (using the 5.5 mm hook).
- When 12 stitches remain, switch to the 4.5 mm hook and complete with back bar slip stitches.
- Chain 1, turn your work.
- Repeat Rows 2 and 3:
- Alternate between Rows 2 and 3.
- Continue until you have 26 rows in total for each body panel.
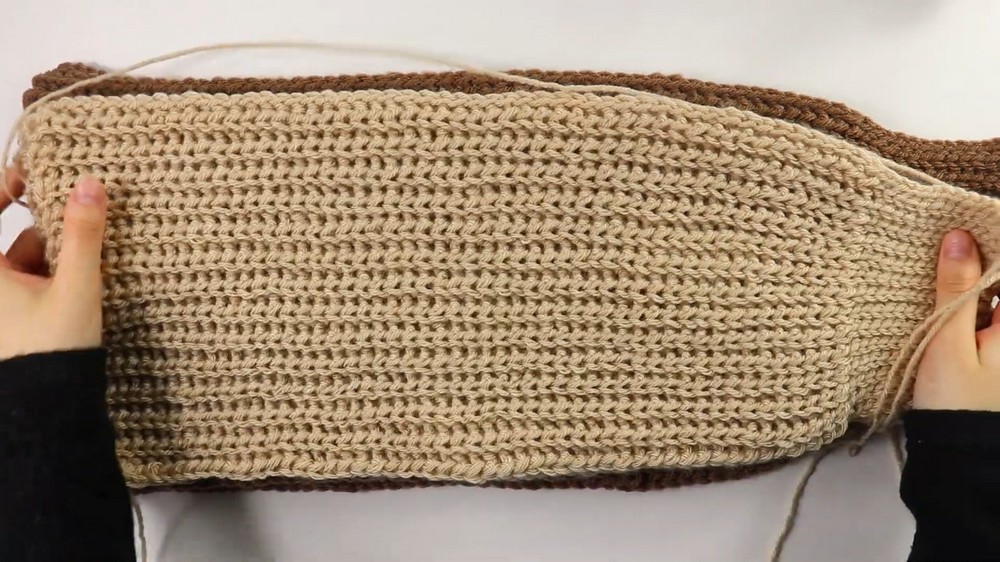
- Repeat for All Four Panels:
- Create four body panels: two in brown and two in beige.
Step 2: Create the Sleeves
- Chain Setup for Sleeves:
- Begin with a slip knot using the 4.5 mm hook. Chain 12 stitches for the edge.
- Switch to the 5.5 mm hook and chain 55 additional stitches, making a total of 67 chains.
- Work Rows:
- Follow the same pattern of alternating Rows 2 and 3 as described in the body panels.
- Continue building the sleeve until you have 40 rows in total (to make it longer than the body).
- Repeat for Second Color:
- Create two sleeves: one in brown and one in beige.
- Create two sleeves: one in brown and one in beige.
3: Assemble the Sweater
- Assemble Body Panels:
- Take two body panels of different colors (e.g., brown and beige). Align them along the edges.
- Whip stitch them together, starting from the bottom and leaving a 7.5-inch gap at the top for the neckline.
- Repeat this with the other two body panels for the back side.
- Join the Sides:
- Align the front and back body pieces.
- Whip stitch the sides together, but leave a 6.5-inch gap at the top of the sides for the armholes.
- Attach the Sleeves:
- Fold the sleeve lengthwise and whip stitch along the seam to form a cylindrical sleeve.
- Attach the sleeve to the armhole using whip stitching.
- Finish the Shoulders:
- Whip stitch the shoulders, leaving an opening for the neckline.
- Whip stitch the shoulders, leaving an opening for the neckline.
Special Features
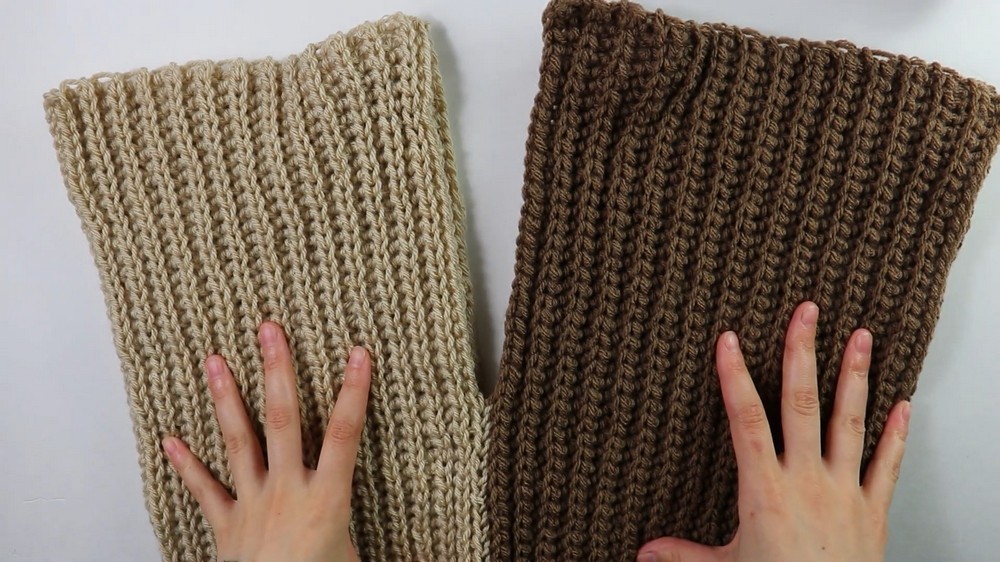
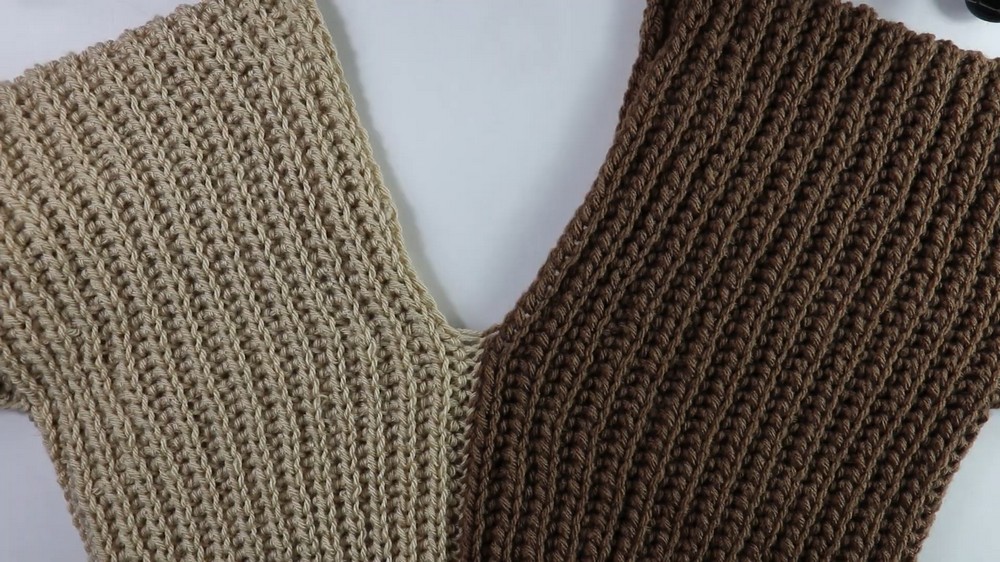
- Textured Design: The use of alternating hooks for slip stitches and half double crochet slip stitches creates a beautiful textured fabric.
- Two-Tone Color Scheme: The contrasting colors (brown and beige) add a trendy, color-blocked appearance.
- Customizable Sizing: The tutorial includes adjustments for sizes ranging from XS to 3XL, ensuring everyone can enjoy this design.
- Simplified Assembly: Anne demonstrates detailed whip stitching to ensure neat joins.
Level of Difficulty
This project is intermediate-level due to the use of textured crochet stitches, hook changes, and the construction process. Beginners comfortable with basic slip stitches and half double crochets might find this a rewarding challenge.
Tutor’s Suggestions
- Use Stitch Markers: Anne recommends using stitch markers to mark critical sections, like sleeve edges or neckline openings.
- Maintain Relaxed Tension: Slip stitches can become tight if you pull too hard, so keep a relaxed grip for a consistent texture.
- Check Your Gauge: Before starting, crochet a sample swatch to match Anne's tension and adjust hook size if necessary.
Uses and Materials
- Uses:
- This sweater is perfect for layering in the fall or winter.
- It can be gifted as a stylish handmade item to friends or family.
- Materials:
- Category 4 yarn in two colors.
- 4.5 mm and 5.5 mm crochet hooks for stitch variation.
- Scissors, tapestry needle, and measuring tape.
Tip
When switching hooks or colors, finish the last stitch of your current row in the new hook or color to ensure smooth transitions and clean edges.
Conclusion
The color-block sweater combines stylish design with great functionality. With detailed instructions, Anne successfully guides you through crafting panels, sleeves, and neat seams, resulting in a professional-looking garment. The elegant two-tone appearance and textured details make this sweater stand out, whether for personal use or as a unique gift. With practice and patience, even intermediate crocheters can create this cozy, fashionable piece. Finish yours by weaving in loose ends and enjoy a stunning, handmade sweater!


