
Brighten any space with this Crochet Tulip Flower Pattern that's featuring cheerful tulip designs perfect for colorful and charming accents.
Bring your home to life with a handmade floral accent that adds a touch of eternal spring to any room. This Crochet Tulip Flower Pattern serves as a wonderful, everlasting gift for a birthday or anniversary, staying fresh and beautiful forever with zero maintenance. The process of making one provides a therapeutic escape, allowing you to relax while producing a vibrant, texture-rich accessory for a bouquet, a single-stem vase, or even a charming car dashboard ornament.
FREE Crochet Tulip Flower Pattern Loops That Flow Naturally
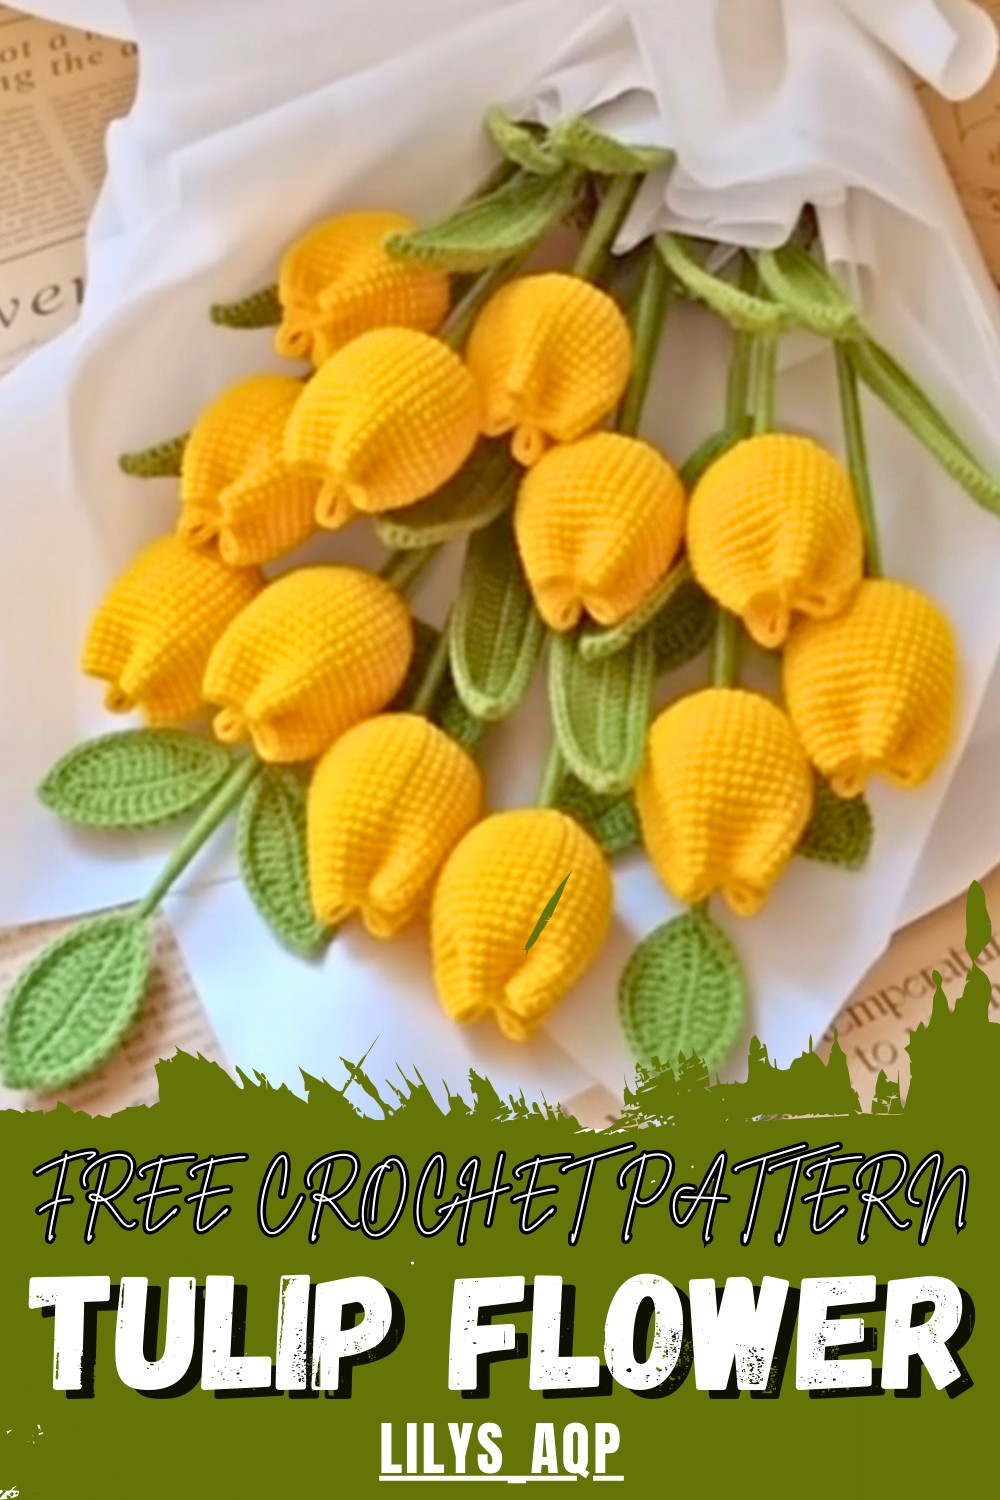
Experience the joy of creating a sophisticated masterpiece that captures the delicate beauty of nature through simple yarn and a hook. This versatile accent remains customizable in an endless color palette, from soft pastel to bold yellow, ensuring it matches every interior aesthetic perfectly.
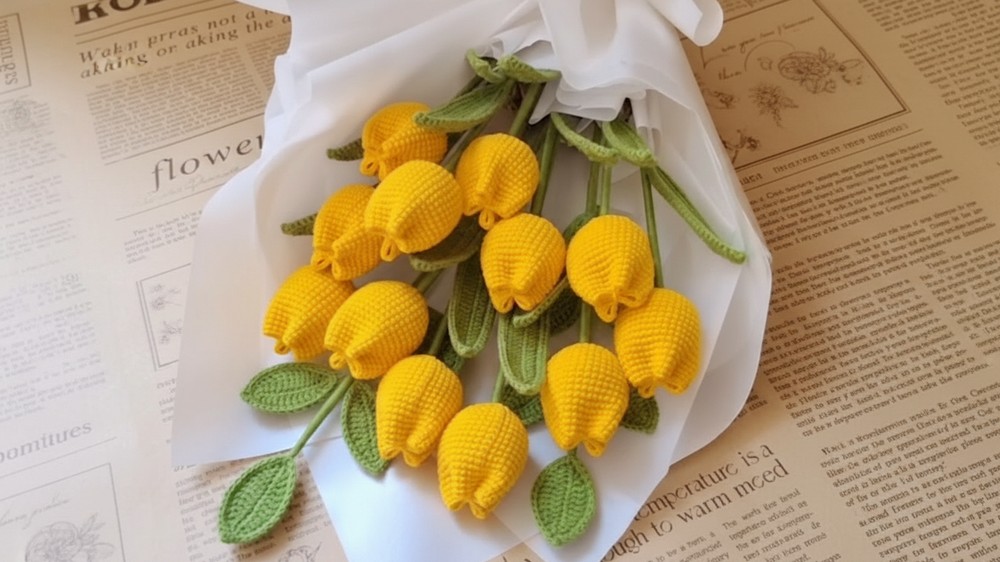
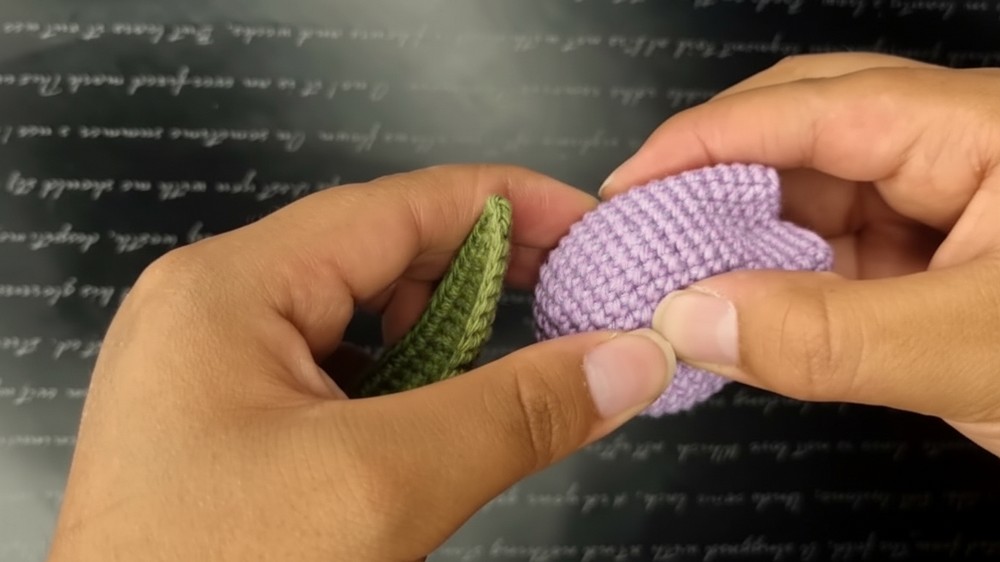
By assembling the finished bloom onto a wooden skewer and wrapping it with green thread, you transform simple materials into a professional-looking botanical art piece that radiates warmth and creativity.
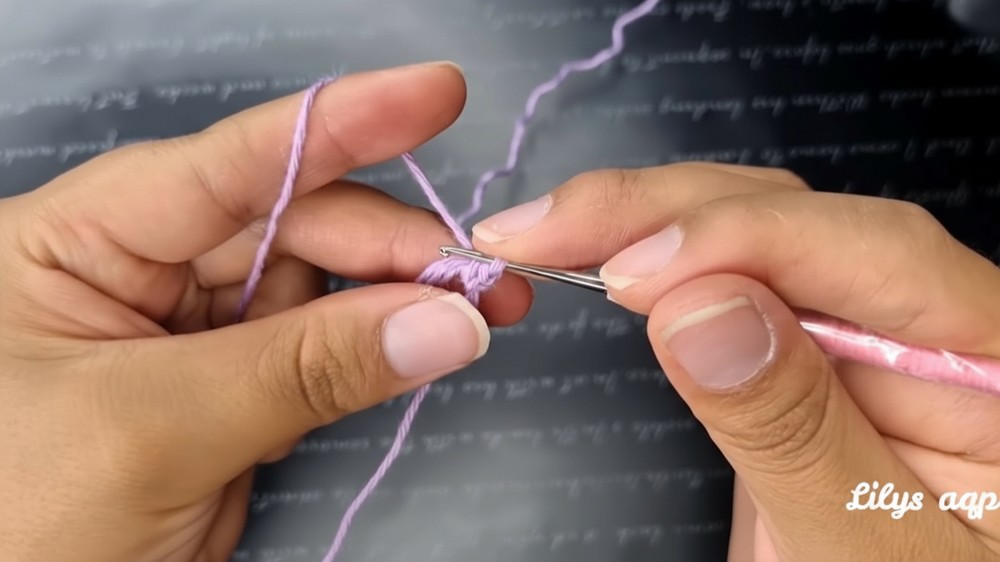
To begin this artistic project, start with a double magic ring and work six single crochet stitches using the "X" stitch technique for a unique square texture.
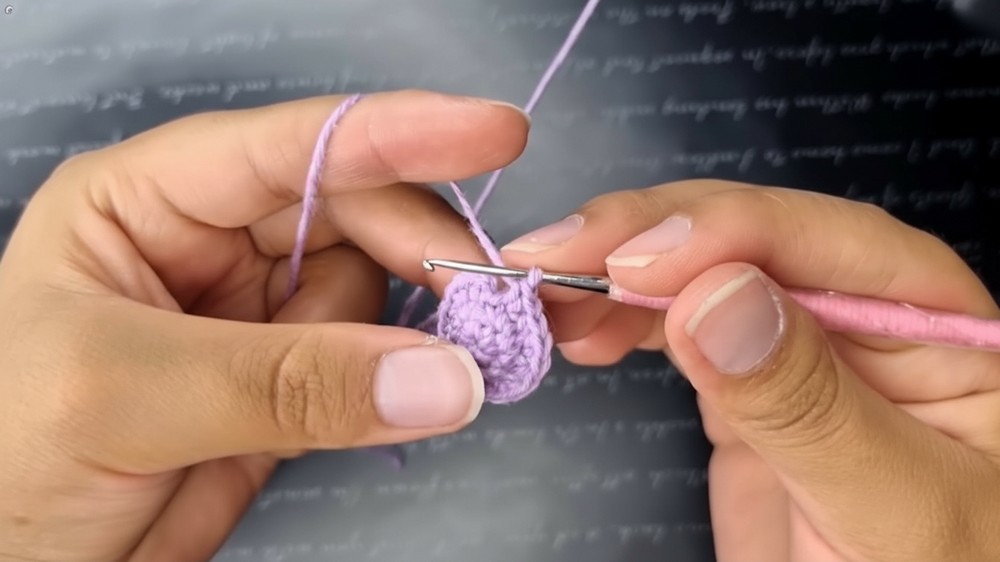
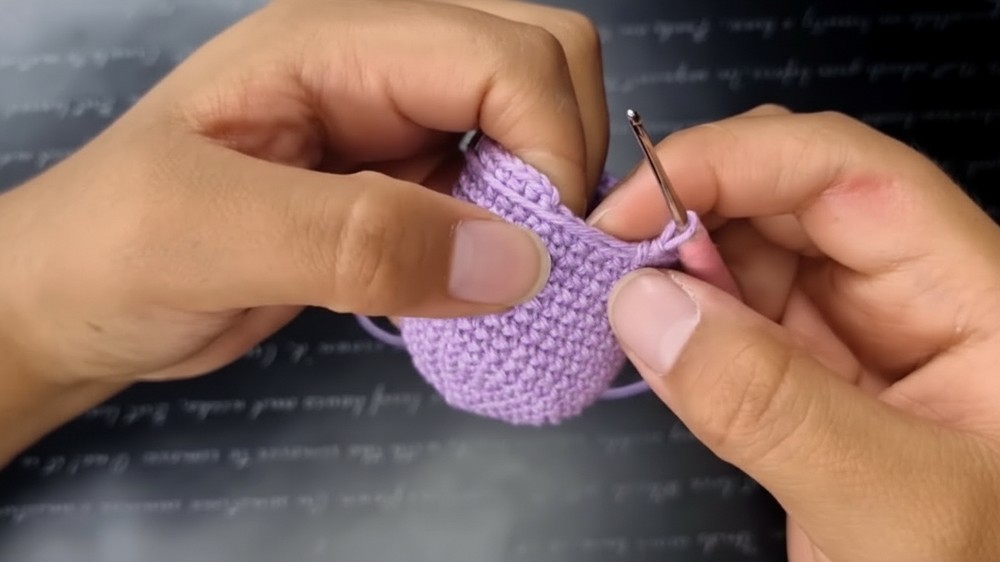
Gradually increase the stitch count in rounds—moving from 12 to 30 and finally to 36 stitches—to build the base.
Once the width is established, continue working even rounds from row 7 to 20 to create the height.
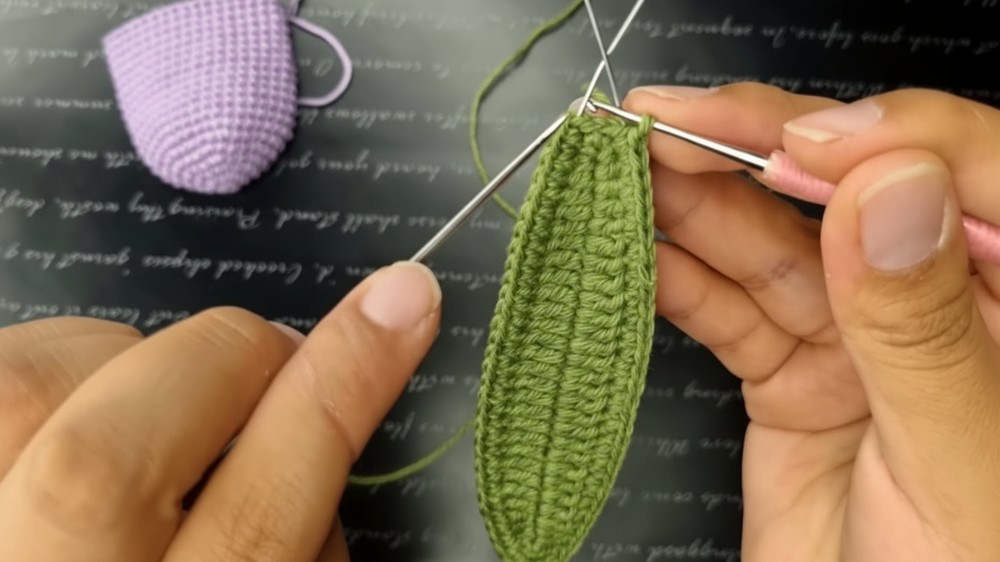
For the foliage, chain 30 and work a sequence of single, half-double, and double crochets around a thin wire to ensure the leaf remains sturdy and posable.
Materials
-
Yarn: Four-strand cotton yarn in your choice of flower color (e.g., pink or yellow) and green (for the stem and leaf).
-
Hook: Size appropriate for your yarn (typically 2.5mm to 3.0mm).
-
Support: 30 cm wooden skewer (for the stem), 20-gauge wire (for the leaf).
-
Fill: Synthetic fiberfill (Napa).
-
Tools: Tapestry needle, hot glue gun, and scissors.
Special Features & Difficulty
-
Difficulty Level: Easy. The pattern uses basic stitches, making it accessible for beginners who want to practice 3D shaping.
-
Special Features: The X-stitch Effect provides a high-end, textured look that mimics a woven fabric. The Double Magic Ring ensures the base of the flower is incredibly secure and won't gap over time.
Tutor’s Suggestions & Uses
-
Aesthetics: The tutor emphasizes using the "X-stitch" specifically to achieve the square texture shown in the final result.
-
Uses: These tulips are ideal for "eternal bouquets," Mother’s Day gifts, or spring-themed interior decorations.
Step-by-Step Details
The Crochet Tulip is a timeless project that results in a sturdy, upright flower perfect for gifting or home decor. By using a double magic ring and specific stitch variations, you create a professional-grade bloom with a distinct geometric pattern. This tutorial covers everything from the flower head to the wired leaf and final assembly.
Conclusion
Crocheting a tulip using this method results in a durable and visually striking flower. The combination of the textured head and the posable wired leaf makes for a very realistic finished product. With simple techniques and clever assembly, you can create a full bouquet that stays vibrant forever.
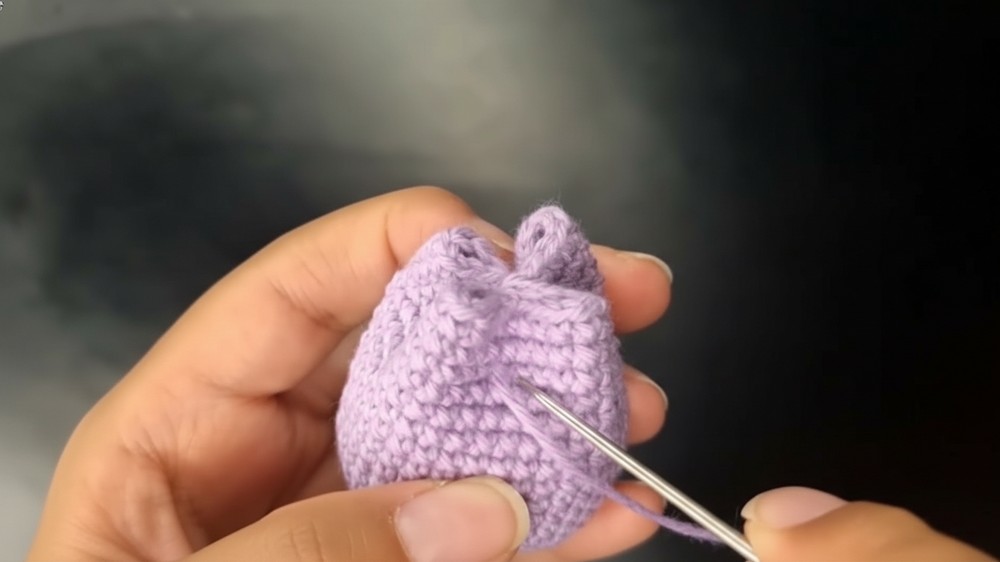
Tip: When closing the top of the tulip, don't just sew the very center point. Pass your needle through the second-to-last round of stitches on all four sides. This pulls the "petals" together more firmly and gives the flower a deeper, more rounded shape!


