
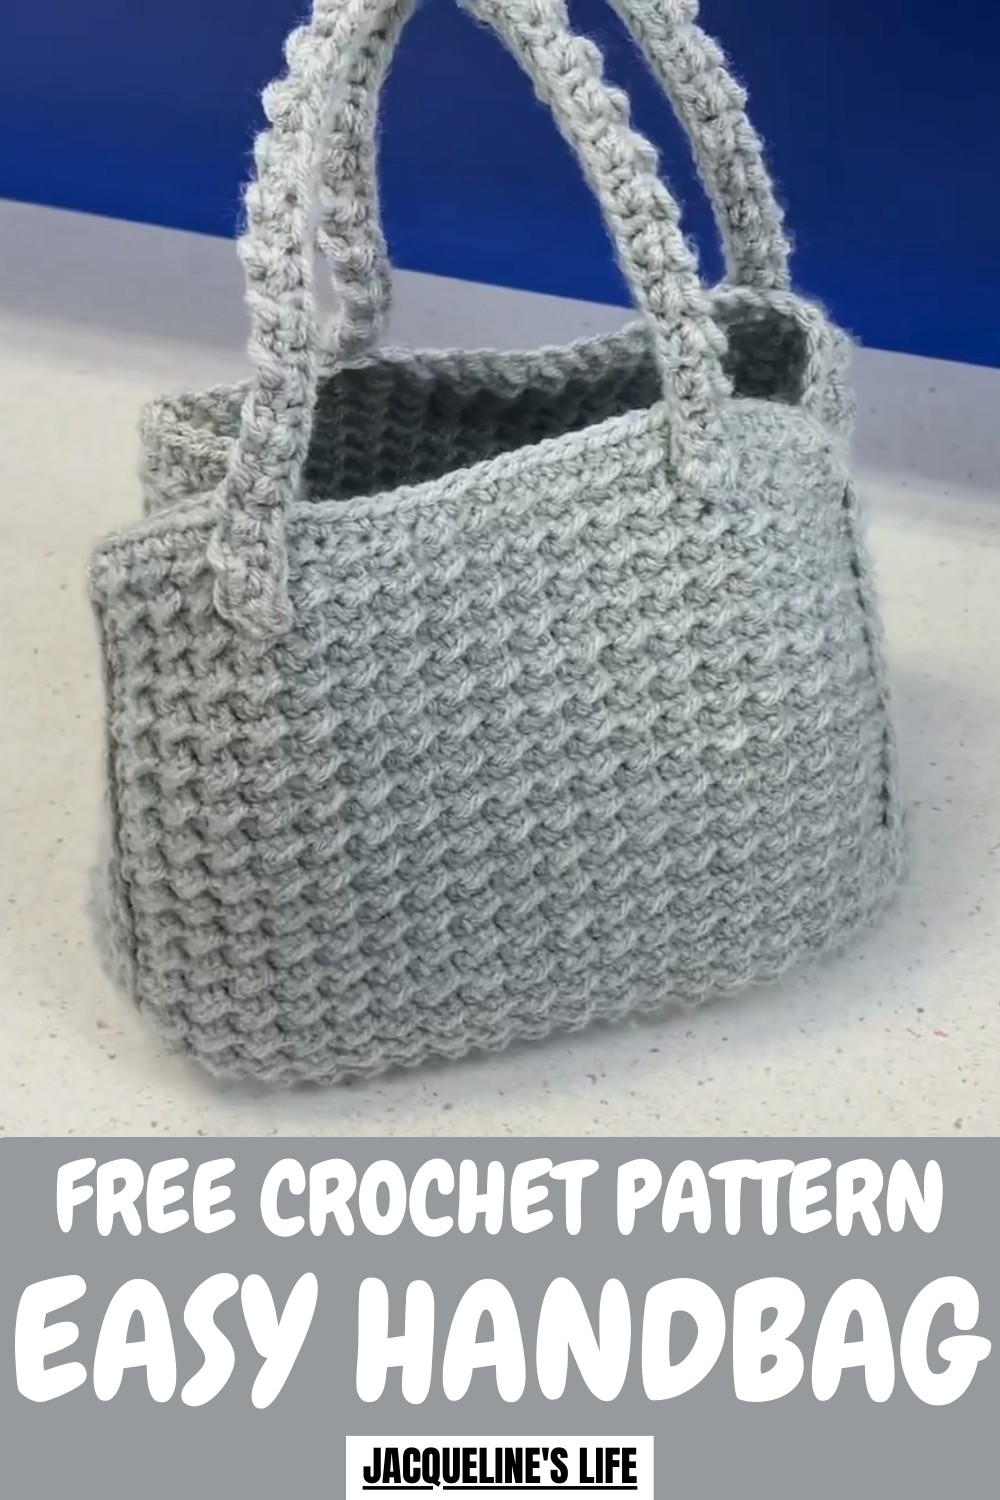
Make a stylish accessory with this Free crochet Handbag Pattern, suitable for all skill levels and perfect for casual use or special gift needs today.
A handmade yarn bag adds charm and function to everyday use while keeping the process relaxed and enjoyable. This style of project focuses on structure, durability, and visual balance, making it suitable for daily essentials such as a phone, keys, or small wallet. It appeals to anyone who enjoys practical crochet pieces that also feel personal and stylish.
Trendy Crochet Handbag Pattern That Turns Heads
The pattern keeps things clear and approachable, allowing beginners to feel comfortable while giving experienced crocheters room to adjust size, texture, or color. Yarn choice plays a big role, offering options from soft and flexible to firm and supportive. The finished handbag works well for casual outings, light shopping, or thoughtful handmade gifts. Beyond appearance, it helps build confidence, consistency, and a sense of accomplishment. The result is a reusable accessory that fits modern needs while showcasing the warmth and character of handmade crochet.
How to Crochet a Crunch Stitch Handbag – Step-by-Step Guide
Materials Used
- Yarn:
- Caron One Pound Yarn in the shade Soft Gray Mix.
- The bag requires approximately ¼ of this yarn size, depending on its dimensions.
- Tools:
- 5mm crochet hook.
- Threading needle.
- Scissors.
- Optional Extras:
- Extra yarn/thread for securing the handles or adding decorative elements.
Uses for the Crocheted Handbag
- Daily Use: The bag is spacious and sturdy, making it functional for carrying everyday essentials.
- Crochet Organizing: Use it to store and transport small crochet tools and materials.
- Gift Idea: This handcrafted bag is a thoughtful gift for friends or family.
- Customizable Accessory: Adjust the size, color, or shape to suit specific needs and tastes.
Special Features
- Crunch Stitch Design: The handbag showcases a textured crunch stitch, adding dimension and style.
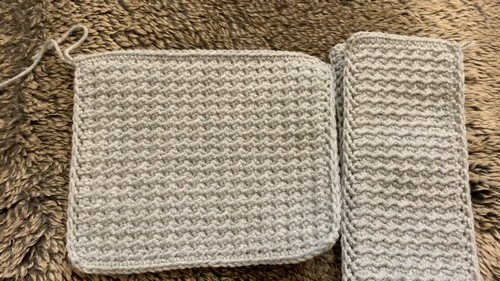
- Structural Simplicity: The bag comprises two square panels, a rectangular middle section, and two handles, making it easy to assemble.
- Customizable Size: Adjust the chain count or the number of rows to create a bag of any size, from petite purses to larger totes.
- Sturdy Handles: The tutorial ensures secure handles for durability and long-term use.
- Convertible Edges: Option to tie yarn at strategic points inside the bag to make the edges curve for a more structured look.
Level of Difficulty
Beginner-Friendly
- Beginners can easily master the crunch stitch following clear, step-by-step instructions provided.
- Intermediate crocheters can experiment with different stitch patterns or embellishments to make the design more advanced.
- Basic sewing techniques required for assembling the bag and adding handles.
Tutor’s Suggestions
- Use Odd Stitch Counts: When working the crunch stitch, always chain an odd number for proper alignment.
- Pre-Measure Middle Panel: Instead of focusing on a strict stitch count, measure your rectangle against the square panels to ensure it fits properly.
- Work Loose for Edging: Avoid tightening single crochets on the edge, as this can cause the bag to scrunch awkwardly.
- Customize the Bag’s Shape: Adjust the handle length and middle panel width depending on desired bag size and purpose.
- Secure Proper Placement: Space the handles three rows apart to ensure even alignment and balance.
- Reinforce Tied Curved Edges: If you prefer curved edges on the bag, tie yarn tightly and secure it firmly to avoid future unraveling.
Step-by-Step Instructions
Step 1: Make the Square Panels
- Create the Crunch Stitch:
- Chain an odd number of stitches; in this tutorial, the creator chains 37 stitches.
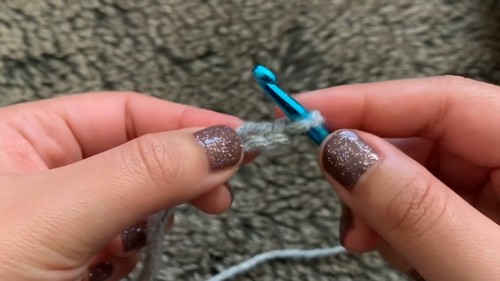
- Begin by slip stitching into the third chain.
- Continue with a half-double crochet (HDC) into the next chain, alternating between slip stitches and HDC until the row is complete.

- Chain an odd number of stitches; in this tutorial, the creator chains 37 stitches.
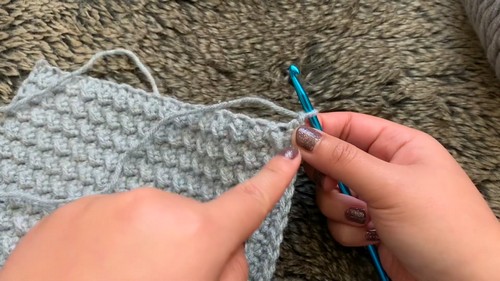
- Repeat the Crunch Stitch Across Rows:
- Chain two at the beginning of each row, turn your work, and repeat the crunch stitch pattern.
- Always slip stitch above the diagonal line from the previous row.
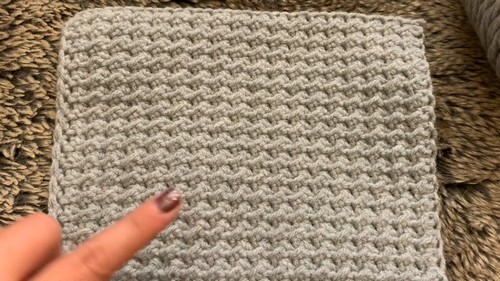
- Complete 16 rows using the crunch stitch to create one panel. Make two identical square panels.
- Add Single Crochet Edging:
- Chain one and single crochet loosely along the edges of each panel to neaten the design.
- Avoid tightening the stitches to prevent scrunching.
- Chain one and single crochet loosely along the edges of each panel to neaten the design.
Step 2: Make the Middle Panel
- Start the Rectangular Middle Panel:
- Begin with a chain of 17 for the rectangle. Adjust chain length depending on desired bag width, ensuring it’s an odd number.
- Begin with a chain of 17 for the rectangle. Adjust chain length depending on desired bag width, ensuring it’s an odd number.
- Work the Crunch Stitch:
- Repeat the same crunch stitch steps described for the square panels.
- Continue working 50 rows (or enough rows to match the width of both square panels).
Step 3: Make the Handles
- Create Chains for First Handle:
- Start with a chain of 55 for shorter handles, adding more chains for longer straps.
- Work Three Rows of Crunch Stitch:
- Use the same slip stitch and half-double crochet combination to complete three rows for each handle. For thicker handles, crochet additional rows.
- Close the Handle Edges:
- Fold the handle and use slip stitches to join the edges for reinforcement.
Step 4: Assemble the Bag
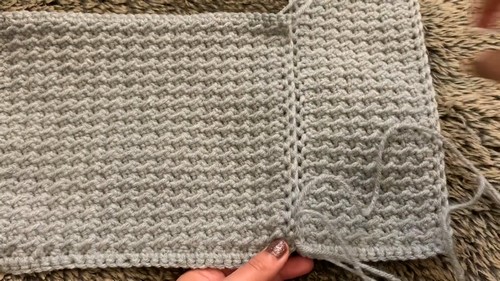
- Join the Panels with Mattress Stitch:
- Position the panels so the desired side faces outward (the textured side).
- Use a threading needle and yarn to sew the edges of the panels and middle rectangle together. Match the stitches carefully to ensure a neat seam.
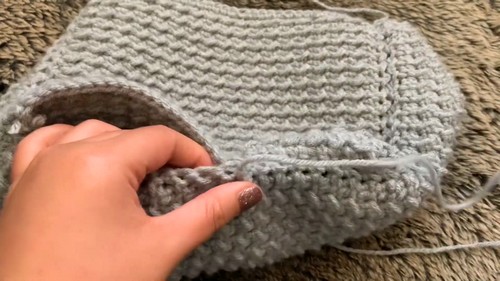
- Attach the Handles:
- Secure the handles by sewing them to the top edge of the bag. Space the handles around three rows from the top.
- For handles without excess yarn, add additional yarn to attach them firmly.
Step 5: Adjust the Bag Design
- Curve the Edges (Optional):
- Tie yarn between opposite sides of the bag to create a curved inward design.
- Adjust the tightness of the tie to achieve a sharper curve if desired.
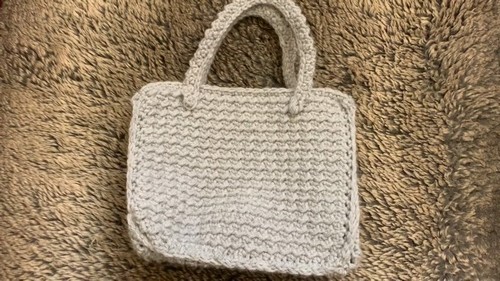
Conclusion
Your handmade crunch stitch handbag is complete! This bag is functional, versatile, and stylish, whether used for carrying crochet supplies, daily essentials, or as a gift. Its simple construction makes it easy to modify for different sizes, colors, or purposes. The crunch stitch adds a textured and polished appearance, turning this practical project into a fashionable accessory.
Pro Tip
If you want increased durability, consider crocheting a lining or insert a fabric lining to reinforce the bag’s interior. This will make it sturdier for heavier items and extend its longevity.


