
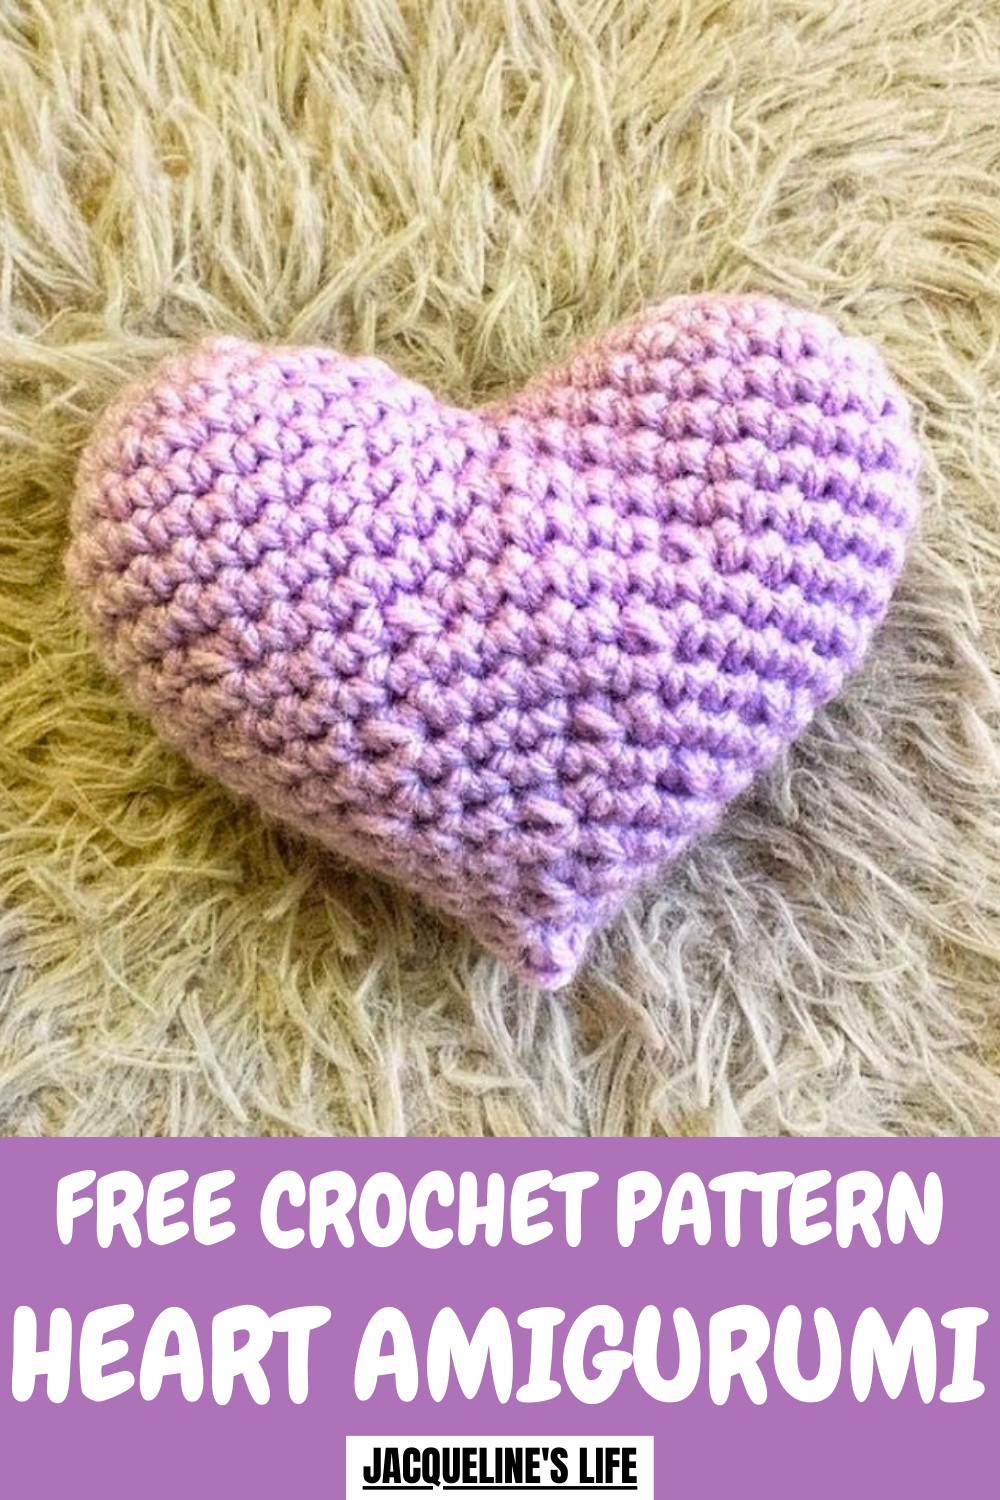
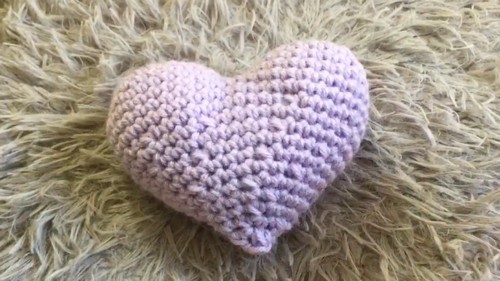
Share the love with this Free Crochet Heart Amigurumi Pattern, perfect for adding a sweet touch to décor, gifts, or cute collectibles.
Small handmade creations have a way of spreading warmth and charm, turning simple gestures into meaningful moments. The Crochet Heart Amigurumi Pattern offers a delightful way to craft a soft, lovable keepsake that can be used as a gift, decoration, or token of affection. Its compact size makes it perfect for keychains, bag charms, or shelf décor, adding a touch of sweetness wherever it is placed.
Cute Crochet Heart Amigurumi Pattern for Cozy Décor
Handmade crochet items are more durable and personal than mass-produced alternatives, carrying a sense of care and uniqueness in every stitch. Working on this pattern is also a relaxing and rewarding experience, helping to improve crochet skills while creating something tangible and heartfelt.
Beyond personal enjoyment, these amigurumi hearts serve as thoughtful presents that convey love and attention. With its soft texture, charming design, and versatile use, this heart combines creativity, sentiment, and practicality in a single, delightful creation.
How to Crochet a Heart – Step-by-Step Guide
Materials Needed
To crochet the heart, gather the following materials:
- Yarn: "One Pound" yarn (specific color unspecified, but any yarn of your choice fits the project).
- 5.5 mm Crochet Hook: The tutor’s favorite hook size, though any hook size can work depending on your yarn and tension.
- Stitch Marker: Helps keep track of your rounds.
- Scissors: For cutting yarn ends.
- Fiberfill or Pillow Stuffing: For filling the heart to give it shape.
Uses
- Decorative Item: Perfect for home decorations, like cushions or shelf ornaments.
- Gift: Ideal as a handmade present for loved ones during Valentine’s Day or other special occasions.
- Customizable Shape: Adjustable for a larger or tighter final design depending on your skills or preferences.
Special Features
- Customizable Design: Option to adjust round lengths for bigger or smaller hearts.
- Stuffed Body: Filled with fiberfill for a fuller three-dimensional effect.
- Straightforward Technique: Uses basic crochet methods like single crochet, magic circle, increases, and decreases.
- Beginner-Friendly Pattern: While filling and joining may slightly challenge newcomers, most steps are standard and easy to follow.
Level of Difficulty
This project is beginner-friendly for simple techniques, such as forming single crochets, increases, and decreases over repeated rounds. However, joining the heart halves may pose a slight challenge for newcomers. Intermediate crocheters may complete the project with ease.
Step-by-Step Instructions
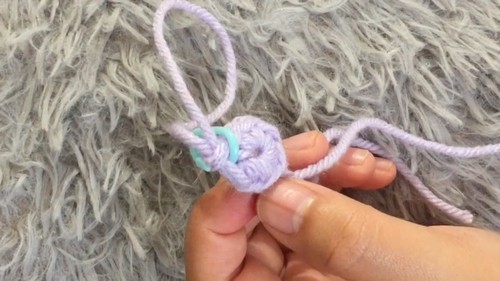
1. Starting with Round 1 – Making the Magic Circle
- Begin by forming a magic circle (refer to the tutor’s separate video for a demonstration).
- Chain two stitches and single crochet six times into the circle.
- Pull the loop tightly to close the circle. This forms your initial base for the heart.
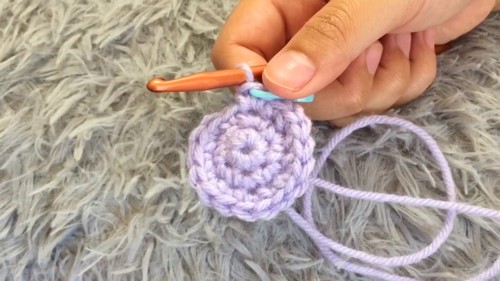
2. Round 2 – Increasing Stitches
- Perform increases all the way around to end up with 12 stitches in total.
- Increase Method: Single crochet twice into each stitch for this round.
3. Round 3 – Expanding with Single Crochet + Increases
- Single crochet into the next stitch, then make an increase (two single crochets into the same stitch).
- Repeat this process until you have 18 stitches in total for the round.
4. Round 4 – Expanding Further
- Single crochet into the next two stitches, then create an increase.
- Repeat this sequence until you end with 24 stitches in total.
5. Round 5 – Single Crochet Around
- Simply single crochet into each stitch around.
- You will still have 24 stitches after completing this round.
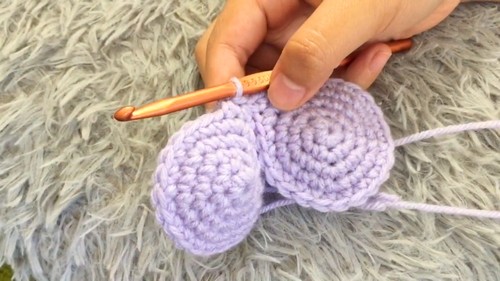
Note: This completes one half of the heart. Create two identical pieces. For the second half, follow rounds 1-5 in the same way.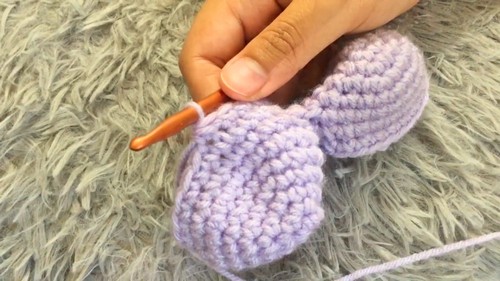
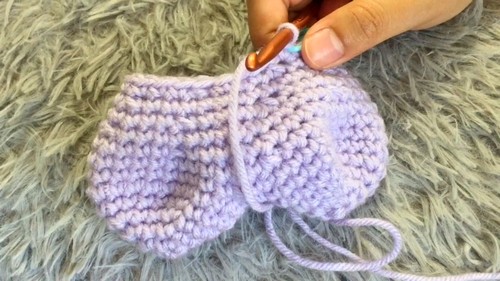
6. Joining the Two Heart Pieces
- Take the two completed halves. Hold them together and join the second piece to the last single crochet from the first piece (not the slip stitch).
- Insert your hook into the last stitch of the first half, pull yarn through both layers, and slip stitch to join.
- Single crochet around each piece, ensuring proper alignment. For this first combined round, you will end up with 48 stitches.
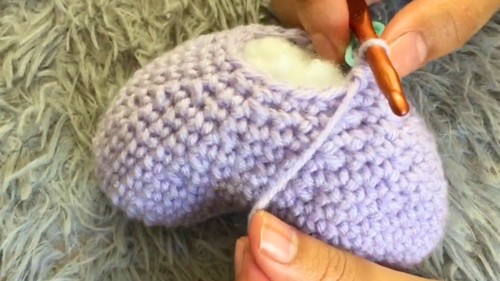
7. Adding Fiberfill and Working on Decreases
- Continue the following rounds to reduce stitches and form the heart shape:
Round 4:
- Single crochet into the next 5 stitches, then decrease.
- Single crochet into the next 10 stitches, then decrease.
- Repeat this three times, then finish with 5 single crochets.
- End with 44 stitches.
Round 5:
- Single crochet 9 stitches, then decrease.
- Continue this process all around.
- End with 40 stitches.
Round 6:
- Single crochet into the next 4 stitches, then decrease.
- Single crochet into the next 8 stitches, then decrease.
- Repeat this process three times, then finish with the last 4 single crochets.
- End with 36 stitches.
Round 7:
- Single crochet into the next 7 stitches, then decrease.
- Repeat this process all around the heart.
- End with 32 stitches.
- End with 32 stitches.
Round 8:
- Single crochet into the next 3 stitches, then decrease.
- Single crochet into the next 6 stitches, then decrease.
- Repeat this cycle three times, then finish with 3 single crochets.
- End with 28 stitches.
Round 9:
- Single crochet into the next 5 stitches, then decrease all around.
- End with 24 stitches.
- Stuff the heart with fiberfill at this stage if desired.
Round 10:
- Single crochet into the next 2 stitches, then decrease.
- Single crochet into the next 4 stitches, then decrease.
- Repeat for all stitches until 20 stitches remain.
Round 11-14 – Final Rounds:
- Continue decreasing through repeated rounds.
- Round 14 (Final): Perform 4 decreases, secure the end, and weave in excess yarn. Push it inside the heart for a clean look.
Tutor’s Suggestions
- Use the magic circle method for the base. Skip the chain-two alternative if you dislike its look.
- Be patient when joining the two pieces together; it can feel tricky but improves with practice.
- Stuff during the later rounds for better control while working.
- Avoid overstuffing, as it can distort the shape.
Conclusion
You’ve successfully crocheted a heart! This Pinterest-inspired design is simple yet elegant. Although the joining and decreasing process may be slightly difficult for beginners, the repetitive nature of the pattern helps build confidence. Stuffing provides the heart with fullness, and the finished product is highly versatile. It’s perfect for gifting or decorative purposes, showcasing your crochet skills.
Pro Tip
To avoid visible gaps when filling the heart, crochet tightly and maintain consistent tension throughout. The cleaner the stitches, the better your final product will look.


