
Spruce up your spring decor with this Crochet Easter Eggs Pattern that's perfect for colorful displays, festive vibes, and seasonal accents.
Enhancing a sense of seasonal grace within your home becomes effortless when you utilize a Crochet Easter Eggs Pattern to design a delicate, egg-shaped ornament that captures the essence of springtime renewal. This elegant piece serves as a sophisticated centerpiece for a festive table or a charming addition to a mantle display, radiating a soft, cozy texture that store-bought decorations simply cannot replicate.
Colorful Crochet Easter Eggs Pattern That Brings Festive Cheer

Engaging with this design offers the wonderful benefit of using up scrap yarn while producing a durable, heirloom-quality decoration that lasts for years. This project currently trends for its meditative simplicity, utilizing smooth single crochet rounds and rhythmic increases to achieve a perfectly symmetrical form.

Because it requires very little time, you quickly produce a diverse collection of colorful eggs, making it a joyful and productive way to celebrate the holiday with a personalized, high-end touch. The overall look is one of timeless beauty, where intricate textures and pastel hues merge to form a masterpiece that feels both modern and nostalgic.
Step-by-Step Details
- Materials and Setup
- Recommended materials: Serenity Garden yarn by Premier Yarns (self-striping for unique color patterns) or worsted weight yarn for clearer visualization.
- Crochet hooks: The tutor used an F-size hook (3.75 mm) for smaller eggs and an H-size hook for larger ones.
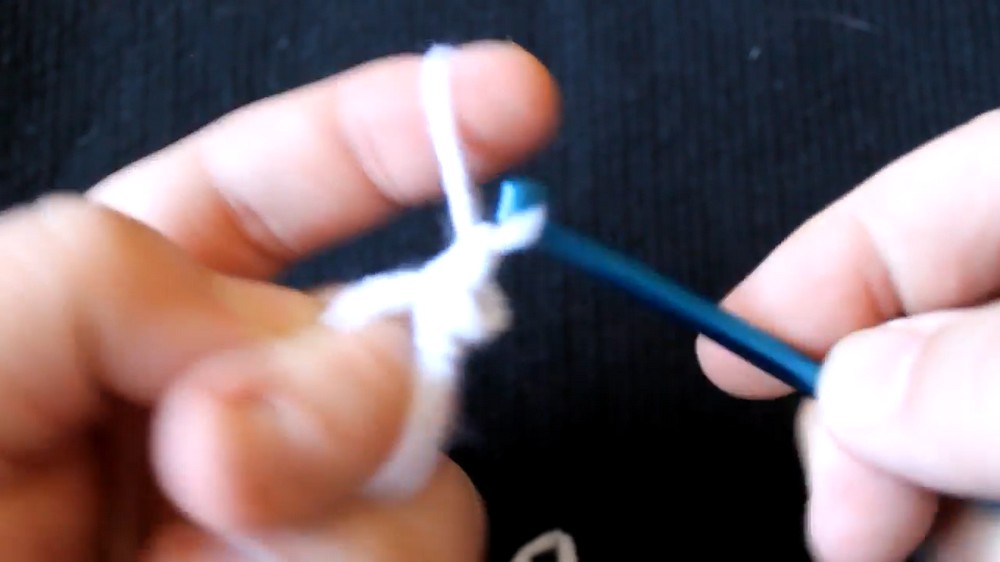
- Creating the Base (Magic Ring)
- Begin by creating a magic ring. Wrap yarn loosely twice around your middle finger, insert the hook, yarn over, pull through, and chain one to secure the ring.
- Crochet six single stitches into the ring and tightly close it by pulling the yarn tail.
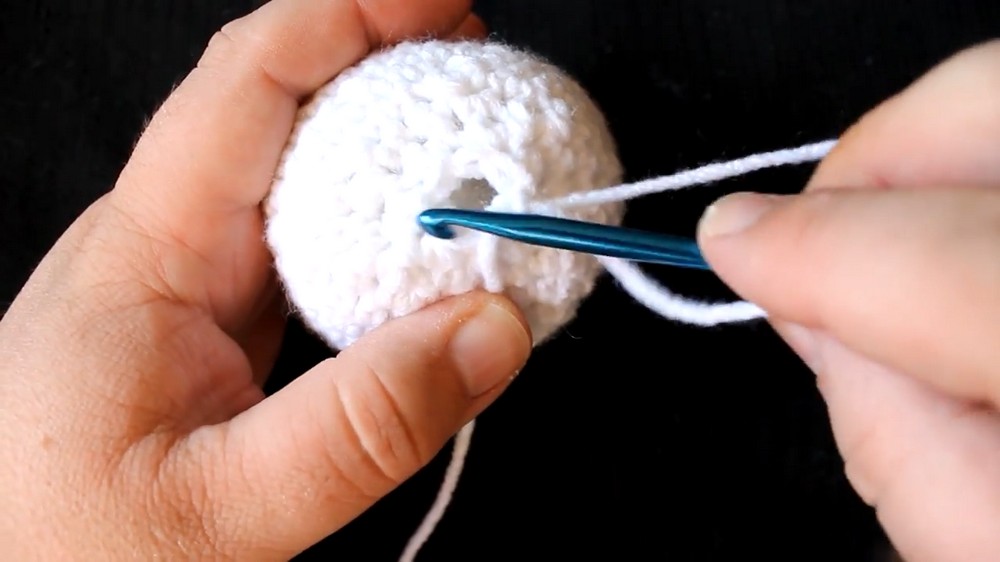
- Building the Structure
- Round 2: Increase by crocheting two single stitches in each of the six stitches, resulting in 12 stitches.
- Round 3 onwards: Alternate between single stitches and increases—gradually increasing the number of single stitches in between rounds (e.g., Single Crochet 1 + Increase, Single Crochet 2 + Increase, etc.).
- Offset increases in later rounds to avoid visible lines in the pattern.

- Shaping the Egg
- Rows 9–14: Continue evenly crocheting single stitches without increasing.
- Begin decreasing from Row 15 onwards. Decrease evenly spaced stitches in each round (three per round initially, then six). Offset decreases to keep the design seamless.
- After reaching a smaller count (e.g., 12 stitches in a round), stuff the egg with fiberfill stuffing or alternatives like excess yarn trimmings or plastic bags if making cat toys.

- Closing the Egg
- Perform decreases steadily in the final round until the hole tightens.
- Slip stitch, cut the yarn, and sew the remaining gap closed with the yarn tail.
Special Features
- Self-striping yarn: This eliminates the need to switch colors in each round, ensuring every egg has unique and vibrant patterns effortlessly.
- Different sizes: Experimenting with varied yarn weights and crochet hooks creates eggs of different dimensions.
- Customizable stuffing: Use fiberfill, fabric scraps, or plastic bags based on intended uses (e.g., as cat toys or decorative pieces).
Level of Difficulty
This project is beginner-friendly with clear step-by-step guidance. The use of simple stitches, increases, and decreases ensures accessibility for newer crocheters, while the seamless detailing adds finesse for experienced individuals.
Tutor’s Suggestions
- Use self-striping yarn to achieve colorful eggs without repeatedly changing yarn colors.
- Offset increases and decreases to avoid visible lines in the design.
- Use stitch markers if working in a continuous pattern rather than joining rows.
- Recycle materials (e.g., scrap yarn or bags) for eco-friendly stuffing.
Uses
- Create charming Easter centerpieces by placing eggs in a crochet bowl.
- Use as gift embellishments during spring celebrations.
- Customize them into cat toys by filling them with crinkly materials.
- Decorate homes or classrooms with creative seasonal ornaments.
Tip
When stuffing the egg, ensure even distribution of fiberfill to maintain its smooth and rounded shape. Tighten stitches in the final rows to achieve a polished and sturdy finish.
Conclusion
This pattern provides a delightful opportunity to crochet unique Easter eggs using simple techniques. Whether used for décor, gifting, or crocheting purposes, the eggs embody creativity and festivity. With options for size, pattern variation, and stuffing materials, this project is enjoyable, versatile, and perfect for celebrating spring!


