
Hop into cuteness with this Free Crochet Desk Bunny Amigurumi Pattern, adding charm to your desk, décor, or playful handmade gifts.
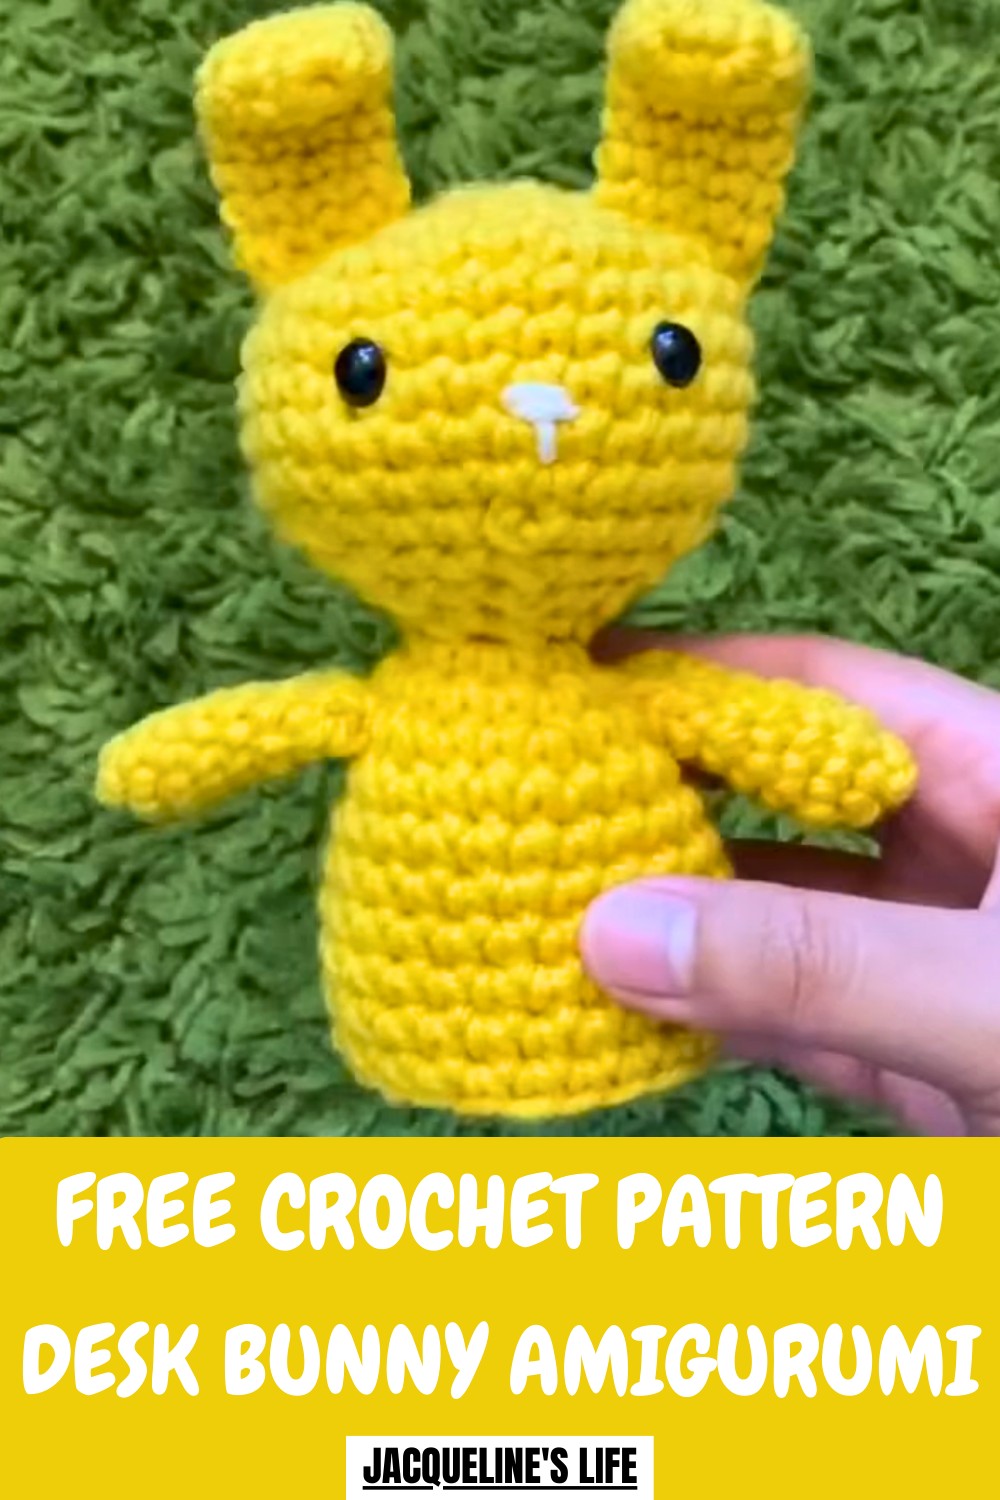
Want a tiny handmade companion that adds warmth and personality to your workspace? Soft stitches and gentle curves give this little bunny a calm, heart-warming presence, perfect for desks and shelves. Long ears, a rounded body, and neat details create an overall look that is cute without being overwhelming. The Crochet Desk Bunny Amigurumi Pattern showcases a simple yet charming figure that fits both playful and minimal décor styles.
Whimsical Crochet Desk Bunny Amigurumi Pattern for Fun Décor
Its beauty lies in balanced proportions and soft, clean lines, making it visually appealing from every angle. This miniature bunny makes a sweet desk companion, a thoughtful gift, or a collectible keepsake.
One key benefit is the cozy, cheerful vibe it brings to any space. Overall, it blends visual charm, practical display use, and lasting appeal, resulting in a delightful handmade figure that feels comforting, decorative, and memorable.
How to Crochet a Cute Bunny – Step-by-Step Guide
Materials Used
To crochet this bunny, you will need the following materials:
- Yarn:
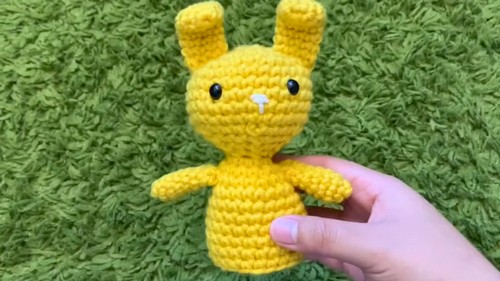
- Main Color: A 1-pound yarn in white (or any color of your choice). In the video, the creator uses a sunflower yellow yarn due to running out of white.
- Nose Color: A pinkish shade works well for the bunny's nose.
- Hooks:
- 5.5mm Hook: For the head and body.
- 4.25mm Hook: For smaller parts like the arms and ears.
- Additional Supplies:
- Safety Eyes: For the bunny's eyes.
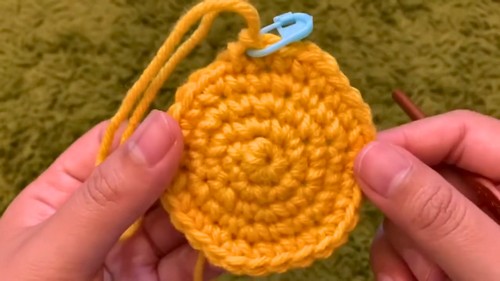
- Stitch Marker: To mark the end of each round.
- Threaded Needle: For sewing on the nose and parts.
- Polyester Stuffing: To fill the bunny.
- Hot Glue Gun (Optional): Can help secure parts quickly.
- Scissors: To cut excess yarn.
Uses for the Crocheted Bunny
- Decorative Piece: Use the crocheted bunny to add charm to your desk, shelf, or nursery.
- Gift Option: The handmade bunny makes an excellent gift for Easter, birthdays, or baby showers.
- Skill-Building: Great practice for creating amigurumi designs using magic circles, increases, and decreases.
- Cute Keepsake: A nostalgic handmade toy to cherish or display.
Special Features
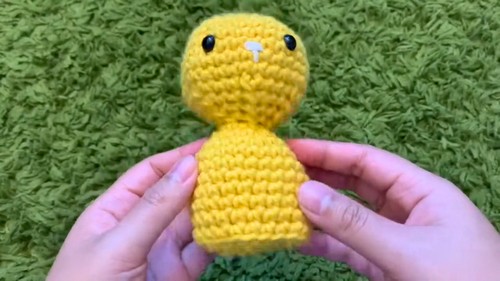
- Seamless Design: The bunny's head and body are crocheted as one connected piece, eliminating the need for sewing them together.
- Customizable Pattern: You can easily adjust the size of the ears, arms, or body based on personal preference.
- Cute Accessories: The bunny includes adorable features like a pink sewn nose and floppy ears.
- Sitting Bunny Look: No feet are added, making it easy to use the bunny as a sitting decoration on desks or shelves.
Level of Difficulty
Beginner to Intermediate
- The pattern is simple, but small parts like the arms and ears can be tricky to handle for beginners.
- Techniques include magic circle, single crochets, increases, decreases (invisible and normal), and assembly of parts.
- Beginners may find it challenging to place and join the arms and ears precisely, but the project remains manageable with practice.
Tutor’s Suggestions
The creator provides insightful tips to make the process smooth and enjoyable:
- Be Patient with Small Rounds: Working in small rounds (like arms and ears) can be tricky; go slowly, and tug gently on the yarn to tighten stitches.
- Mark Your Rounds: Use a stitch marker to keep track of where each round ends and prevent mistakes in stitch count.
- Use the Correct Hook Sizes: Use 4.25mm for smaller parts like arms and ears for better proportions.
- Adjust the Body Length: Add more single crochet rows to create a longer body if preferred.
- Secure Safety Eyes Before Stuffing: Place your safety eyes and sew the nose before stuffing the head for easier handling.
- Stuff Moderately: Fill the bunny enough for it to hold its shape, but avoid overstuffing, which might distort the design.
Step-by-Step Instructions
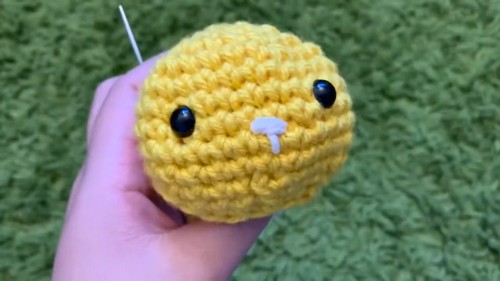
Part 1: Bunny’s Head
- Create the Head Using a Magic Circle
- Use a 5.5mm hook and yellow yarn (or the chosen main color).
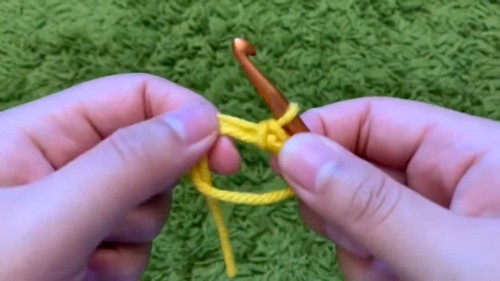
- Round 1: Start with a magic circle, and create 6 single crochets (SC). Slip stitch to close the round.
- Use a 5.5mm hook and yellow yarn (or the chosen main color).
- Increase Rounds:
- Round 2: Increase in every stitch (2 SC in each), ending with 12 stitches.
- Round 3: Alternate 1 SC and 1 increase to get 18 stitches.
- Round 4: Alternate 2 SC and 1 increase to get 24 stitches.
- Round 5: Alternate 3 SC and 1 increase to get 30 stitches.
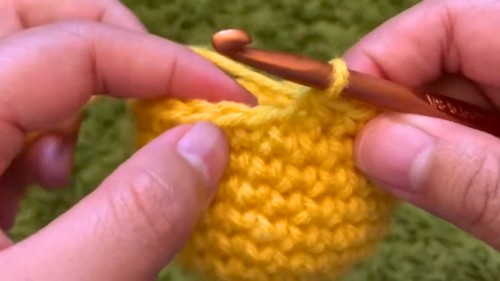
- Shape the Face (Rounds 6–10): SC into each stitch around, maintaining 30 stitches.
- Decrease Rounds (Rounds 11–14):
- Round 11: Start with an invisible decrease, followed by 3 SC. Repeat until there are 24 stitches.
- Round 12: Decrease and work 2 SC for each repeat. End with 18 stitches.
- Round 13: Use invisible decreases alternated with 1 SC, leaving 12 stitches.
- Round 14: Finish off by decreasing in each stitch until 6 stitches remain.
- Add Facial Features:
- Before completing the head, attach the safety eyes and sew a nose using a threaded needle and pink yarn in a “T” shape.
- Stuff the head with polyester filling, then seal the round with decreases.
Part 2: Bunny’s Body
- Continue from the Head to the Body:
- Round 15: Increase in every stitch from the remaining 6 stitches to get 12 stitches in total.
- Round 16: Alternate an increase and 1 SC to get 18 stitches.
- Round 17 (last increase round): Alternate 2 SC and 1 increase to get 24 stitches.
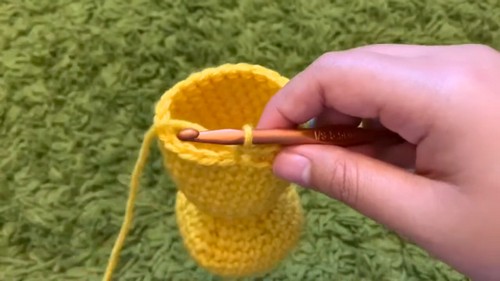
- Add Length to Body (Rounds 18–24):
- SC in every stitch for 6 rows (or more, depending on desired body size).
- Closing the Body:
- Round 25: Decrease in the back loops only, alternating with 2 SC, ending with 18 stitches.
- Round 26: Perform normal decreases, alternating with 1 SC, leaving 12 stitches.
- Continue decreasing until the body closes off. Secure and tuck the excess yarn inside.
- Round 25: Decrease in the back loops only, alternating with 2 SC, ending with 18 stitches.
Part 3: Ears and Arms
- Ears and Arms (Same Pattern; Different Lengths):
- Use a 4.25mm hook for the smaller parts.
- Round 1: Create a magic circle, and SC 4-6 times into the circle. Slip stitch to close.
- Round 2: Increase in each stitch, ending with 8–12 stitches depending on starting size.
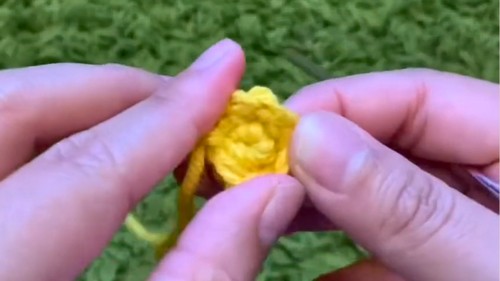
- Rounds 3–7: SC in every stitch to build length and shape. For ears, extend to 9 rows instead (or longer if preferred).
- Once finished, leave a long tail for sewing and attach the arms and ears to the body and head as desired.
Conclusion
Congratulations! You’ve now created your very own crocheted bunny. This adorable project combines basic crochet stitches and fun techniques for a cute, lovable finished product. With its seamless and customizable design, the bunny is a delightful way to improve your crochet skills while making something truly special. Whether you're using traditional white yarn or experimenting with fun colors like yellow, your bunny is sure to be loved by everyone.
Pro Tip
When attaching the ears and arms, sew slowly and strategically to make sure they are in the right alignment. Use pins to hold the parts in place before sewing to get a symmetrical look, especially for the ears!


