
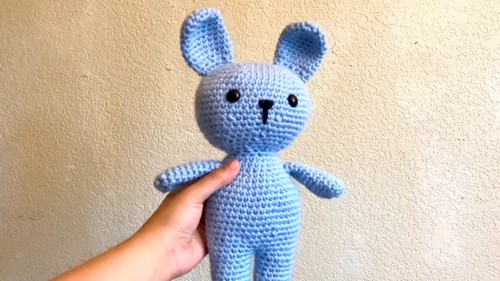
Learn how to make a cute bunny using a free crochet Bunny Amigurumi pattern with simple stitches, perfect for gifts, decor, or personal keepsakes.
This bunny project is a delightful way to make something cute and meaningful for both decorative and gifting purposes. Its softness and adorable features make it a perfect keepsake for kids and adults, bringing charm to any space.
Adorable Crochet Bunny Amigurumi Pattern for Gifting or Décor

How to Crochet a Freehand Bunny
Materials Needed
Here are the materials mentioned in the tutorial:
- Yarn: The type and color depend on your preferences for your bunny.
- Crochet Hook: Make sure it matches your yarn size for clean stitches.
- Stitch Markers: Essential for marking the end of rounds.
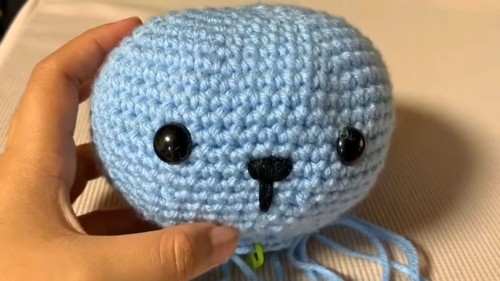
- Safety Eyes and Nose: To give your bunny a finished, adorable look.
- Stuffing: For shaping and filling your bunny.
- Scissors: To cut the yarn during finishing.
- Tapestry Needle: For sewing parts together.
- Optional: Pom-Pom Maker (used for the bunny’s tail).
Special Features of the Bunny
- Completely Freehand: The bunny lacks a strict pattern, letting you adjust sizes and shapes creatively.
- Adorable Finishing Touches: Safety eyes, a pom-pom tail, and meticulously sewn details make the bunny extra special.
- Customization: You can adapt the pattern for tiny or larger bunnies depending on your preferences.
Level of Difficulty
This crochet bunny is beginner-friendly if you are already familiar with basic crochet stitches (e.g., single crochet, magic circle) and techniques like increasing and invisible decreasing. If you’re new to crocheting, practice these skills first before attempting the project.
Tutor’s Suggestions
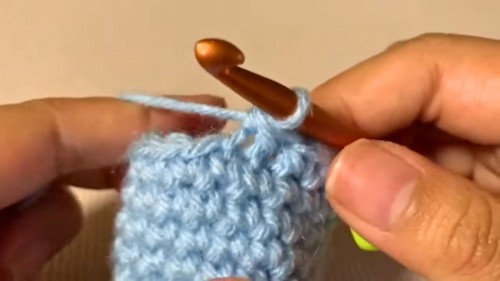
- Use a stitch marker to track your rounds and ensure accuracy.
- Practice invisible decreases for a seamless, polished look.
- Adjust size and shapes as desired—don’t worry about perfection!
- Ensure the bunny is stuffed properly before final assembly to avoid loose parts.
- Modify the length of legs or arms based on personal preference or the person you’re gifting it to.
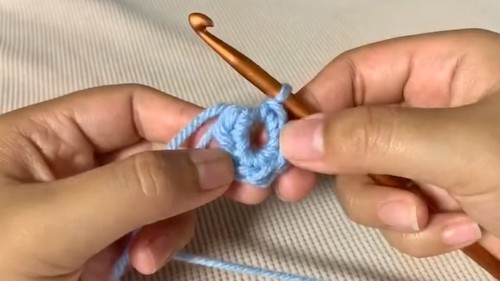
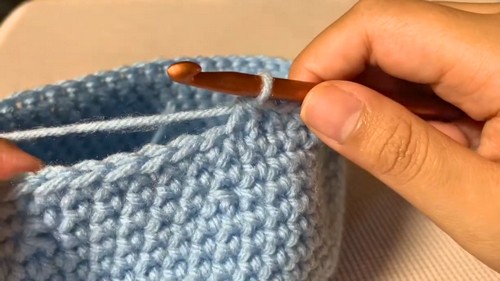
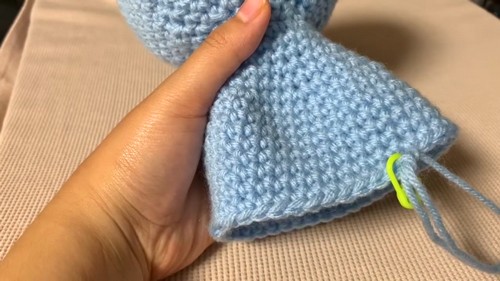
The process involves simple techniques like single crochet, magic circles, and carefully placed increases and decreases, making it approachable for beginners while still allowing room to improve your skills.
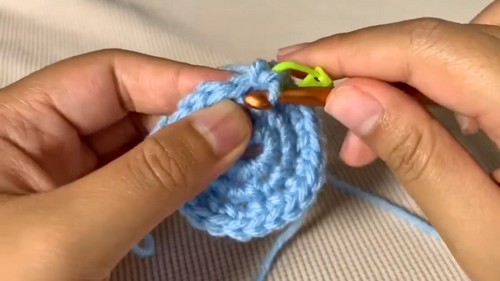
The bunny's structure is built step by step, starting with the head, followed by the body, ears, legs, and arms.
It's stitched together with ease, ensuring a seamless and neat finish. You can further personalize it by adding safety eyes, a fluffy pom-pom tail, and stitching a small nose, giving it a lifelike and unique character.
This project not only gives you a sense of accomplishment but also offers a relaxing and enjoyable experience with every stitch.
Whether you’re gifting it to a loved one or keeping it as a cute decoration for your room, this bunny is a thoughtful choice.

It’s fun to make, budget-friendly, and makes excellent use of leftover yarn, giving you a rewarding and practical reason to pick up your crochet hook.
Conclusion
This crochet bunny project is a fun and creative freehand exercise that allows you to develop or showcase your crocheting skills. By following the detailed steps above, you’ll create a charming bunny with customizable features, perfect as a gift or a heartfelt handmade decoration.
Bonus Tip
For a neat and polished look, practice your magic circle technique and incorporate clean, invisible decreases. These fine details make a big difference in the quality of your finished product!


