
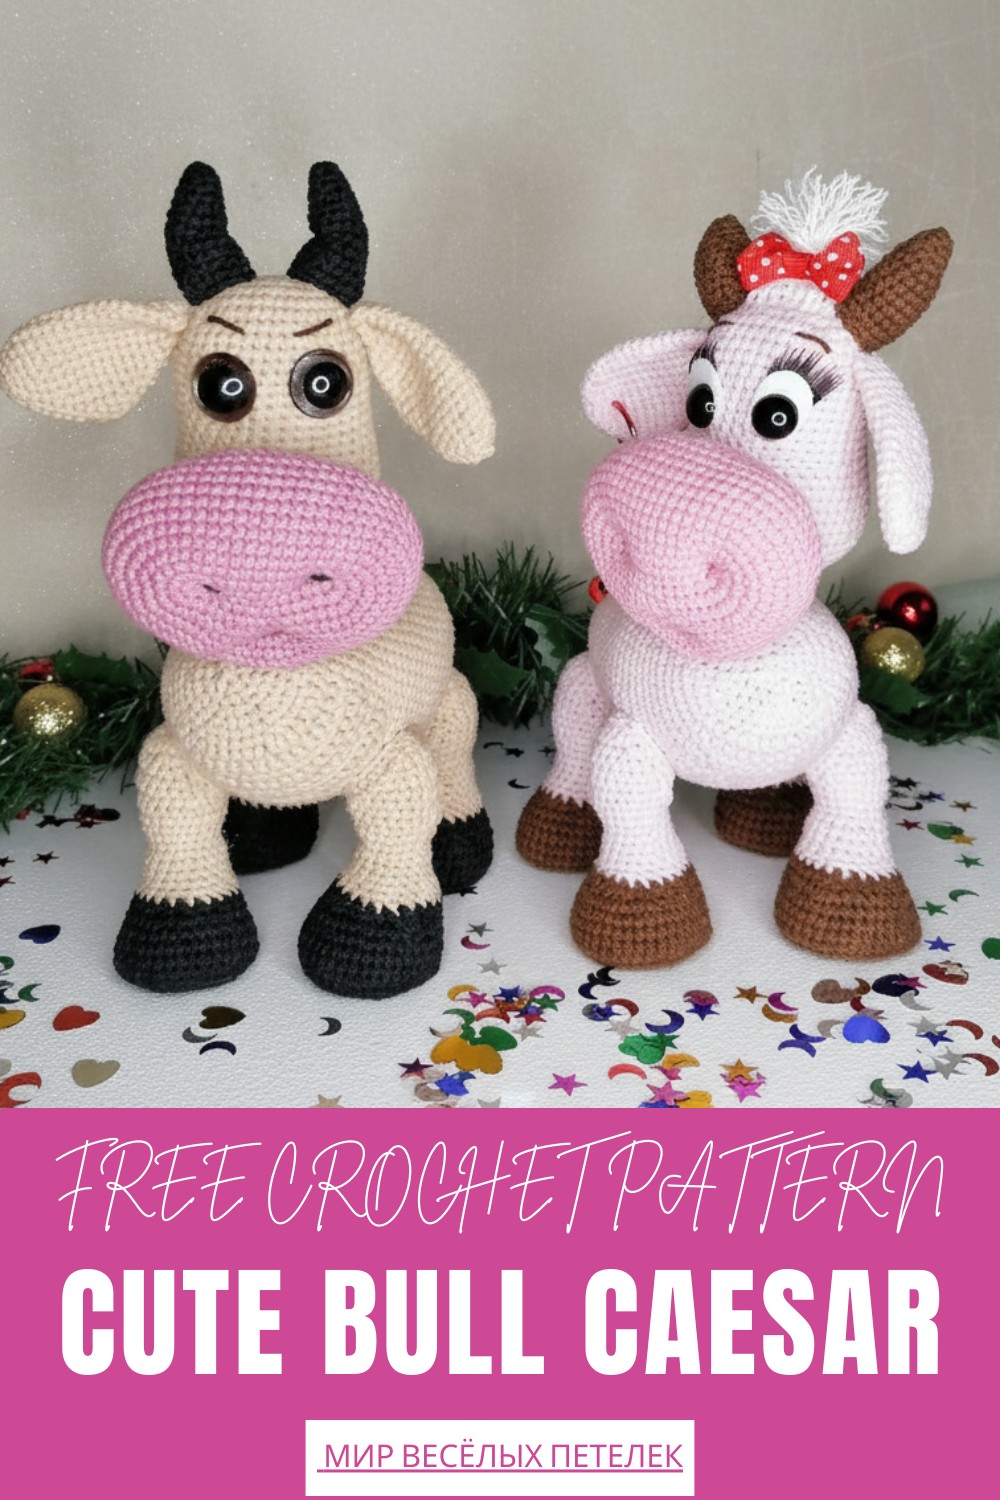
Meet a bold companion with the Free crochet Bull Caesar Pattern, perfect for gifts, decor, or adding a playful and charming accent to your space.
A farmyard charm comes alive with this handmade bull, giving a playful twist to any space. The Crochet Bull Caesar pattern turns simple yarn into a soft yet sturdy figure, complete with a strong body, stout legs, and expressive horns. Its friendly, rounded features make it ideal as a toy for gentle play, a decorative piece on a shelf, or a thoughtful handmade gift that adds personality and warmth to a room.
Cute Crochet Bull Caesar Pattern for Quick Fun
Materials and Tools
Gather these materials and tools to create Caesar:
-
Yarn: Yarnart Jeans (55% cotton, 45% polyacryl).
-
Main Color (e.g., Color 87) - You need one skein.
-
Pink - for the muzzle.
-
Black - for the hooves and horns.
-
Brown - a small amount for the eyebrows.
-
-
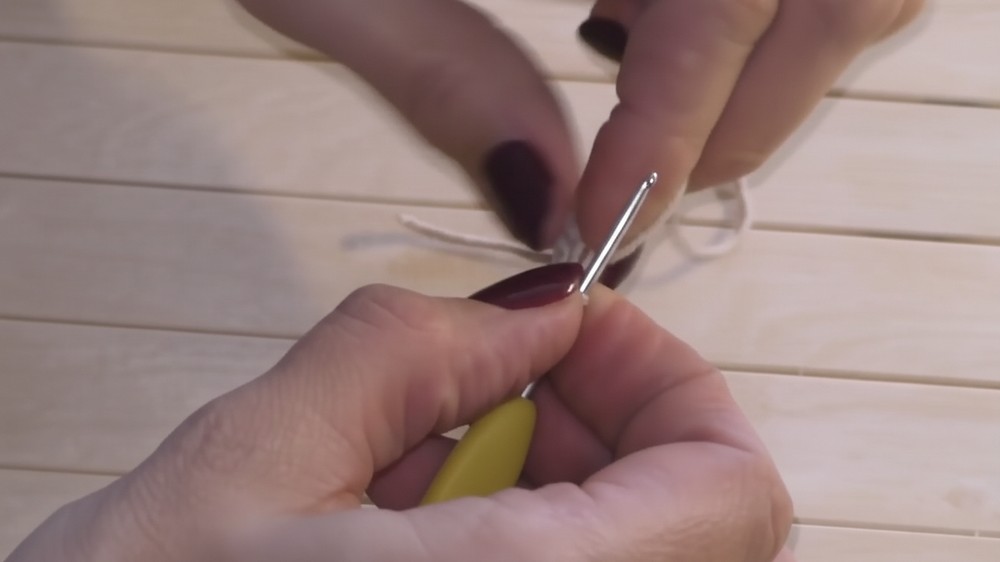
Hook: Crochet hook size 2.
-
Eyes: Safety eyes, 2 cm in diameter.
-
Stuffing: Filler material (synthetic down/poly-fil).
-
Shaping: Thin plastic or sturdy cardboard for four leg soles/insoles.
-
Tools: Large needle, glue, scissors, and a stitch marker.
Uses
You create a finished, sturdy amigurumi toy suitable for display or gentle play.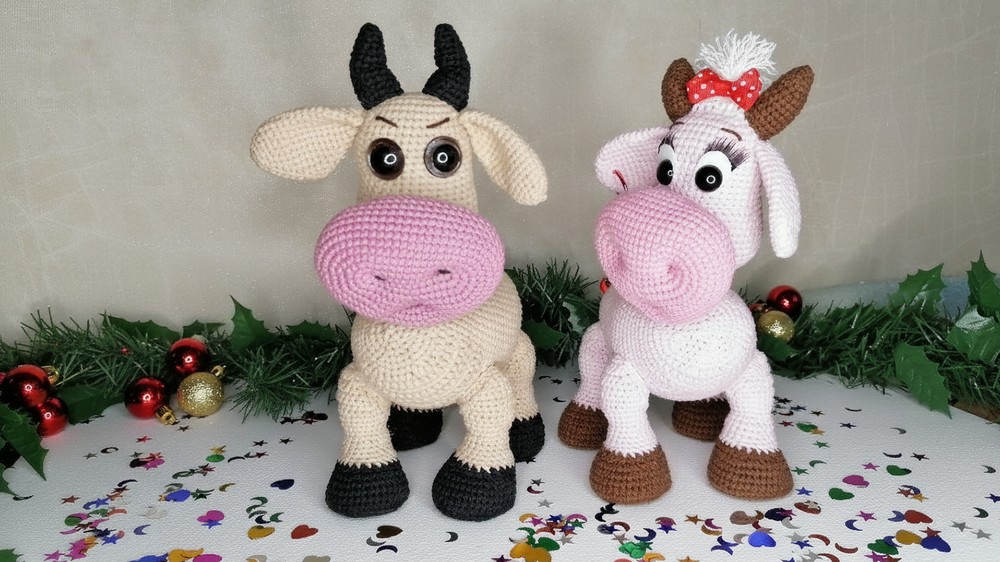
Special Features:
-
Structural Stability: The design incorporates a plastic insert (sole) for each of the four legs, giving the bull a flat, firm base for stable standing.
-
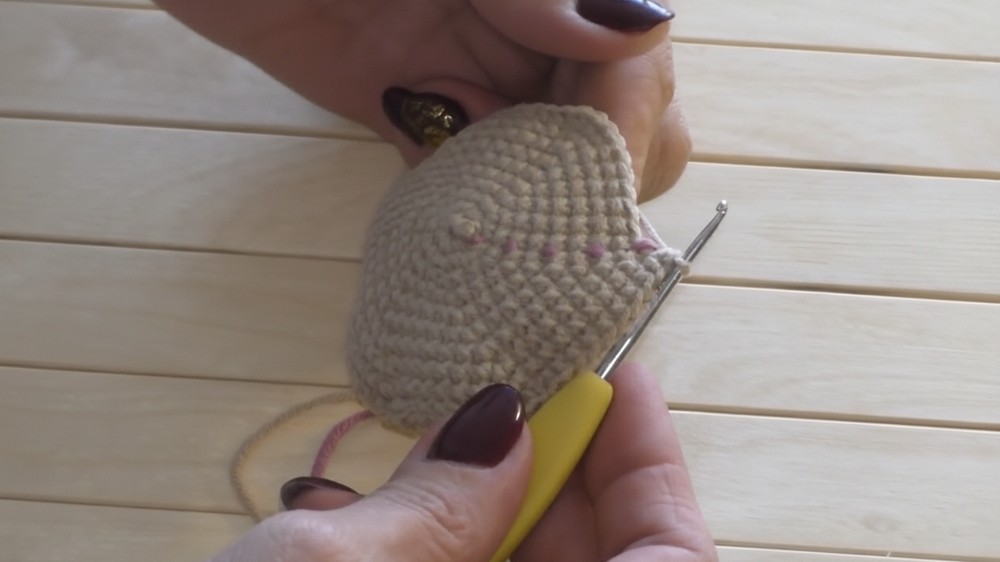
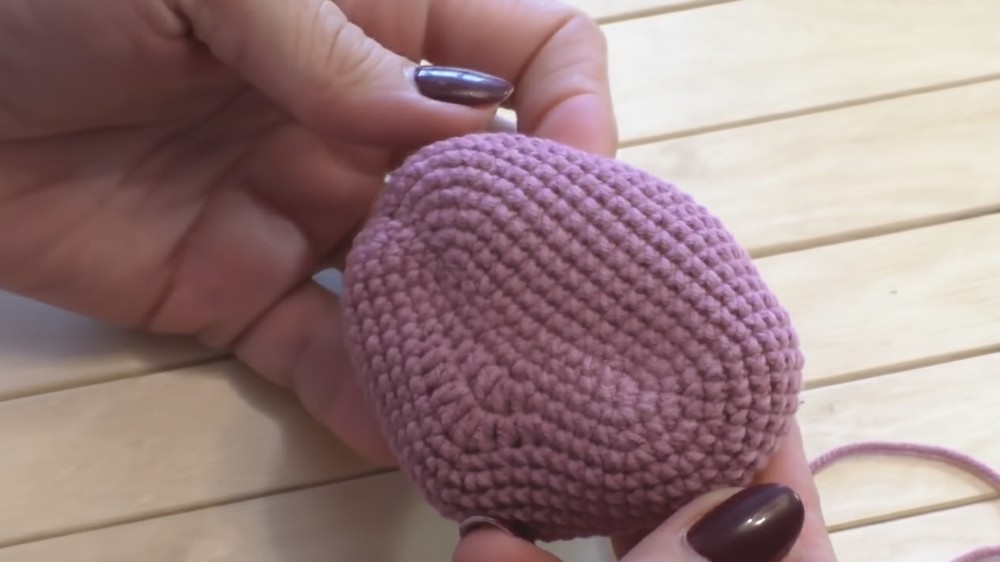
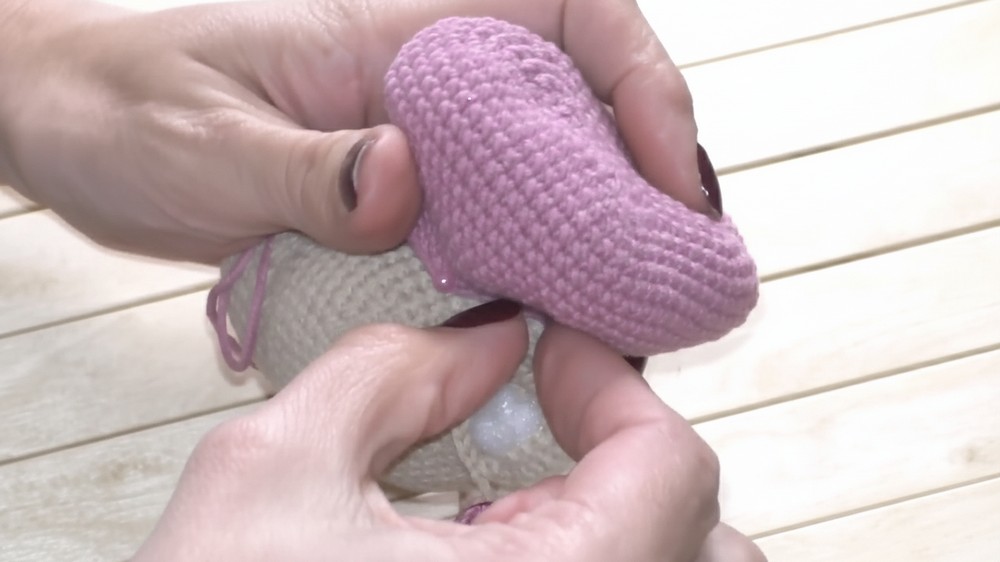
Three-Dimensional Muzzle: The pattern uses a combination of single crochet (sc), half double crochet (hdc), and double crochet (dc) to sculpt a realistic, rounded muzzle shape.
-
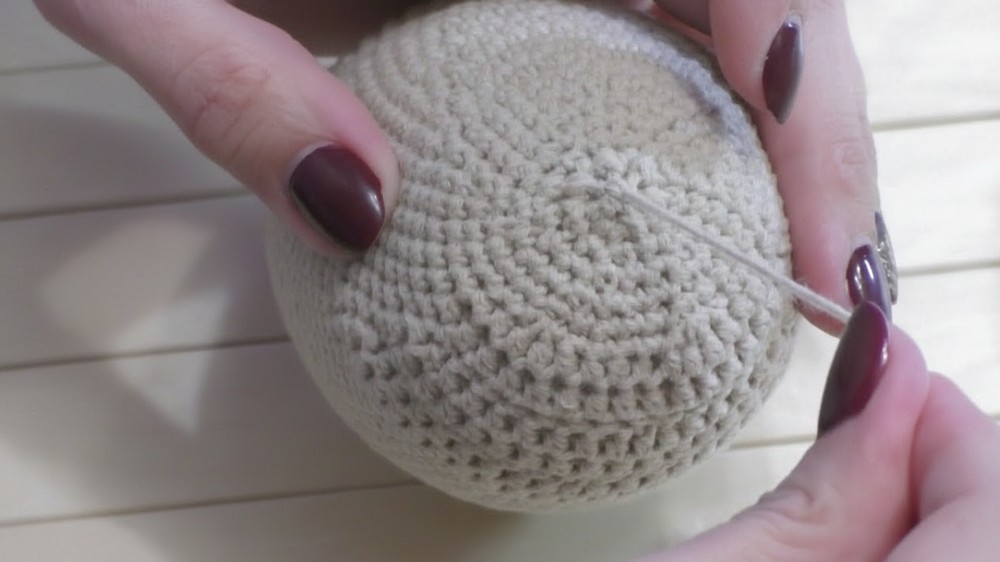
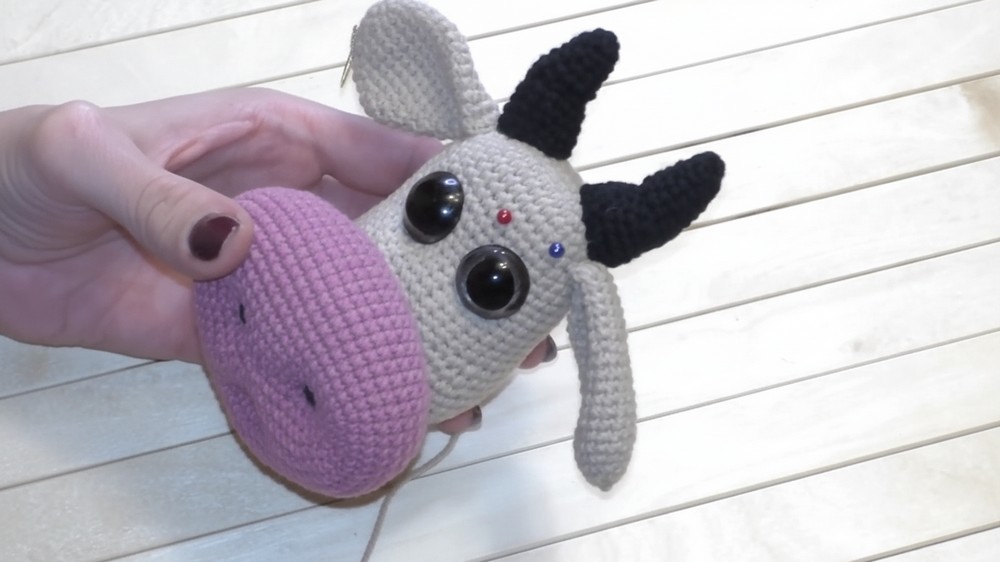
Facial Definition: The assembly process includes specific tensioning techniques (утяжки) to create indents for the eyes and a defined mouth line, giving the bull an expressive face.
-
Fluffy Tassel Tail: You make a fluffy tassel for the tail's end by cutting and then separating the individual plies of yarn strands.
Level of Difficulty
Level of Difficulty: Intermediate to Advanced
The project is complex, involving working in the round, making precise increases and decreases, changing colors, and shaping multiple separate parts. The assembly requires advanced techniques like facial tensioning and ensuring the legs are stuffed and positioned correctly for the toy to stand.
Crochet Bull Caesar
The pattern is easy to follow and beginner-friendly for those with some basic crochet experience. Step by step, it guides you through shaping the body, attaching the legs, horns, and head, resulting in a figure that holds its shape while remaining squeezable and soft.
This balance between durability and cuddliness makes the bull versatile — perfect for playtime or display.

Customization adds even more charm. Soft, warm colors create a gentle, cozy look, while bold or contrasting shades turn the bull into a lively, eye-catching character.

Adding small accessories, like a tiny scarf or embroidered details, gives extra personality. Overall, this Crochet Bull Caesar pattern combines structure, creativity, and charm, resulting in a fun, handmade creation that’s both delightful to make and impossible not to love.
Tutor's Suggestions:
-
Stuff Tightly: Pack the legs (hooves and thighs) very densely with filler to achieve the best stability and allow the bull to stand upright.
-
Secure the Neck: When attaching the head, stuff the neck well, and if the head feels wobbly after the first round of stitching, sew a second round to secure it firmly to the body.
-
Placement Precision: If you pin a piece and notice it sits unevenly, immediately unpin it and reposition it. Take time to ensure all four legs are level before sewing, as this is crucial for the bull's stance.
-
Decrease Method: Execute decreases by picking up the front loops only to make them less visible in the finished fabric.
Conclusion
You successfully assembled all the crocheted parts to complete your Caesar the Bull amigurumi. The final piece showcases detailed shaping and stability, a testament to your hard work. Enjoy your finished toy.
Tutor's Tip
Always start the assembly process by firmly pinning all four legs to the body first. Stand the toy up to check its stability and ensure all legs sit level before you begin sewing, as this guarantees a straight, stable finished product.


