
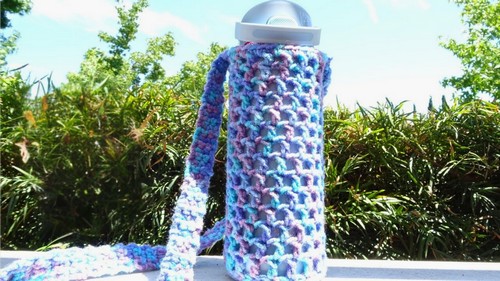
Carry bottles securely and sustainably with this free crochet water bottle holder pattern, combining practicality with style for everyday use.
A thoughtfully designed piece demonstrates both practicality and charm, combining intricate patterns with functionality. The crochet water bottle holder pattern serves as a lightweight, durable, and eco-friendly accessory, ideal for carrying water bottles securely during daily errands, outdoor walks, or even hikes. Its open yet structured stitch pattern provides both breathability and an aesthetic appeal, showcasing the artisan’s creativity while enhancing convenience.
Trendy Crochet Water Bottle Holder Patterns You’ll Love

Typically crafted with medium-weight yarns, such as cotton or acrylic, the design ensures sturdiness and flexibility. Adjustable strap lengths and customizable sizes further offer versatility, making it suitable for various bottle dimensions and user preferences. Its decorative yet functional nature allows it to double as a stylish accessory, seamlessly blending fashion with utility.
Beyond its practicality, the holder supports sustainability by encouraging reuse and reducing reliance on disposable carrying options. Overall, this handmade piece combines beauty, utility, and an environmentally conscious mindset, making it a valuable addition to anyone’s collection.
Step-by-Step Guide: Crochet a Water Bottle Holder
Materials Needed
To create this project, you’ll need the following materials:
- Yarn: Craft Smart’s medium-weight acrylic yarn (#4). Approximately 110 yards are required for this project. Alternatively, you can opt for cotton yarn for additional durability.
- Crochet Hook: A 4 mm crochet hook.
- Optional: A stitch marker or small piece of yarn to keep track of rounds.
- Basic tools for finishing: scissors and a yarn needle.
Uses and Applications
The water bottle holder is highly practical for everyday use. It’s ideal for:
- Carrying standard-sized water bottles when on the go, hiking, or walking.
- Keeping your hands free while ensuring you stay hydrated.
- Customizing for different bottle sizes, making it suitable for personal or gift purposes.
Special Features
This project has several unique aspects:
- Size Adjustability: Katya explains how to increase the size of the base and adjust the height to fit bottles of varying dimensions.
- Durability: The use of tight crochet stitches ensures a sturdy and long-lasting water bottle holder.
- Customizability: The strap can be adjusted to any length, and various colors or materials can be used to suit personal style.
Step-by-Step Instructions
Base of the Bottle Holder
- Start with a Magic Ring:
- Hold the yarn tail with your thumb and wrap the yarn around two fingers to form a crisscross loop.
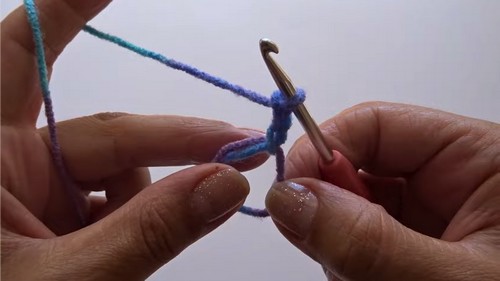
- Insert the hook under the first loop, bring the second loop through, and chain 1 to secure.
Tip: If the magic ring is difficult, use an alternative start by creating a slip knot, chaining 4, and slip stitching into the first chain to form a ring.
- Hold the yarn tail with your thumb and wrap the yarn around two fingers to form a crisscross loop.
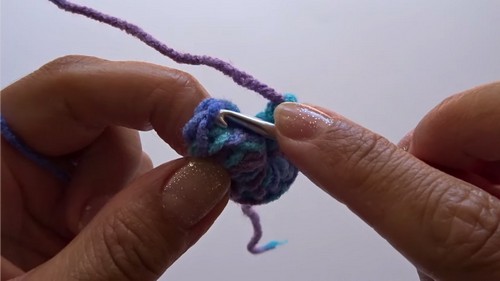
- Round 1:
- Chain 3 (this counts as your first double crochet).
- Work 11 additional double crochets into the magic ring for a total of 12.
- Pull the yarn tail to tighten the center and slip stitch into the third chain to close the round.
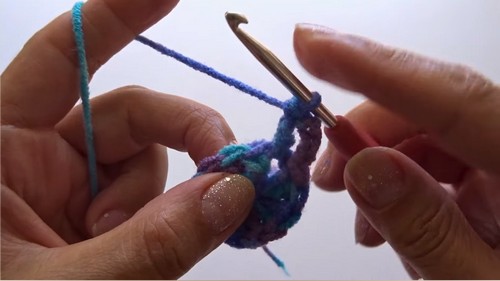
- Round 2:
- Chain 3 and work a double crochet into the same stitch.
- Work 2 double crochets into each stitch around. You should have 24 double crochets at the end of this round.
- Round 3:
- Chain 3 (counts as a double crochet). Work 2 double crochets into the next stitch, followed by 1 double crochet into the next.
- Alternate between 2 and 1 double crochet to complete the round. You should have 36 double crochets.
- Slip stitch into the back loop of the third chain to close.
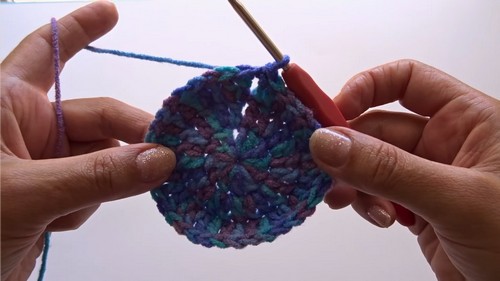
- Adjust the Base Size If Needed:
- To increase the base size, add an extra double crochet between the increases in subsequent rounds (e.g., work 1 double crochet into the first two stitches, then 2 into the next). Repeat this for each additional round.
- To increase the base size, add an extra double crochet between the increases in subsequent rounds (e.g., work 1 double crochet into the first two stitches, then 2 into the next). Repeat this for each additional round.
Building the Height
- Round 4:
- Chain 4 (counts as a double crochet and chain space).
- Work a double crochet into every other stitch, using only the back loops. Continue by chaining 1, skipping a stitch, and working into the next stitch.
- At the end, slip stitch to the third chain.
- This creates chain spaces for the openwork style of the holder.
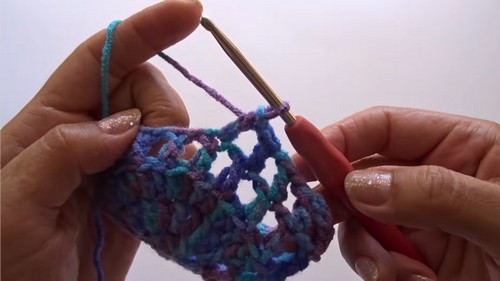
- Rounds 5-17:
- Chain 4 and work one double crochet directly on top of the double crochet from the previous round (not into the chain spaces).
- Skip the chain spaces and continue working one double crochet per previous double crochet, chaining between each stitch.
- Use a stitch marker to track progress if needed.
Final Touches
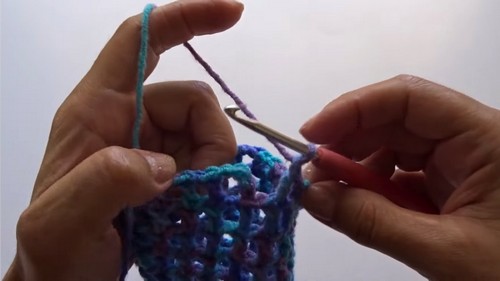
- Round 18:
- Work single crochets all around by placing a single crochet into each chain space and each double crochet stitch. This creates a neat edge, ensuring the sleeve secures the water bottle firmly.
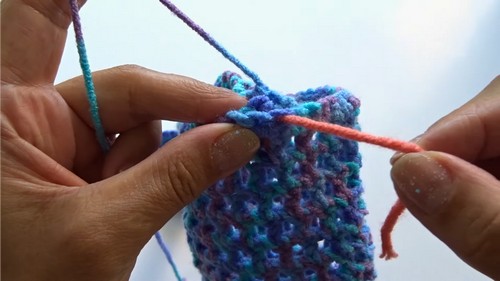
Adding the Strap:
- Strap Instructions:
- Work 3 single crochets into the starting point.
- Turn your work (without chaining) and continue single crocheting across.
- Repeat until the strap is your desired length (e.g., 37 inches or 162 rows as Katya did).
- Attach the strap’s end to the opposite side of the holder by slip stitching into the corresponding stitch on the edge.
- Final Additions:
- Weave in all loose yarn tails using a yarn needle to create a clean finish.
- Double-knot or reinforce areas as necessary for durability.
Level of Difficulty
This project is beginner-friendly, requiring basic crochet skills like:
- Magic ring (or slipknot start as an alternative)
- Foundation double crochets, single crochets, and slip stitches.
- Working in rounds and back-loop-only stitching.
For those new to crocheting, Katya recommends practicing the magic ring and double crochet stitches beforehand. While straightforward, the strap and size adjustments require attention to detail.
Tutor’s Suggestions
- Katya provides alternatives for the magic ring if it is difficult.
- She highlights checking the size of the base frequently against the bottle to ensure a proper fit.
- A simple yarn marker or contrasting yarn can be used to mark rounds, preventing miscounting.
- If you have difficulty with turning chains for the strap, you can chain 1 for convenience.
Conclusion
By the end of this tutorial, you’ll have a customized, adorable water bottle holder that is both functional and fashionable. Whether you’re a beginner or an experienced crocheter, Katya’s clear instructions make this project achievable in one day. It’s a great DIY project for personal use or as a thoughtful handmade gift.
Pro Tip
Always check your base size and strap length against your bottle before finishing the project! This way, you’ll ensure a perfect fit every time.


