
Showcase a Free crochet Santa Claus Headband Pattern with simple, festive stitches that add a cheerful touch to holiday outfits and seasonal celebrations.
Festive charm feels even more magical when it comes in the form of a soft, handmade accessory that instantly lifts the holiday mood. The Crochet Santa Claus Headband Pattern brings cheerful color, cozy texture, and a playful seasonal touch that pairs perfectly with winter outfits.
Soft Crochet Santa Claus Headband Pattern for Comfy Wearing
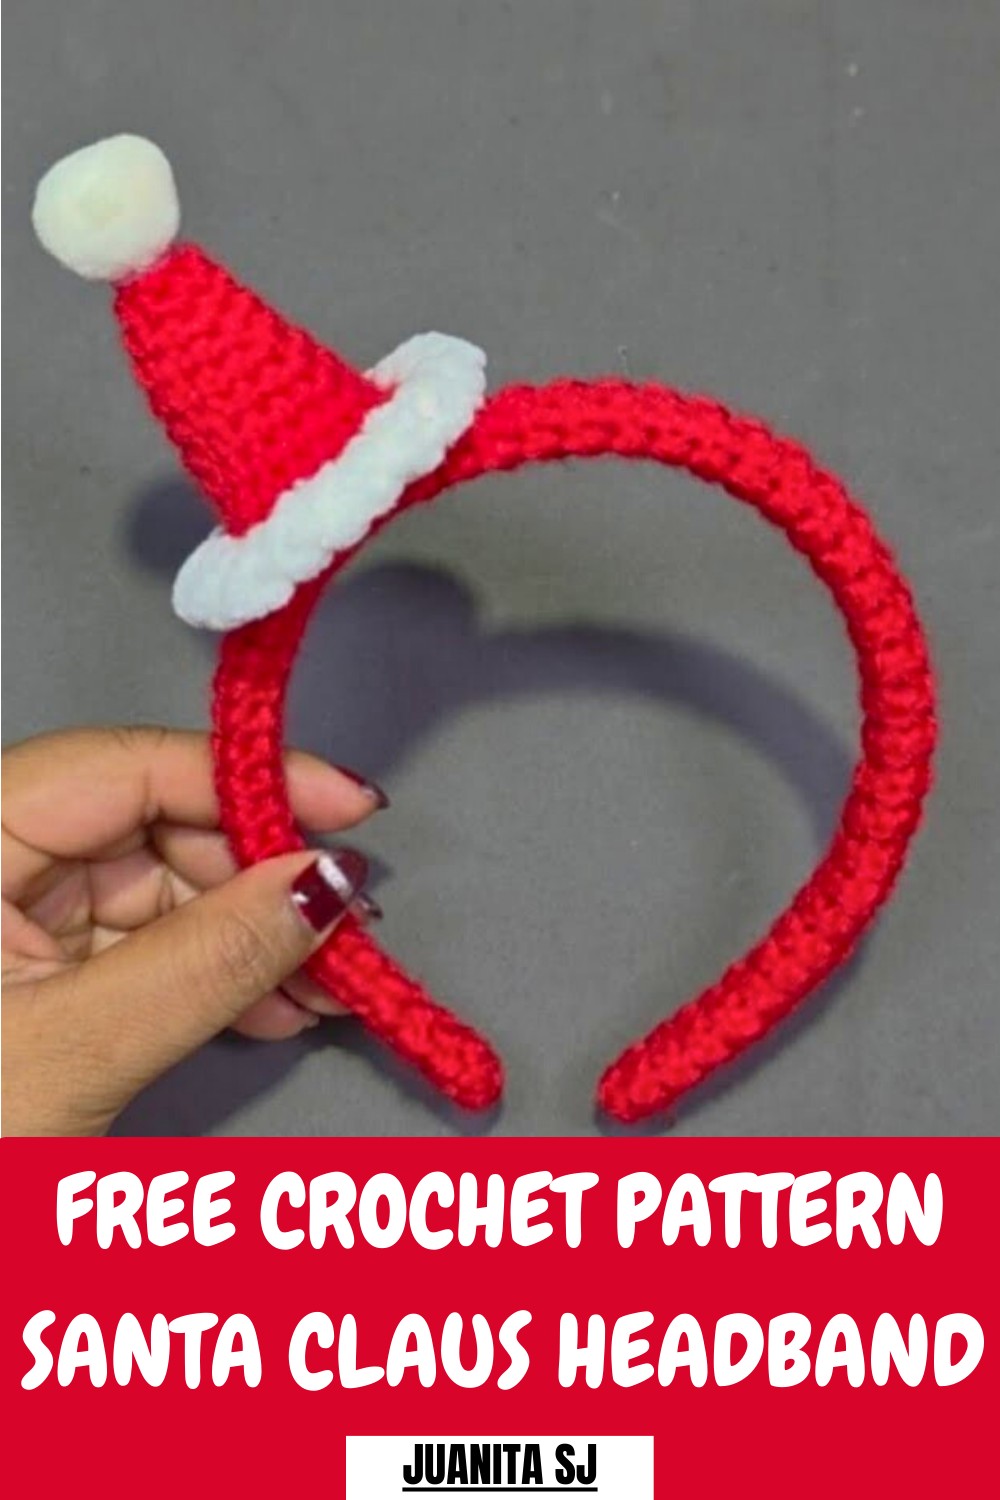
Its warm, flexible band sits comfortably without slipping, while the Santa-themed details add a bright, adorable accent that works beautifully for parties, school events, family photos, or thoughtful gifting. The overall look blends comfort, creativity, and joyful personality, making it a delightful piece to wear throughout the festive season.
Materials
Gather these items to begin crocheting:
-
Red Yarn: Medium-weight yarn (approx. 4 mm thickness) for the hat body.
-
White Yarn: A small amount of soft, plush yarn (like chenille or fuzzy eyelash yarn) for the hat's trim and the headband cover.
-
Hook: A 3 mm crochet hook.
-
Base: One plastic headband (diadema).
-
Embellishment: A small white pompom.
-
Notions: A tapestry needle, a piece of felt for the hat base, and silicone or hot glue.
Uses
This tutorial guides you in making a Santa hat to decorate a headband. This accessory is perfect for wearing during the Christmas holiday season or as a festive decoration for your desk or home.
Level of Difficulty
Intermediate
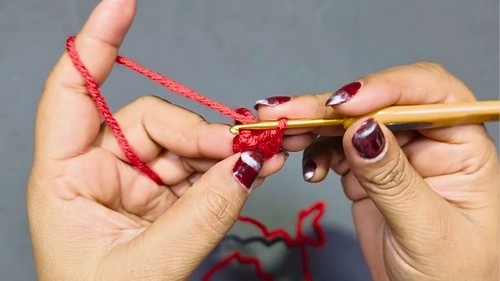
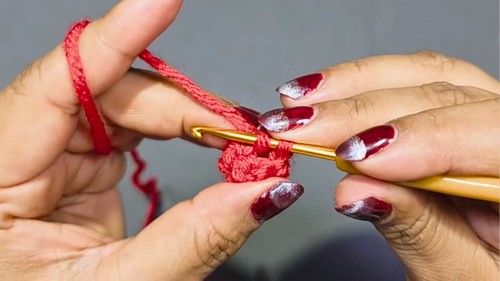
The project requires comfortable handling of a hook and basic stitches. While the stitches are simple, the Intermediate designation applies because you must execute specific techniques: working in a spiral, crocheting into the back loop only, managing increases to maintain the hat's conical shape, and accurately wrapping the finished tube onto the headband.
Tutor's Suggestions
-
Check the Length: Before fastening off the white tube, slide the plastic headband into the tube to confirm the length. If the tube is too long, undo a few rounds to ensure it fits perfectly without bunching or leaving gaps at the end of the headband.
-
Mark the First Stitch: When working the red hat in a spiral (without closing rounds), use a stitch marker to clearly identify the first stitch of each round. This is essential for maintaining the correct increase count and shape.
-
Always Check the Stitch Count: When crocheting the white tube (6 SC per round), continuously count your stitches at the end of each round to ensure you maintain a perfectly straight tube.
-
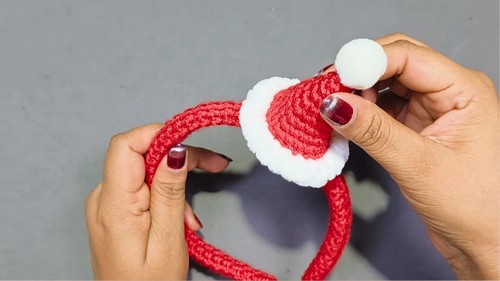
Shape the Hat: After completing the red hat, gently fold it so the two increase lines fall on the sides. This helps to define the cone shape and prepares it for attaching the trim.
Crochet Santa Claus Headband
The making process enhances its appeal: you begin by forming a simple headband base using a foundation chain sized to your head and continue stitching in comfortable rows or rounds until the band reaches the perfect width.
Special Features
-
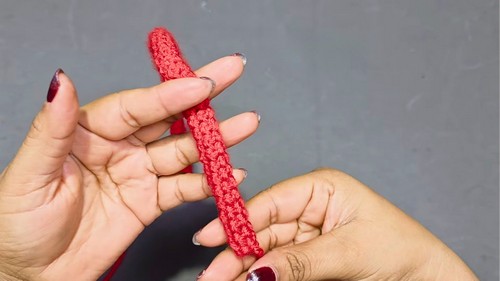
Reverse Single Crochet Texture: You achieve the simple, elegant texture of the headband cover by working the Single Crochet (SC) stitches into the back loop only. The fabric is then reversed so the backside faces out, creating a unique ribbed effect.
-
Spiral Hat Construction: The red Santa hat is worked in continuous spiral rounds without joining, which eliminates the visible seam line and helps create the clean conical shape.
-
Structured Base: You finish the hat with a round of Single Crochet worked into the front loop only to create a clean ridge for the white trim, and then a felt circle is glued to the base for added stability when attaching it to the headband.
Then comes the fun part—shaping the Santa motif using red, white, and skin-tone yarn, working small sections such as the hat, beard, and face.

After each element is crocheted, you attach the motif securely to the band, ensuring it sits neatly at the front. A final touch of weaving in ends and smoothing the shape completes the accessory.

The finished headband offers both warmth and holiday charm, celebrating the season with a cute, handcrafted twist that feels thoughtful, festive, and wonderfully personal.
Tip
When crocheting the white tube for the headband cover, turn the work inside out before sliding the headband in. The technique of working into the back loop only creates a distinct ribbing on the wrong side of the fabric, which gives the headband a much neater, more professional, and less bulky finish than if you used the right side.


