
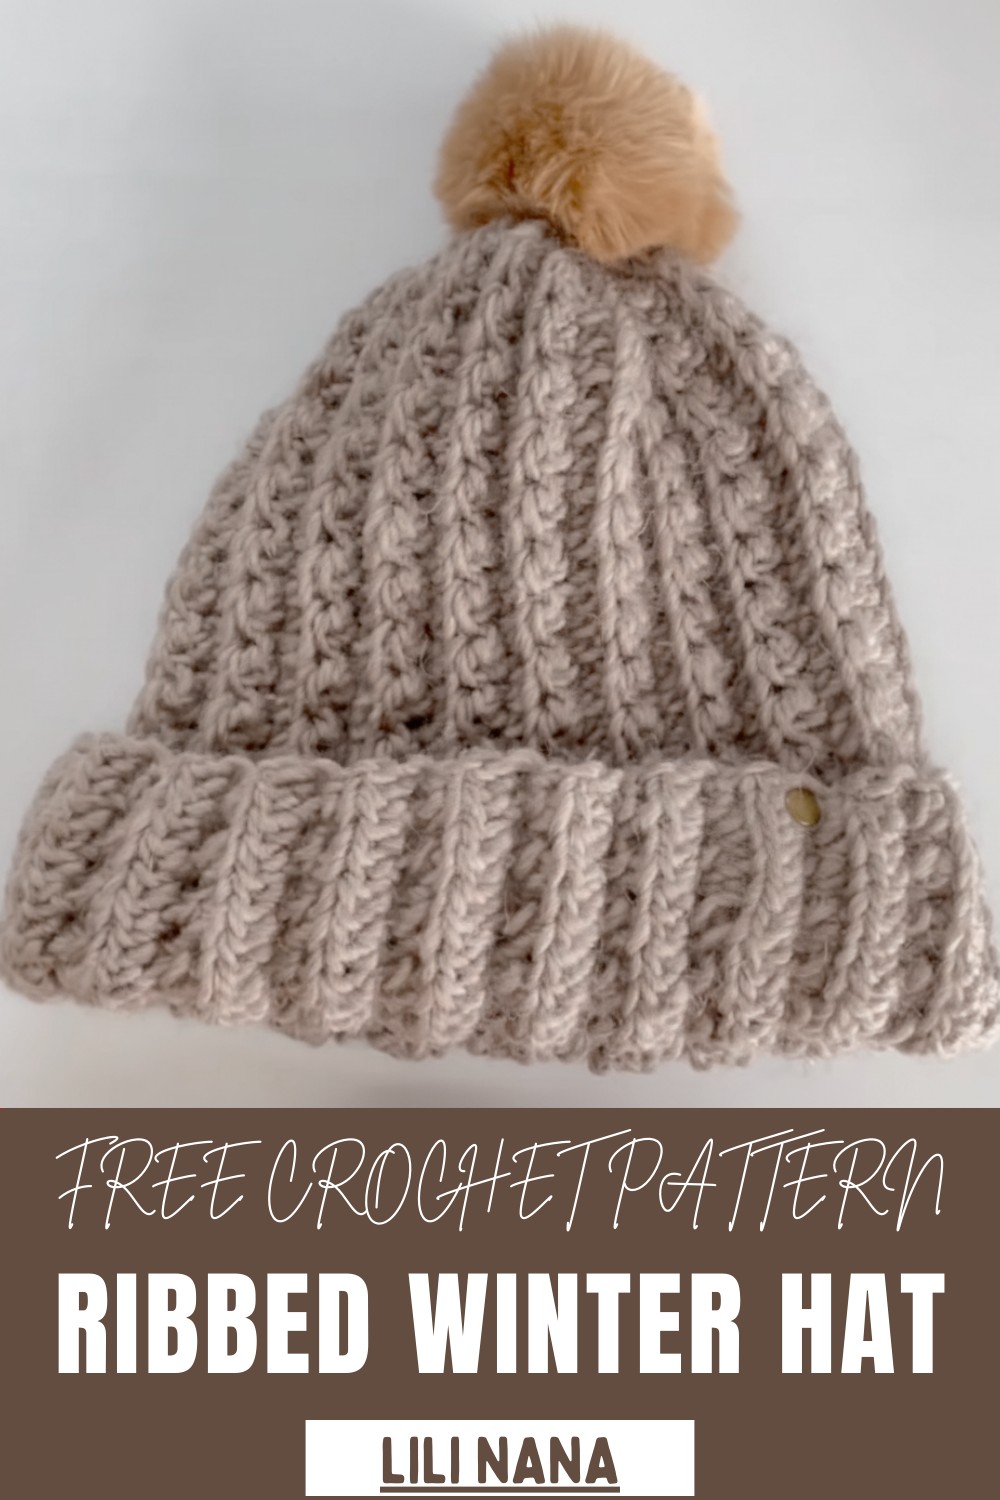
Pull on a Free crochet Ribbed Winter Hat Pattern with cozy, stretchy stitches that keep you warm while adding a stylish touch to cold-weather outfits.
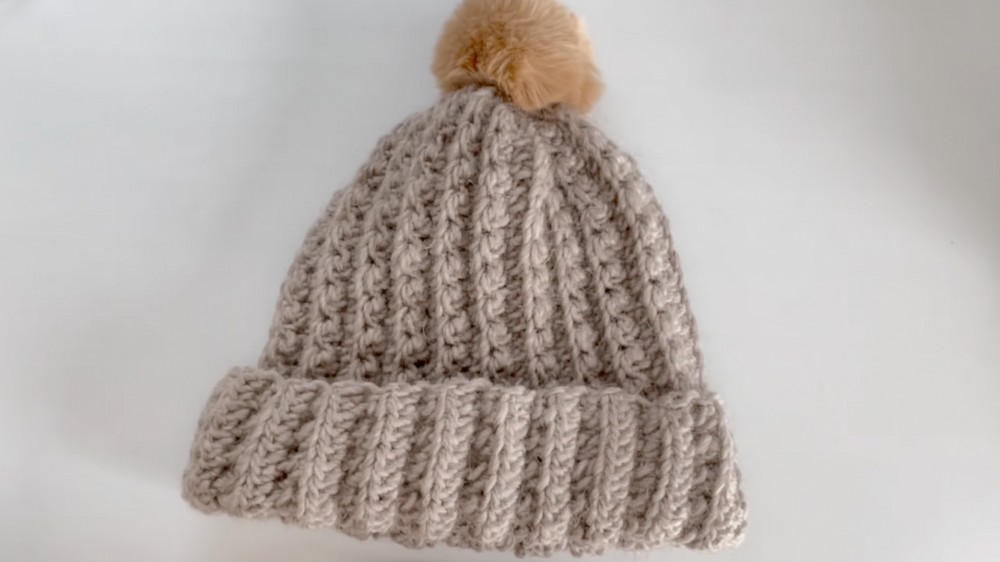
A warm winter hat with soft ribbing can feel like a cozy hug on chilly mornings, adding both comfort and style to your cold‑weather outfits. The textured ribs give it a timeless, handmade charm while also providing extra warmth and stretch, making it snug yet flexible enough to flatter different head shapes.
Crochet Ribbed Winter Hat Pattern That Feels Warm & Stylish
Its simple yet inviting silhouette pairs effortlessly with jackets, scarves, or casual wear, transforming a basic outfit into something with a touch of handmade personality. Beyond practicality, the ribbing creates subtle vertical lines that visually elongate and slim, giving the hat a sleek, slightly tailored look rather than a bulky winter beanie vibe.
Materials
Assemble the following items to start your project:
-
Yarn: Use two skeins of a Worsted weight (Medium/4) yarn. The tutor uses Daiso's Wool Blend (80% Acrylic, 20% Wool; approximately 62 meters per 40g ball). The example colors are Russet Brown and Storm Gray.
-
Crochet Hook: Use a size 8/0 hook (5.0 mm).
-
Tools: Prepare a stitch marker, a tapestry needle for seaming and cinching the crown, and a pair of scissors.
Uses
-
Wear this hat as a warm, winter beanie.
-
The design is unisex, making it appropriate for both men and women.
Special Features
-
Fitted Shape: The design creates a beanie that fits closely to the head without much slouch.
-
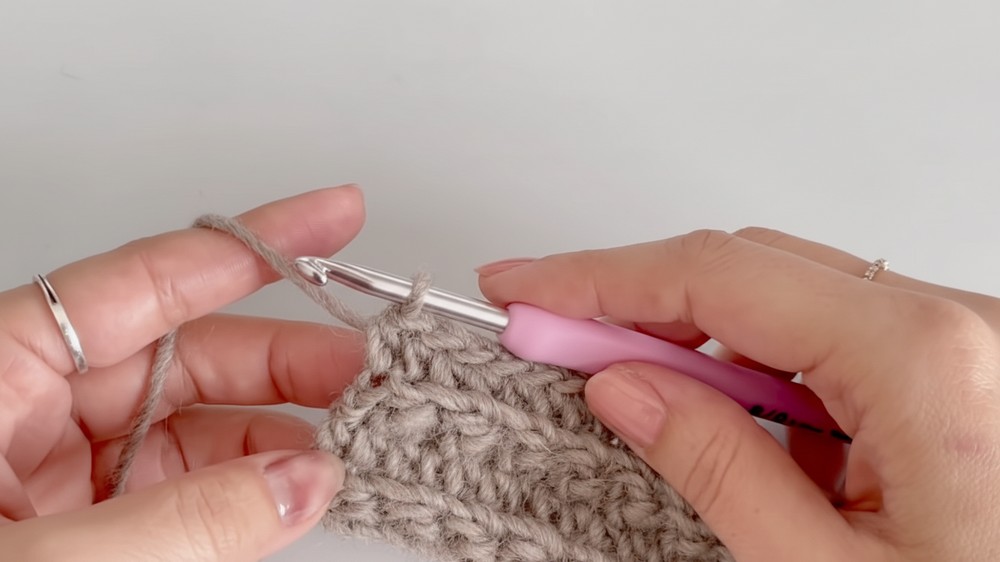
Ribbed Brim: The pattern uses back loop half double crochet to create a stretchy, ribbed section at the beginning, which forms the hat's brim when folded.
-
Decorative Stitch: The body of the hat features a repeating two-row stitch pattern, combining single crochet (SC) and half double crochet (HDC) to form a subtle, textured design.
-
Flat Construction: You work the entire hat as a flat rectangle, simplifying the construction before joining the edges.
Tutor's Suggestions
-
Check Size: Since this hat is designed to fit snugly, you must check the width against the intended wearer's head circumference as you work. The final width should stretch to fit the head.
-
Ribbing Adjustments: The tutor uses 16 stitches for the ribbed brim section, which results in a height of about 9 cm when folded. You can easily adjust this number (it does not need to be an odd or even number) to make the brim wider or narrower.
-
Body Stitch Adjustments: The decorative stitch pattern is a 2-stitch repeat. When adjusting the size of the body, ensure the total number of stitches in the body section remains an odd number so that the pattern repeat ends correctly with a single crochet.
-
Yarn Weight and Stitch Count: If you use a thicker yarn, you should reduce the number of single crochet stitches (e.g., use 3 SC instead of 5 SC) on the second row of the body pattern to maintain a good balance and prevent the hat from becoming too wide.
The Pattern
Because it’s crocheted, the hat feels softer and more “homey” than typical knit caps, making it perfect for winter walks, bus rides, or lounging at home with a hot drink.
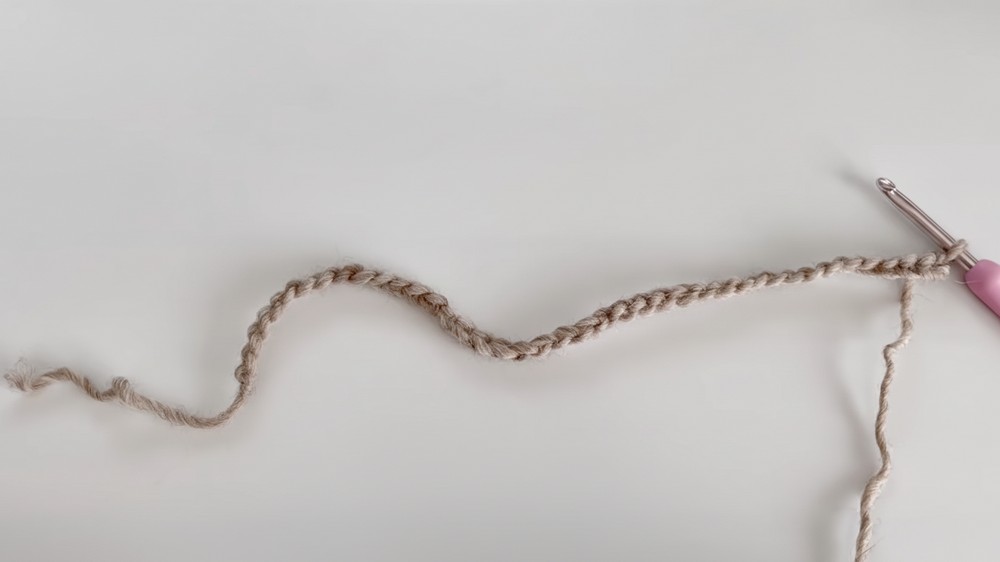
Creating one is easy and satisfying: start by chaining the number of stitches to match your head circumference, then work in half‑double crochet in the back loop only to form the ribbed texture.
This pattern falls under the Intermediate level. While it uses basic crochet stitches, the combination of working into back loops, executing the decorative stitch pattern, seaming the long edges, and cinching the crown requires a moderate understanding of crochet techniques and construction.
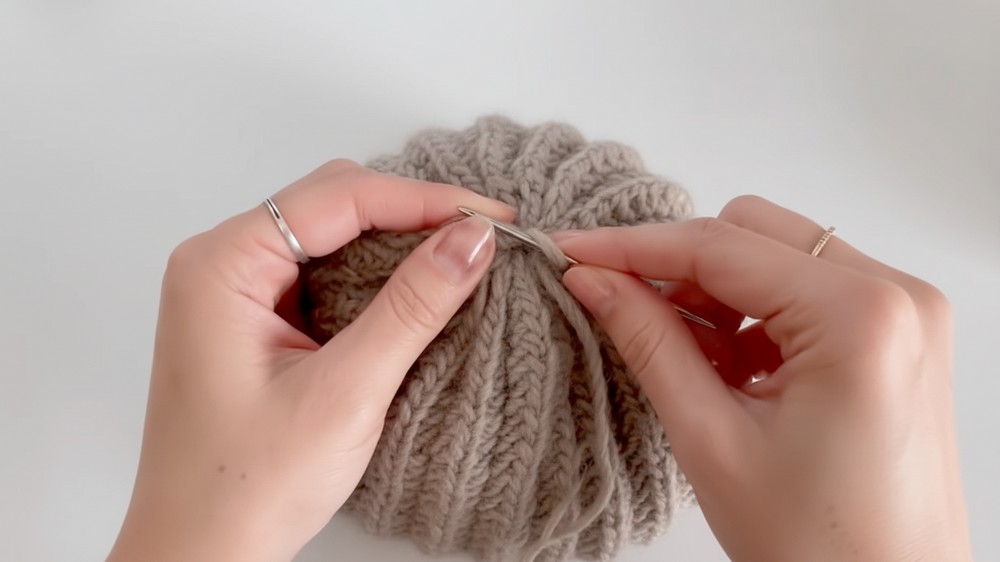
Continue crocheting in rounds until the hat reaches the desired height, then shape the top by gradually decreasing stitches so it closes smoothly.
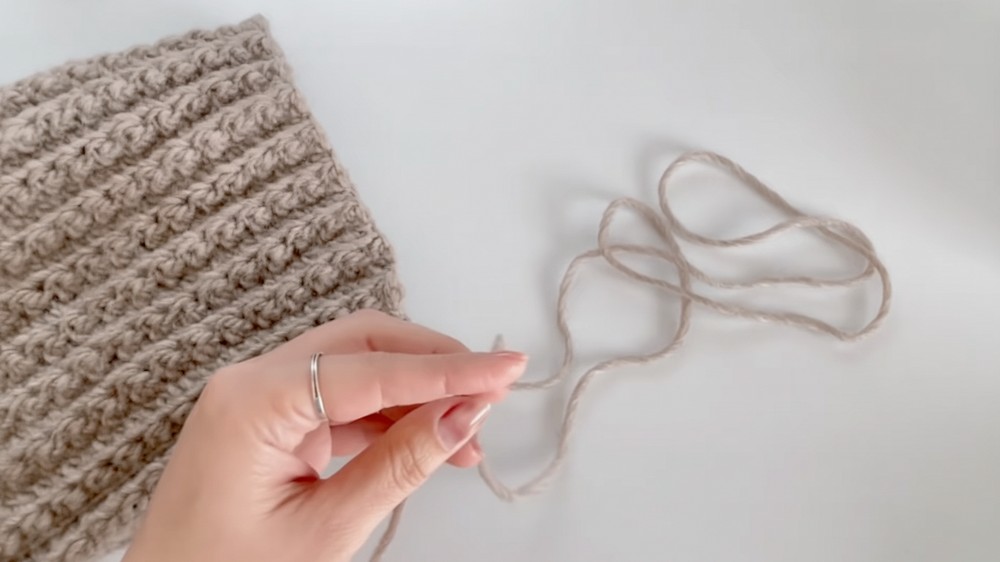
Finally, fasten off and weave in the ends for a neat, finished look. This hat offers handmade warmth that is cozy, versatile, and effortlessly charming.
Conclusion
You have successfully crocheted a fitted beanie, combining a stretchable ribbed brim with a textured body using a unique cross-stitch motif. By working the hat flat and then seaming the edges and cinching the crown, you have created a versatile, comfortable, and stylish accessory perfect for colder weather.
Tip
When seaming the sides, pay attention to the tension of your slip stitches. Use a loose tension for the slip stitch seam, or consider using a slightly larger hook for the seaming process. This prevents the seam from pulling too tightly and makes the finished hat more comfortable and stretchy when worn.


