
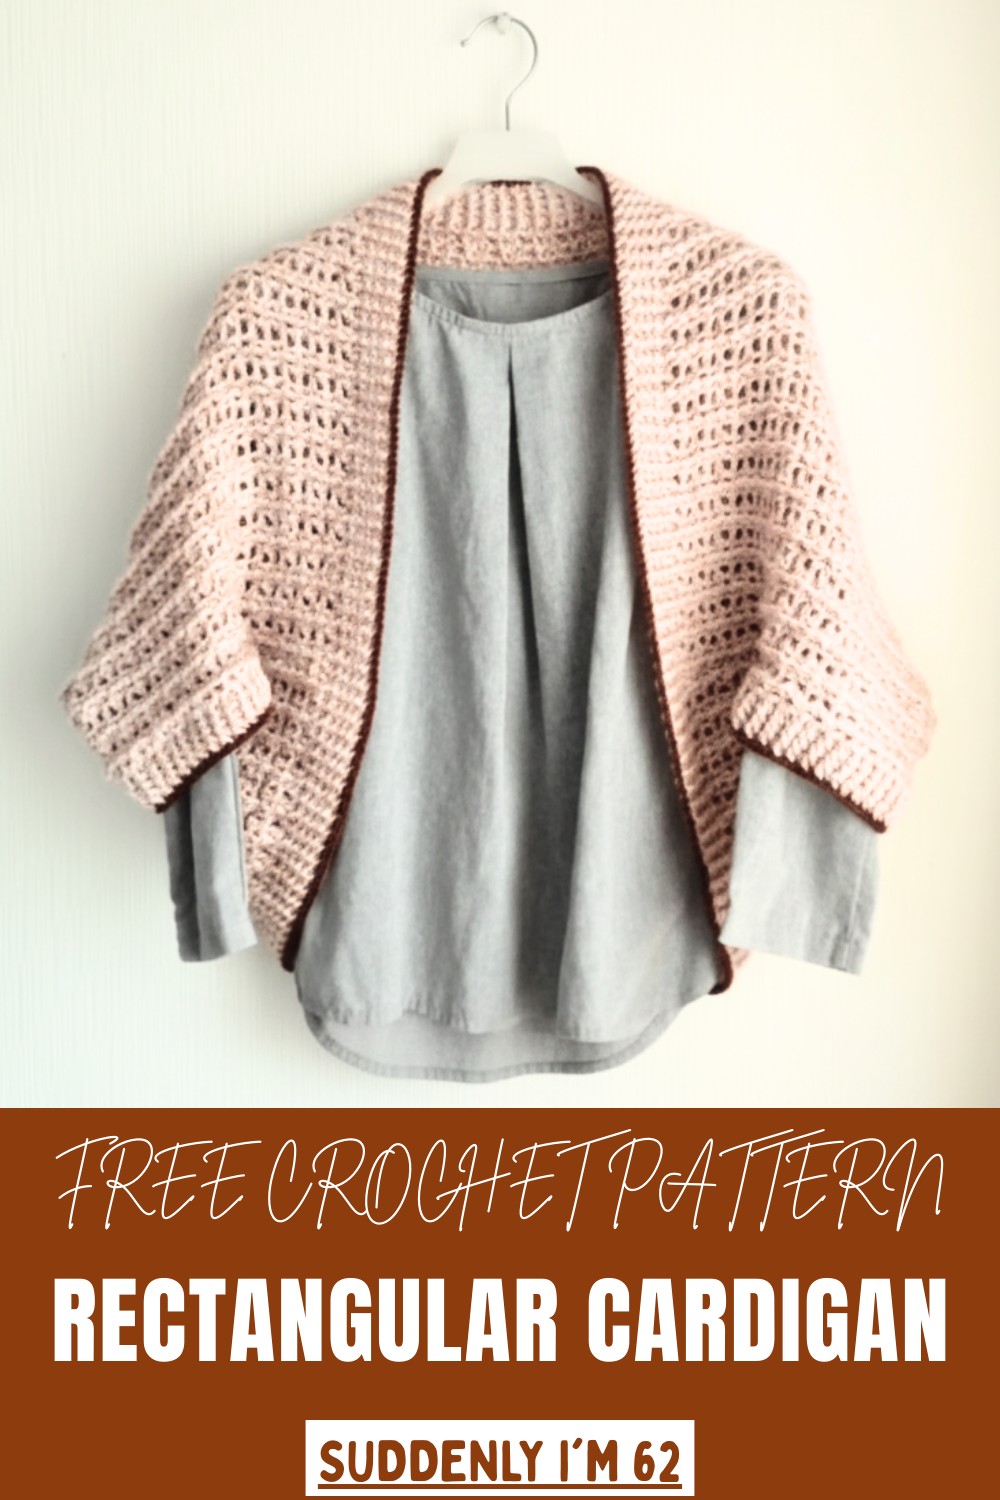
Turn your wardrobe with the Free crochet rectangular cardigan Pattern, offering a stylish, comfy layer that’s easy to craft and perfect for everyday wear.
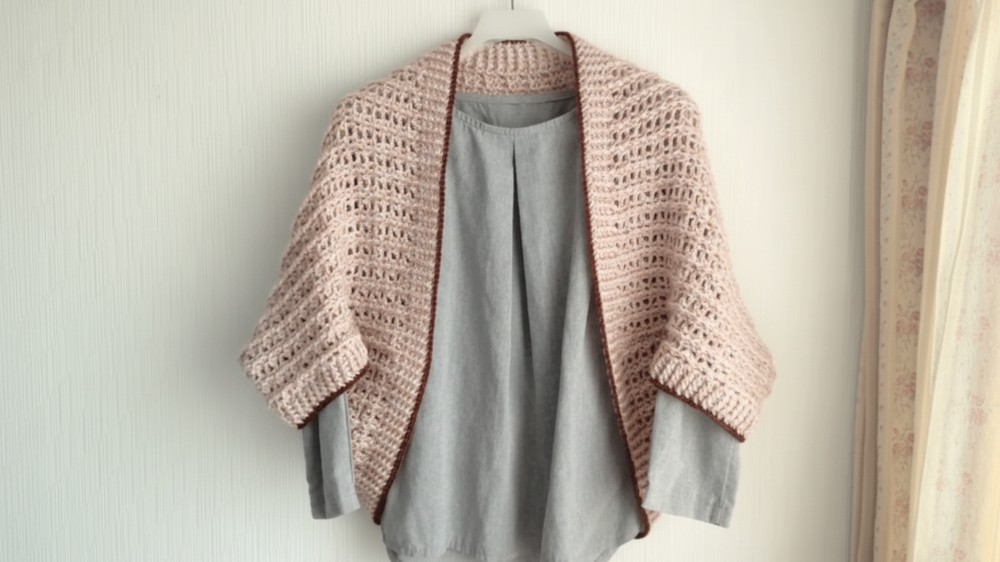
A rectangular crochet cardigan is both a practical and stylish addition to any wardrobe. Its clean and structured appearance pairs effortlessly with all types of outfits, from casual jeans and tees to more formal attire.
Easy Crochet Rectangular Cardigan Pattern for All Seasons
Handmade crochet cardigans hold unmatched charm, standing apart from mass-produced garments. Choosing to make or wear one involves dedication, care, and the joy of putting time into something truly unique. Whether worn as a go-to everyday item or a thoughtful gift for loved ones, this cardigan embodies comfort, beauty, and timeless appeal so gracefully. It’s more than just clothing; it’s a statement.
Simple Crochet Cardigan : Step-by-Step Guide
Materials
- Daiso Acrylic Yarn (100% Acrylic):
- Weight: 50g balls (approximately 105 meters each).
- 9 balls of beige yarn used, with leftovers.
- Optional: Brown yarn for accents and cuffs.
- Knitting Tool:
- Size 8 crochet hook or knitting needles.
- Scissors — For cutting excess yarn.
- Needle — For weaving in ends and securing seams.
Special Features of the Cardigan
- Simple, minimalist design: The cardigan is made by knitting a large rectangle and folding it into shape.
- Flexible pattern: Suitable for all sizes, as you can customize dimensions based on preferences.
- Cost-effective yarn: The acrylic yarn from Daiso provides a soft, cozy, and fluffy finish.
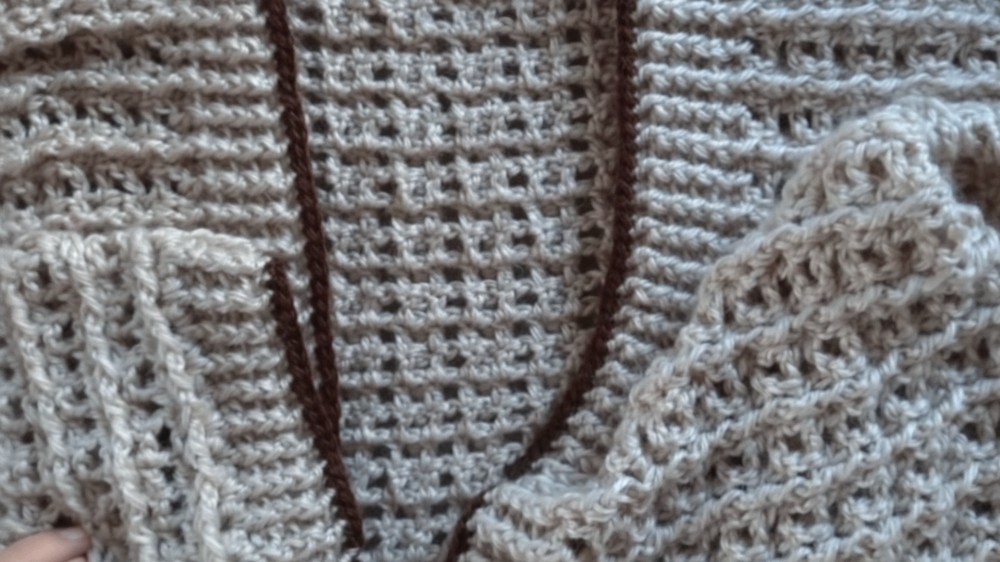
- Step-by-step technique: Alternate between pull-up and back knitting to create textural vertical lines in the final pattern.
Level of Difficulty
The project is beginner-friendly with repetitive stitches and straightforward sewing techniques. It does require patience and attention to detail during assembly, especially while joining cuffs and edges, making it a good project for beginners willing to develop skills.
Tutor's Suggestions
- Yarn Type: Due to some inconsistencies in Daiso yarn (knots and poor seams), consider using higher-quality acrylic yarns for flawless results.
- Sizing: Customize the width and length of the rectangle for your desired fit.
- Design Variations: Add accents with leftover yarn colors.
- Assembly: Ensure precise measurements when folding to create symmetrical cuffs and openings.
Uses
This simple cardigan is versatile as casual outerwear during chilly evenings. It can also be gifted, as the cozy feel and minimal design appeal to a variety of tastes.
Step-by-Step Instructions
Step 1: Cast-On
- Use a multiple of 4 stitches minus 1. For example, 151 stitches are used here.
- Leave extra yarn for sewing later.
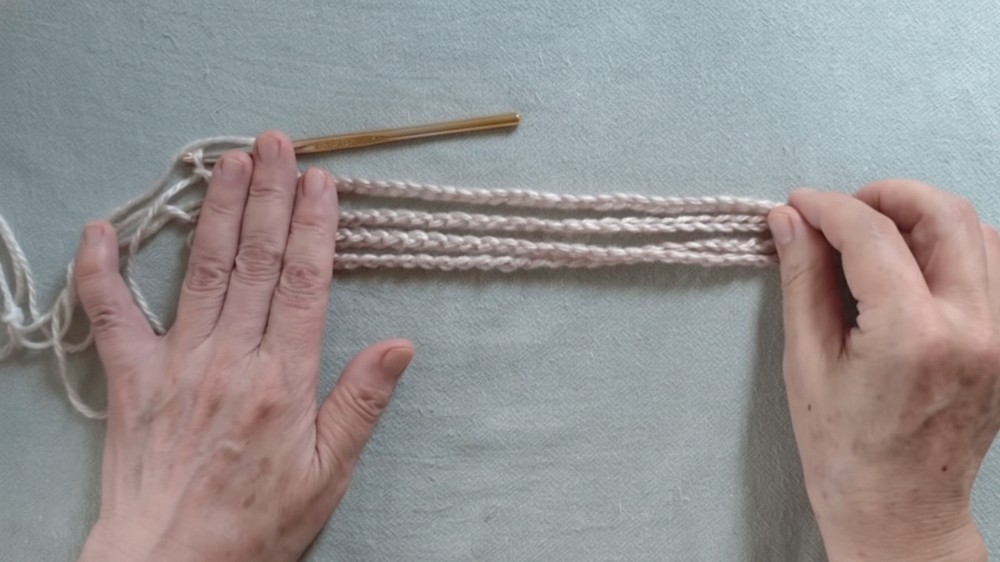
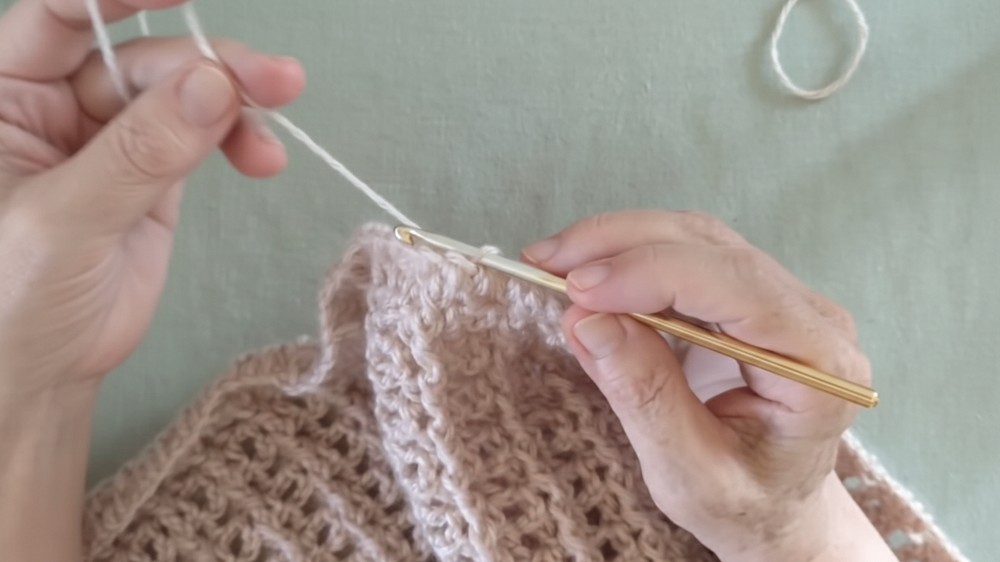
Step 2: Basic Stitching
- Begin with Chain 3, standing up halfway, and crochet a double stitch starting from the 5th stitch.
- Repeat by skipping one stitch, then crochet three double crochets. Optional: Add a chain 1 between groups of three double crochets.
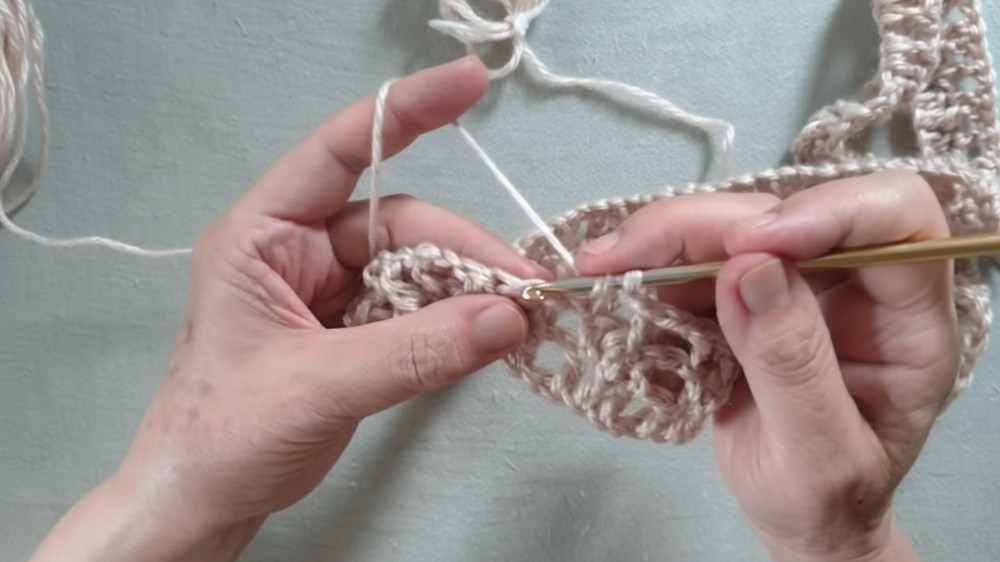
Step 3: Alternate Pull-Up Technique
- Knit back and forth:
- For the front: Use a pull-up stitch in the middle and normal double knitting for adjacent stitches.
- For the back: Pull up stitches from behind using a purl stitch.
- Repeat this reverse and pull-up stitching to give the fabric a dimensional, vertical-line pattern.
Step 4: Knitting the Rectangle
- Continue alternating pull-up techniques while knitting rows until your rectangle reaches about 50-60 cm tall, depending on your preference.
Step 5: Closing the Cuffs
- Fold the finished rectangle into a triangular shape on both sides.
- Leave an opening for arms (recommended: around 16-17 cm wide).
- Sew the folded ends carefully using double crochet stitches and two chain stitches for durability.
Step 6: Ribbed Stitch for Edging
- Attach yarn to the hem, and work ribbing stitches along the edge and cuffs:
- Alternate pull-up knitting (front and back) for 5-6 rows to create texture.
- Add a decorative single crochet finishing row using brown or leftover yarn for contrast.
Step 7: Final Finishing
- Weave in all yarn ends and inspect cuffs, hem, and seams carefully to ensure a smooth finish.
- Trim any remaining uneven yarn and enjoy your completed cardigan!
Conclusion
With just acrylic yarn and simple techniques, you can create a stylish, snug cardigan perfect for layering during cooler days. This project allows creativity with colors and patterns while giving a rewarding final product to showcase your craft skills. Whether you keep it for yourself or gift it to someone special, this project is budget-friendly and therapeutic.
Tip
Avoid frustration with knotty yarn by pre-checking for seams and imperfections in the thread before you begin. If using Daiso yarn, be prepared to carefully cut out bad seams for a cleaner, smoother result. Alternatively, choose high-quality yarn for effortless knitting.


