
Bring charm to your accessories with the Free crochet Mushroom Pouch Pattern, offering simple steps, quick stitching, and a cute pouch for gifts or storage
A tiny, magical mushroom pouch can brighten your day with both charm and practicality, offering a playful yet useful addition to everyday life. The Crochet Mushroom Pouch Pattern uses simple stitches and clear instructions, making it easy for beginners while still fun for experienced hands. Its rounded cap, short stem, and lively color contrasts give it a cute, storybook-like look that stands out as a decorative item.
Trendy Crochet Mushroom Pouch Pattern Perfect for Gifts
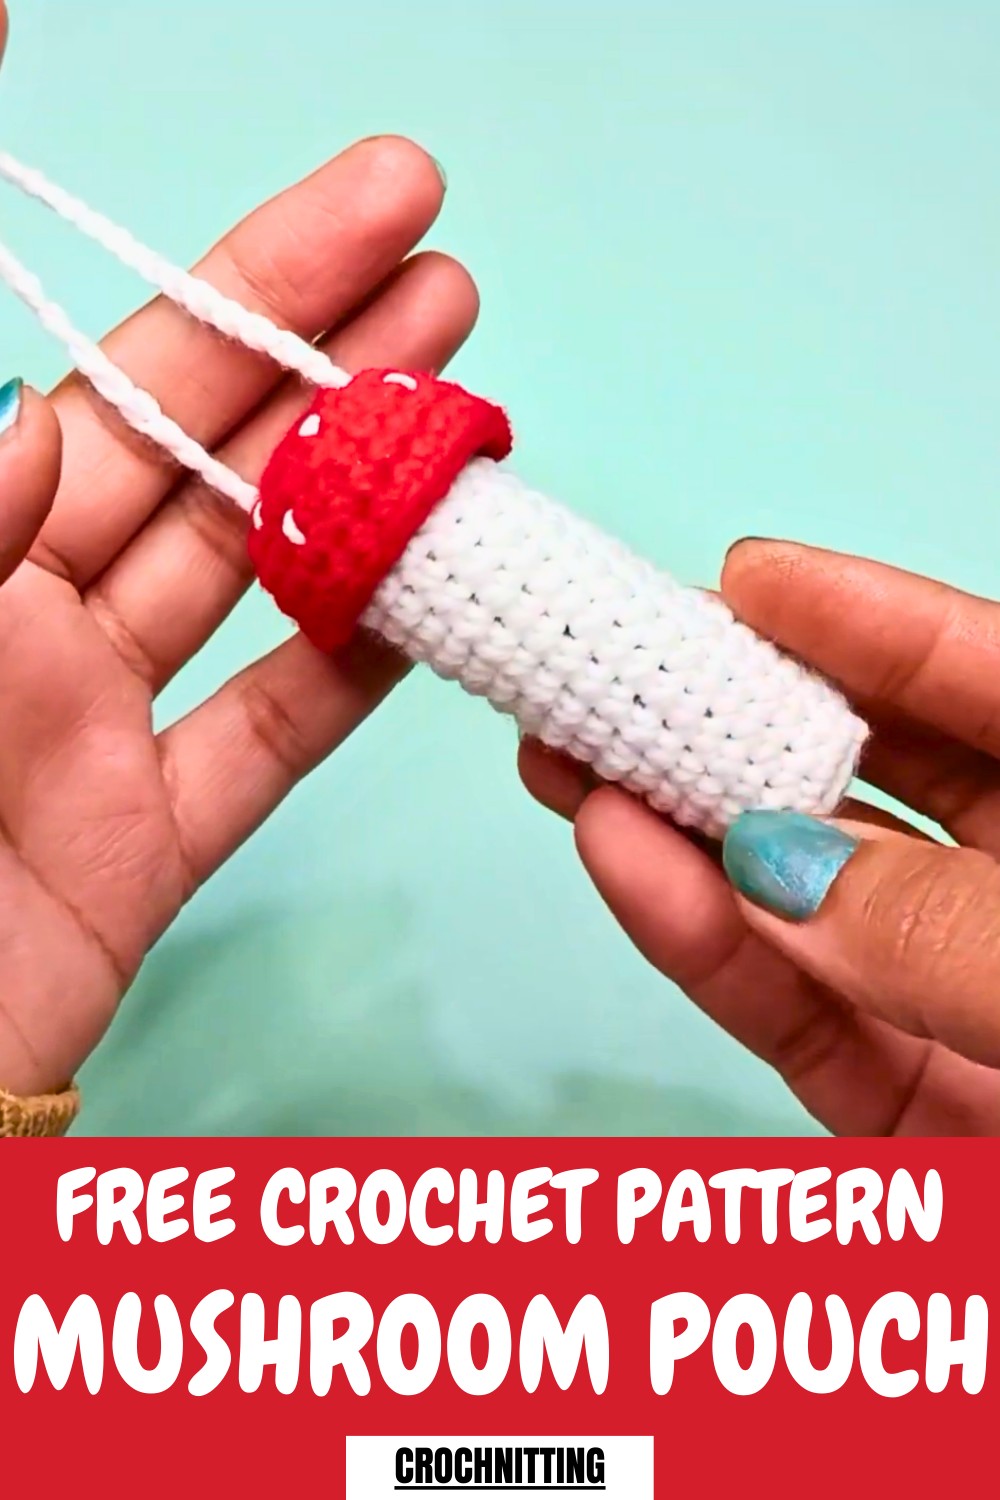
Beyond its appearance, it’s perfect for holding coins, earbuds, small trinkets, or even serving as a unique gift bag. Lightweight and portable, it fits easily in purses, backpacks, or pockets. Working on this project also encourages patience and focus, providing a satisfying sense of accomplishment. Overall, this pouch combines charm and usefulness, offering a small, delightful accessory that adds personality, organization, and a playful touch to everyday routines.
Step-by-Step Crochet Lip Balm or Lipstick Pouch
Materials:
To crochet this pouch, you will need:
- Yarn: Main colors as per your choice (e.g., red for the cap and white for the base).
- Crochet hook: Size suitable for your yarn (used sizes not explicitly mentioned here).
- Stitch marker: For marking the starting points of rounds.
- Scissors: To trim excess yarn.
- Yarn needle: For securing ends and adding final touches.
- Stuffing material (optional): For adding support if needed.
Uses:
This crochet pouch is designed to:
- Hold lip balm or lipstick securely.
- Be attached to bags, as it comes with a hanging loop for easy portability.
- Serve as a functional accessory for personal usage or as an adorable gift for loved ones.
Special Features:
- Compact Design: Perfectly fits lip balms or other small items.
- Multifunctional Keychain: Works as both a pouch and a stylish keychain.
- Creative Aesthetic: Customizable colors and patterns to suit individual preferences.
- Durable and Reusable: The crochet structure ensures long-lasting use.
Level of Difficulty:
This project is suitable for beginners and intermediate crocheters alike. The video guides you through basic techniques, such as the magic ring, single crochets, increases, spiral rounds, and slip stitches. A few rounds involve working in back loops, making it a great opportunity for beginners to explore a new technique with ease.
Step-by-Step Instructions:
Top Part of the Pouch (Cap):
- Create Magic Ring:
- Start with a magic ring and make one chain.
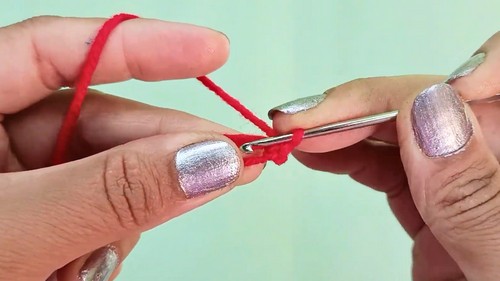
- Place six single crochets into the magic ring.
- Start with a magic ring and make one chain.
- Work Spiral Rounds for Increases:
- Round 2: Make two single crochets in each stitch – 12 single crochets at the end of this round.
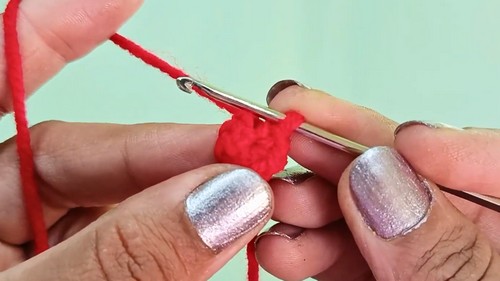
- Round 3: Alternate between one single crochet in one stitch and two single crochets in the next – 18 single crochets at the end.
- Round 4: Make two single crochets in two stitches, followed by an increase in the next stitch. Repeat this sequence six times – 24 single crochets at the end.
- Round 2: Make two single crochets in each stitch – 12 single crochets at the end of this round.
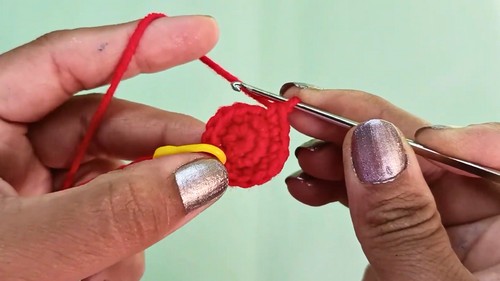
- Build the Cup Shape (No Increases)
- Rounds 5–7: Work one single crochet in each stitch (24 stitches per round).
- Smooth Finish:
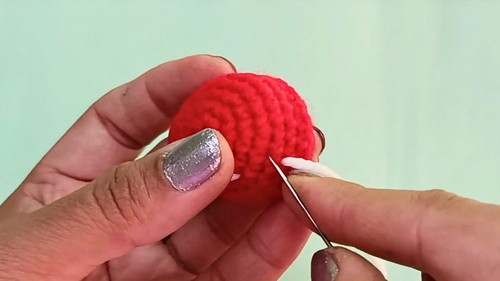
- Add two slip stitches in the next two stitches to create a smooth finish. Cut the yarn, leaving no loose ends, and secure the extra yarn inside the piece.
Base Section (White Part):
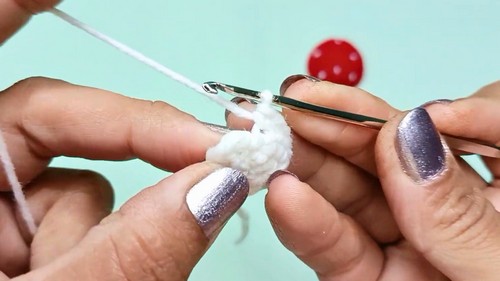
- Create Magic Ring:
- Start with a magic ring and one chain. Then, make seven single crochets into the ring.
- Tighten the ring and secure the round with a slip stitch.
- Start with a magic ring and one chain. Then, make seven single crochets into the ring.
- Increase Rounds:
- Round 2: Place two single crochets in each stitch – 14 stitches at the end.
- Round 3 (Back Loops): Work one single crochet in the back loop of each stitch – 14 stitches total.
- Build the Pouch (No Increases or Decreases):
- Work 16 rounds of 14 single crochet stitches (working in both loops after round 3). This forms the cylindrical shape for the lipstick pouch.
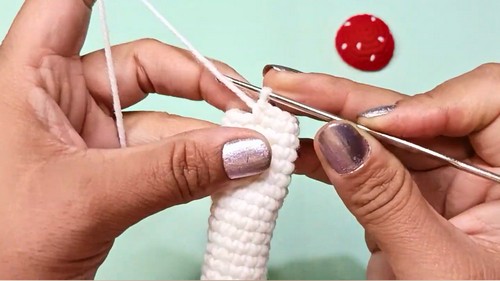
- Work 16 rounds of 14 single crochet stitches (working in both loops after round 3). This forms the cylindrical shape for the lipstick pouch.
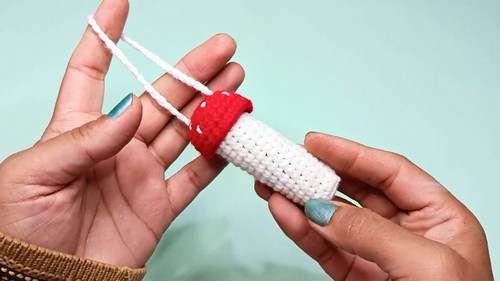
Hanging Loop:
- Create a Chain:
- Make a chain of 40 stitches. Trim the yarn, leaving extra length for sewing the chain ends.
- Attach Loop:
- Pass the chain through the red cap section (between the second and third rounds) at equal distances on opposite sides.
- Securely attach the loop to the other side of the pouch using slip stitches. Trim and secure the yarn for a neat finish.
Tutor’s Suggestions:
- Use a stitch marker to clearly identify the start of each new round, especially for spiral rounds.
- Do not skip any stitches while increasing or decreasing to maintain the correct stitch count.
- Watch the video tutorial closely to avoid confusion during transitions between rounds.
- Adjust yarn colors and sizes to customize the pouch for personal preferences.
Conclusion:
This lip balm or lipstick pouch is a charming and practical crochet project that’s perfect for beginners and seasoned crafters alike. Its compact design, decorative appeal, and portability make it an ideal accessory or gift for anyone who loves creative crafts. Be sure to experiment with colors and patterns to truly make it your own.
Tip:
For a polished look, weave in the yarn ends carefully on the inside of the pouch. This ensures a clean and seamless finish, enhancing the overall appearance and durability of your project.


