
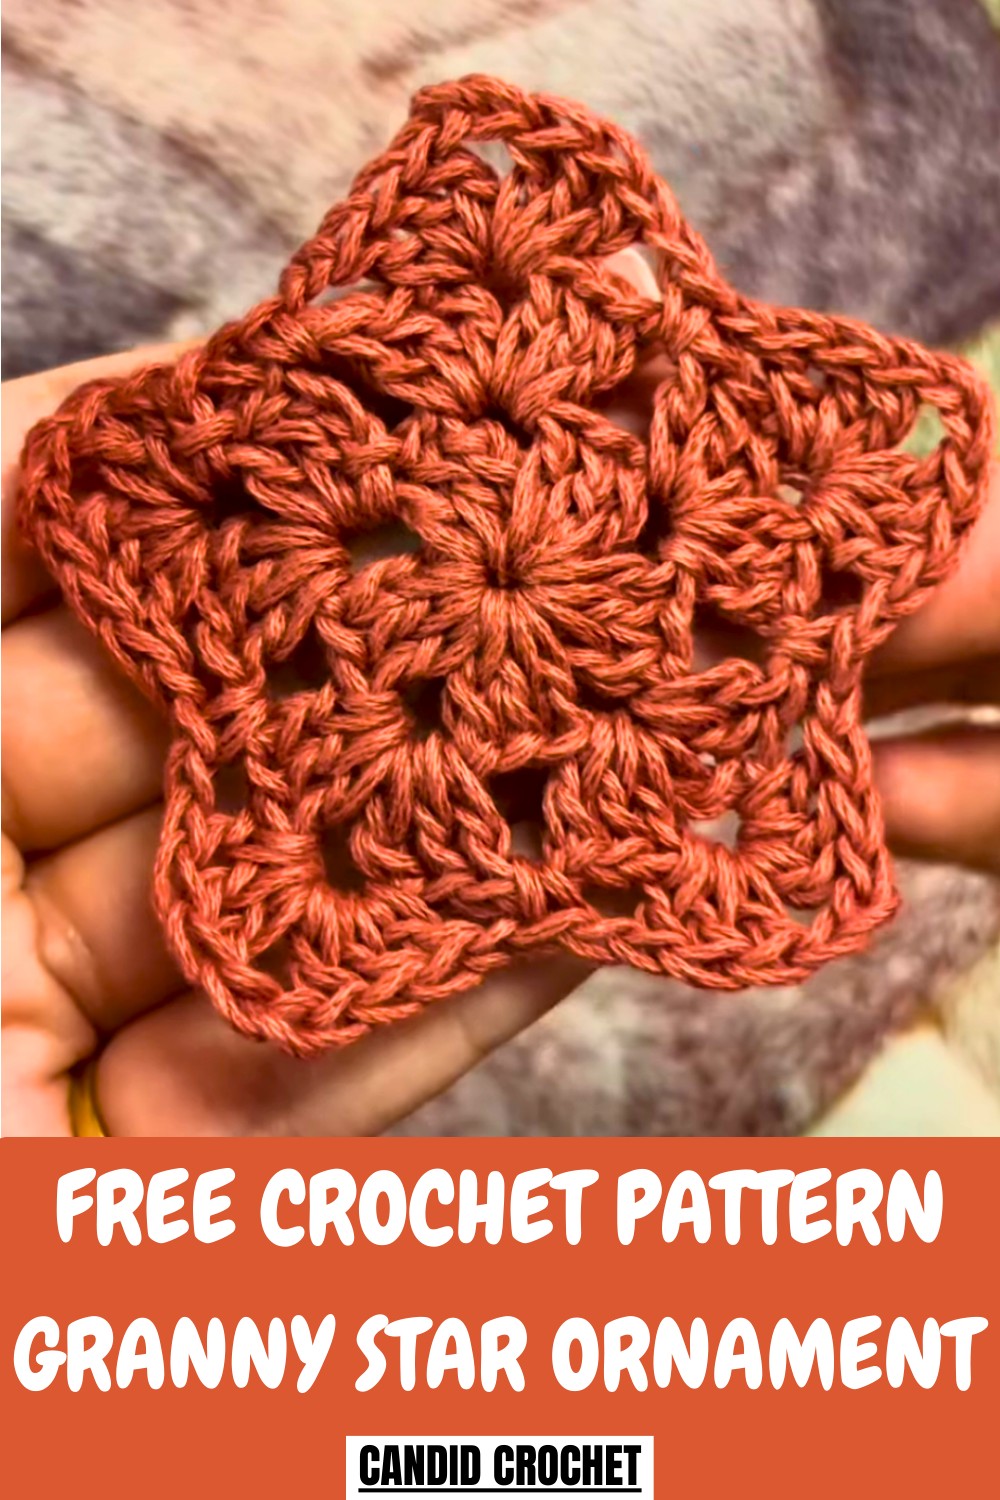
Jazz up your creations with this free Crochet Granny Star Ornament Pattern perfect for hauntingly cool blankets, decor, and quirky styles.
With its timeless charm and intricate yet approachable design, this crochet pattern brings a touch of elegance and whimsy to any space. Perfect for the holiday season or year-round decoration, it features a star-shaped motif that beautifully balances detail and simplicity. The ornamental star stands out not only for its beauty but also for its versatility—you can hang it on your Christmas tree, use it as a gift embellishment, or incorporate it into a garland display.
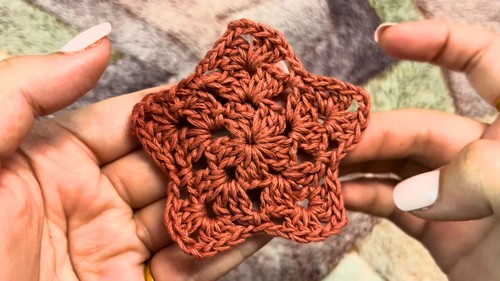
Modern Crochet Granny Star Ornaments You’ll Want for Every Holiday
Crocheting these stars provides soothing moments of creativity, and their lightweight nature makes them easy to use and store. Whether crafted in classic white or bold, festive colors, these ornaments never fail to impress. With the pattern offering clear instructions, even beginners can achieve stunning results. These stars are more than just decorations—they’re a charming way to add a personal, handmade touch to your celebrations and decor, making each piece unique and memorable.
Step-by-Step Guide for the Crochet Granny Star Pattern
Materials Needed
- Fingering weight yarn (or thicker yarn for larger stars like coasters)
- 3 mm crochet hook (adjust hook size based on yarn thickness)
- Scissors
- Tapestry needle for finishing touches
Special Features
- Multi-Purpose: This crochet star can be used for ornaments, coasters, garlands, or decorative embellishments.
- Adaptable Size: You can use thicker yarn and larger hooks to scale up the star for various uses.
- Beginner-Friendly: The project requires only basic stitches including slip knots, slip stitches, and double crochets.
Step-by-Step Instructions
1: Start with a Slip Knot and Chain 4
- Begin by creating a slip knot.
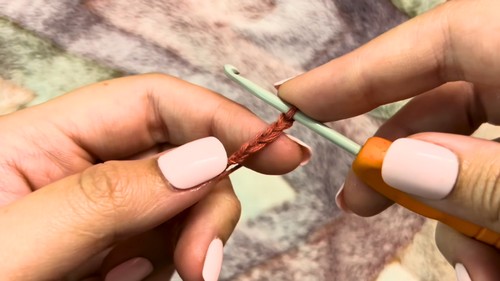
- Chain 4 and secure into a loop with a slip stitch. You will now have a small ring as the foundation.
2: Row 1 – Make the First Five Clusters
- Chain 3 (this counts as your first double crochet).
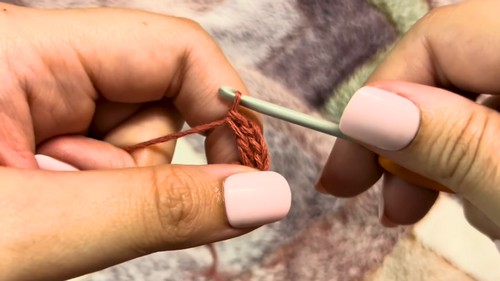
- Work 2 more double crochets into the ring (this completes the first cluster of 3 double crochets).
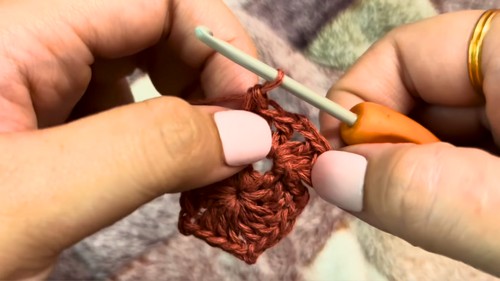
- Chain 2 (for the space between clusters) and repeat 4 more clusters of 3 double crochets each.
- Separate each cluster with chain 2 spaces.

- Slip stitch to the top of the initial chain 3 to close the row.
3: Row 2 – Forming the Chain Spaces and Clusters
- Slip stitch twice to reach the first chain 2 space.
- Chain 3 (counts as double crochet), and work 2 more double crochets in that chain space.
- Chain 2 and make 1 more cluster (3 double crochets) in the same chain space.
- Chain 1 as you transition to the next chain 2 space. Repeat this process in every chain 2 space:
- Make 2 clusters of 3 double crochets each with a chain 2 between them.
- Chain 1 between spaces to avoid drag.
- Finish by slip-stitching into the third chain from your initial chain 3.
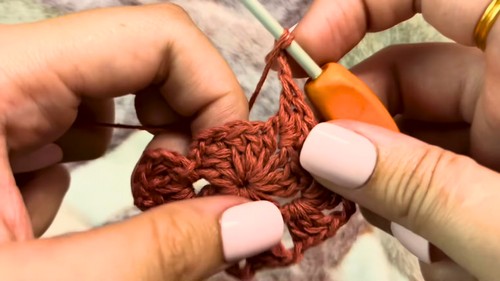
4: Row 3 – Adding Corners for the Star
- Slip stitch twice to work into the next chain 2 space.
- Start with chain 3, then make 2 more double crochets in the chain space. Chain 2, and create a second cluster in the same chain space. This forms the first corner of the star.
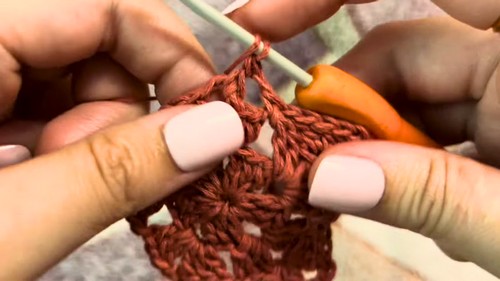
- In between chain spaces, chain 1 and make a single crochet in each chain 1 space.
- Repeat the process in every corner (2 clusters in each chain 2 space with chain 2 in the middle).
- Chain 1 and finish by slip-stitching into the third chain from the initial chain 3.
Tutor’s Suggestions
- If you're new to crochet, check out the detailed videos the tutor links in the description for foundational skills, such as slip stitches, double crochets, and making a magic ring.
- Use thicker yarn and larger hooks if you want to create functional items like coasters.
Level of Difficulty
This pattern is beginner-friendly and builds on basic crochet techniques. If you already know how to make slip knots, slip stitches, single crochets, and double crochets, you’ll find this project simple and enjoyable.
Conclusion
The crochet granny star is an enjoyable and versatile project, perfect for Christmas or everyday use. Its adaptability for different materials and purposes makes it a favorite among crafters. Whether you place it on your Christmas tree or use it as coasters, this project adds charm and creativity to your home décor.
Tip
For a sturdier and more defined star, block your finished piece by pinning it into shape and lightly pressing it with steam. This helps maintain its structure and ensure durability!


