
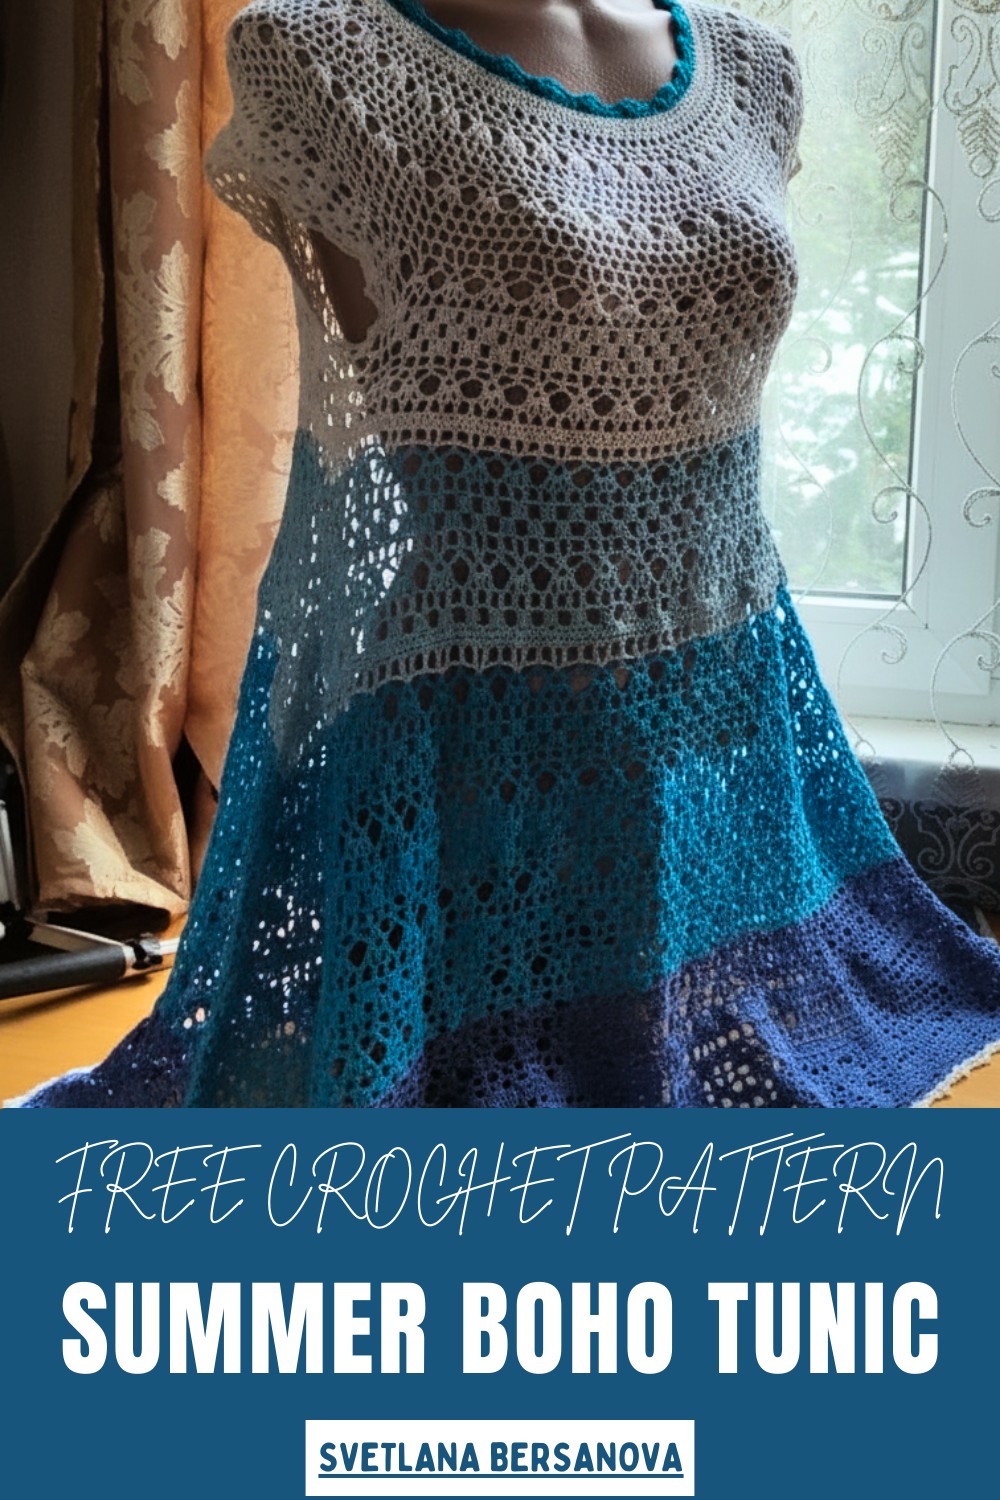
Capture boho vibes with the Free crochet Boho Tunic Pattern, perfect for casual wear, or adding a breezy, stylish accent to your wardrobe.
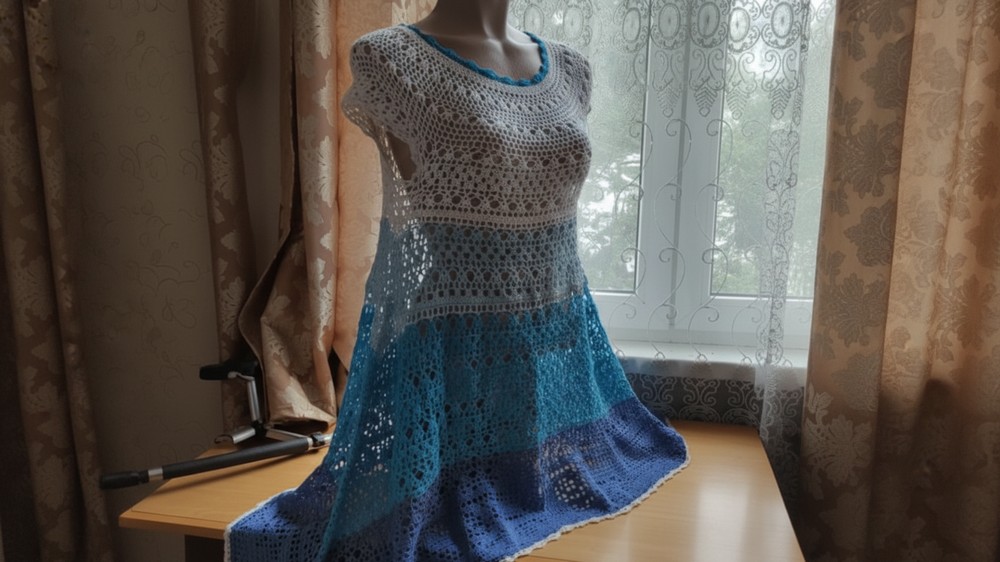
This airy tunic offers effortless style and comfort, perfect for adding a bohemian flair to any wardrobe. Its loose, flowy fit flatters a variety of body shapes, making it an ideal layering piece over leggings, jeans, or even swimwear for beach days. The open‑weave, lace-like crochet stitch not only creates a breezy, lightweight texture but also gives the garment a delicate, handcrafted charm.
Crochet Boho Tunic Pattern That Adds Instant Bohemian Charm
Uses and Materials
-
Uses: Create a stylish, comfortable, and free-fitting BOHO-style tunic, which is perfect for various occasions and weather due to its lightweight construction.
-
Materials:
-
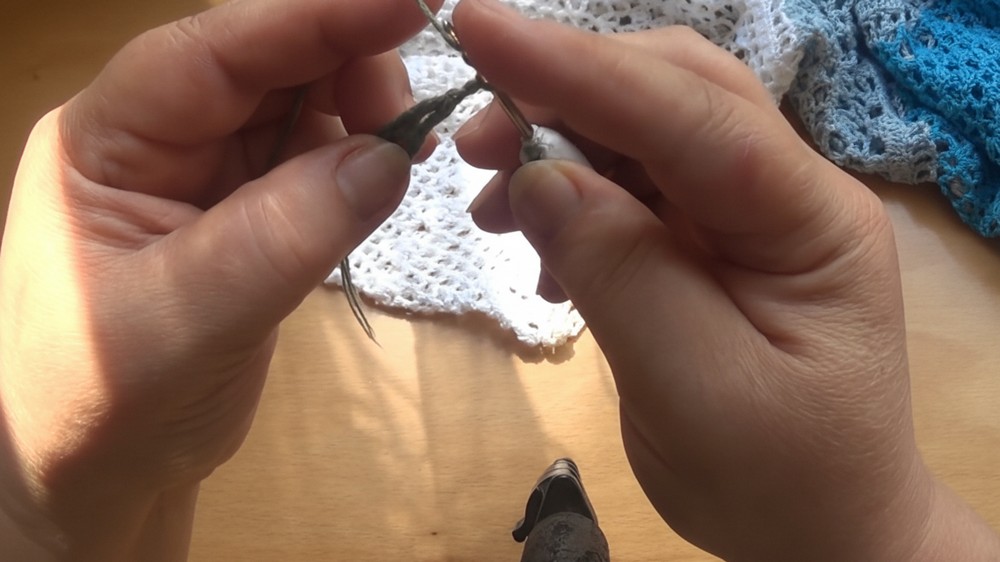
Yarn: Use fine cotton yarn such as Coco Vita Cotton (approx. 240 meters per 50 grams). The tutor demonstrated by using a similar natural Turkish cotton held in three strands to achieve the desired thickness. The finished garment (size 38-44) required about 400 grams (8 skeins).
-
Hook: Use a 2.5 mm crochet hook, though you can adjust this slightly to 3 mm depending on your tension.
-
Special Features
-
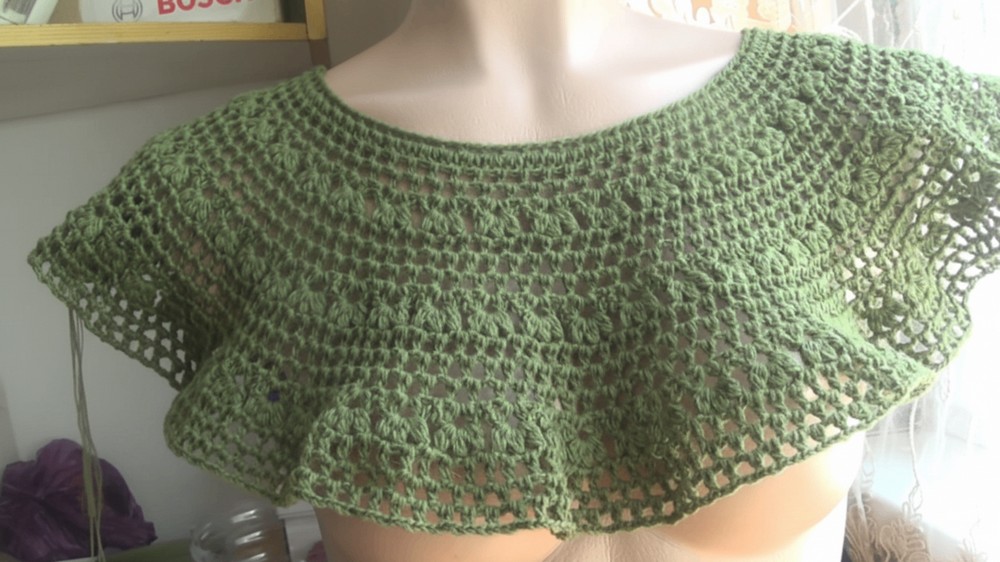
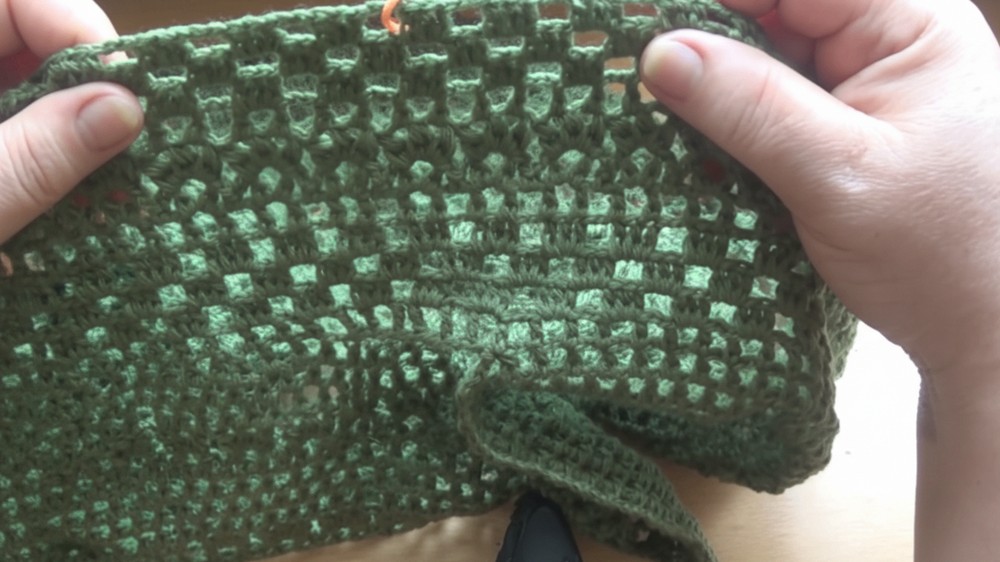
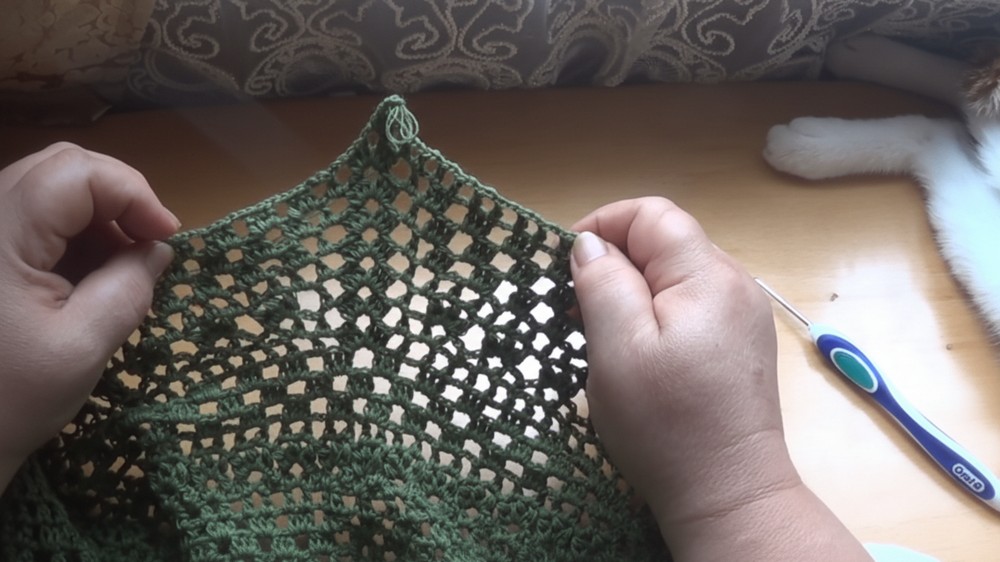
Round Yoke Construction: The garment is worked in the round from the neck down, creating a smooth, circular neckline and shoulder area.
-
Trapezoidal Potential: The yoke is the foundation for the tunic's unique finished trapezoidal shape, which will feature decorative side panels that create flounce at the bottom.
-
Adaptable Sizing: The pattern is easily adjusted for height and circumference by adding or removing the mesh rows between the decorative pattern repeats.
Level of Difficulty
The project is rated as Easy to Intermediate. The pattern is repetitive and manageable for crocheters who are familiar with basic stitches, including double crochet and puff stitches.
Tutor's Suggestions
-
Neckline Sizing is Crucial: Ensure your initial chain length equals your head circumference plus an allowance (e.g., 1-2 cm) for comfortable wearing. Never make the chain shorter than your head circumference.
-
Preventing Rippling (Folding): If your fabric starts to ripple or wave, subtly decrease the stitch count on the decorative rows. You can skip one pattern element (one Y-stitch cluster) approximately every five pattern repeats to correct the circumference.
-
Adjusting Puff Stitches: If your yarn is very thick or fluffy, work the puff stitches with only two yarn wraps instead of three to manage bulk and conserve yarn.
-
Checking the Fit: The finished yoke width must align with your armhole (underarm) line. Try on the piece or compare it to a garment you know fits well.
-
Sizing Adjustments:
-
To achieve a smaller size, reduce the height by eliminating one full pattern repeat or remove mesh rows between repeats.
-
To achieve a larger size (e.g., size 50), add extra mesh rows between the pattern repeats to increase the circumference more rapidly.
-
Crochet Boho Tunic
Simple rectangular panels are joined at the shoulders and sides, making the construction beginner-friendly while still delivering a polished, professional look. Decorative touches like fringe or tassels can be added to enhance its free-spirited, boho vibe.

Beyond aesthetics, this tunic is versatile and functional, serving as casual wear, a stylish cover-up, or even a statement piece for summer outings.
Its breathable design ensures comfort in warm weather while maintaining elegance and individuality.
Combining ease of crafting, visual appeal, and practical use, this crocheted tunic exemplifies the perfect balance of fashion, comfort, and creativity, allowing wearers to enjoy a handmade piece that’s both trendy and timeless.
Conclusion
You have successfully completed the foundation and the decorative yoke section of your BOHO tunic. The resulting piece is a well-shaped circular garment that is now ready for the next stage of the project: dividing the stitches for the sleeves and continuing the body to create the unique trapezoidal shape in Part 2.
Tip
Always try on or block your yoke after completing a few pattern repeats. This is the only way to confirm if the tension and increases are correct for your size and to prevent the fabric from rippling or being too tight later on.


