
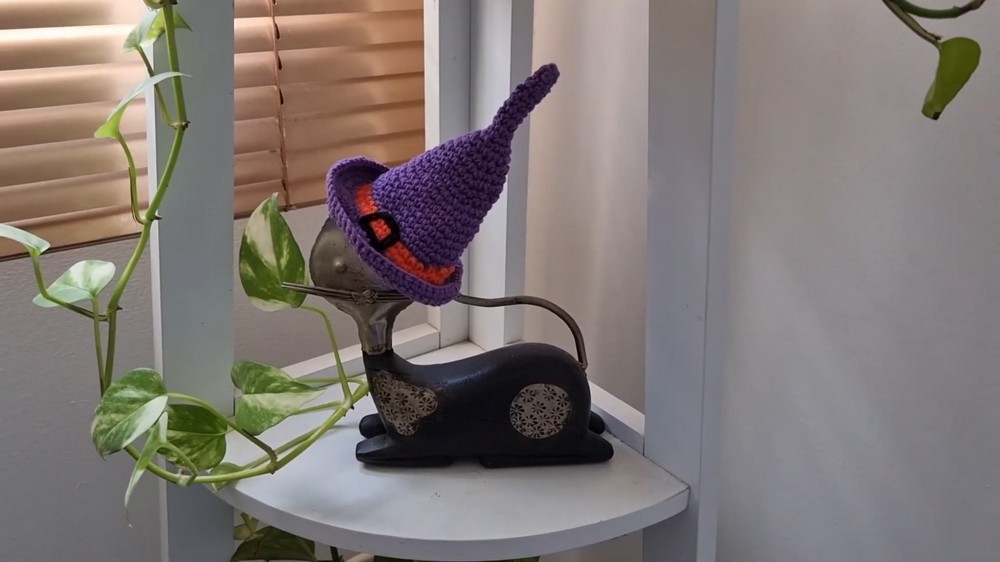
Rock spooky style with the Crochet Halloween Witch Hat Pattern, featuring playful stitches, a pointed design, and a fun, festive accessory.
Halloween crafts bring imagination to life, letting creativity shine through playful and festive projects. A handmade witch hat captures the spirit of the season while allowing personalization in size, color, and embellishments. The Crochet Halloween Witch Hat Pattern is perfect for DIY enthusiasts who want unique, reusable decorations or costumes that outlast store-bought alternatives.
Charming Crochet Halloween Witch Hat Pattern Perfect For Halloween

Using this pattern is better for us because it promotes hands-on skill development, stress relief, and a sense of accomplishment, all while reducing reliance on mass-produced items. Advantages include durability, easy customization, lightweight comfort, and the ability to match any Halloween theme.
Its pointed shape, textured stitches, and creative details give it an eye-catching charm that stands out in party settings or photos. These hats can be used for costumes, mantel decor, party favors, photo props, or even playful everyday wear for themed events. They turn ordinary Halloween celebrations into memorable, crafty experiences filled with style and fun.
How to Crochet a Witch's Hat
Special Features
- Festive Design: The witch's hat is tiny, cute, and perfect for Halloween-themed decorations or accessories.
- Dual Purpose: Can be turned into a keychain or simply used as décor.
- Scrap-Friendly: Requires only small amounts of purple, orange, and black yarn, making it an excellent stash-busting project.
- Beginner-Friendly: The design uses basic crochet techniques like single crochet, increases, and simple color changes, making it easy for beginners to follow.
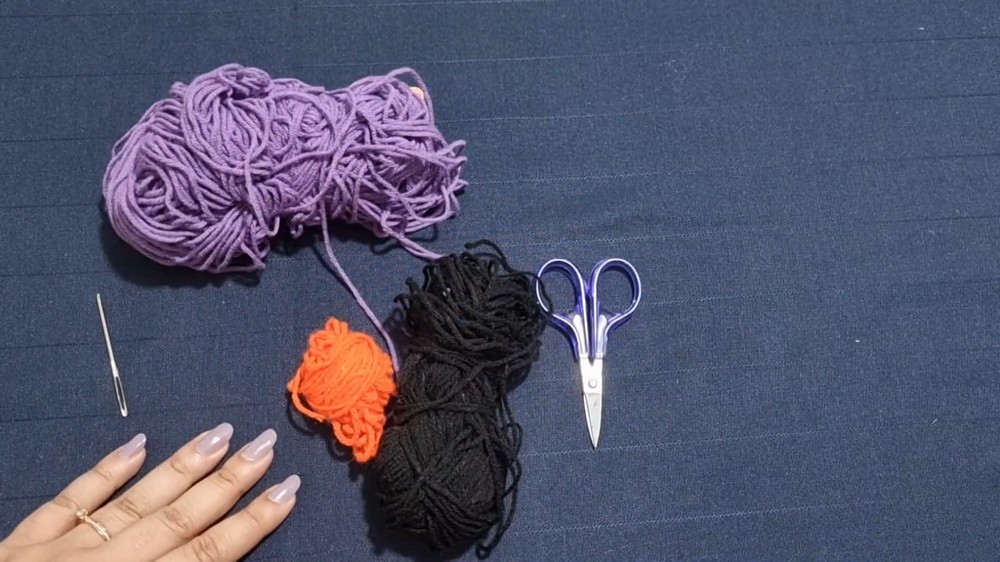
Materials Required
- Yarn: Sport-weight yarn in three colors (purple for the main body, orange for the hatband, and black for detailing).
- Crochet Hook: 2.5mm crochet hook.
- Extras:
- Yarn Needle (to sew pieces together).
- Stitch Marker (optional, to mark beginning stitches, especially for beginners).
- Keychain (if used as a keyring).
- Sharp Scissors.
Step-By-Step Instructions
1. Starting the Hat (Magic Ring)
- Begin with purple yarn.
- Create a magic ring by holding the yarn in two fingers, forming an "X" at the back.
- Insert the crochet hook into the loop, pick up the top yarn, twist it, and pull up a loop.
- Inside the magic ring, crochet 6 single crochets:
- Insert the hook, pull up a loop, yarn over, and pull through two loops. Continue this for a total of 6 stitches.
- Pull the tail of the magic ring to close the loop. This completes Row 1.

2. Building the Hat Body
For Rows 2–9:
- Crochet one single crochet in each stitch for 6 stitches in every row. This creates the foundation of the hat cylinder.
For Row 10:
- Begin increasing: Crochet 1 single crochet in the first stitch, then 2 single crochets in the second stitch (an increase). Continue this pattern for the entire row (single crochet, increase).
- Total stitches: 9 stitches.
For the following rows, continue increasing:
- Row 11: Single crochet in two stitches, followed by an increase (1, 1, 2). Repeat around. Total = 12 stitches.
- Row 12: Single crochet in three stitches, followed by an increase (1, 1, 1, 2). Repeat around. Total = 15 stitches.
- Row 13: Single crochet in four stitches, followed by an increase. Total = 18 stitches.
- Row 14: Single crochet in five stitches, followed by an increase. Total = 21 stitches.
- Row 15: Single crochet in six stitches, followed by an increase. Total = 24 stitches.
- Row 16: Place one single crochet all around for 24 stitches.
Continue following this pattern with gradual increases:
- Row 17: 7 single crochets, then increase. Total = 27 stitches.
- Row 18: Single crochet all around (no increase).
- Row 19: 8 single crochets, then increase. Total = 30 stitches.
- Row 20: Single crochet all around.
- Row 21: 9 single crochets, then increase. Total = 33 stitches.
- Row 22: Single crochet all around (no increase).
- Row 23: 10 single crochets, followed by an increase. Total = 36 stitches.
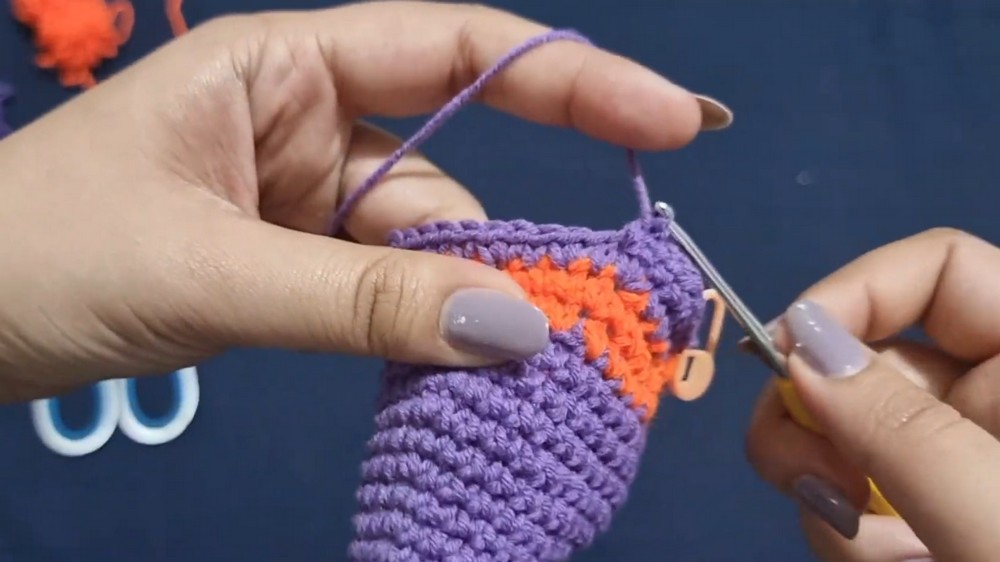
3. Adding the Hatband
- At the end of Row 23, pause before completing the last stitch.
- Switch to orange yarn by placing the orange yarn in front and pulling it through the final loop.
- Crochet two rows of single crochets with orange yarn.
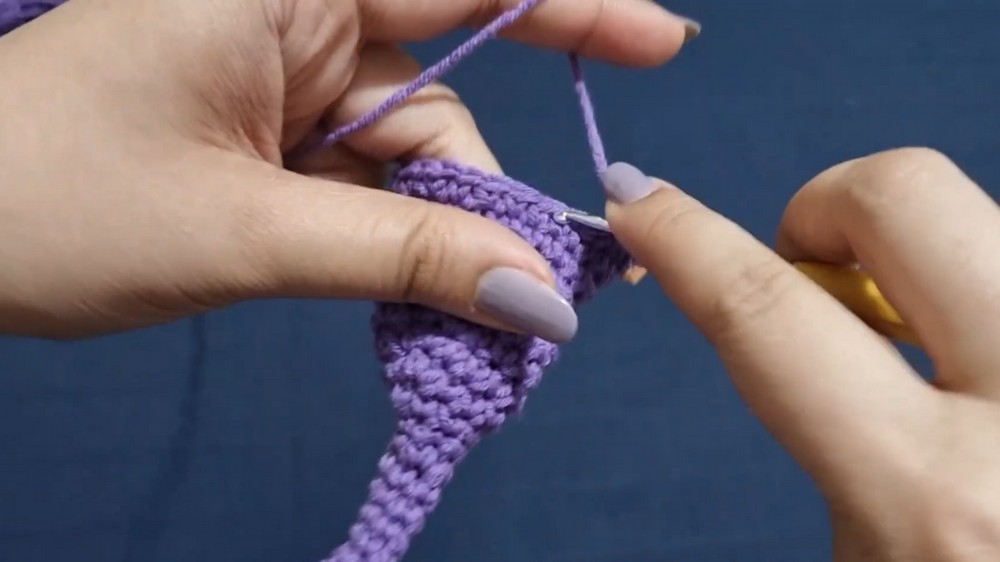
4. Creating the Hat Brim
- Switch back to the purple yarn by laying it in front and completing the last stitch of the orange row with purple.
- Build the hat brim with consistent increases to create a flared shape:
- Next Row: One single crochet in the first stitch, followed by an increase in the next stitch. Repeat around.
- Following Row: Two single crochets, then an increase (1, 1, 2).
- Next Row: One single crochet in the first stitch, followed by an increase in the next stitch. Repeat around.
- Finish the brim by crocheting four rows of single crochets all around, maintaining stitch counts from the previous row.
5. Adding Details
- Use black yarn to create a simple stitched buckle around the orange hatband.
- Tidy up the stitches and weave the yarn ends securely into the project.
Level of Difficulty
This project is designed for beginners or anyone with basic crochet knowledge. The techniques are simple and repetitive, with step-by-step instructions for handling magic rings, single crochets, increasing, and color changes. The only slightly tricky part might be switching colors, but it's explained clearly.
Tutor's Suggestions
- Use scrap yarn: This cute project only requires a small amount of yarn, making it great for using any leftover materials.
- Work slowly on the increases: The tutor advises practicing the gradual increase technique to ensure even shaping.
- Fold the brim: After finishing the brim, fold the edges slightly to shape the witch's hat neatly.
Uses and Applications
- Keychain: Add a keyring on top to transform this witch’s hat into a fun Halloween accessory.
- Amigurumi Topper: Use it as a decorative accessory for your crochet dolls or figurines.
- Halloween Decoration: Perfect as a small, festive ornament for Halloween décor.
Pro Tip
Switching colors can sometimes leave a messy transition. To avoid this, carefully pull the new yarn color through the last loop of the previous row before starting the next stitch. This ensures a seamless, clean color change.
Conclusion
This crocheted witch's hat is a delightful and beginner-friendly project, perfect for the Halloween season. Whether as a keychain, decoration, or amigurumi topper, it's a versatile and fun way to use up any leftover yarn scraps. By following the steps and tips provided by the tutor, you’ll have a charming Halloween piece in no time. Don’t forget to share your creation and subscribe to the channel for more fun crochet ideas.


