
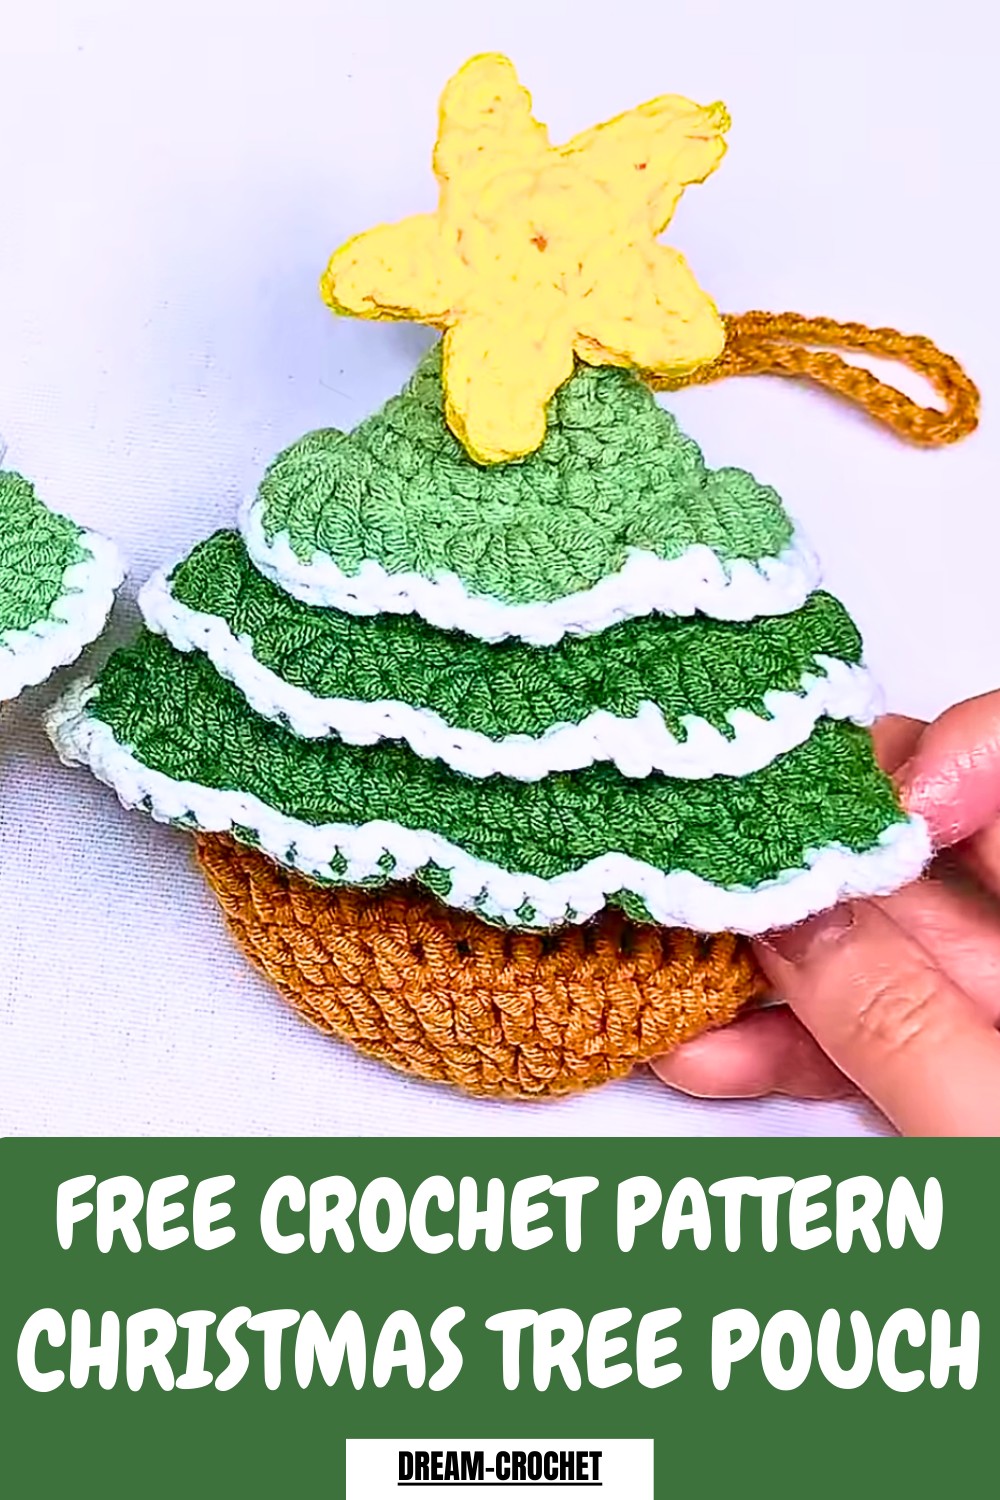
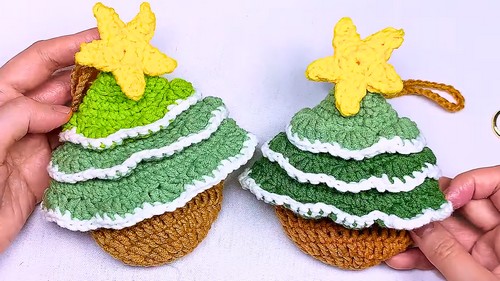
Festive storage idea sparkles with this Crochet Christmas Tree Pouch Pattern, perfect for holding gifts and seasonal essentials with joy.
This pattern presents a festive way to create a charming pouch shaped like a tree, combining functionality with seasonal style through the Crochet Christmas Tree Pouch Pattern. The pouch serves multiple uses, such as holding small gifts, coins, accessories, or holiday treats, while also working as a decorative accent for celebrations.
Cheerful Crochet Christmas Tree Pouch Pattern Spread Smiles
Its compact size makes it easy to carry, gift, or display, adding a handmade touch to seasonal décor. The design encourages creativity with color choices, embellishments, and closures, making each pouch feel unique.
Working on this project supports focus, relaxation, and skill improvement, offering a satisfying result in a short time. With its festive appearance, practical storage purpose, and customizable details, this pattern delivers a balanced blend of beauty and usefulness that enhances holiday moments with warmth and charm naturally.
Step-by-Step Details
1. Making the Brown Pouch Base
- Begin by crocheting the pouch base using a magic ring technique.
- Make a turning chain and proceed with 10 double crochets into the magic ring. Pull the tail tight to close the ring.
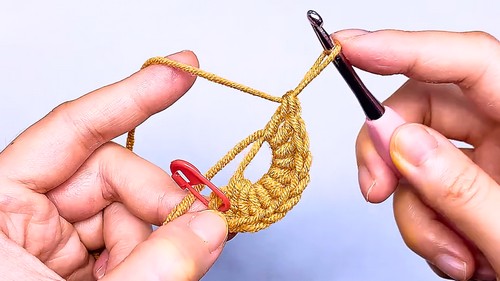
- Use slip stitches to join the round and start the next rounds.
- Continue working in rounds, gradually increasing stitches with double crochet increase stitches, until the base of the pouch achieves the desired size. From rounds 4 to 8, maintain a constant 30 double crochets per round.
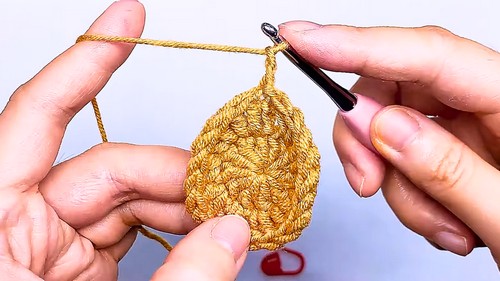
- After round 8, introduce double crochet decrease stitches and continue shaping the pouch until you reach round nine.
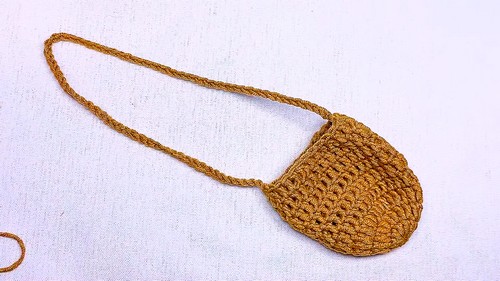
- Finish off the pouch's main body and attach the 70-chain strap symmetrically across the top edge of the pouch with slip stitches.
2. Creating the Christmas Tree Leaves
- Crochet leaves in rows simulating the layered edges of the Christmas tree.
- Work back loop single crochet stitches for texture and depth.
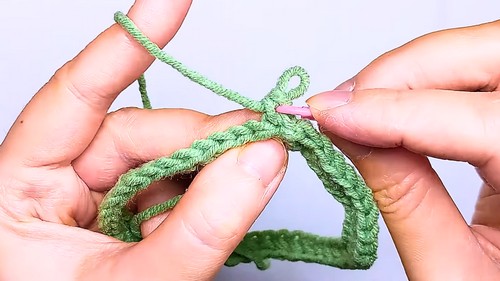
- Use single crochet increases and decreases to gradually shape the leaves, adjusting stitch counts each round.
- Alternate between rows with layered textures, creating additional sets of leaves with color changes as desired. Some rows include groups of double crochets for a wavy effect.

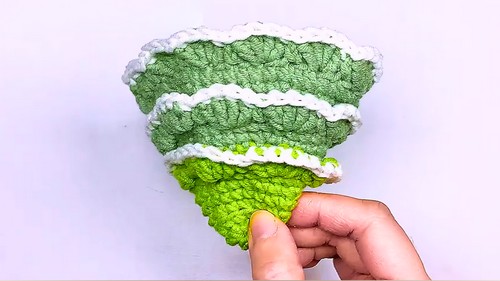
3. White Edging
- Add final white edging on the tree to simulate snow. Work single crochet stitches and slip stitches atop the existing layers of leaves. Repeat this step for each row of leaves to enhance the charm’s intricacy.
4. Crocheting and Attaching the Star Topper
- Create a magic ring and crochet 10 single crochets for the base of the star.
- For each point, combine chains, single crochets, half-double crochets, and slip stitches. Repeat this process five times to form all points.
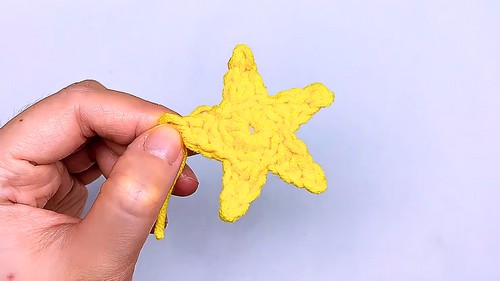
- Make two identical star pieces, sew their edges together, and hide loose ends.
- Attach the star to the top of the Christmas tree with hot glue or sewing.
Special Features
- Compact Design: The pouch is perfectly sized for small items.
- Layered Details: The layered tree leaves and snowy edging create a realistic Christmas tree look.
- Customization: You can switch up yarn colors and experiment with alternate patterns for the star or leaves to personalize the charm.
- Multi-Purpose Use: Hang it on your bag, use it as an ornament, or gift it as a keepsake.
Level of Difficulty
This project is suitable for beginners and intermediate-level crocheters, as it includes clear instructions and demonstrates fundamental techniques. Beginners may take extra time learning techniques like magic rings, increase and decrease stitches, and assembling multiple crocheted components.
Tutor’s Suggestions
The tutor emphasizes using five-ply cotton yarn and a 4 mm crochet hook, but she encourages viewers to experiment with yarn and hook sizes for variety. She suggests using stitch markers to keep track of rounds and points, especially for beginners. Additionally, she recommends using hot glue for convenience when attaching the star topper, though sewing is an alternative.
Materials Required
- Five-ply cotton yarn in brown, green(s), white, and yellow
- 4 mm crochet hook
- Stitch markers
- Sewing needle
- Scissors
- Fiberfill stuffing (optional for sturdiness)
- Hot glue (optional for attaching the star)
Tip
When crocheting the Christmas tree leaves, use stitch markers to keep track of each "layer's edges" and ensure proper alignment. This will make the tree symmetrical and more visually appealing.
Conclusion
This Christmas tree pouch charm is a creative, seasonal project that combines functionality with festive décor. Its compact size, decorative layers, and versatility make it perfect for gifts, ornaments, or holiday-themed accessories.


