
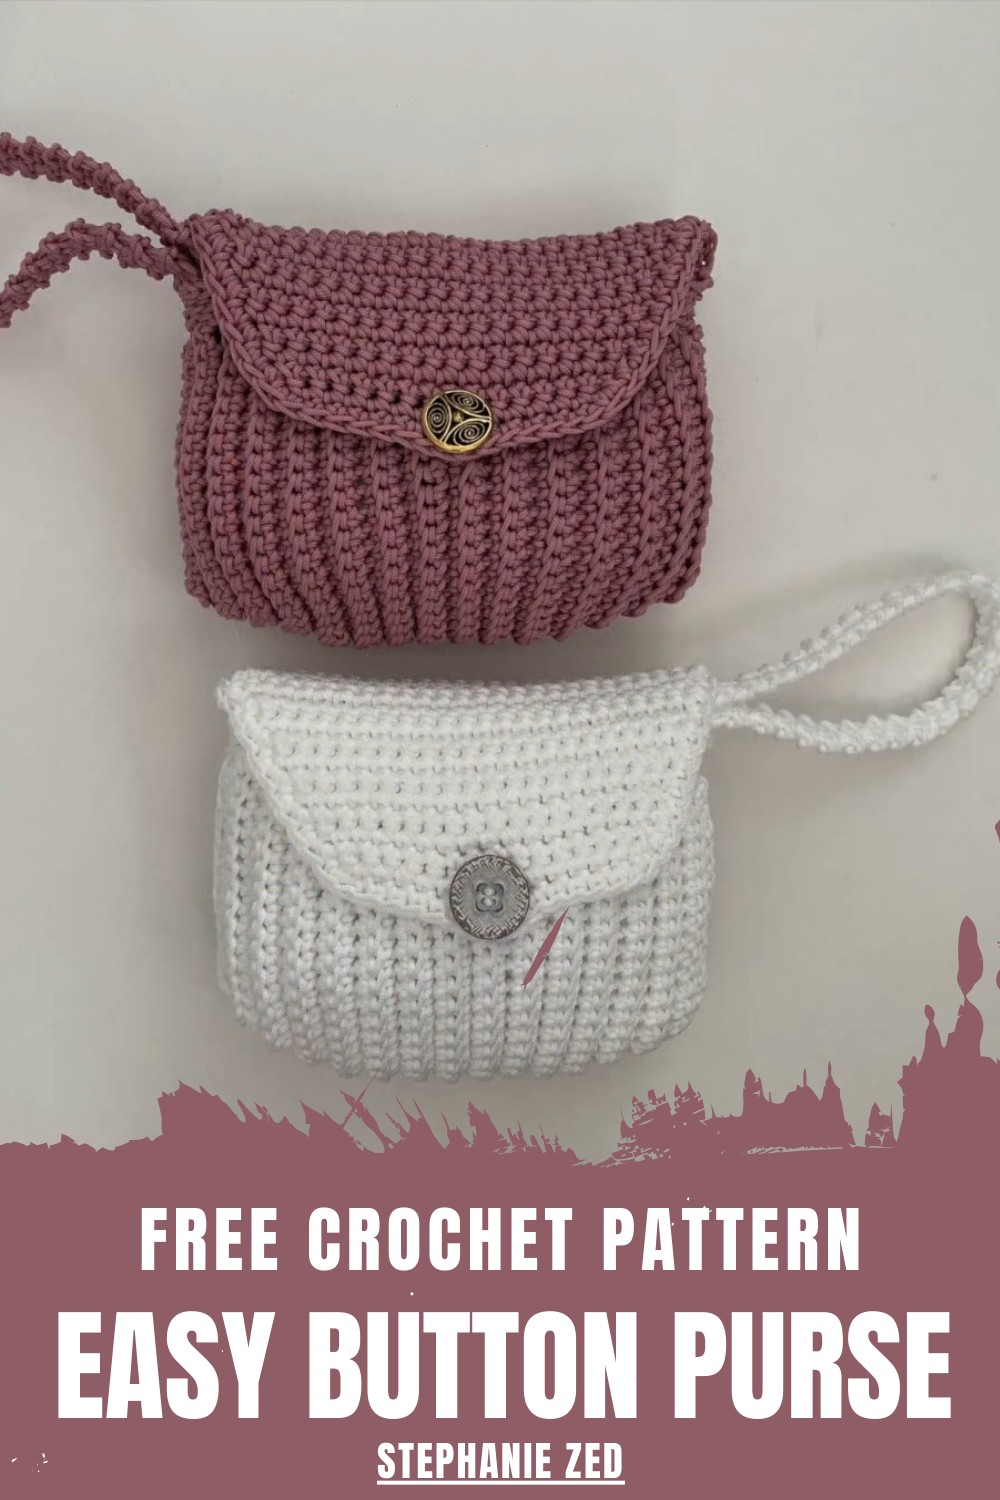
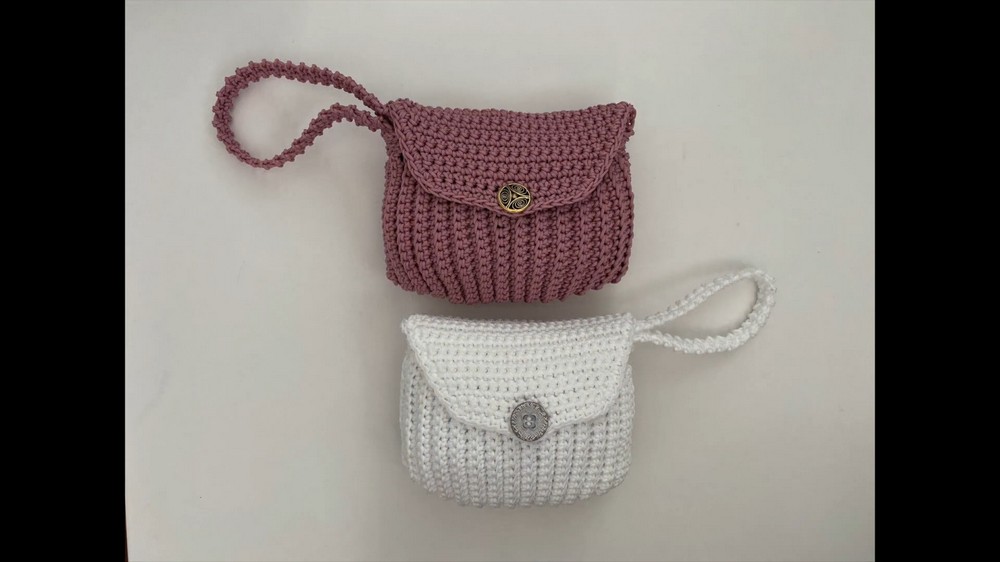
Style smartly with this Free Crochet Cord Purse Pattern for sturdy, chic bags suited for daily use with rich texture and modern appeal.
Building a sturdy and sophisticated accessory for your daily collection is an effortless endeavor when utilizing a Crochet Cord Purse Pattern. This specialized guide provides the foundation for a durable, structured handbag that maintains its elegant shape even when filled with essentials. The design utilizes thick, resilient cords to create a dense fabric that offers a modern, architectural look, serving as a perfect companion for both professional office settings and weekend outings.
Compact Crochet Cord Purse Pattern Carry Style Everywhere
A major benefit of this specific style is its exceptional longevity and strength, as the cord material resists stretching and wear over time. By selecting neutral tones or vibrant jewel colors, you produce a high-quality item that radiates an artisanal, boutique-level finish.
The overall aesthetic is one of clean lines and tactile depth, ensuring the final product remains a timeless staple. This purse empowers you to create a functional masterpiece that combines practical security with a sleek, polished silhouette for any modern wardrobe.
Crochet Cord Purse Pattern
Special Features
- Durable Material: The purse is made using craft twine, which provides durability and a natural aesthetic appeal.
- Customizable Design: The size, strap length, and even colors can be adapted to your preference, making it highly versatile.
- Simple Construction: The design primarily revolves around single crochet stitches and basic crochet techniques, making it approachable for many.
- Button Closure and Flap: The easy-to-make flap and button-secured closure ensure functionality while enhancing the design.
- Unique Strap (Romanian Point Lace Cord): The strap is made using the Romanian Point Lace Cord, which gives the purse an elegant and consistent finish.
Step-by-Step Details
Materials Needed
- Craft twine: Approximately 150 meters (2mm thick, Dollarama brand used in the video).
- Button: Used for the closure of the purse.
- 5mm crochet hook (may need to switch to 3.75mm for tighter stitches).
- Scissors.
- Darning needle: For sewing the seams and weaving in ends.
- Two stitch markers.
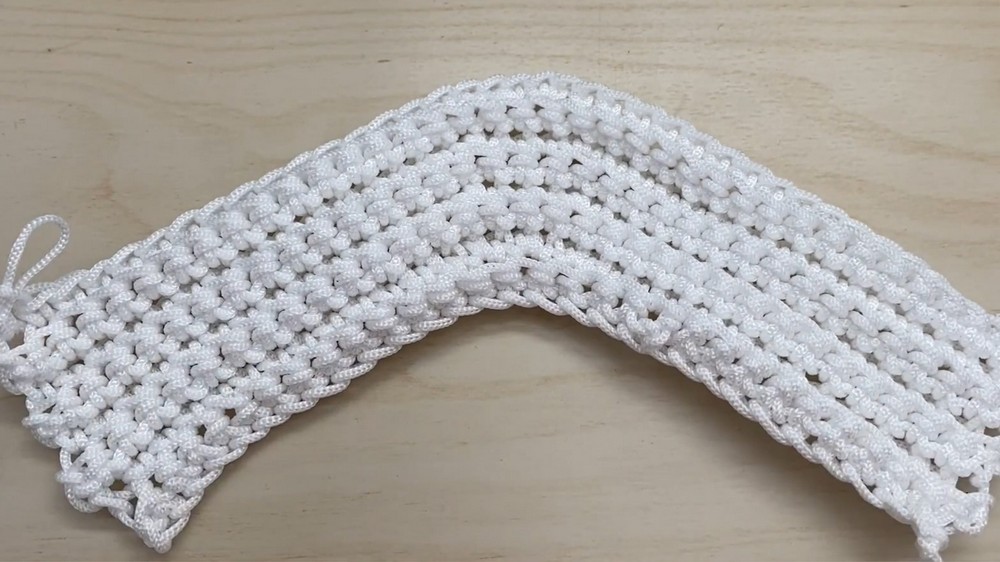
Step 1: The Foundation and Base
- Start with a Slip Knot: Leave a 12-inch (30 cm) tail to sew the sides later.
- Chain 30 Loosely: This forms the base of the purse, measuring approximately 9 inches (23 cm).
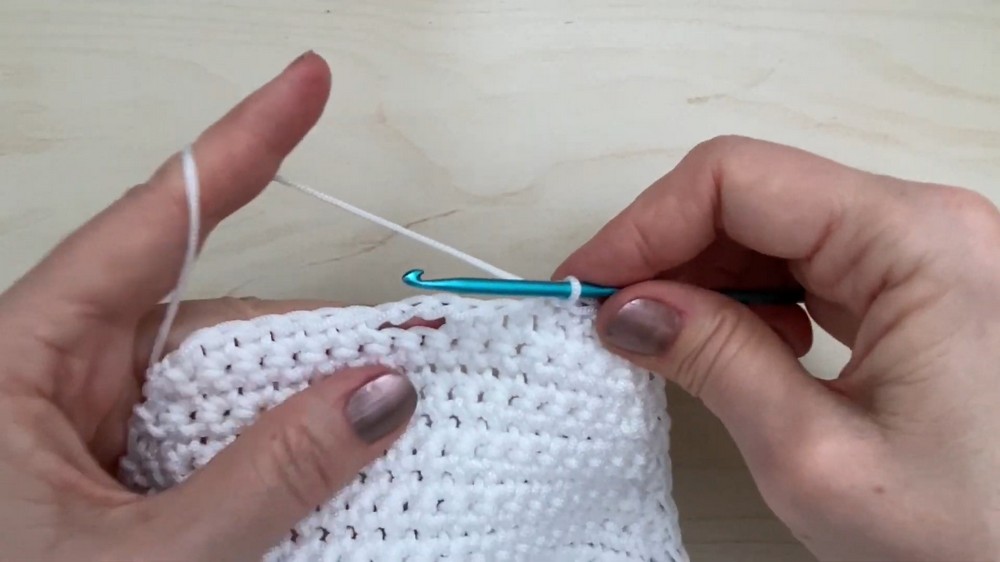
- Row 1: Single Crochet into Back Loops Only:
- Begin in the second chain from the hook.
- Place 1 single crochet in each chain across for a total of 29 stitches.
- Chain 1 and turn.
- Row 2: First Increase Row:
- Single crochet in the back loop of the first 13 stitches.
- In the next 3 stitches, make 2 single crochets in each (increases).
- Finish the row with 13 single crochets.
- (Result: 32 stitches).
- Row 3:
- Single crochet through the back loop in all 32 stitches, chain 1, and turn.
- Next Few Rows:
- Alternate between single crochet rows and gradual increases every few rows to reach a total of 38 stitches by Row 8.
- From rows 9 to 22, simply single crochet in each stitch without increases.
Step 2: Shaping the Purse Body
- After Row 22, fold the work in half to see how the purse will take shape.
- Begin gradual decreases after Row 22 to shape the top:
- For Row 23: Start with 17 single crochets, then perform 2 single crochet decreases in the next 2 sets, ending with 17 single crochets (total: 36 stitches).
- Follow a similar pattern, decreasing a couple of stitches per row until Row 30, where you’ll end with 29 single crochets.
- Leave a 12-inch (30 cm) tail. Use the darning needle to seam the sides of the purse. Use the outer loops of the stitches to create neat and strong seams.
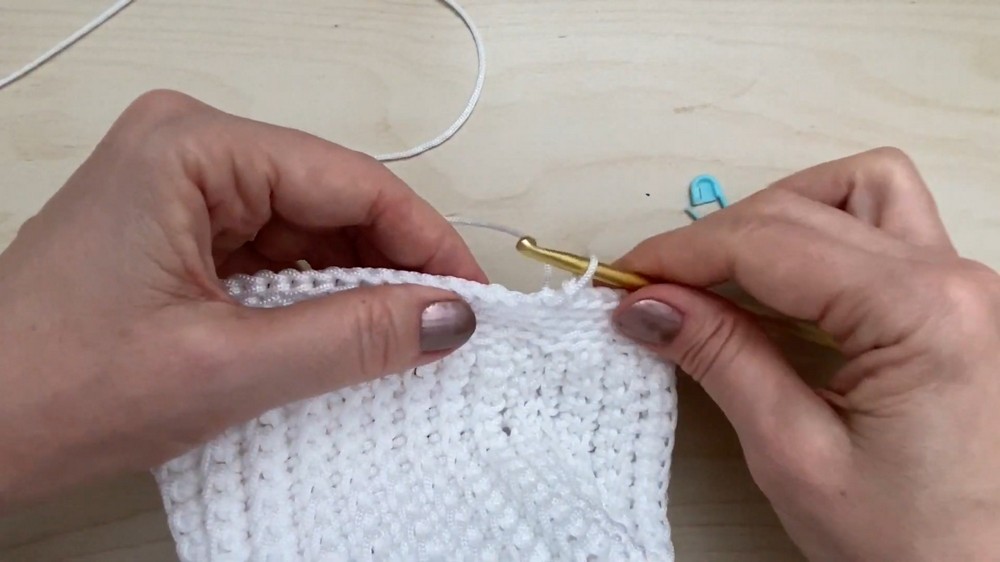
3: Adding a Top Edge
- Turn the purse right-side out.
- Using your yarn, slip stitch across the top edges of the purse:
- Start from one end of the opening and work slip stitches into each row at the edge.
- Work 4–5 rows of slip stitches to create a thicker edge.
4: Making the Flap
- Place two stitch markers 28 stitches apart to mark the section where the flap will attach.
- Beginning from one marker, crochet the flap:
- Row 1: Work 28 single crochets (use a smaller crochet hook, e.g., 3.75mm, for a neater finish).
- Row 2: Chain 1, turn, skip the first stitch, and single crochet across (27 stitches).
- Continue this decrease pattern for 14 rows, reducing one stitch per row.
- Buttonhole Creation (Row 15):
- Skip 2 stitches in the middle, leaving a buttonhole. Complete the row with additional single crochets.
- Test the buttonhole size to ensure your button will fit snugly.
- Work a round of single crochets along the outer edge of the flap for neatness, especially around the buttonhole area.
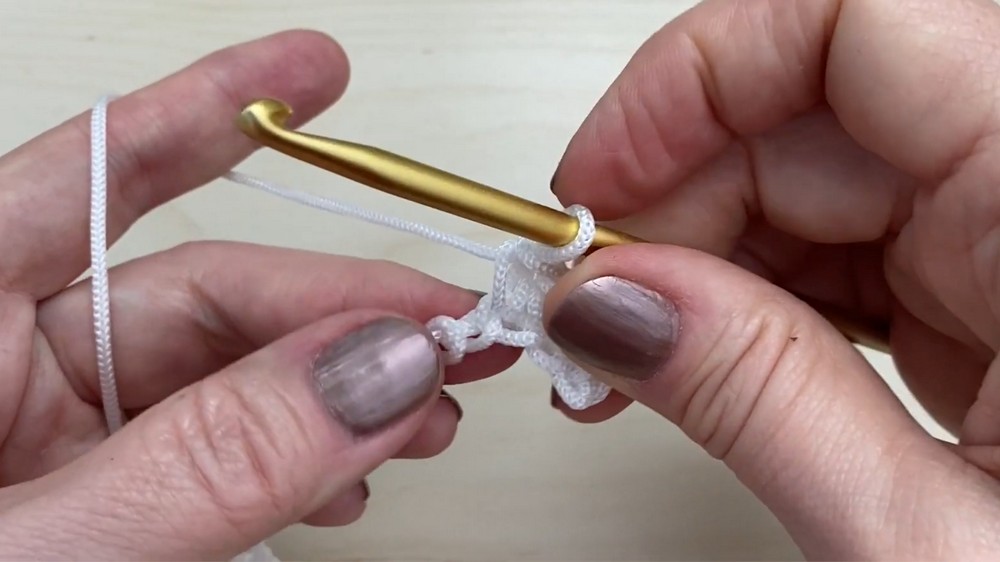
5: Adding the Strap (Romanian Point Lace Cord)
- Create a Romanian Point Lace Cord for the strap:
- Start with a slip knot and chain 3.
- Single crochet into the second chain, slip stitch into the first chain, then twist your work slightly.
- Identify the "V" shape and loop below it; single crochet into the "V" and slip stitch into the loop.
- Repeat the process, forming a rounded, textured cord.
- Make the cord as long as desired (short for a clutch, long for a shoulder bag). Attach the strap securely to the sides of the purse.
Level of Difficulty
The project is beginner-to-intermediate level. Beginners familiar with basic crochet stitches (slip knot, chain, single crochet, and decreases) should find the pattern manageable. Working with twine instead of yarn adds a slight challenge due to its stiffness.
Tutor’s Suggestions
- Start Slowly: The tutor suggests taking your time with the first few rows, particularly since crocheting with twine can be more challenging than regular yarn.
- Adjust Tension: Try to keep your stitches loose, especially when working with the Romanian Point Lace Cord.
- Switch Hook Sizes: If stitches become too tight, the tutor recommends switching from a 5mm hook to a 3.75mm hook to work certain parts more effectively.
Uses and Applications
- Daily Use: The twine purse is durable and perfect for carrying small items.
- Gift Idea: A handmade purse makes a thoughtful and unique present.
- Customization: The design is adaptable, allowing for different sizes, colors, strap lengths, or materials.
Tip
When using crochet twine, take frequent breaks to avoid strain on your hands, as the material can be tough to work with over long periods.
Conclusion
This delightful crochet project teaches you how to transform affordable materials into a charming and functional purse. From shaping the base to adding the strap, every step is straightforward and customizable. With patience and creativity, you’ll end up with a handcrafted accessory that’s as practical as it is stylish.


