
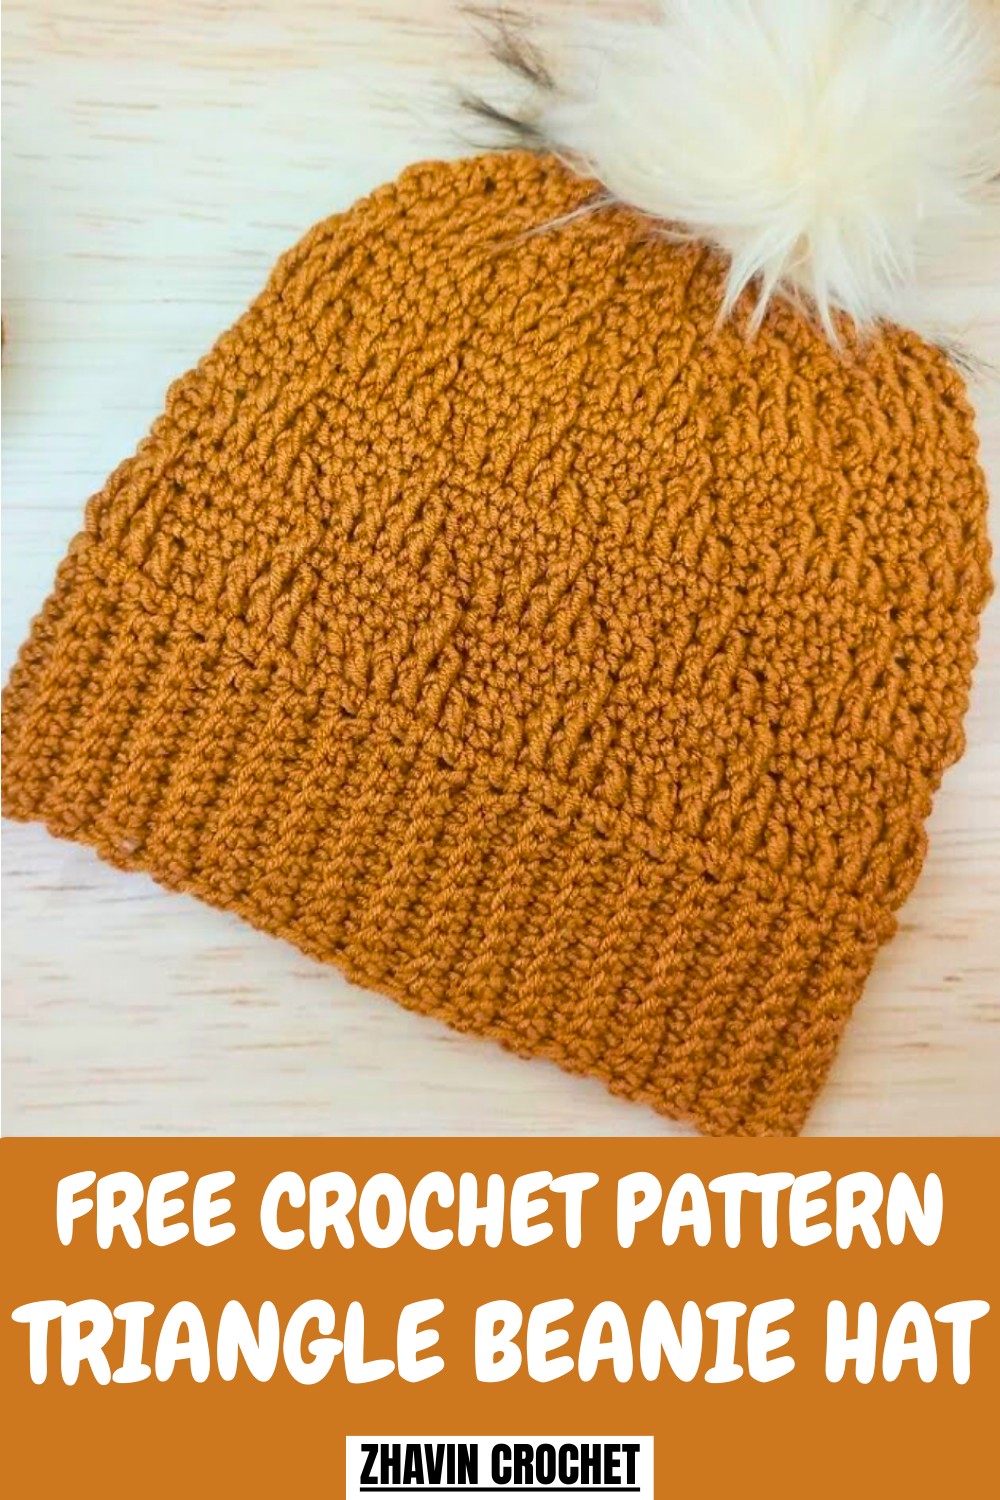
Stay cozy and trendy with this Crochet Triangle Beanie Pattern, perfect for stylish warmth, comfortable wear, and easy-to-follow instructions.
A sleek and cozy accessory begins to emerge with each stitch, transforming simple yarn into a stylish piece that combines comfort with modern flair. Perfect for chilly days, outdoor adventures, or adding a fashionable touch to everyday outfits, this beanie balances warmth, practicality, and trendiness. The Crochet Triangle Beanie Pattern guides every step with clear instructions and structured shaping, allowing makers to create a polished, well-fitting hat that maintains its shape while being soft and comfortable.
Modern Crochet Triangle Beanie Pattern for Everyday Wear
Its distinctive triangular silhouette adds a contemporary edge, setting it apart from traditional designs, while versatile sizing ensures it suits various head shapes and preferences. The pattern also allows room for personalization—colors, yarn textures, and subtle stitch variations can be adapted to reflect individual style, making each finished piece unique. Working on the project encourages a calm, focused experience, providing a meditative rhythm that is both relaxing and rewarding.
Lightweight yet cozy, the completed beanie is easy to wear, layer, and pair with different wardrobe choices, making it a practical yet stylish addition to any collection. Combining elegance, function, and creative flexibility, this pattern delivers a fashionable accessory that enhances both comfort and personal expression in a simple, delightful way.
Step-by-Step Details
1. Materials Used:
- Yarn: Category 3 yarn
- Hook Sizes:
- 4mm hook for the brim.
- 5mm hook is suggested for better results in the body section (though the tutor uses a 4.5mm hook for demonstration).
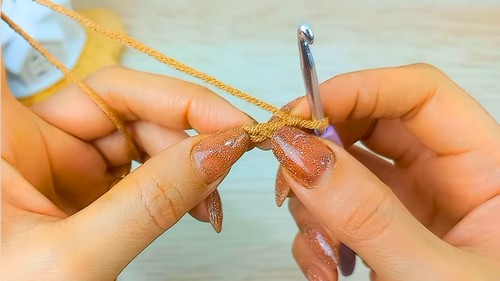
2. Creating the Brim:
- Switch to the smaller hook (4mm).
- Start with a slip knot, then create a foundation of 11 chains.
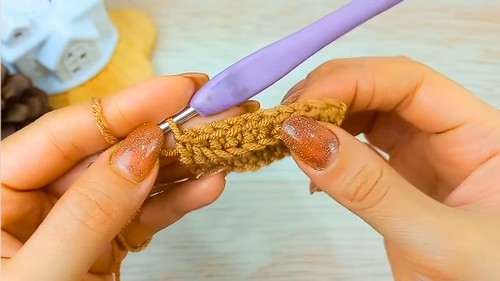
- Begin the first row by skipping the first chain. Work single crochets (sc) starting in the second chain and complete the row (10 stitches in total).
- Turn the work and begin row two with one chain. Perform one single crochet in the first stitch, then work "back loop only" single crochets on the 8 middle stitches. End with a regular single crochet under two loops.
- The ribbing develops as you continue this process. Repeat this row until the brim's length equals your head circumference.
- Ensure the total number of rows is a multiple of six for pattern alignment. For example, the video demonstrates making 66 rows.
3. Joining the Brim:
- Fold the band in half, aligning edges.
- Use slip stitches to join row one and the last row of the brim, creating a seamless tube.
4. Starting the Body:
- Switch to the larger hook (5mm recommended).
- Work one single crochet for every row of the brim. For the given example (66 rows), crochet 66 single crochet stitches in total around the brim tube.
- Create a slip stitch to join the first and last stitches, completing round one.
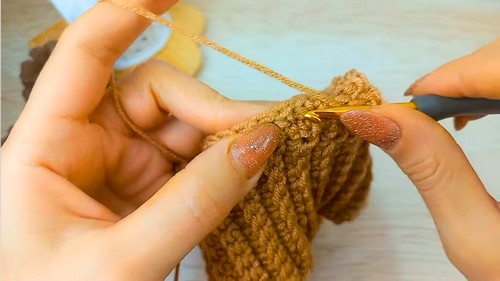
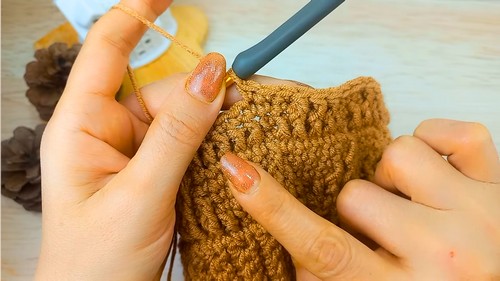
5. Triangle Patterns in the Body:
- Use a combination of:
- Single crochet stitches (sc).
- Front post double crochets (fpdc). These stitches are worked around the posts of stitches two rounds below, forming the triangular design.
- Follow these steps:
- Alternate between groups of front post double crochets (fpdc) and single crochets to build the triangle shapes.
- Gradually decrease the number of stitches in the pattern (e.g., transitioning from 5 fpdc to 3, and eventually to 1).
- After decreasing to 1 front post double crochet, swap the pattern segments to create interlocking triangles.
- Repeat rows 3 to 14 for the desired body height.
6. Crowning the Beanie:
- To form the crown, begin decreasing the number of stitches.
- Incorporate decreases by working one stitch over two, creating a rounded top.
- Work front post double crochets at select points to maintain the triangular design while reducing the stitch count.

7. Finishing Touches:
- Close the gap at the top of the hat by securing the remaining stitches together.
- Attach a pom-pom for a polished and decorative finish.
Special Features
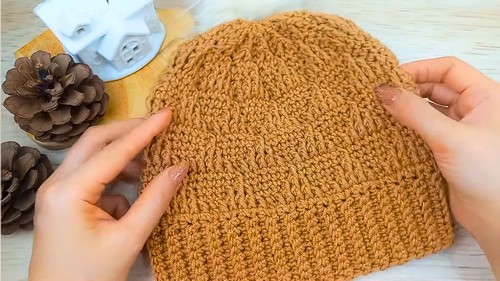
- Elegant Triangular Design: The standout feature is the recurring triangle motif that adds texture and detail to the beanie.
- Ribbed Brim: The ribbing creates elasticity, ensuring a comfortable fit for various sizes.
- Repetition for Simplicity: Most of the hat's pattern is based on repeating rounds and basic stitches like single crochet and front post double crochet.
Tutor's Suggestions
- Use a larger hook (5mm) for smoother and looser work in the main body.
- Ensure the brim rows are a multiple of 6 for accurate pattern alignment.
- The video provides a reminder on proper tension and even stitching, crucial for maintaining pattern symmetry.
Difficulty Level
The project is beginner to intermediate level. While it involves fairly basic stitches (single crochet and front post double crochet), the accurate placement of stitches in earlier rounds may challenge beginners slightly.
Uses and Applications
- This beanie is perfect for teens or adults, as it features an adjustable brim size.
- It makes for a functional yet stylish piece to wear in cold weather.
- The triangle design provides a chic, textured aesthetic, making it ideal for gifting.
Materials Needed
- Yarn: Category 3 yarn.
- Crochet hooks: Sizes 4mm and 5mm (recommendation: switch according to the desired tightness).
- Pom-pom: Optional but adds a fun accent to finish the beanie.
Tip from the Tutorial
When working with front post double crochets (fpdc), make sure to accurately skip stitches behind the post stitches. This ensures the pattern aligns correctly without creating an uneven appearance.
Conclusion
This video presents a comprehensive guide to crocheting a stylish beanie with a textured triangular design. With clear instructions and stunning results, it serves as an excellent project for both skill-building and creating a practical accessory. Whether you're making it as a gift or for personal use, this beanie is both fun to create and highly wearable!


