
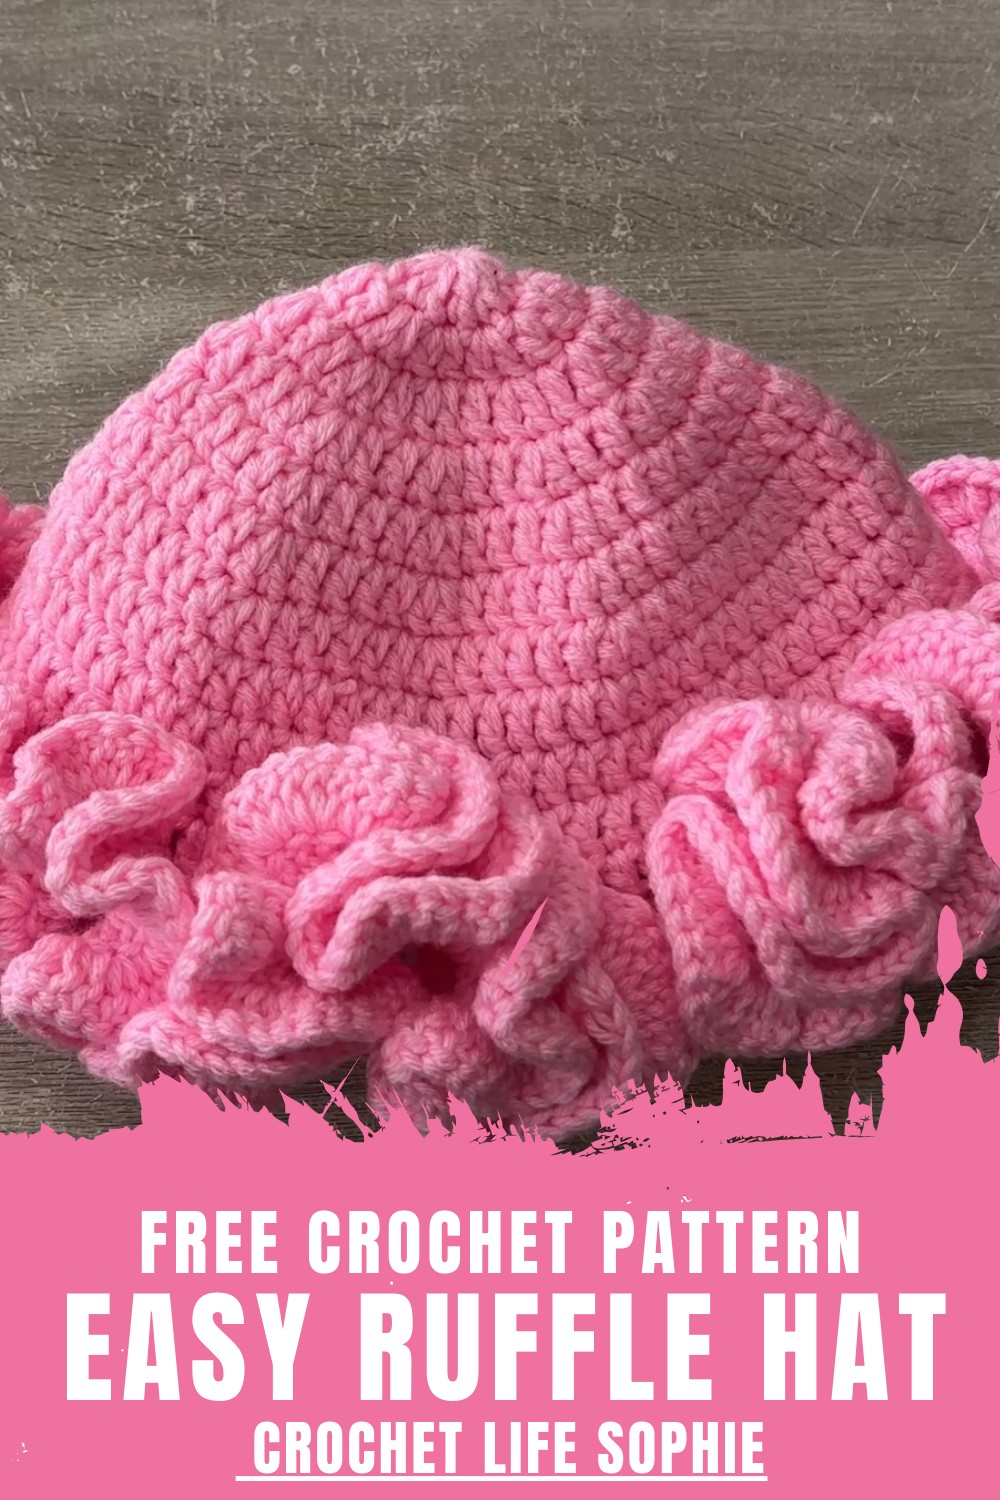
Revise your summer wardrobe utilizing this free crochet ruffle hat pattern, which creates wavy borders excellent for many fashionable events.
A soft, eye-catching accessory with flowing details adds charm and warmth to everyday outfits. The Crochet Ruffle Hat Pattern focuses on gentle layers that create movement and visual interest while maintaining a comfortable and secure fit. Its delicate edging frames the face nicely, giving the hat a stylish yet balanced appearance suitable for both casual wear and special moments. This pattern works well across seasons, offering light coverage without feeling bulky.
Coquette Crochet Ruffle Hat Pattern for dainty look
The design allows freedom in color choices, making it easy to achieve a sweet, elegant, or bold look depending on preference. Structured shaping at the crown ensures the hat stays in place, while the ruffled brim adds a graceful finish.
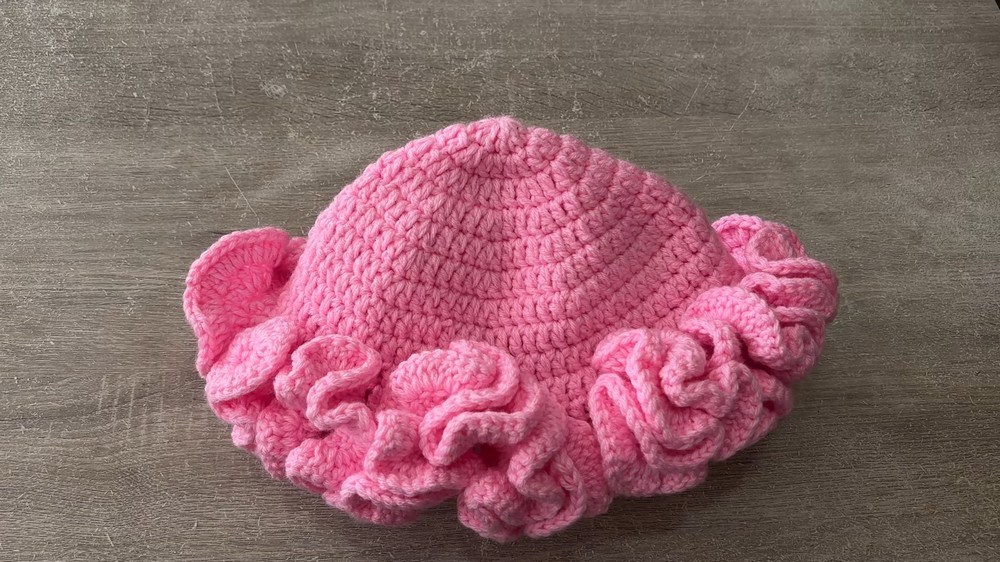
Beyond style, it serves a practical purpose by keeping the head warm and protected. Overall, this pattern blends decorative appeal with everyday comfort, resulting in a fashionable accessory that feels refined, cozy, and versatile.
Step-by-Step Instructions
Materials Needed
- Yarn: Approximately 300 g (three balls) of double-knit (DK) yarn, doubled for thickness.
- Alternatively, use chunky weight yarn or two strands of thinner yarn.
- Crochet Hook: 5.5 mm.
- Scissors: To trim yarn ends.
- Tapestry Needle: For weaving in yarn ends.
- Stitch Markers: Useful for marking stitches during rounds.
Steps
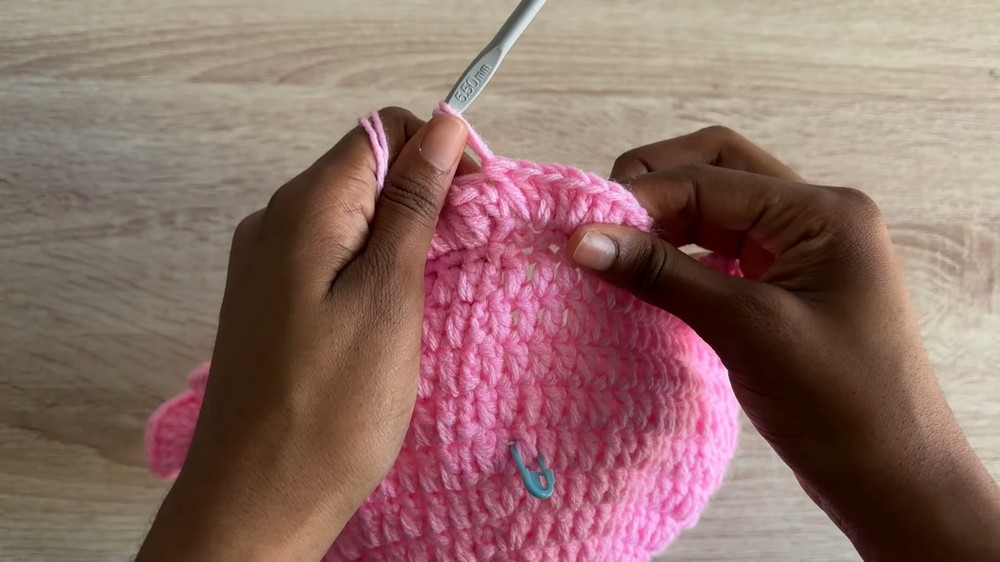
Part 1: Creating the Base of the Hat
Option 1: Magic Circle Method
- Start by making a magic circle:
- Wrap the yarn around your fingers to create a cross. Insert the crochet hook into the loop and grab the yarn to pull through and twist, forming a loop.
- Chain two to secure the loop (the chains will not count as stitches).
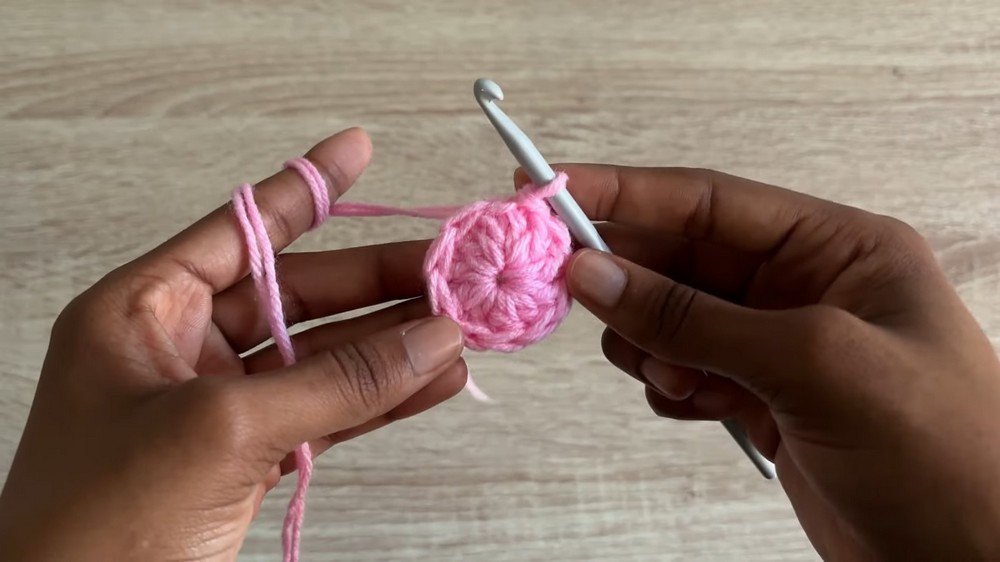
- Inside the magic circle, make 10 double crochets:
- Yarn over, insert the hook into the circle, yarn over and pull through, yarn over and pull through the first two loops, yarn over again and pull through the last two loops. Repeat this until you have 10 double crochets.
- Pull the tail of the circle to close the loop and slip stitch to the top of the first double crochet to complete the round.
Option 2: Slip Knot and Chain Method
- Begin with a slip knot on your hook. Create a chain of three stitches.
- Work 10 double crochets into the first chain and slip stitch to the first double crochet to close the round.
Part 2: Expanding the Crown
Round 2
- Chain two (does not count as a stitch).
- Work two double crochets in each stitch around the circle. By the end of this round, you should have 20 stitches.
- Slip stitch to the top of the first double crochet to close the round.
Round 3
- Chain two again.
- Begin alternating:
- In the first stitch, make one double crochet.
- In the second stitch, make two double crochets in the same stitch (increase).
- Repeat the pattern (one double crochet, two double crochets) around.
- End the round with an increase and slip stitch to the first double crochet.
Round 4
- Chain two.
- Work two separate double crochets in the first two stitches, followed by an increase (two double crochets in the same stitch) in the third stitch.
- Continue alternating between two separate double crochets and an increase around the circle.
- Slip stitch at the end to close the round.
Round 5
- Chain two.
- Alternate:
- In the first three stitches, work three separate double crochets.
- In the fourth stitch, make an increase.
- Repeat the pattern around and slip stitch to the top of the first double crochet.
Round 6
- Chain two.
- Alternate:
- In the first four stitches, make separate double crochets.
- In the fifth stitch, work an increase.
- Repeat the pattern and slip stitch to the first double crochet.
Round 7
- Chain two.
- Work five separate double crochets in the first five stitches, followed by an increase (two double crochets in the same stitch).
- Repeat the pattern to grow the crown of the hat fully.
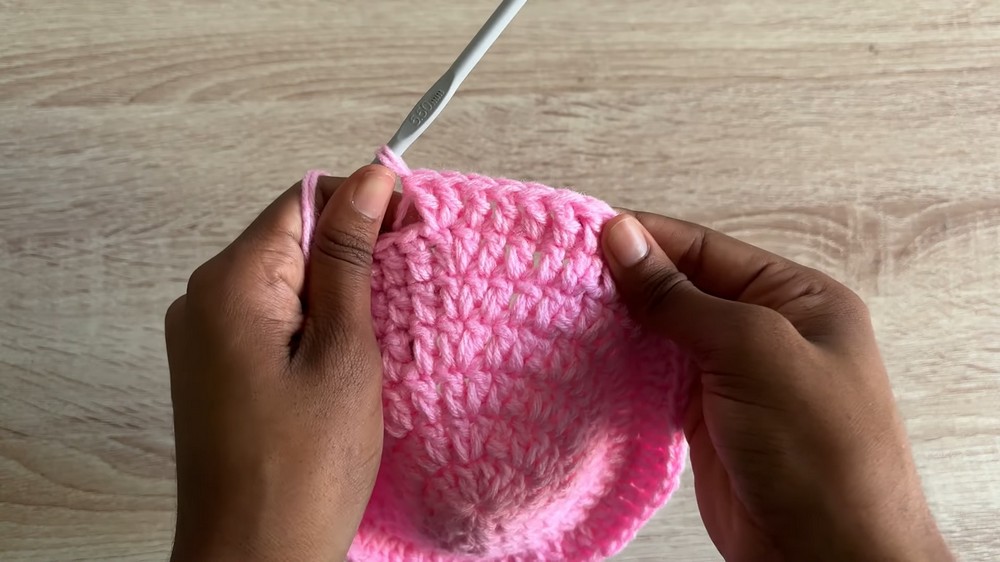
3: Building the Body
Rounds 8–11
- Chain two at the start of each round.
- Work a double crochet in every stitch without increases. Continue for four rounds to give the hat structure and body.
- Slip stitch to the top of the first double crochet at the end of each round.
Round 12
- Chain one and switch to single crochets.
- Work one single crochet in each stitch around.
- Slip stitch to the top of the first single crochet to finish the round.
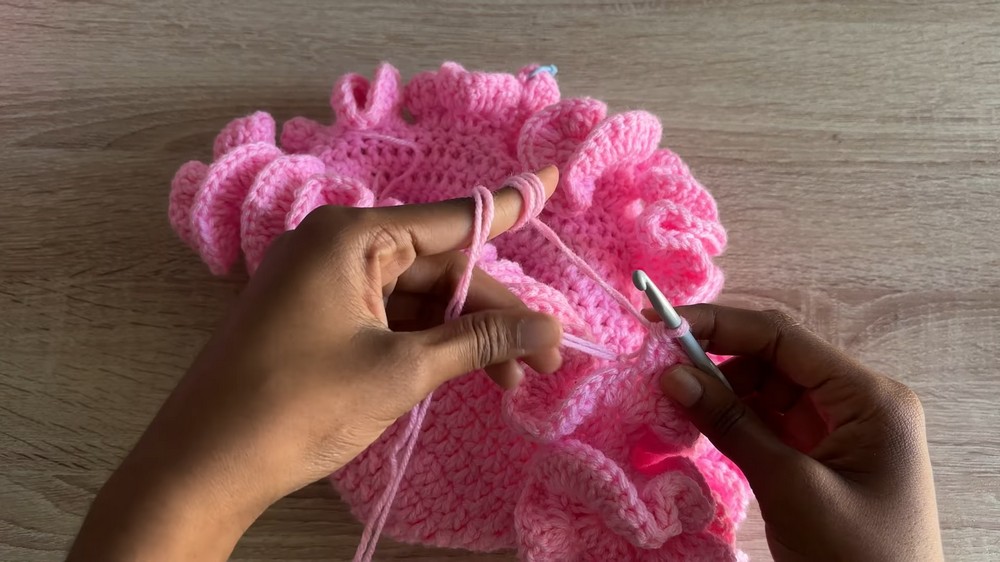
4: Adding Ruffles
First Row of Ruffles
- Chain three (counts as a double crochet).
- In each stitch, work three double crochets to create the ruffled effect.
- Once you’ve worked ruffles in every stitch, slip stitch to close the round.
Second Row of Ruffles
- Chain three.
- For this row, alternate between working sets of three double crochets in each stitch and occasionally working a single double crochet into one stitch. This helps save yarn while keeping the ruffles full.
Third Row of Ruffles (Optional)
- Chain three.
- Continue alternating between groups of three double crochets and single double crochets in some stitches. Adjust the pattern depending on your yarn availability.
- Slip stitch to the last double crochet. Chain one to secure and cut the yarn, leaving a tail for weaving in.
Special Features
- Chunky Design: The doubled DK yarn ensures a sturdy and chunky look without needing special bulky yarn.
- Ruffle Rows: The hat’s ruffled brim adds a playful, feminine touch that stands out.
- Flexible Customization: You can adjust hat size or ruffle fullness, depending on personal style and requirements.
- Efficient Yarn Usage: Sophie introduces subtle techniques to save yarn while achieving full ruffles.
Level of Difficulty
This project is beginner-friendly to intermediate, depending on your familiarity with double crochets and working in rounds. The instructions are clear, but creating the ruffles and managing increases consistently can require patience for new crocheters.
Tutor’s Suggestions
- Use the Right Yarn: Sophie stresses the importance of using proper DK yarn and doubling it to achieve the chunky texture. Avoid overly thin yarns.
- Take It Slow: Pay attention to increases during the crown-building rounds, as missing them may affect the final shape of the hat.
- Save Yarn for Ruffles: She recommends occasionally working single double crochets in the ruffle rows to preserve yarn while maintaining fullness.
- Weave Ends Properly: Sophie demonstrates her method of weaving in the ends neatly for a polished look.
Uses
- Stylish Winter Accessory: Wear the chunky ruffle hat to keep warm while adding a bold fashion statement.
- Playful Everyday Wear: Perfect for casual outings with its bright and flirty design.
- Unique Gifts: This handmade hat makes a thoughtful and personal gift for loved ones.
Crochet Tip
Always chain loosely at the start of rounds to prevent overly tight beginning stitches that may distort the overall symmetry of the hat.
Conclusion
Sophie’s chunky ruffle hat tutorial is a fun and rewarding crochet project designed for all skill levels. The ruffles add a whimsical charm while the sturdy structure ensures practicality for cold weather. With clear guidance, helpful tips, and materials easily available, this hat is a craft that combines style and function perfectly.


