
Make a stylish and practical accessory with this Free crochet star stitch card holder Pattern that’s easy, elegant, and perfect for everyday use.
A cozy café setting can spark inspiration when someone pulls out a small, beautifully textured card holder from their bag. Covered in tiny, raised stars that catch the light, it instantly draws attention. This isn’t just any accessory, it’s handmade, practical, and full of charm. The star stitch card holder merges artistry with functionality, providing a stylish way to keep cards, cash, or small keepsakes organized.
Chic Crochet Star Stitch Card Holder Pattern That Adds Style
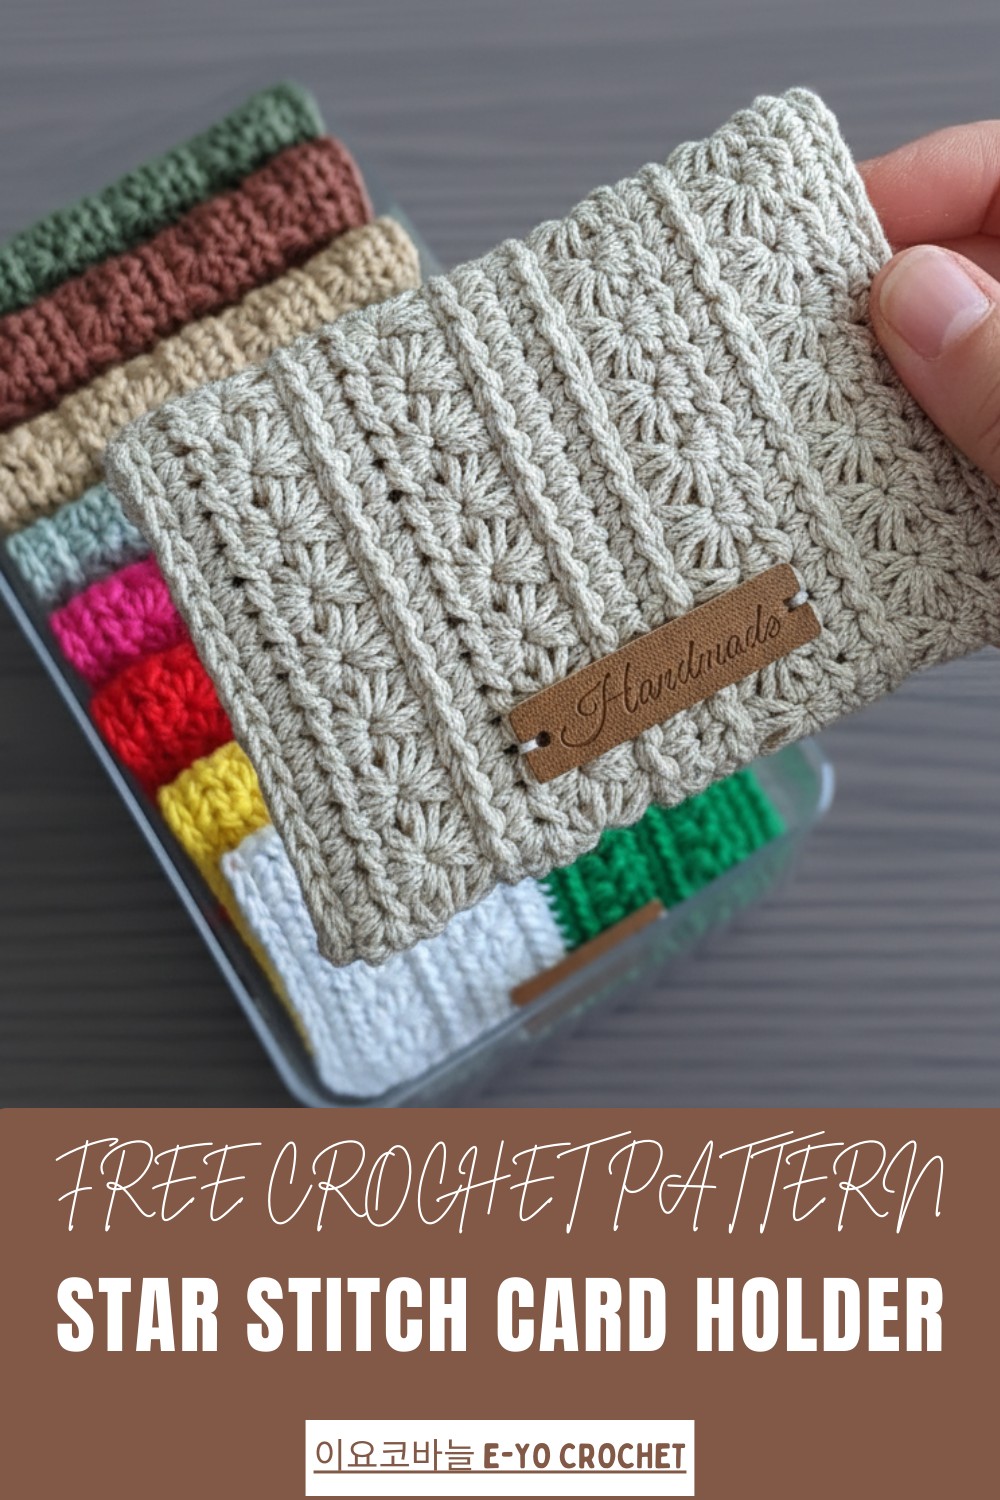
The crochet technique used creates a three-dimensional texture that looks intricate but is surprisingly easy to follow. The repeating star shapes give the holder a delicate, elegant appearance, making it both visually appealing and tactile. Its compact size ensures portability, while the soft but sturdy yarn keeps items secure.
Materials
Gather the following items to begin your card holder project:
-
Yarn: Approximately 40 grams of 18-ply cotton yarn (or a similar weight), optionally in two colors.
-
Crochet Hook: A 3 mm (or size 5) crochet hook.
-
Tools: Scissors, a yarn needle (for weaving ends and assembly), and a stitch marker.
Uses
-
Financial Storage: Use the card holder to store credit cards (one in each of the two pockets) and neatly folded paper bills.
-
Business Card Case: The size is also suitable for carrying name/business cards.
-
Gift Item: This small, practical item makes an excellent gift.
-
Secure Design: The construction naturally keeps contents secure and protected without needing a zipper or button.
Special Features
-
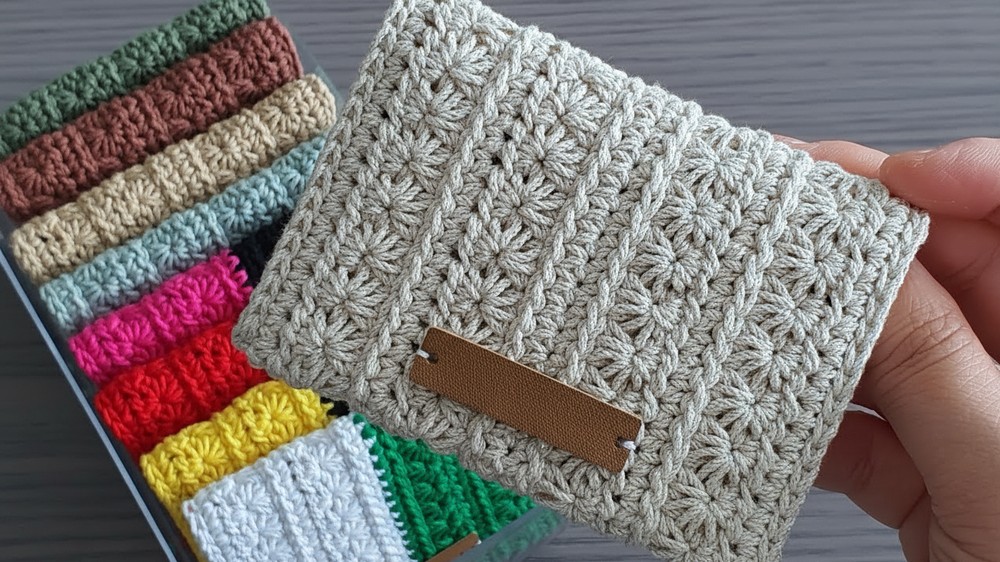
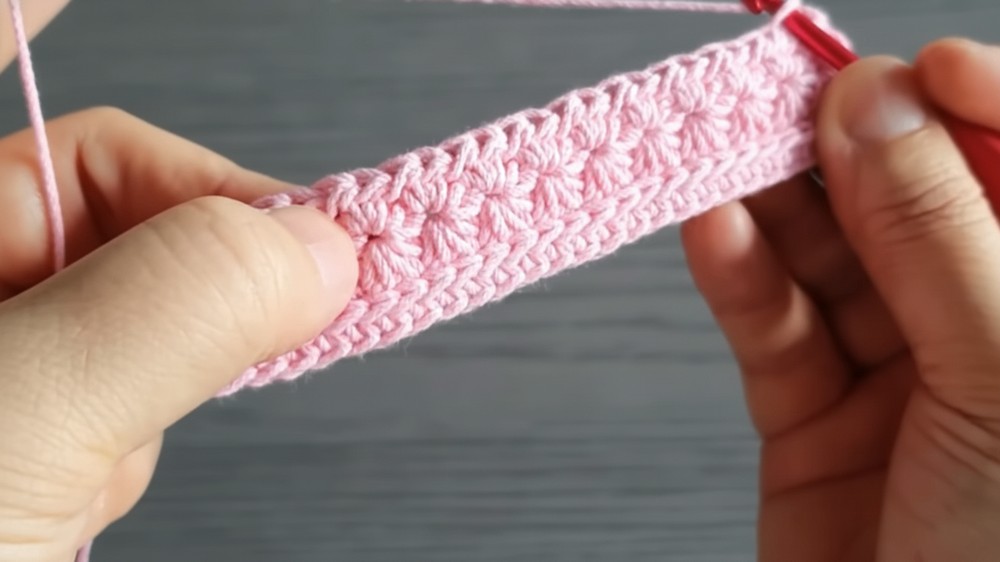
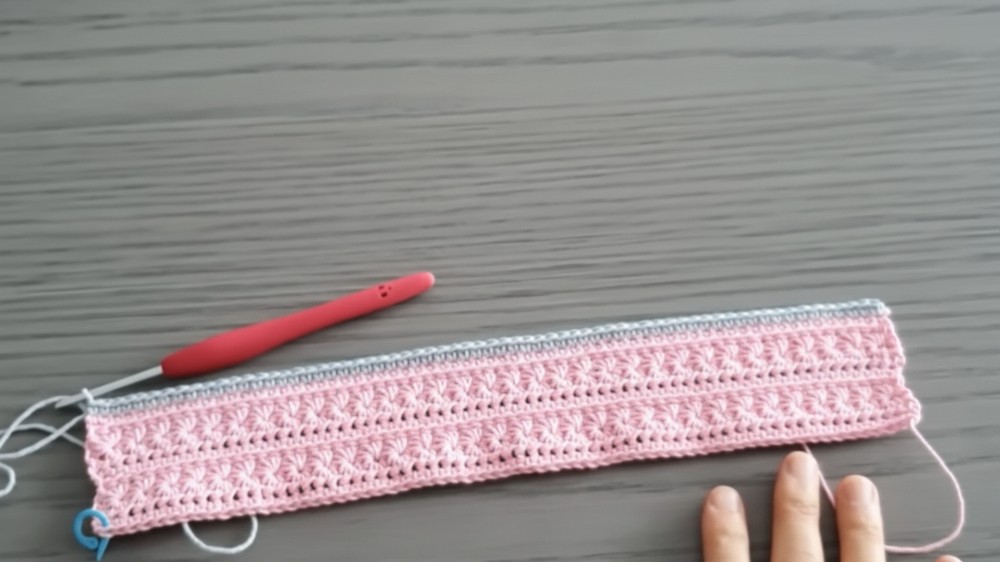
Star Stitch Texture: The main feature is the dense, symmetrical Star Stitch pattern, created by alternating between two unique rows.
-
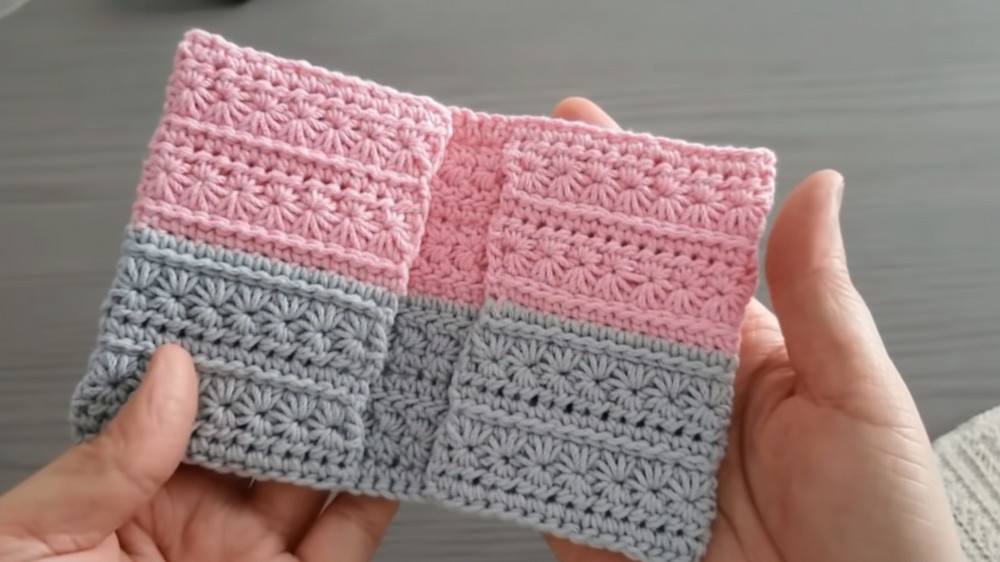
Two-Pocket Functionality: The design provides two separate internal pockets for organization.
-
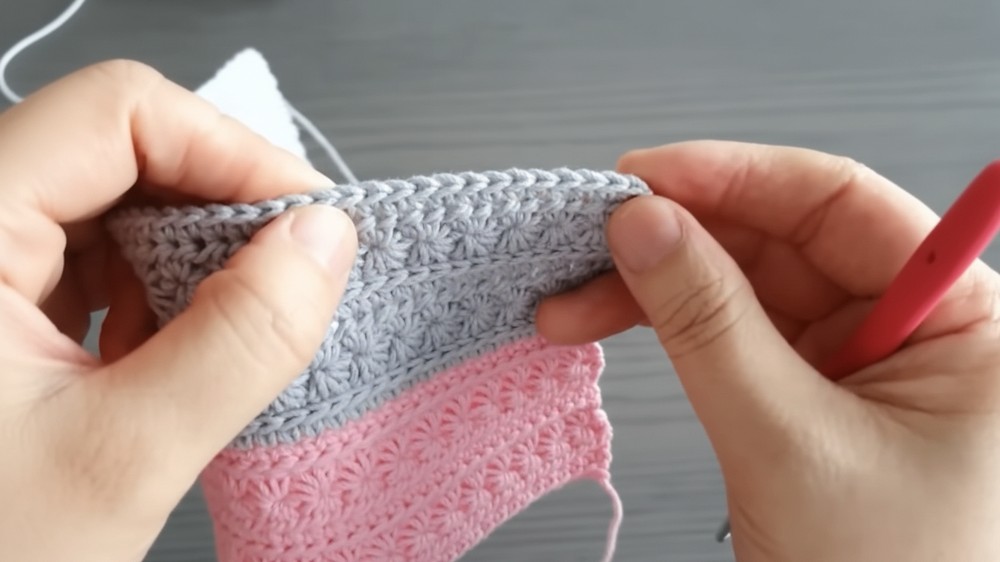
Bicolor Option: Easily incorporate a second color by changing yarn at the center of the piece to create a distinct, layered look.
Tutor's Suggestions
-
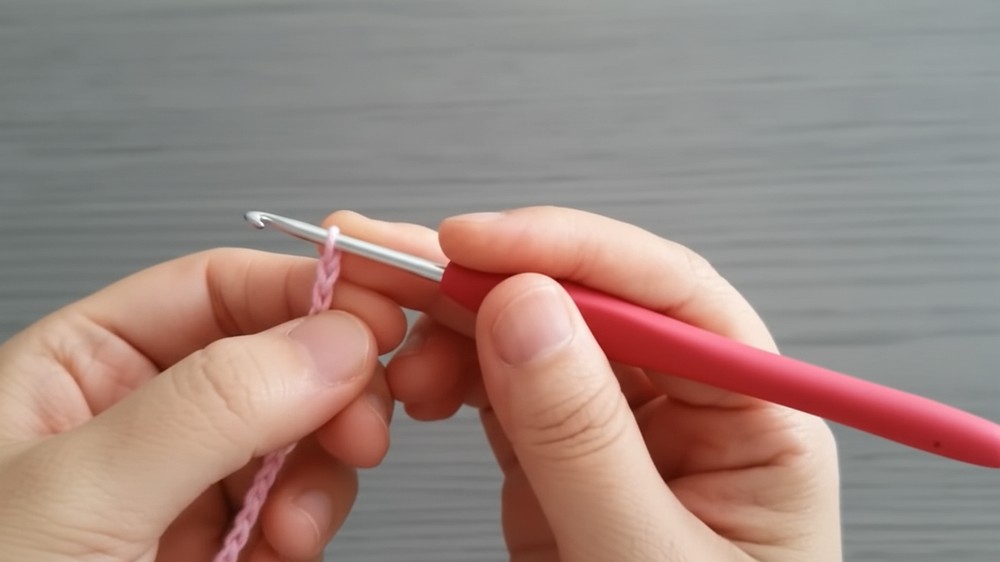
Initial Tail Length: When you start the foundation chain, leave a long tail of about 40 cm. You will use this yarn later with the needle to neatly close the pocket corners.
-
Gauge for Fit: Ensure the final crocheted rectangular piece measures at least 28 cm wide and about 9.5 to 10 cm high. Making it smaller may result in difficulty fitting cards.
-
Tension for SL ST: Be mindful of your tension on the Slip Stitch (SL ST) rows. Do not pull them too tightly, as this can cause the fabric to warp and make it difficult to work into the next row.
-
Final Shaping: Use your hand to adjust the shape as you go and maintain an even tension. Iron or steam the completed card holder to achieve a cleaner, more polished, and well-defined shape.
Crochet Star Stitch Card Holder
Versatility is one of its strongest features. Different yarn colors can turn the holder from sleek and minimal to vibrant and playful, while the star stitch adds an unmistakable handmade charm.
Level of Difficulty
Intermediate. You will need proficiency in basic stitches (SC, SL ST) and must accurately execute the Star Stitch (which involves gathering six loops) while maintaining a precise stitch count for a neat finish.
Beyond practical use, it makes a thoughtful gift or a personal accessory that reflects creativity and care.
This small yet striking piece of crochet craftsmanship demonstrates how a simple project can combine utility, elegance, and a touch of handcrafted beauty, making it a standout addition to anyone’s daily essentials.
Conclusion
You successfully created a beautiful and sturdy Star Stitch card holder by crocheting a long piece of patterned fabric and folding it to form two secure pockets. You now have a festive, handmade decoration ready to use for the holiday season.
Tip
Before joining the card holder, be sure to stretch and adjust the fabric by hand to ensure the edges are straight and the piece is an even rectangle. This step is critical for a smooth fold and a clean, straight seam during the final slip stitch joining, preventing puckering or warping of the finished case.


