
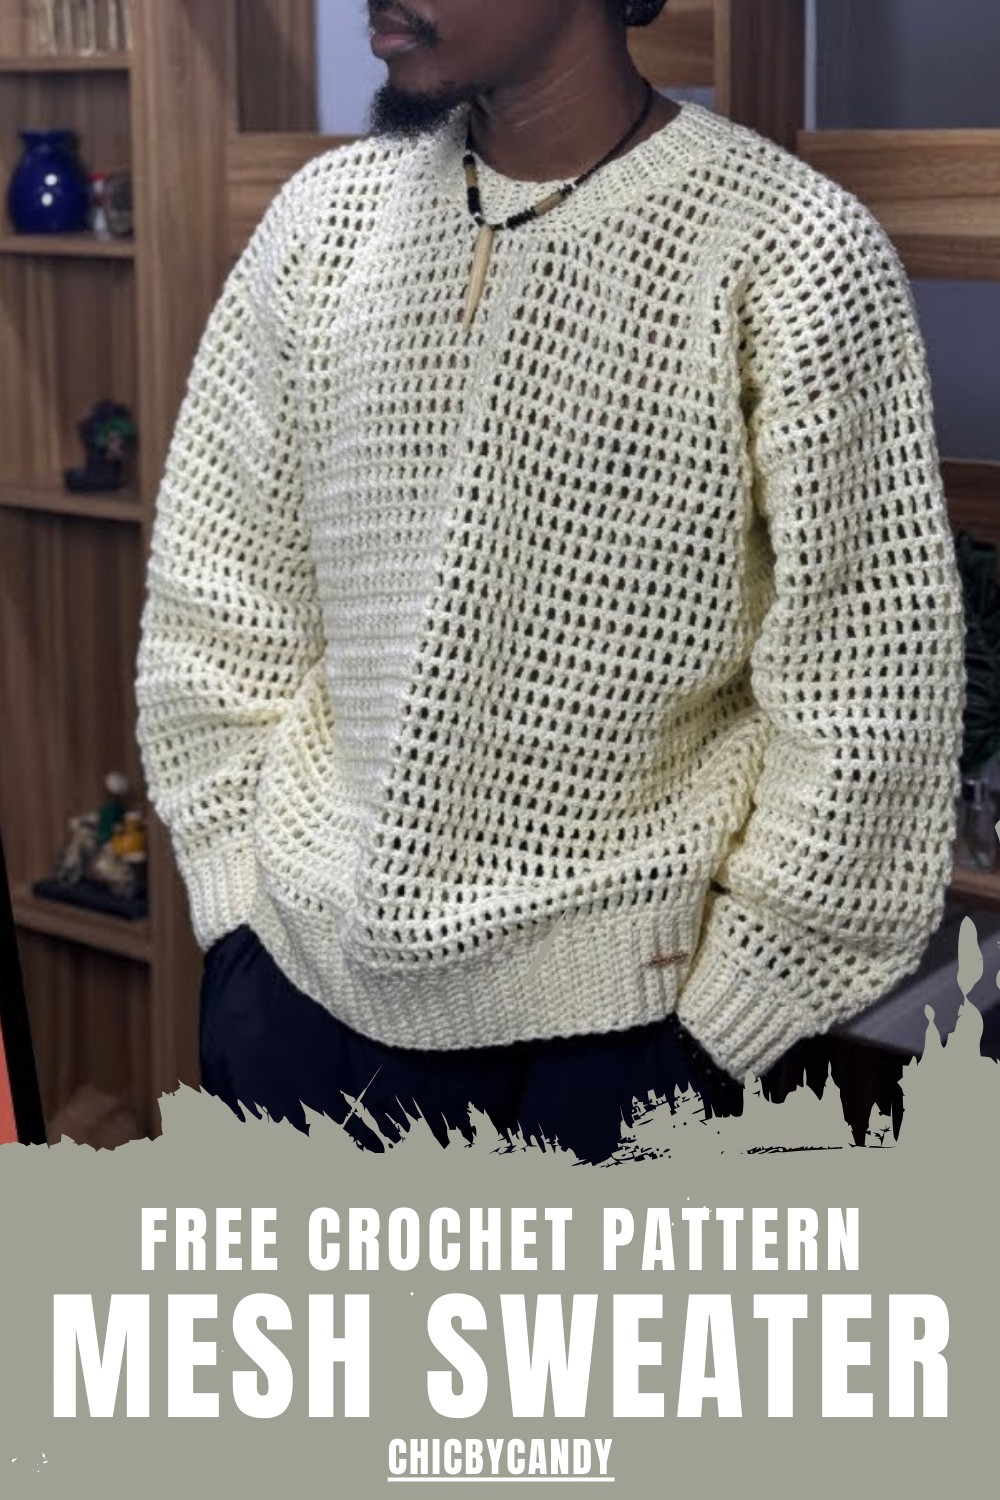
Layer in style with this Crochet Mesh Sweater Pattern for airy, textured that offer comfort, casual charm, and breathable elegance all season.
Perfect for casual outings or layering in cooler weather, this Crochet Mesh Sweater Pattern blends functionality with style through its eye-catching mesh pattern. Unique in its appearance, the openwork texture adds a modern flair while maintaining comfort and breathability. Its adaptability allows creators to tailor-fit the sweater to various sizes, shapes, and colors, making each piece one-of-a-kind.
Handmade Crochet Mesh Sweater Pattern for Cozy Comfort
Beyond aesthetics, the pattern offers a great way to improve crochet skills, as it strikes a balance between simplicity and detail, ideal for enthusiasts who love crocheting wearable art. This sweater is not just about fashion; it’s about practicality too, with its lightweight yet durable structure standing up to regular use.
Whether you’re crocheting it for yourself or as a thoughtful gift, the project ensures a finished product that is functional, versatile, and impressively stylish. Combining timeless charm with handmade elegance, this piece will quickly become a wardrobe favorite.
Special Features
- Warm and Durable Design: The use of acrylic yarn makes the sweater warm and long-lasting, ideal for winter wear.
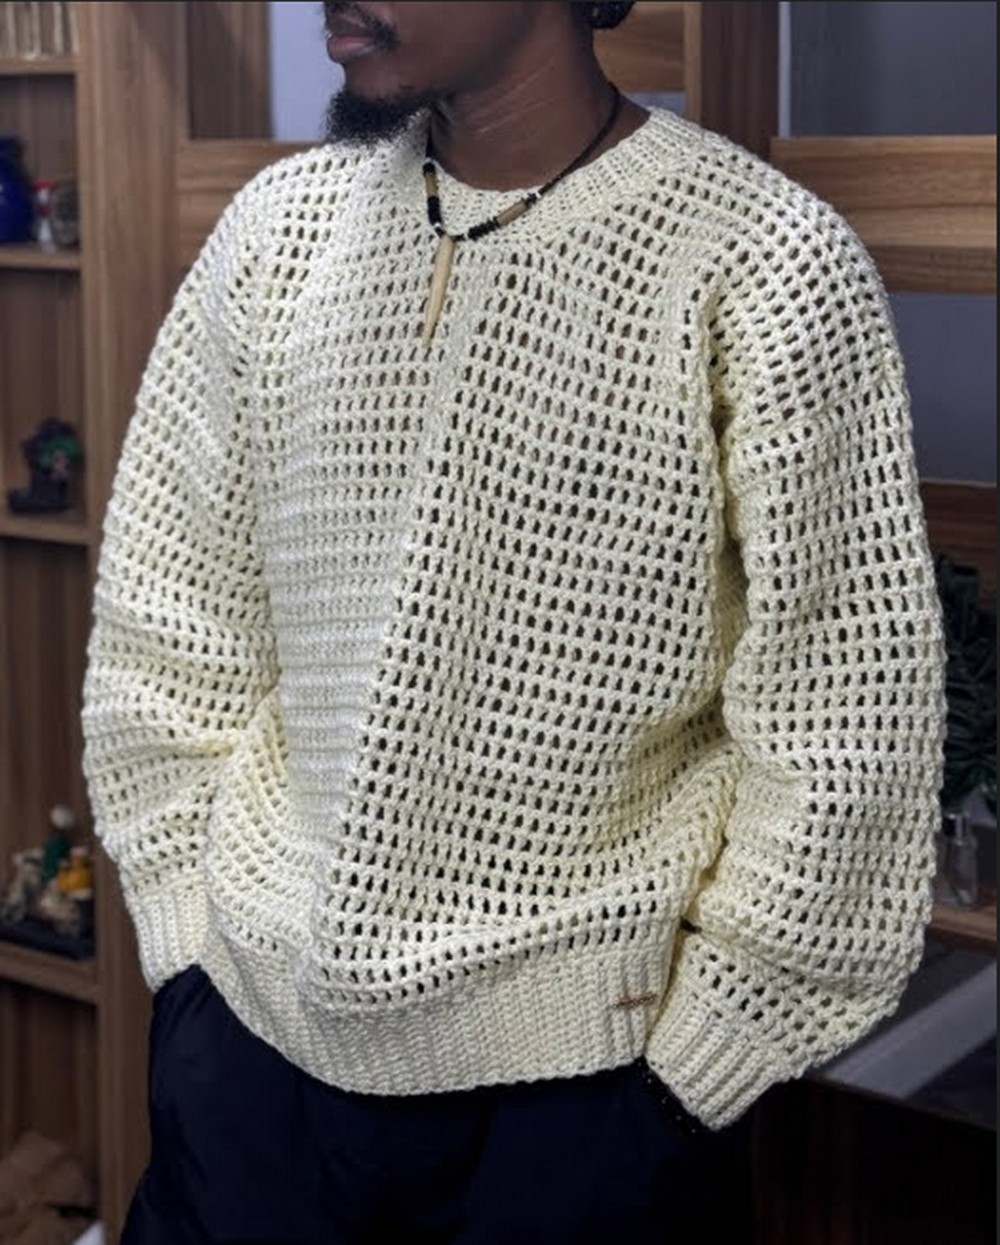
- Stretchy Ribbed Bands: Ribbing at the hem, sleeves, and neck enhances the fit and stretchiness, providing a professional look.
- Customizable Size: The tutorial explains how to adjust the measurements to suit various sizes, from snug fits to oversized styles.
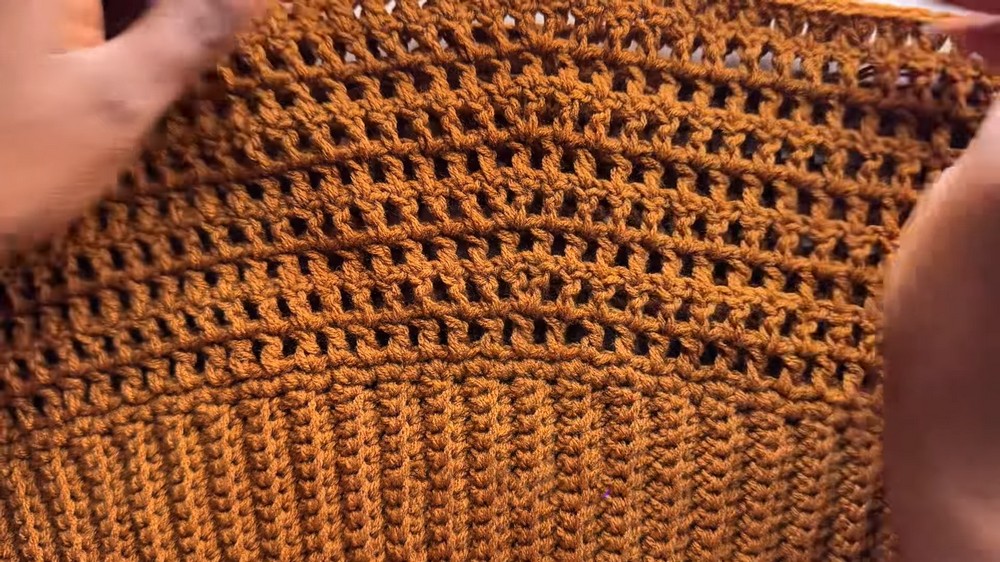
- Layered Mesh Body: The body features a stylish crochet mesh pattern, offering texture and a lightweight feel.
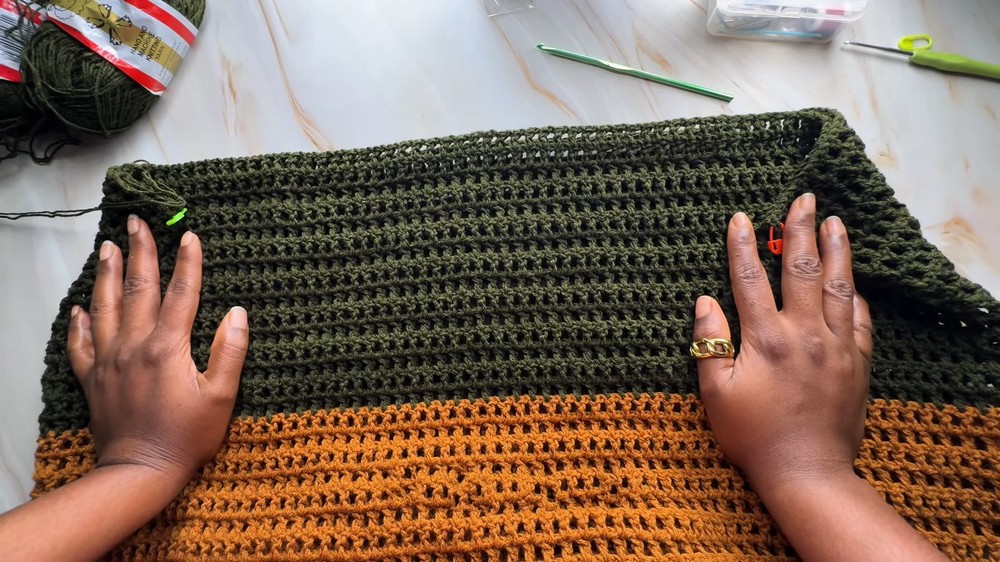
- Two-Color Option: The tutorial includes instructions for switching colors, giving you creative freedom to match your preferences.
- Beginner-Friendly Techniques: While it appears complex, the tutor focuses on clear explanations, making it accessible with a little practice.
Materials Needed
- Yarn: Two balls of acrylic yarn or your preferred yarn; suitable substitutes include 4-ply milk cotton yarn.
- Crochet Hook: 4.0 mm hook.
- Stitch Markers: To mark increase points and other sections.
- Measuring Tape: For precision sizing.
- Yarn Needle: For sewing and weaving in yarn ends.
- Scissors: To cut yarn cleanly.
Step-by-Step Details
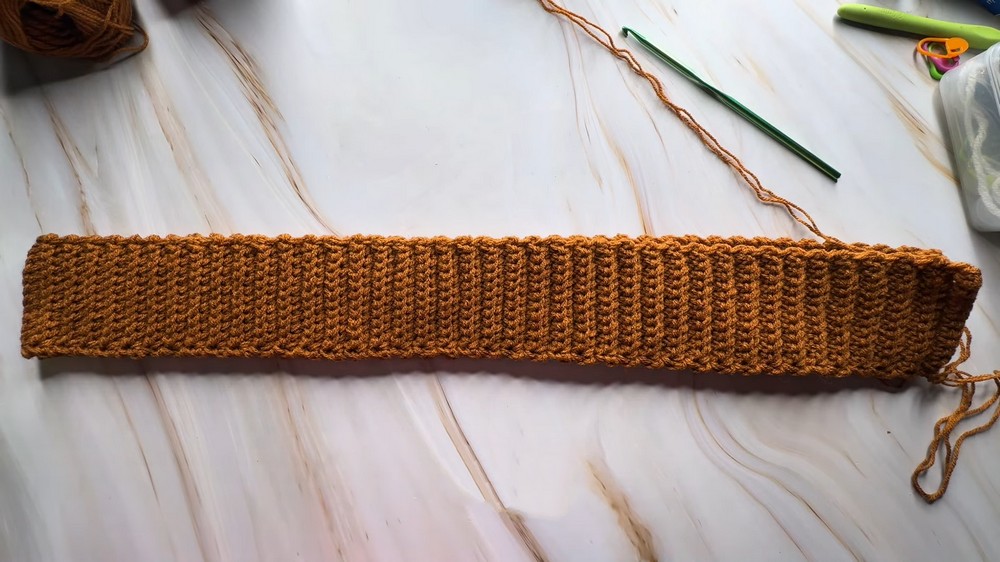
1. Making the Ribbed Band
- Start with 13 chains.
- Work single crochet stitches into the back of the chain to complete Row 1.
- For Row 2 onward, work single crochet into the back loops only. This creates the stretchy ribbed texture.
- Continue repeating until the ribbing is 40 inches (in) long, which equals a 20-inch band length when folded.
- Adjust the band length as per your waist measurement; for a snug fit, use exact measurements.
- Join both ends of the ribbing using a slip stitch (working through the back and front loops for a neat finish).
2. Building the Mesh Body
- Start the first row by making two single crochets in one space, followed by one single crochet in the next. Alternate this pattern until the row is complete. Slip stitch at the end.
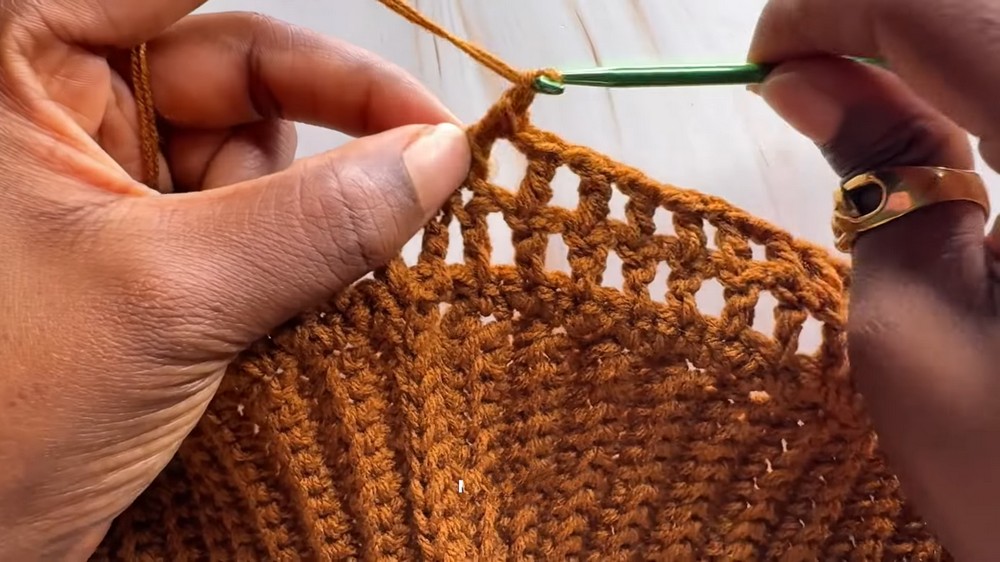
- For the second row, work double crochet with chain-one spacing. Skip a stitch between each double crochet for a mesh-like effect.
- Begin the third row as an increase row. Use stitch markers to mark the middle and sides for increase points.
- At the marked points, make a double crochet, chain one, and double crochet in the same space.
- Alternate between an increase row and a non-increase row until you complete four increase rows. By row 10, switch to straight double crochet rows without further increases.
- Continue the mesh body until you have a total of 34 rows, including the initial single crochet row. You can adjust based on desired sweater length.
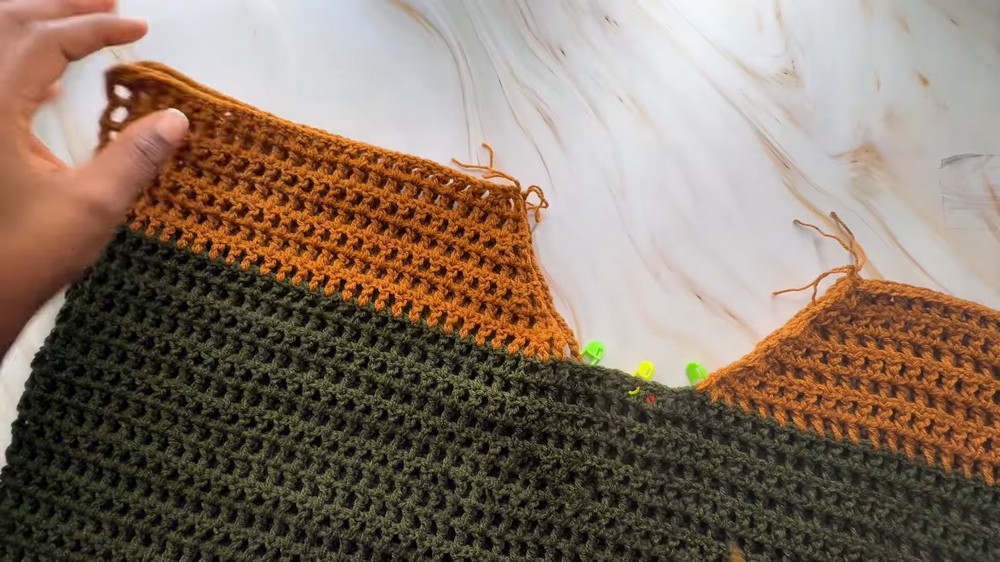
3. Dividing and Joining for Sleeves
- Split the project into two sections to create armholes. Use stitch markers to mark the front and back, dividing evenly.
- Work seven rows of double crochets on both sides separately.
- Begin shaping the neckline by decreasing stitches only on one side.
- Use stitch markers to define the neck width and carefully follow decreases for symmetry.
- Complete seven neck rows on both sides.
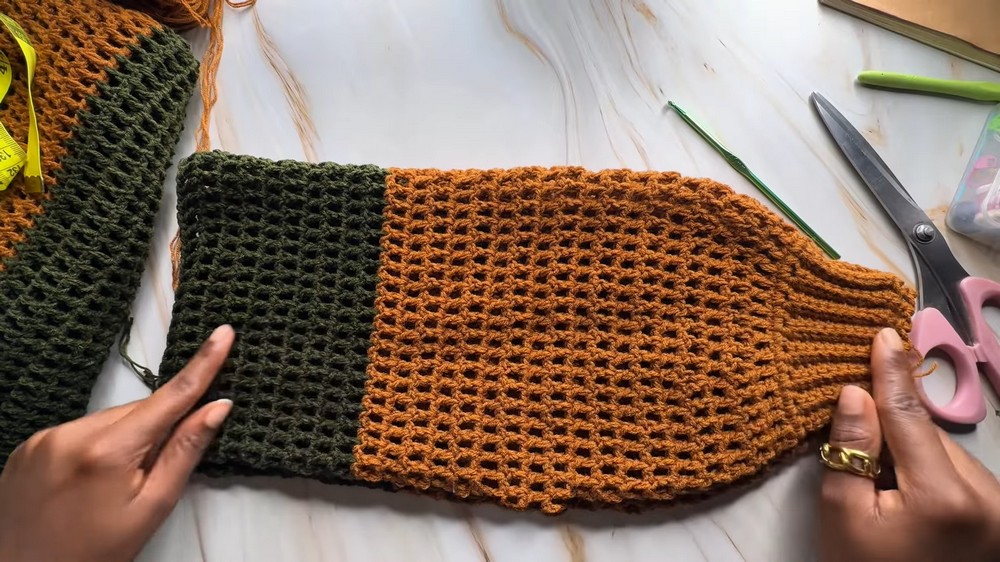
4. Crafting the Sleeves
- Create a ribbed band for the sleeve by chaining 12 stitches and working single crochets into the back loops only for 31 rows (approx. 7.5 inches long).
- Join the band edges with a slip stitch, then work two single crochets into every space around the band to build the sleeve body.
- Begin the mesh pattern with double crocheting and chain-spaces.
- Add two increase rows, evenly spaced using stitch markers, to shape the sleeve.
- Continue in the mesh pattern without increases until reaching 29 rows (17 inches long).
- Repeat the same process to create the second sleeve.
5. Adding the Neckline Ribbing
- Reattach your yarn at the neckline. Work two single crochets in each space, forming a complete round.
- For ribbing, chain six stitches and work single crochets into the back loops only along the chain. Slip stitch into the next three stitches to anchor the ribbing.
- Turn your work and continue until you’ve ribbed around the neckline.
- Use slip stitches to join the ribbing ends neatly.
6. Joining the Body and Sleeves
- Turn the sweater inside out to ensure a clean seam finish.
- Place each sleeve inside the armhole and use stitch markers to position it evenly.
- Use a yarn needle to sew the sleeves into place. Repeat for the second sleeve.
Level of Difficulty
The project is suitable for advanced beginners to intermediate crocheters. While the individual stitches (single crochet, double crochet, etc.) are beginner-friendly, the assembly and increases require some attention to detail. The tutor explains everything step-by-step, making it manageable with patience and practice.
Tutor’s Suggestions
- Use Acrylic Yarn: The tutor recommends acrylic yarn for its warmth, durability, and stretch, making it ideal for sweaters.
- Adjust Measurements as Needed: Use a measuring tape to personalize sizes for the band, body, and sleeves.
- Mark Critical Points: Always use stitch markers for increases, sleeve attachment, and neckline shaping to save time and ensure symmetry.
- Work in Parts: Crochet the sweater in sections (band, body, sleeves, neckline) to avoid feeling overwhelmed.
Uses
- Stylish Clothing: The sweater is perfect for casual wear in cool weather.
- Gift Idea: A thoughtful and personalized handmade present for loved ones.
- Skill Improvement: For crocheters, this project helps improve assembly, increasing, and garment construction skills.
Tip
Avoid over-tightening your slip stitches when joining parts (like the band or neckline ribbing), as it can cause unevenness or stretch issues. Keep a consistent and gentle tension for a clean, polished look.
Conclusion
The crochet mesh sweater is a stunning yet practical project that allows creativity, customization, and improvement of your crochet skills. By following the step-by-step guide, you’ll end up with a warm, stylish, and perfectly tailored sweater.


