
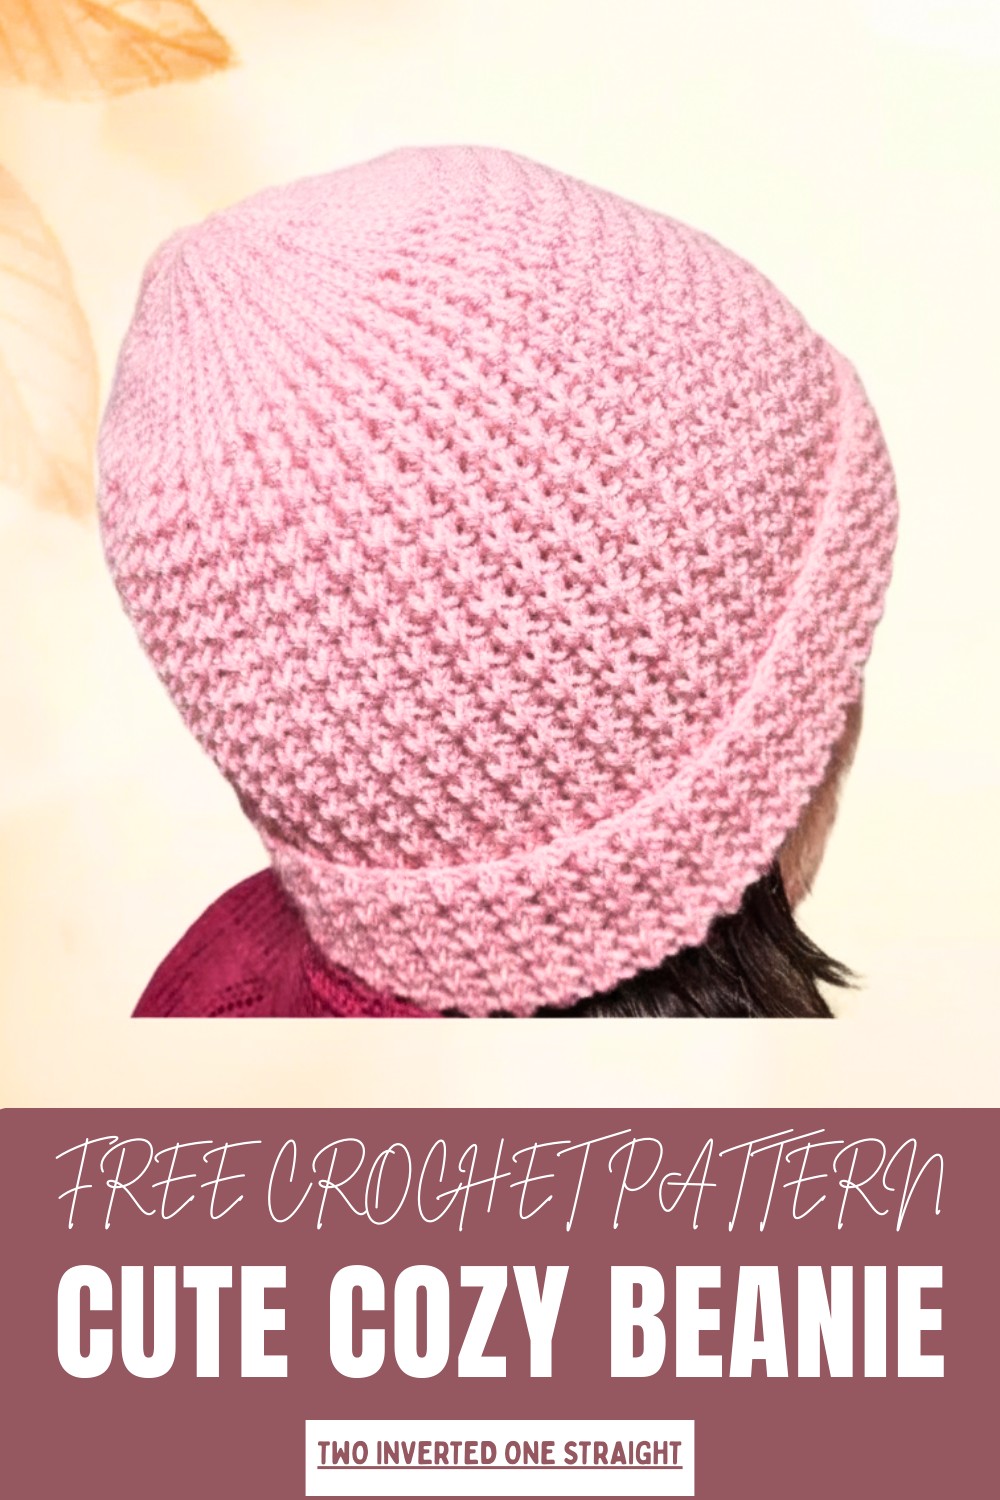
Get cozy and stylish with this free crochet beanie pattern, perfect for keeping warm while showcasing a handmade touch and timeless charm.
Crochet beanie is a beautiful accessories that combine charm and practicality. This handmade nature adds a unique appeal, showcasing soft textures and intricate details that stand out. Available in various styles, from snug-fitting designs to relaxed slouchy options, its complement any outfit while adding a cozy and stylish touch.
Stylish Crochet Beanie Patterns for Every Season
These beanies are not just fashion statements; they are highly useful during colder months as they provide warmth and protect your head from chilly winds. Their versatility also makes them perfect for casual outings or as thoughtful gifts. A crochet beanie offers both aesthetic elegance and everyday functionality in one simple piece.
How to Crochet a Easy Beret – Step-by-Step Guide
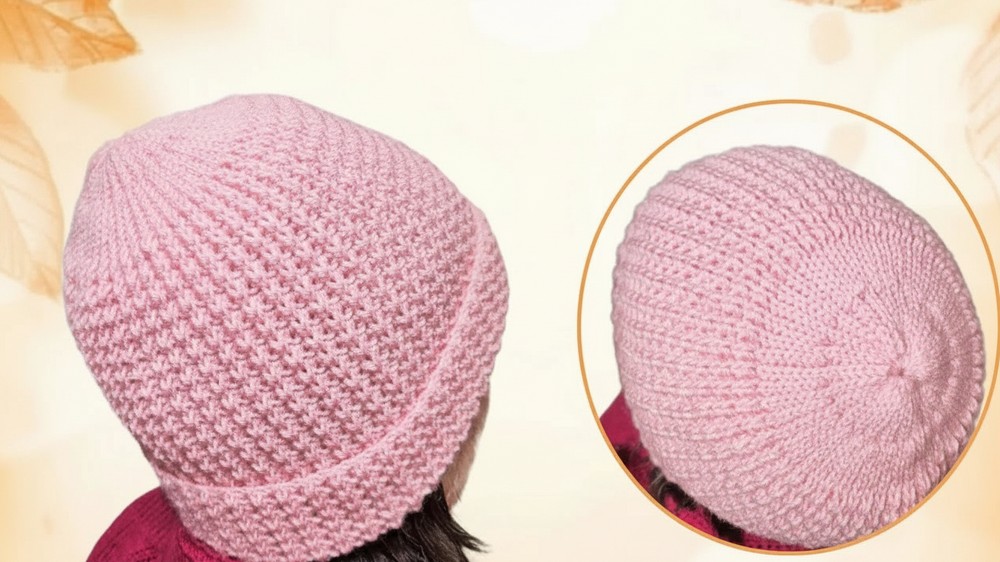
Special Features of the Beret
- Comfortable Dimensions: Approx. 23 cm width and 27 cm height for a snug fit.
- Seamless Design: Includes short-row turns to add crown roundness.
- Customizable Usage: Can be folded for unique styling.
- Unisex Appeal: Adjust the colors to make it suitable for either gender.
- Beginners' Favorite: Simple stitches and techniques ensure ease of making.
- Elegant Finish: The design conceals seams for a seamless, professional look.
Materials Needed
- Yarn: 100 grams (280 meters) of 25% wool, 75% acrylic thread. One ball is enough.
- Crochet Hook: 3.5 mm hook.
- Accessories: Pair of scissors, a few bookmarks (stitch markers), and a wool needle.
Step-by-Step Instructions to Knit the Beret
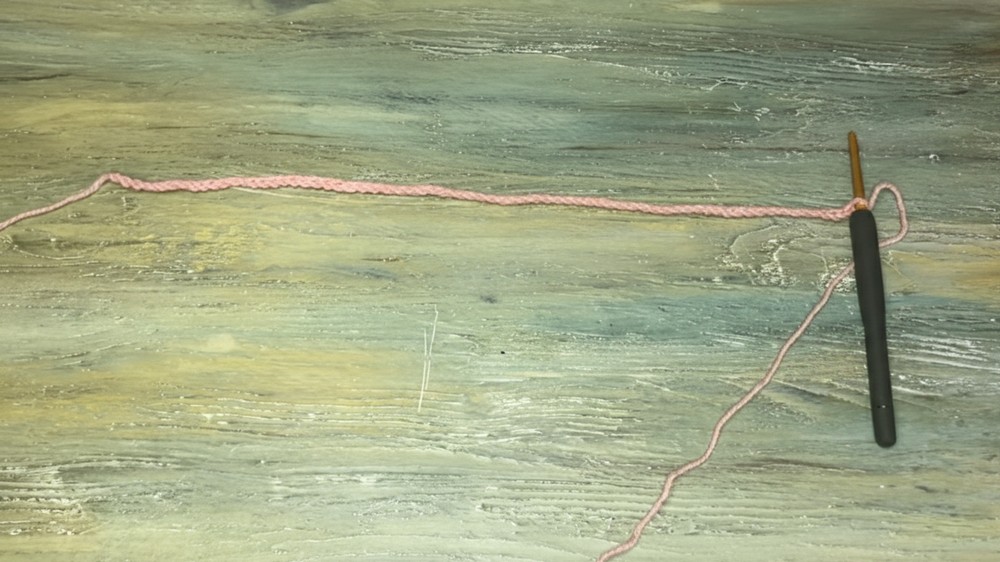
Step 1: Creating the Foundation Chain
- Take a loop and fix it securely.
- Crochet 69 chains for the base of the beret. The chain length should measure 33 cm.
Step 2: Knitting the First Row
- Start from the second stitch:
- Insert into the stitch and pull a loop through it.
- Create a scroll stitch by pulling the thread through the loop on the crochet hook.
- Place a stitch marker in the first stitch.

- For the next stitch:
- Wrap yarn around the crochet hook.
- Insert into the stitch and pull a loop, then knit 3 stitches on the hook together to form a half crochet.
- Alternate between scroll stitches and half crochets until you reach the end of the row: Leave 7 cm as reserved space for the top section of the beret.
- Count stitches and use markers to ensure even rows.
Step 3: Adding Short Rows to Shape the Crown
- At the end of each row, turn the work by pulling one chain and begin working into the back wings of the stitches.
- For the second row, alternate:
- Scroll stitches for the first section.
- Half crochets for the later section.
- Add slip stitches to even the work.
- Continue alternating scrolls, half crochets, and slip stitches for the next few rows.
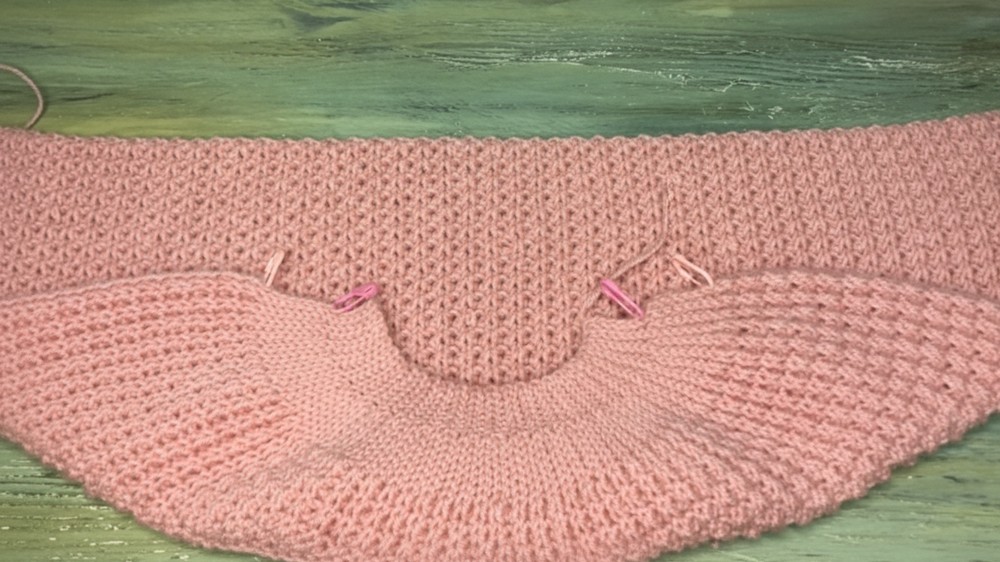
Step 4: Repeat the Pattern
- Follow the same sequence across 4 rows to form the pattern. Count 2 rows as one round.
- Continue repeating the sequence until the total knitting process reaches approximately 100 rows.
Step 5: Combining Edges
- After completing the rows, mark 14 stitches in the crown for neat alignment.
- Use a crochet hook to neatly join edges by sinking into the loops—focus on the back wings to avoid visible seams.
- Knit these stitches one by one, maintaining an even tension.
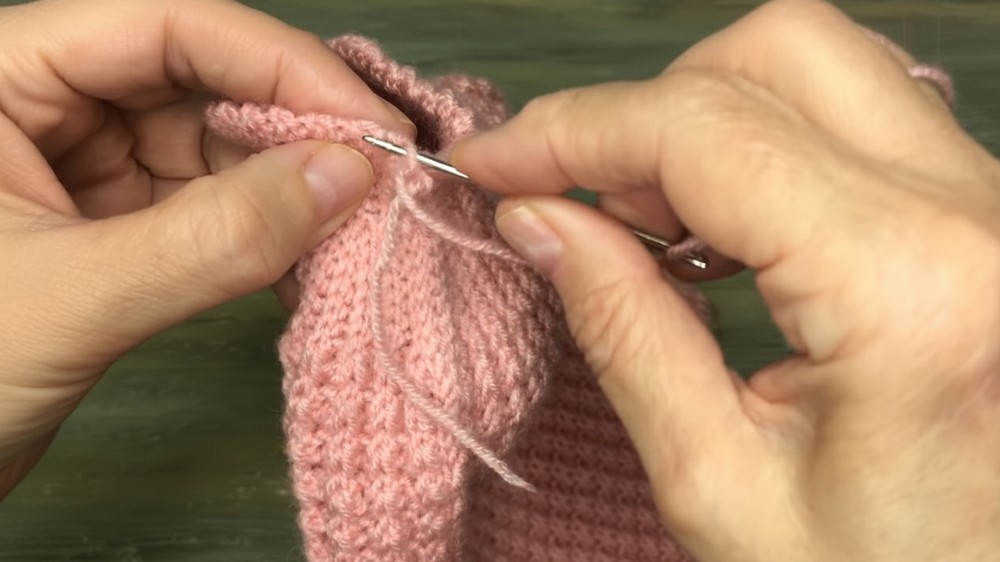
Step 6: Closing the Crown Section
- Gather the top by sewing the loops at the beginning of the rows using a wool needle:
- Pull the thread across the stitches alternately (back-to-front motion).
- Repeat this process to pull the crown together tightly.
Step 7: Hide Loose Threads
- Run the leftover yarn through the loops to secure it.
- Cut excess thread neatly.
Step 8: Final Touch and Presentation
- Fold the beret to shape it for wear.
- Ensure seams are hidden for a seamless look.
Tutor’s Suggestions
- Adjust the colors to make the beret suitable for women or men.
- Do not pull the yarn too tightly during stitching; it helps keep the edges smooth.
- Always work into the back wings of the loops for neatness.
Uses of the Beret
- Stylish Accessory: Perfect for everyday outfits during cooler seasons.
- Handmade Gift: A thoughtful creation for loved ones.
- Unisex Design: Suitable for anyone with slight adjustments in color.
Level of Difficulty
This project is beginner-friendly. The clear instructions and repetitive pattern make it approachable, even for those new to crochet. Experienced knitters can also enjoy its quick assembly process.
Conclusion
The beret is an effortlessly chic and practical accessory for all seasons. Its seamless design, customizable color options, and beginner-friendly techniques make this project highly rewarding. Whether you are making it for yourself or as a gift, this beret is a timeless piece that highlights the beauty of handmade craftsmanship.
Pro Tip
For a polished look while sewing the crown, keep your stitches loose and evenly spaced. This ensures a seamless finish that looks professional and well-crafted.


