
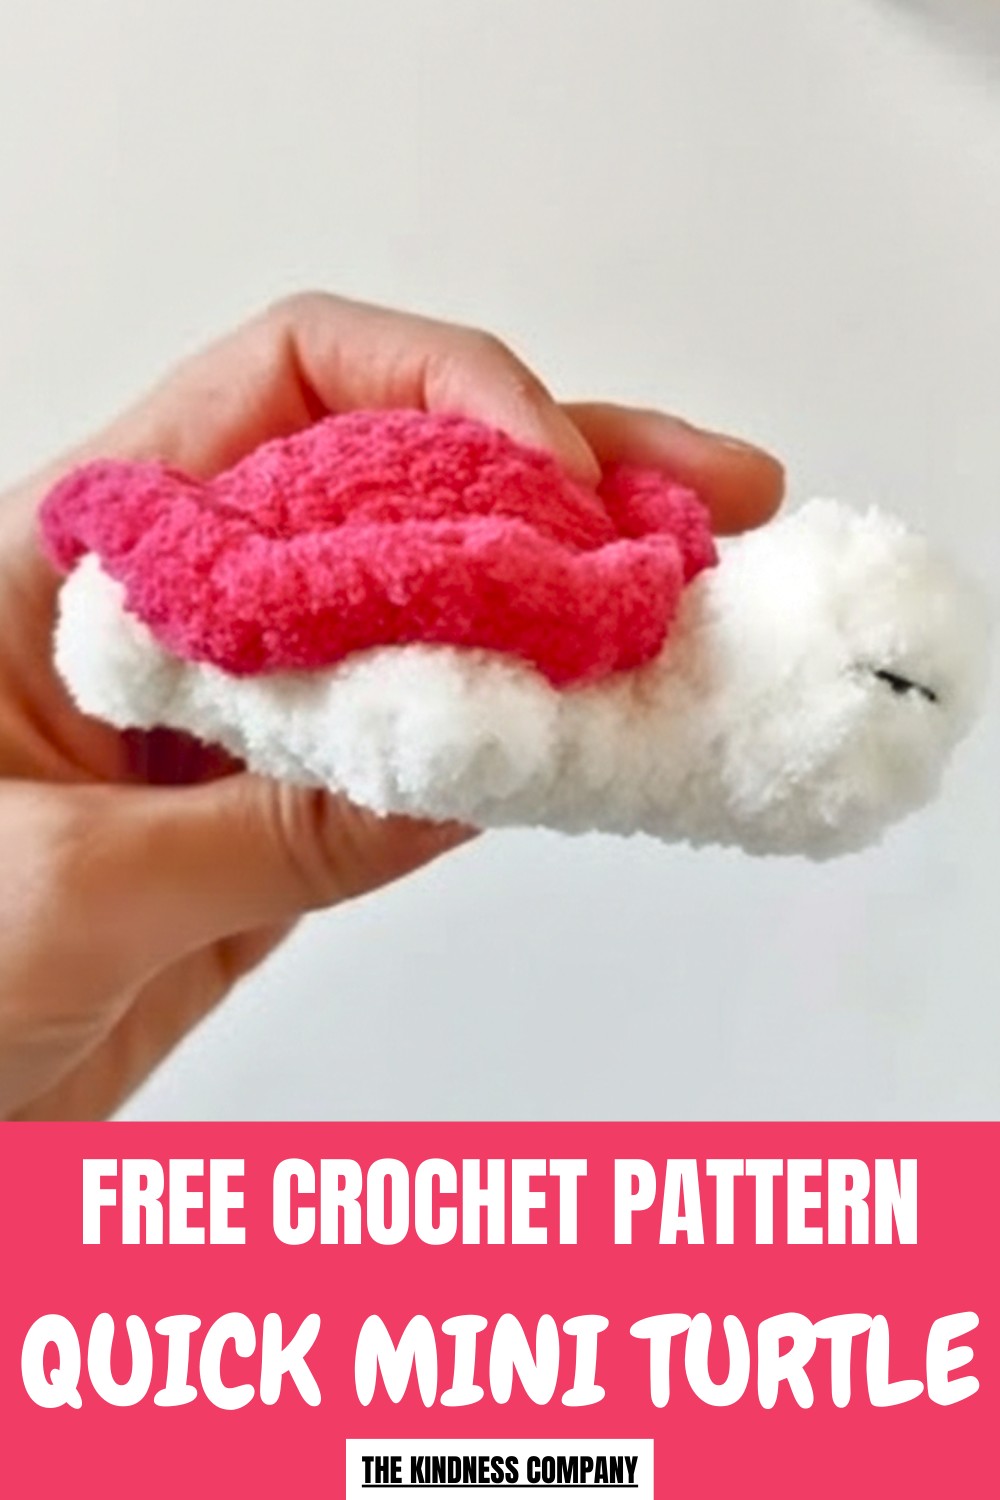
Whimsical Ways to Crochet a Mini Turtle Pattern for Adorable Creations
Small adjustments in stuffing placement and stitch pulling can refine the turtle’s shape, making it appear polished and lively. This mini crochet pattern combines simplicity and creativity, turning a quick project into a heartfelt keepsake full of charm and thoughtful care.
Materials Needed
- Yarn (sport, DK, or bulky weight based on preference).
- Matching crochet hook size.
- Tapestry needle for weaving in ends.
- Stuffing material for the turtle’s head and body.
- Safety eyes (optional) or embroidery thread for facial features.
- Stitch markers for tracking rounds.
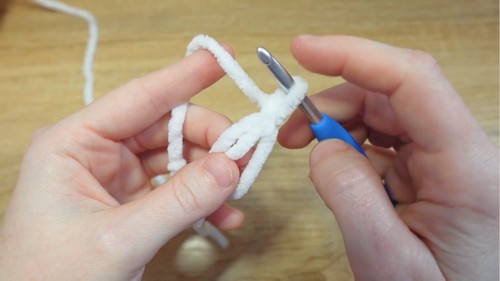
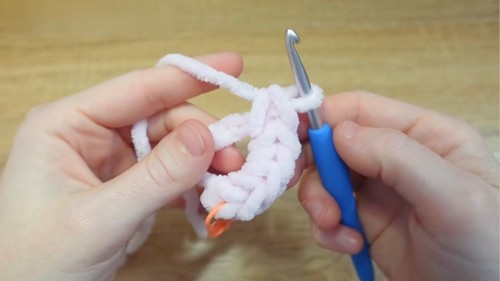
Begin with a magic ring using white yarn to form the turtle’s head.
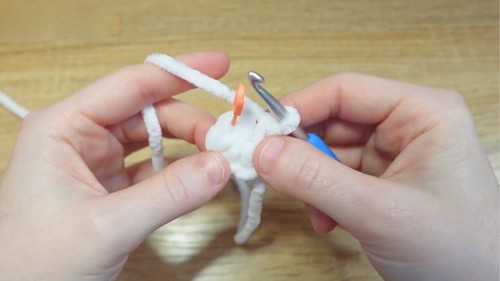
Start with six single crochet (SC) stitches, increasing in subsequent rounds to shape the head.
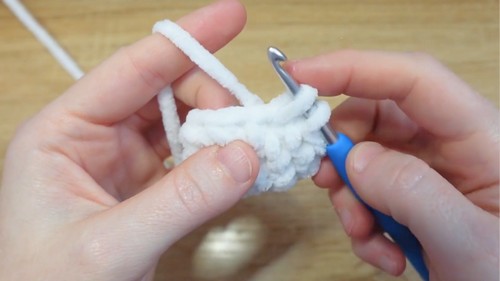
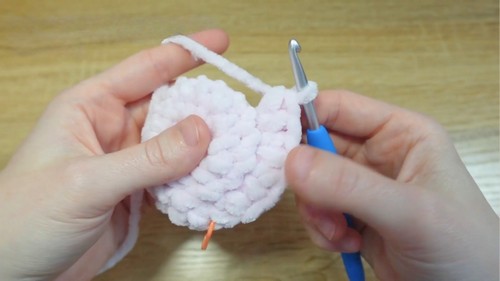
Decreasing stitches afterward closes the form smoothly. Use pink yarn to crochet a separate magic ring for the shell, increasing each round until it achieves a rounded shape.
Techniques like half double crochet (HDC), double crochet (DC), and popcorn stitches add texture to the legs, shell, or other sections.
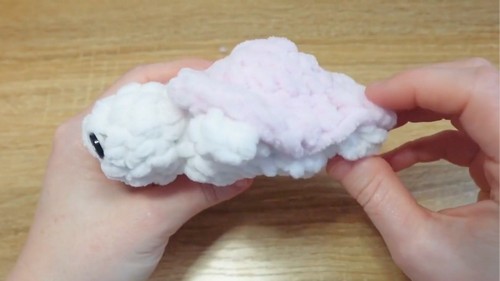
Place safety eyes between rounds 5 and 6 before carefully stuffing the head to give it a dimensional effect. 
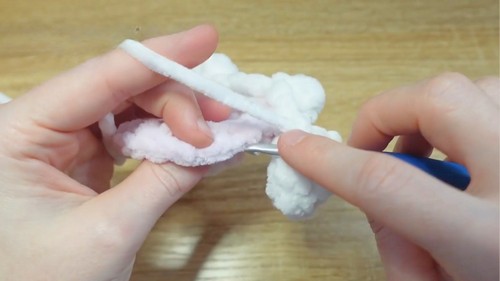
Attach the head and shell securely after round 16 to complete the project. A final check ensures all parts are sturdy and well-aligned.
Tension control is important for neat stitches, particularly with the magic ring. Using a stitch marker helps maintain accuracy in rounds. Attention to detail when working front-loop-only stitches ensures clean transitions. A tapestry needle simplifies tightening edges and weaving ends into the pattern.
Special Features
- Quick Completion: The pattern can be completed in around 15 minutes, making it great for last-minute projects.
- Customizable: Works with various yarn weights and colors, enabling you to personalize each turtle.
- Versatile Uses: Perfect as gifts, toys, or small decorations.
- Beginner-Friendly: Suitable even for those new to crochet.
Tutor’s Suggestions
- Work stitches loosely on the magic ring to prevent the yarn from breaking during tightening.
- Use stitch markers to track rounds and ensure even shaping throughout the design.
- Safety eyes are optional, but, help give the turtle a polished look. For a simpler version, embroider eyes after attaching the head.
Level of Difficulty
This project is beginner-friendly, with easy-to-follow techniques like single crochet, increases, decreases, and popcorn stitches. The pattern is also suitable for intermediate crocheters to practice more detailed stitches, such as half-double crochet and double crochet.
Step-by-Step Instructions
Crocheting a mini turtle is a quick and adorable project that’s perfect for spreading kindness or using as a personalized gift. Its compact pattern makes it ideal for decorative purposes, playful toys, or handmade tokens of thoughtfulness. The tutor emphasizes how simple and beginner-friendly this step-by-step pattern is while still allowing room for customization.
Conclusion
The mini crochet turtle pattern is a delightful and quick project that’s perfect for gifting, decorating, or simply showing kindness. Its simplicity makes it accessible, while the ability to customize colors, eyes, and size ensures each turtle is uniquely charming. Whether you’re a beginner or an experienced crocheter, this pattern will bring joy to your crocheting experience.
Tip
Always keep tension consistent, especially when working with fluffy yarns, to prevent tangles and ensure a smooth finish. Tighten the magic ring carefully to avoid breaking the yarn.


