
Turn heads with a stylish and breathable crochet top pattern, perfect for all seasons, customizable, and easy to crochet for any skill level.
Why settle for ordinary when you can wear something truly unique and personal? A crochet top pattern offers the perfect blend of style, comfort, and individuality, making it an exciting addition to any wardrobe. Whether you’re looking for a breathable outfit for sunny days or a chic layering piece for cooler nights, this versatile handmade pattern ensures you always have something fashionable to turn to. With customization at your fingertips, you can choose colors and textures that reflect your personality while tailoring the size to fit perfectly.
How to Crochet a Handmade Top Pattern for Better Wardrobe Style
This pattern not only offers aesthetic charm but is also practical and budget-friendly. Made with lightweight yarn like cotton, the final product feels soft against the skin and allows airflow, keeping you cool during warmer months. It’s ideal for casual outings, gifting purposes, or even adding a personal, handmade touch to your fashion collection. Even beginners can confidently approach this pattern, with its simple yet elegant stitches bringing satisfying results.
Moreover, crocheting your own top helps counter fast fashion’s environmental impact, offering a sustainable way to refresh your wardrobe. Whether made for yourself or someone special, it’s a thoughtful and stylish pattern that effortlessly balances creativity, functionality, and timeless appeal.
Materials Used
- Yarn: 100% 4-ply cotton yarn (approximately 250g required).
- Hook Size: 3 mm or 3.5 mm crochet hook, depending on desired tension.
- Accessories: Buttons for the front closure (4 buttons suggested).
- Measuring Tape: For shoulder, bust, and desired length measurements.
Special Features
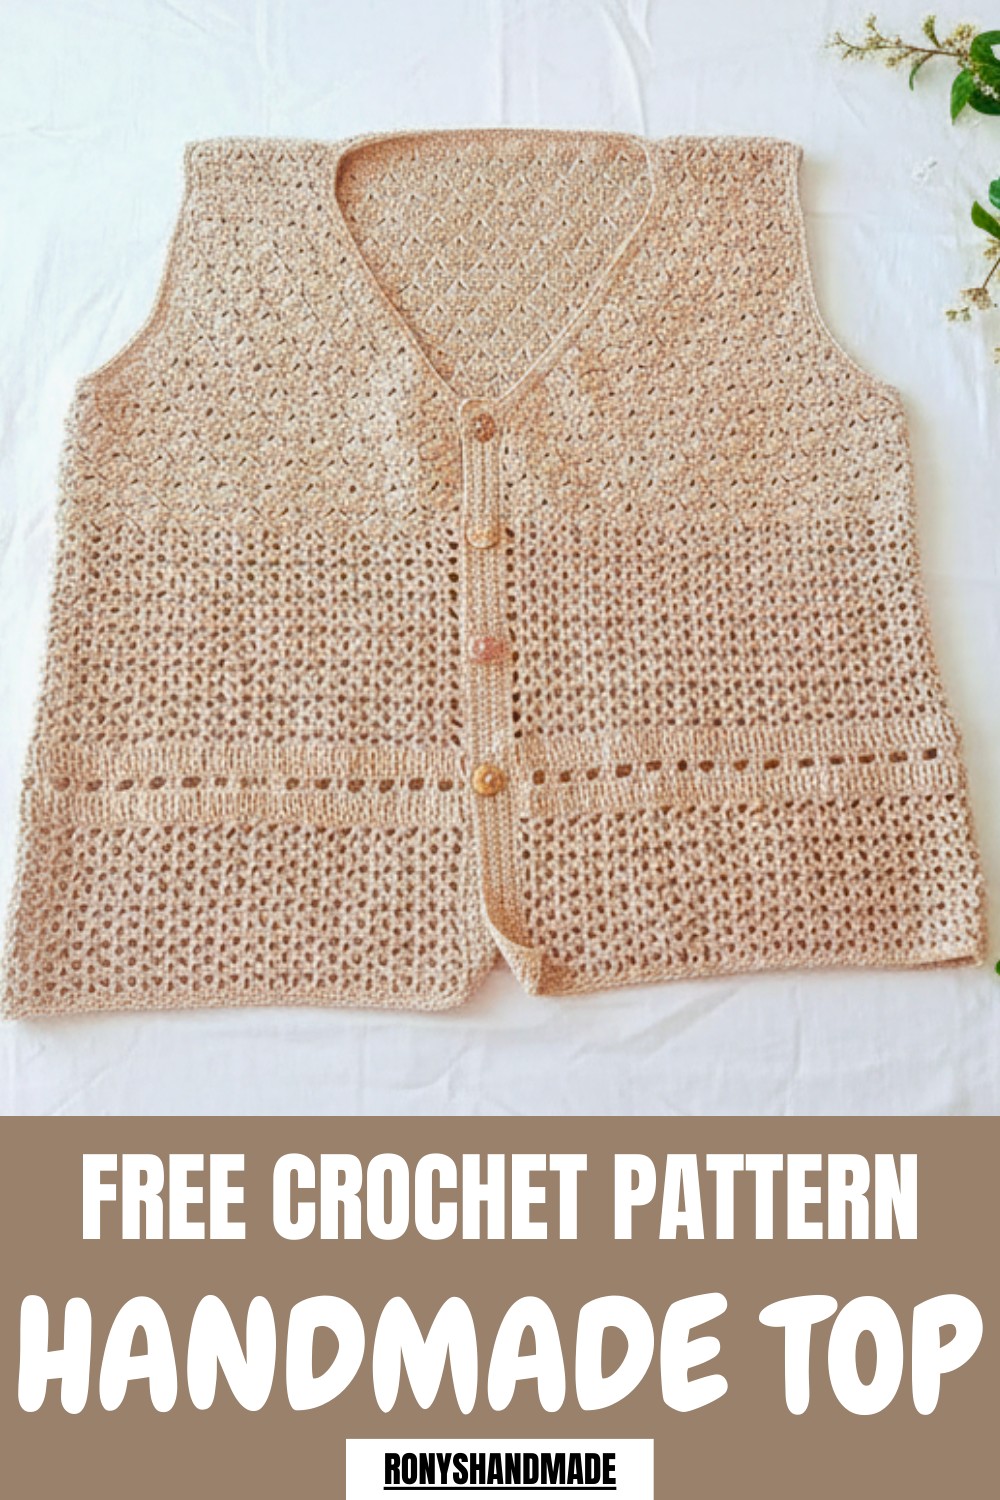
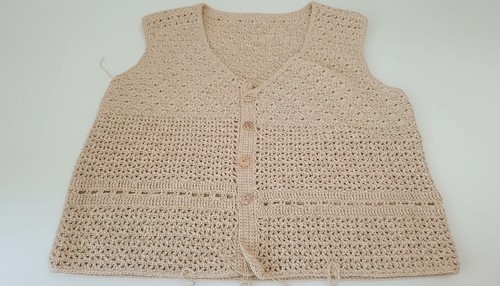
- Front-Open Design: The top features an open front with buttons, making it easy to wear and giving it a modern look.
- Mixed Patterns: It combines shell stitches on the top and bottom with V-stitches in between, adding texture and design.
- Finishing Details: Single crochet ends are added to the armholes, neckline, and edges to polish the final look.
- Customizable Neckline: The neckline measures approximately 6 inches (slightly adjustable).
- Simple Armholes: The armhole depth reaches 6 inches, designed with seamless curves.
Uses
- Works great as casual wear or pair it with a tank top for a chic, layered look.
- Lightweight cotton yarn makes it perfect for summer or warmer climates.
- The customizable size makes it ideal for creating gifts.
Tutor’s Suggestions
- Armhole Adjustments: Focus on expanding the sides while maintaining alignment during increases.
- Neckline Adjustments: For a slightly deeper neckline, extend the rows while following the same shell-stitch pattern.
- Expanding for Larger Sizes: Add chains during the V-stitch rows (on both sides) to widen the chest measurement.
Step-by-Step Details
Step 1: Creating the Foundation Chain
- Measure the shoulder width (example: 14.5 inches).
- Create a chain to match the desired shoulder width using a 3.5 mm hook.

- Add one row of single crochets.
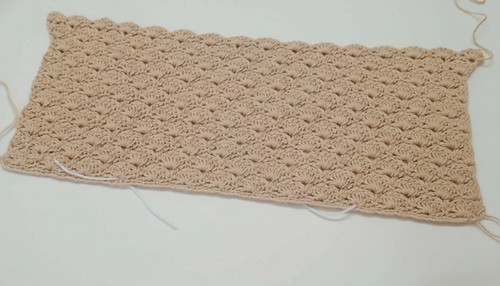
2: Top Section Construction
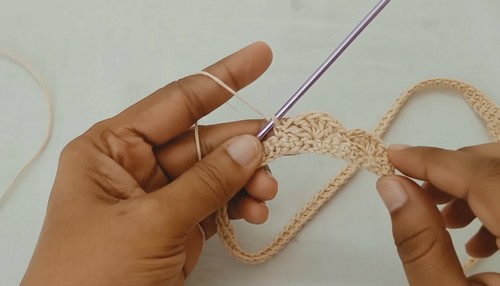
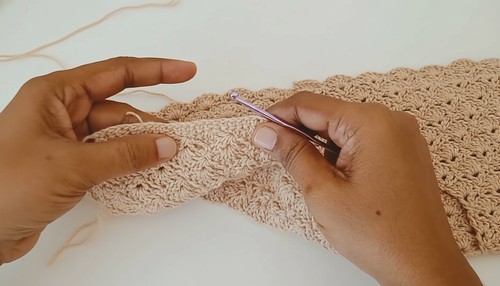
- Start with shell stitches for the top part:
- Make five double crochets in every third space.
- Alternate with single crochets, skipping two stitches between shell patterns.
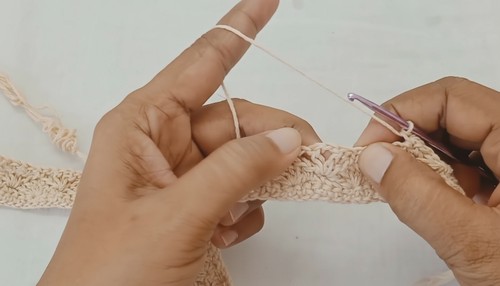
- Include V-stitches into the single crochet points (double crochet, chain one, double crochet).
- Repeat alternating rows of shell stitches and V-stitches until desired length is reached for the top.
3: Armhole and Back Design
- Work on the back section first (to 6 inches length).
- Shape the armholes by increasing shell stitches on both sides.
- Add two rows of shell stitches (with expansions) to create depth and an armhole curve.
4: Front Section with Neckline
- Divide the front piece into two sections (left and right).
- Repeat the shell and V-stitch patterns while leaving room for the neckline.
- Slowly increase stitches on the neckline side to create a slope.
5: Joining and Adding Width
- Connect the sides by extending V stitches with 10-12 chains on each side during joining.
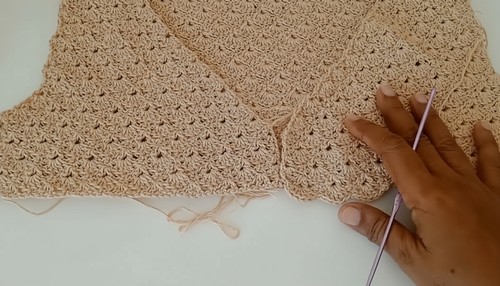
- Switch to shell stitches to fill in gaps along the extended sections.
6: Adding Length
- Crochet the remaining body of the top by repeating V-stitch rows to your preferred length (suggested: 10 inches).
- Switch to a pattern with triple crochet rows and double crochet rows for extra texture near the bottom.
- Finalize the main body by continuing V stitches to reach the desired full length (suggested: 18 inches).
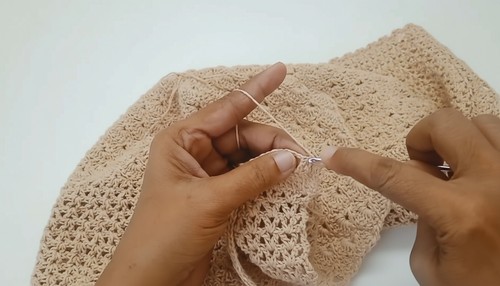
7: Creating the Finishing Touches
- Work with single crochets to finish the edges:
- Neckline: 2 rows of single crochets for a polished finish.
- Armholes: 2 rows of single crochet to complete the curves neatly.
- Add 4-5 buttonholes to secure the front using chains and single crochets.
- Fix buttons on the opposite edge, ensuring proper alignment.
Level of Difficulty
- Beginner to Intermediate: The techniques involve basic chain, single crochet, double crochet, and triple crochet stitches.
Pro Tip:
When working on increases, ensure your stitch count stays symmetrical. Always measure the armholes, neckline, and chest to ensure proper fits.
Conclusion
This crochet top is elegant, functional, and perfect for warm weather. With 250g of cotton yarn and a little patience, you’ll create a handmade masterpiece! Whether for personal use or as a gift, this pattern is worth the effort.


