
Shuffleboard tables prove that nothing is standing between you and your dream project when you have a vision for what you want. Whether renovating your outdoor space or hosting the next barbecue, a shuffleboard table is a perfect way to entertain guests. But let's be real: no one wants to drop tons of cash on an expensive custom table from an interior designer when all they need is a sturdy spot for drinks, food, and friendly competition. Whether you want to make a classic game table or something more modern, these DIY Shuffleboard Table Projects are sleek enough for any backyard and surprisingly easy to build at home.
Easy DIY Shuffleboard Table Projects
Shuffleboard is a game that requires strategy and skill. Whether a beginner or an experienced shuffleboard player, you can build this awesome table to fit in any room. From the entire family to the best of friends, these DIY Shuffleboard Table Projects provide hours of fun and entertainment while bringing everyone together. Whether you're looking for a unique way to display your trophy catches or need furniture to match your decor, this article offers 15 great ideas for making shuffleboard tables for the home. Create tabletops that go beyond the traditional uprights. Try building a table with blades or using a router and laminate to make a sleek tabletop. And if you're on a budget, plenty of projects with inexpensive materials still give your home an upscale look."
Why To Build Your DIY Shuffleboard Table
Here are some of the benefits of DIY shuffleboard table projects:
- Cost savings: Shuffleboard tables can be expensive, and some can cost thousands of dollars. However, building your table can save hundreds or even thousands of dollars, depending on how much time you spend working on the project.
- Customization: You get exactly what you want when you build your own shuffleboard table. You can customize everything from the size and shape of the playing surface to its color scheme or add additional features like cup holders or storage drawers for cushions or other items needed during playtime.
- Fun: Building something from scratch is always fun! You get to see all project stages come together and enjoy using it when it's complete.
How To Build A Shuffleboard Table
Building a shuffleboard table is a fun project that can take as little or as much time as you have available. It is easy to build, and once completed, you will have a great way to spend quality time with your family or friends while enjoying a timeless game that everyone can enjoy. Make your shuffleboard table with these easy step-by-step instructions. You'll need to use the proper materials to measure everything properly. After that, you can build the cradle and playing surface, then make the curling rings and legs!
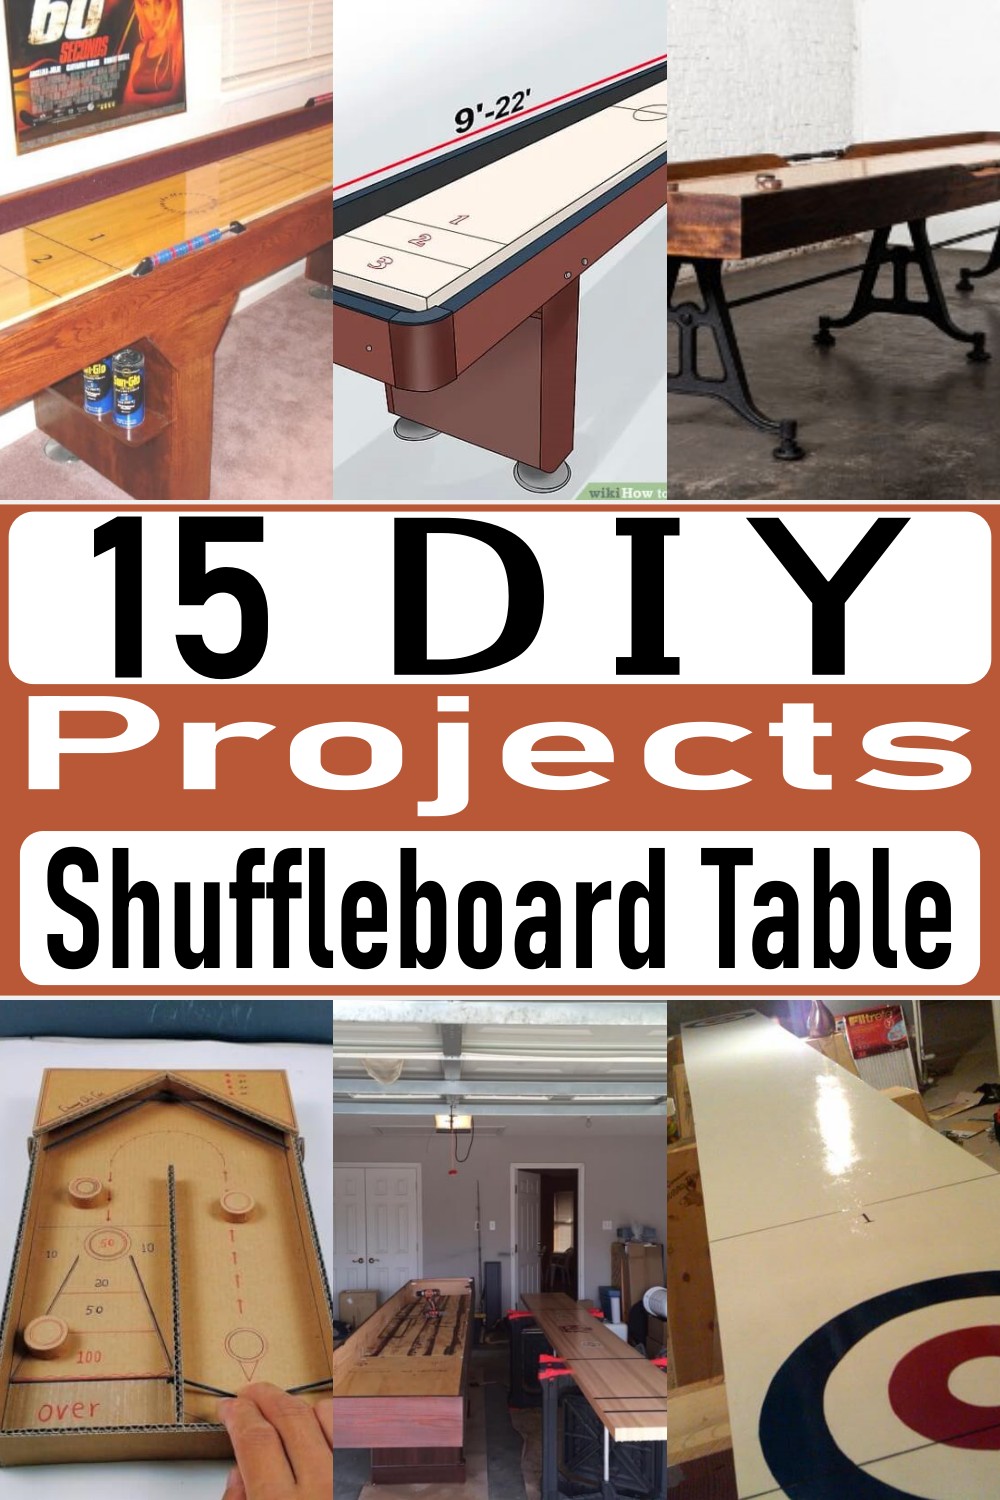
DIY Shuffleboard Table
Shuffleboard tables are the classic game for a fun party or relaxing family dinner. You can stay indoors during those cold winters and have a great time with your family and friends. However, there is nothing better than building it yourself to make sure that it meets your needs, fits right in your backyard or garage, and makes you appreciate the skills you have learned while making it. This article will show you how you can build one yourself and explain what materials are needed.
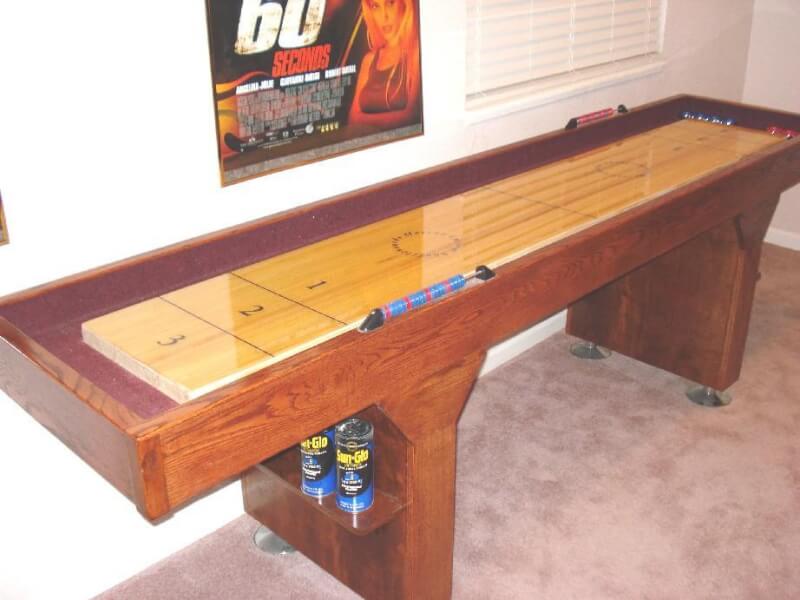
How To Make A Shuffleboard Table
Shuffleboard tables are fun to bring a sports-like game into your home. They're easy to make, and the surface is slick for easily racking points. This is a DIY shuffleboard table that you or your family can enjoy for years. It is designed to be made in your home and takes about two full days to construct. For the best results using this design, start with all your materials and tools laid out at least a week before you start work on the table.
DIY Shuffleboard Table
With this DIY Shuffleboard Table Kit, you get everything you need to build your own shuffleboard table in your garage, basement, or anywhere else you want. The assembly is simple and fun, and the finished product looks great on any wall. Make your shuffleboard table with this simple DIY project. The great thing about this table is that every part of it can be customized to fit your needs, whether changing the dimensions or adding a fancy design on one of the surfaces. You'll need access to a drill and other common tools like saws, sandpaper, and screws.
DIY Cheap Shuffleboard Table
This shuffleboard table is easy to use and install. It is made of a 2-inch thick MDF board which is durable and stable. Also, it has a modern design that matches any interior. The surface is smooth enough to play nicely, and the curling rings are convenient to stop the puck from sliding continuously around the table. It's a fun activity for families and friends in your living room and a great conversational piece for parties and other get-togethers.
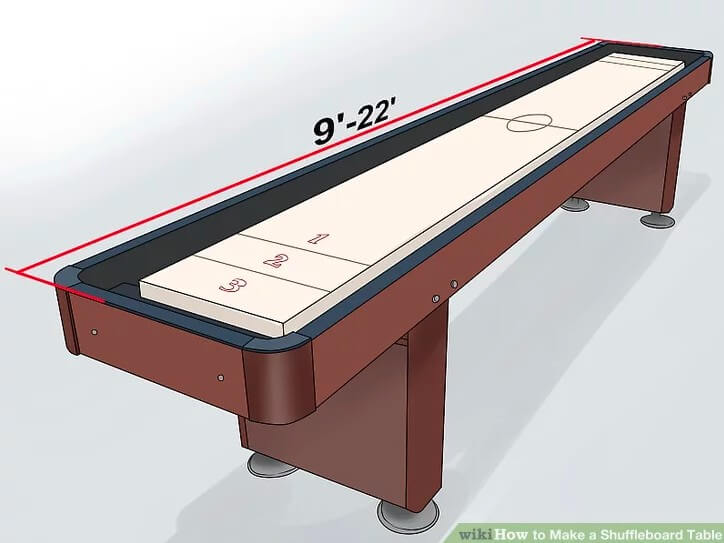
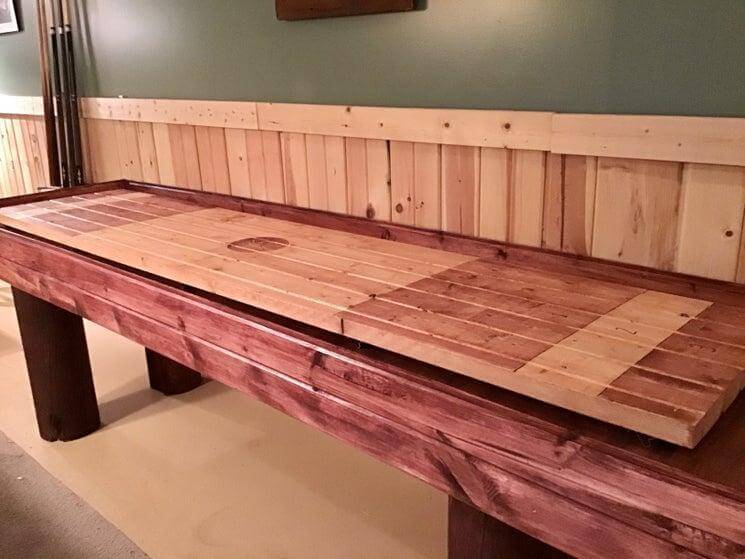
Making A Live Edge Shuffleboard Table
This DIY shuffleboard table is amazing and very easy to build. Please get started by measuring the wood and cutting and shaping it accordingly. After that, attach them using a screw and glue. The steel base can be assembled using a miter saw and some steel tubes, glue, and screws. Therefore, when purchasing these materials during your construction phase, ensure that you purchase dimensions suited for your machine or ask for the professional help from an expert.
DIY Shuffleboard Table
This shuffleboard table turns your garage or basement into an addictive game room. It's easy to build, but you can also go all out and paint the playing surface. With your limited time and budget, creating a shuffleboard table is the ideal DIY project for you. Start by assembling the table frame, attach a metal bracket to each corner of the frame and screw everything together using nails. Once the table and the playing surface are ready, watch them to each other and stain. Then, make the legs and fasten them to the table.
How To Build A Shuffleboard Table
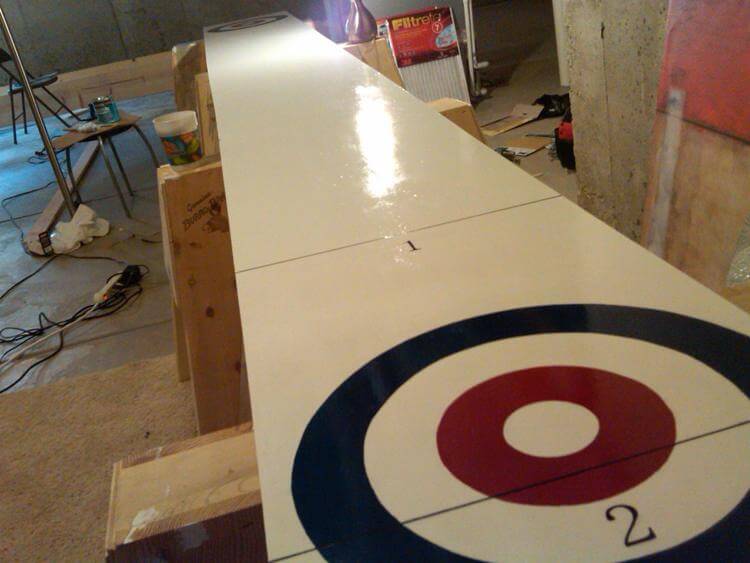
Building a shuffleboard table doesn't have to be hard. This tutorial will show you how to build a shuffleboard table from scratch with easy instructions and simple materials. This DIY shuffleboard table is made of wood and painted white to be bright. The playing surface is 10 feet long, 3 ft wide, and half an inch thick. Another great feature of this homemade shuffleboard is that it can be placed at any corner in your home or office to make it a part of your family room, man cave, or sports room.
DIY Shuffleboard Table
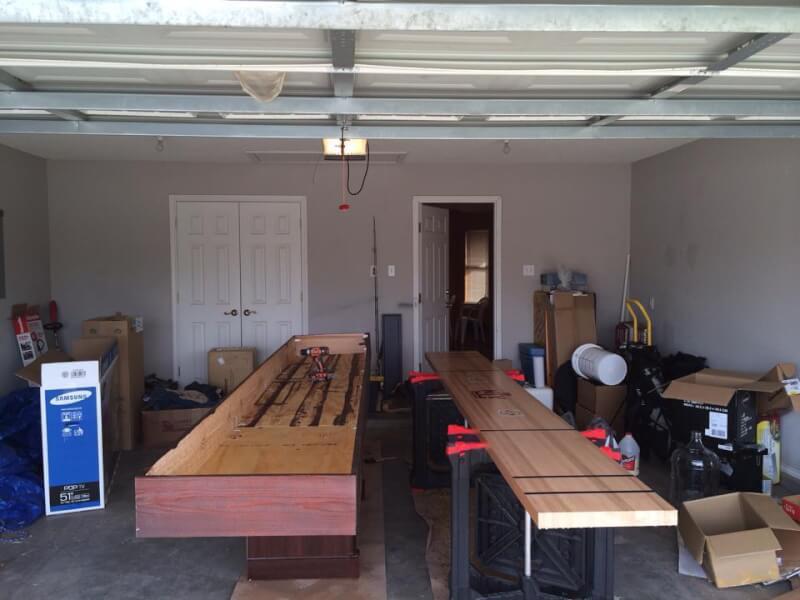
Anyone with woodworking tools can easily do this DIY shuffleboard table project, and it is designed to help you create a custom shuffleboard table for home use. The basic materials are readily available from any local lumber yard. Some power tools are needed for this project, but there is no need for complicated skills or tools to make this cool game board. Turn your favorite leisure game into a DIY project. With the help of this guide, you can build your own shuffleboard table at home with just a few materials and tools.
How To Build A Shuffleboard
Constructing your own shuffleboard is easier, especially if you have the proper tools and woodworking experience. You will need to make all the pieces for the scoring lines and box, including around 10 inches for the legs. Make grooves along each scoring line on your playing surface with a fencing tool and drill small holes therein. Once everything is ready, assemble it into an easy-to-operate shuffleboard table of your own design!
DIY Shuffleboard Build
Building shuffleboard is an interesting and amazing project that offers a different way of playing board games with friends and family. The shuffleboard comprises two small cones on opposite ends of the table, attached with a long handle on top. This can be made using simple materials found in almost every household. This fun and the creative project will fill your home with laughter as you challenge each other to games on the shuffleboard.
How To Make A Concrete Shuffleboard Table
Making a shuffleboard table can be an enjoyable and satisfying experience. Here, you will learn how to make one that is highly durable and fun to play on. In this project, we will be using concrete mix. While drywall mud may be easy to find in your neighborhood, it doesn't make the best material for a table of this kind since its surface is too smooth; your puck won't travel as far as you might like during gameplay.
DIY Desktop Shuffleboard Table With Cardboard
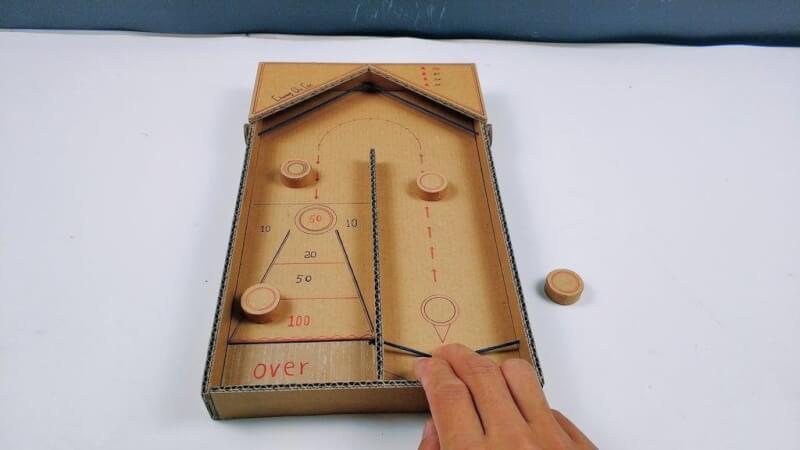
Easy to build, this Cardboard Shuffleboard table is the perfect project for a rainy day. It takes only a few simple steps and a handful of products. Even if you're not into gaming, you can still use it as an office desk organizer. After all, who wouldn't want a place to store their pens and markers? This DIY project could be the perfect gift for someone who has everything. It's made of sturdy cardboard and rubber bands, so it's ideal for kids, especially if they have friends and like to play together in their free time. Since it's so easy to make, you could even make one yourself!
DIY Shuffleboard For Desktops
Build and play your own shuffleboard for the office! This DIY Shuffleboard is made from cardboard. While you may not be a champion at the real thing, this DIY Shuffleboard makes playing your favorite shuffleboard game possible in the comfort of your own home. Shuffleboard is a classic game that has been around forever. This DIY version uses only cardboard, glue, and some paint to make cool-looking shuffleboard. You need to cut out your pieces of cardboard and follow the simple directions for creating this beautiful DIY shuffleboard.
DIY Tabletop Shuffleboard
You can make this simple DIY tabletop shuffleboard game out of cardboard. All you need is a piece of cardboard and some tape. Cut a long rectangular piece of cardboard, then glue some thin strips of cardboard to its sides, glue it to the side of another rectangular piece, and cut another piece slightly smaller than the first one. Frame both pieces with thin strips of cardboard and frame them again to create thickness and paint the inside black. Finally, place one cardboard on top, and you're done!