The homemade roll-up tray is the perfect way to keep your rolling papers, baggies, and other smoking accessories organized as you indulge. It's also an incredibly useful DIY project that can be done in just a few minutes using supplies around the house. The best part? With so many styles, sizes, and materials, you can make a rolling tray perfectly suited to your likes and needs! Rolling trays are incredibly handy when rolling dough or placing cookies on a baking tray. This roundup of DIY rolling tray ideas includes tips, tricks, and inspirations for what to make at home. These DIY rolling trays make it easy to roll any joint, spliff, or blunt style.
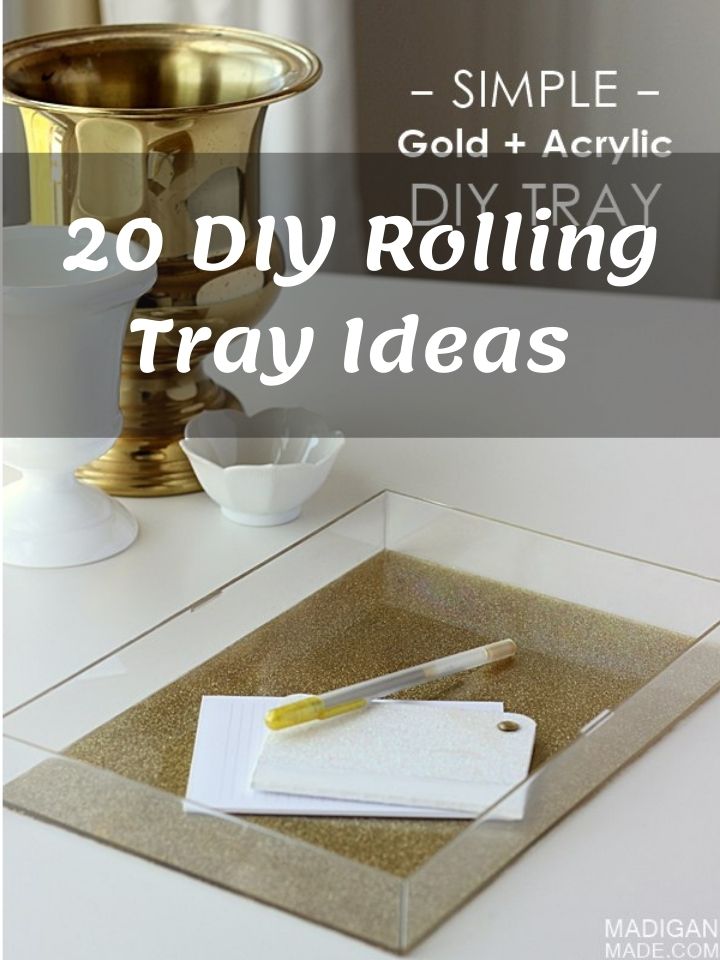
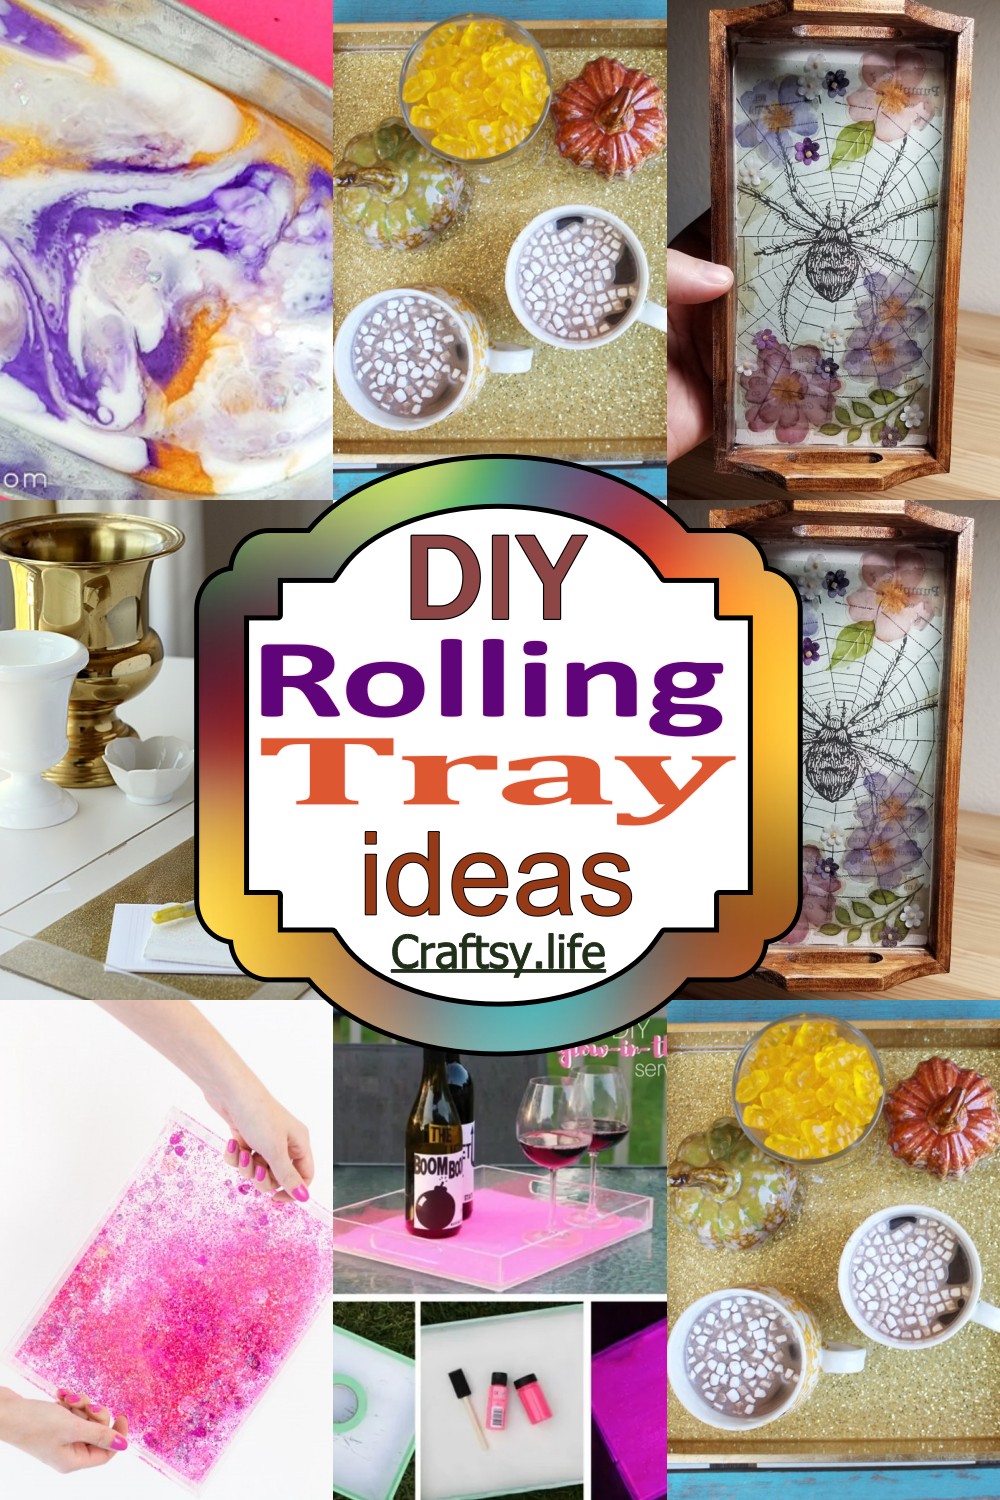
DIY Rolling Tray Ideas
Need a way to make your next party more fun? Make up a few rolling trays to help you serve drinks and snacks! Rolling trays are an inexpensive and creative way to get your friends involved in the party. Rolling around a tray of drinks or snacks is easy, and you can customize the trays for each theme. If you're throwing a Harry Potter party, choose a theme from the books, like owls or quidditch gear. If you have any DIY skills, put those skills to work and make your own rolling tray. Here are 20 DIY rolling tray ideas for inspiration.
Benefits Of DIY Rolling Tray Ideas
Rolling tray ideas are a great way to add a little style to your home. They're also very useful for keeping things organized, whether your craft supplies or just a place to put your keys and wallet when you get home from work. Rolling trays come in all shapes and sizes, but you can also make them with minimal effort. Here are some of the benefits of DIY rolling tray ideas:
- They are much cheaper than store-bought rolling trays.
- They can fit any size, shape, or color scheme you want.
- You can customize them however you want by adding decorations and designs that match your home's decor.
How To Make A Rolling Tray
Deciding to make a rolling tray instead of buying one can be cool, especially if you have the right skills. It requires basic things like a mini tray, spray paint to spray the tray, other decorations such as letter stickers, and, let's not forget, the lighter and jar placed on the tray. And since it is summertime, let's also add some beach-theme accessories. Making a rolling tray is much more straightforward than you imagine; it can be completed in a couple of hours if you have all the materials needed.
How To Make Rolling Trays
Deciding to make a rolling tray instead of buying one can be cool, especially if you have the right skills. It requires basic things like a mini tray, spray paint to spray the tray, other decorations such as letter stickers, and, let's not forget, the lighter and jar placed on the tray. And since it is summertime, let's also add some beach-theme accessories. Making a rolling tray is much more straightforward than you imagine; it can be completed in a couple of hours if you have all the materials needed.
DIY Full Coverage Rolling Tray
This DIY Full Coverage Rolling Tray is the ultimate tool for a perfect rolling surface! It's simple to make, and all you need is a regular typing paper of 11*13", a mod podge, and a sponge brush. Just cover your rolling tray with mod podge first, put the picture on it and use your hand to make the corners come out nice and smooth. Add more layers of mod podge if you have to. The final step would be adding a container for lighter, shot glasses, ashtrays, craft tools, and resin. You can also personalize this rolling tray with anything else you want.
Easy Rolling Tray Tutorial
Looking for a cool idea for your rolling tray? Try out this great tutorial from Tunisia, which she developed based on her background as an art student. You'll get a simple yet stylish, creative, and high-quality product that you can enjoy using every day. Tunisia talks about the ideas she used when making her tobacco rolling tray. Some of these include spray painting your small tray with paint and allowing it to dry, preparing your picture or sticker and attaching it to the tray's surface with epoxy, and following through with other simple steps that lead to a finished product.
How To Make A Resin Tray
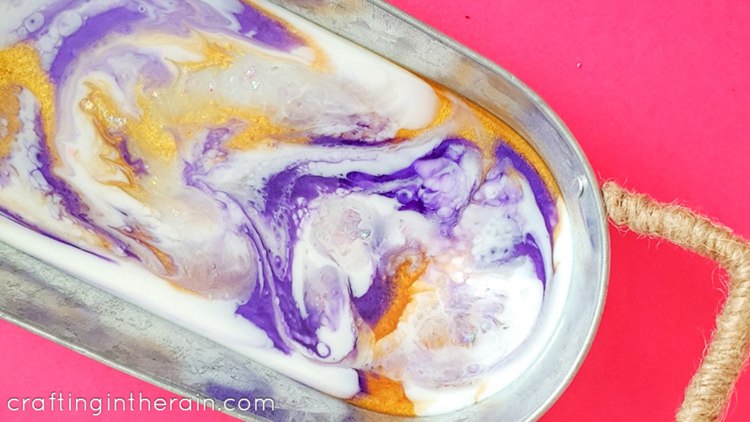
Now that you've mastered rolling on the floor like a pro gives rolling a tray a try. This resin tray is easy to make and will help prevent your ball bearings from flying everywhere. Making a resin tray is an easy project that you can make yourself. You can use resin to make all kinds of stuff, from rolling trays to jewelry and lamps. The process is simple; all you need is epoxy and color. Assemble all the materials and add them to your container, with color first, then the epoxy going down the side of your mixing vessel as you go. Once you're done mixing, pour it into the tray, ensuring that every part gets coated before letting it set.
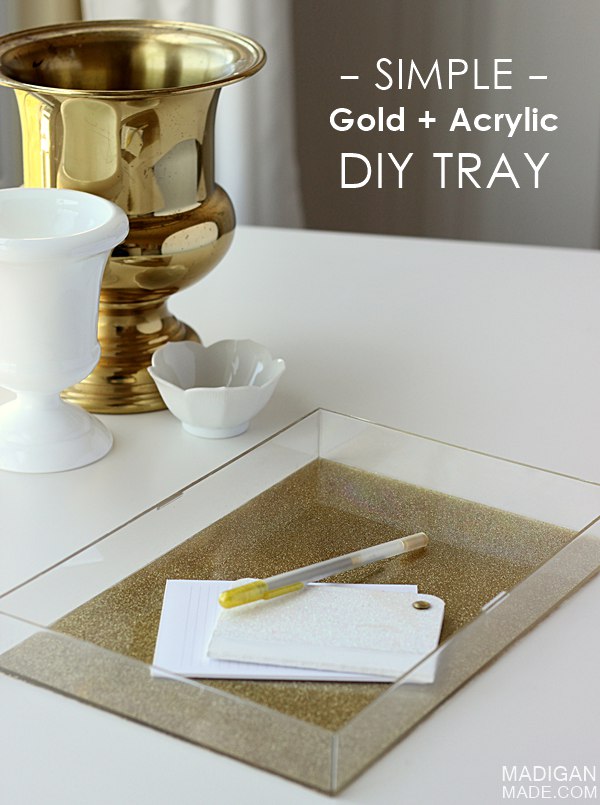
Gold Glitter Resin Rolling Tray DIY

Gold resin metal glitter tray is a perfect DIY project to craft something special and elegant. Make your own unique gold glitter resin tray! The fun, distinctive look of the gold glitter resin rolling tray will delight you now and for many years. Making it is very easy and will not take much of your time. You need paper cups, mod podge, high gloss resin, gold glitters, an old lacquered tray, and a needle tool. It offers a nice classy touch to any room or table. This is perfect if you want something extra to make your room look elegant.
DIY Mod Podge Rolling Tray
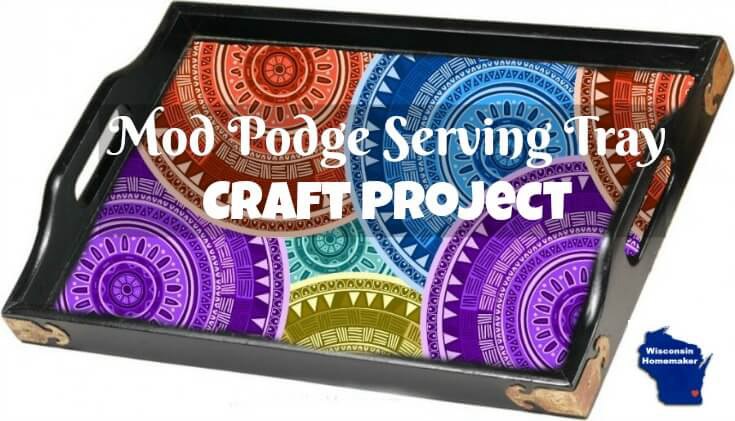
This DIY Mod Podge Rolling Tray is a quick, easy craft you can make in just a few minutes. This attractive and durable tray uses scrap pieces of fabric and is perfect for rolling out dough, clay, or other materials. The DIY Mod Podge Rolling Tray is a great way to showcase your patterns and colors. All you need is an old wooden tray, some paint, fabric, and mod podge, and you're all set to go. Just make sure you cover the entire surface of your tray with a mod podge, or else it might flake when you paint on top of it. Some people use newspapers or paper towels as well!
DIY Rolling Tray
Not for a novice, this project requires decoupage, paint, and glitter. The DIY rolling tray makes a statement when you carry drinks and snacks from one room to another. A rolling tray is a great way to organize your craft supplies and store them away when you're done. You can make one with a clear plastic frame, decoupage, painter's tape, and glitters. This DIY rolling tray is perfect for all your craft and party needs. The clear plastic frame will easily hold any round object you need! DIY a tray for your next crafting session or cocktail party!
You can also see: DIY Keyboard Tray Ideas
How To Make A Rolling Tray With No Cricut
If you have a Cricut cutting machine and printer, making a custom rolling tray will be easier as you can make your own design. But if you don't have one yet or find it too expensive! All you need is simple materials, scissors, glue, and paint. You don't need a Cricut machine or equipment to make this tray. Just take any picture of your choice, cut it to size, and then attach it to the tray using a mod podge. You can also use epoxy to make it shiny and permanent.
DIY Rolling Tray
This rolling tray features an ashtray, lighter, jar, and tray. To make it look nice, you need spray paint to paint them and a foam brush. It is straightforward to make. One of the most basic features of a rolling tray is that it can be made with epoxy and spray paint. Your tray will look nice, but the whole thing can quickly break if you don't add this protection. Make your rolling tray for smoking. This homemade rolling tray is simple and easy to make but provides a stylish addition to any room where you are set on your hookah.
How To Make A Rolling Tray
Stain your wooden tray with different spray paint colors until you find the shade you like. Once this is done, use epoxy to seal the paint job so it won't peel off. Mix some epoxy until it becomes clear and pour it on one side of the tray; tilt the tray, so it spreads down the edges and all over the wood. This DIY tray is great for a DIY crafting table. First, you need to spray paint the tray in your favorite color. Next, pour epoxy on one side of the tray and tilt it to allow it to slide down all its edges. Once you're done, it's ready for you!
Rolling Tray Tutorial
Who said that being practical with your home decor is boring? A rolling tray is a great decoration piece in your home office or anywhere else. It is an easy DIY project that anyone can do, easily customizable and cheap! This tray is one of the most straightforward DIY you can try your hands on. You need a stainless steel tray, paint, brush, and vinyl to make this. Mix two colors of paint to give you another color entirely. Then, paint the tray with the new paint. After the paint has dried, stick out the figure from the vinyl to the tray, and for smaller letters, use a transfer tape to get them out."
DIY Glitter Glow In The Dark Tray
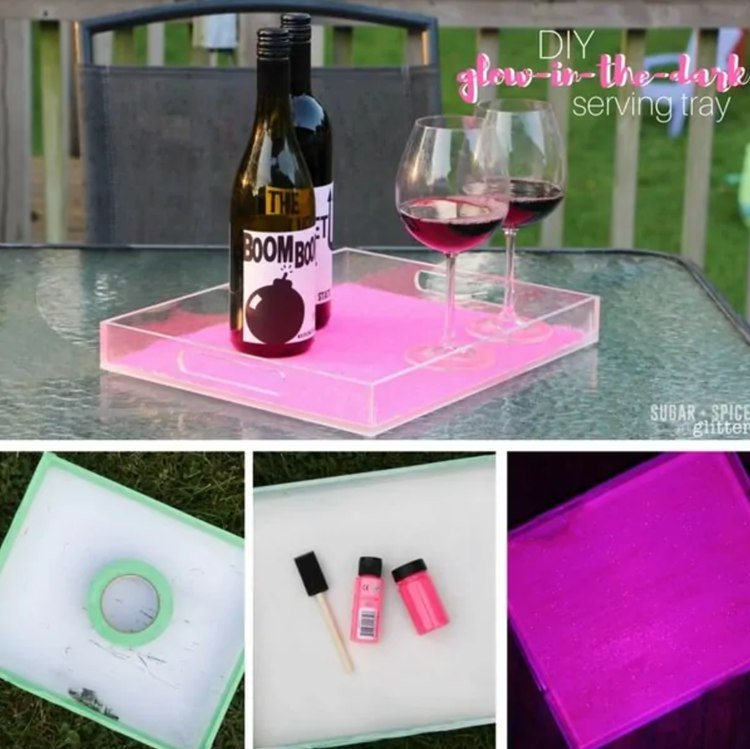
Spice up your boring kitchen or bathroom counters with this amazing DIY Glitter Glow In The Dark Tray. Your kids will love this DIY Glitter Glow In The Dark Tray, especially if you include them in the making process. Grab a cheap scratched acrylic tray from any available store around you. Get a piece of plexiglass, cut it into two and drill holes on each piece at each side of the acrylic tray as the handle. Now, spray the acrylic tray with primer spray and allow it to dry before adding another layer. It is super easy to make, looks beautiful, and gives you all the motivation to complete your daily tasks instantly!
DIY Glitter Tray
This glitter tray is perfect for mixing your custom glitter colors and creating custom glitters. It's a great project for kids because it can be customized and decorated with any glitter color you want! This glitter tray is so fun to make. You can use different glitter, like glass, plastic, or metal. You will need computer paper and a gas tray to pour all the glitter into one place. The good thing about this DIY project is that you can reuse the materials to make other crafts when you're done with them.
DIY Halloween Rolling Tray
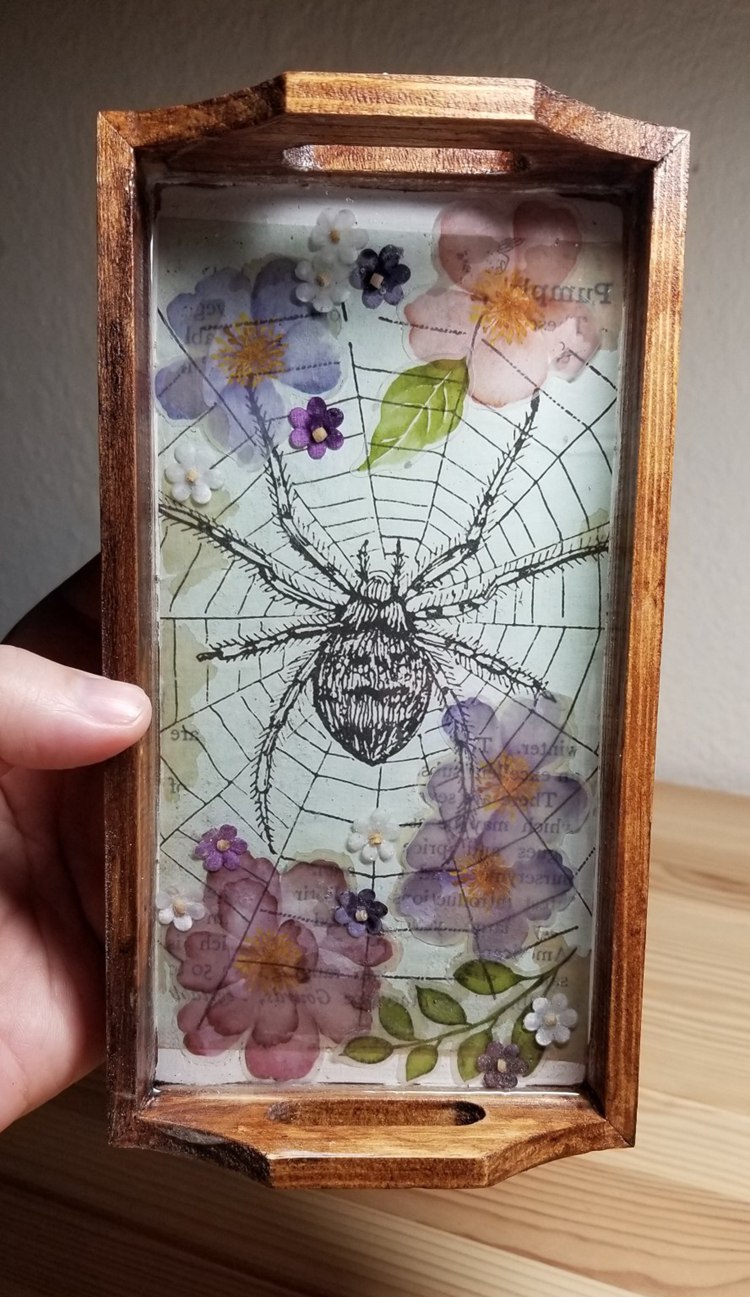
When you make this rolling tray, you can use it for any food and drink. Add a little rustic charm using unfinished wooden craft and stain the edges. After that, print the spider image and stick it to the surface using mod podge. Mix some epoxy with pink glitter and pour it over the tray's surface till all corners are covered. This Halloween rolling tray is a great way to add a spooky touch to your home. Make it from an unfinished wooden craft and give it light sanding for a good finish. Apply wood stain for a more rustic look, print the spider design to cover the surface of the wooden tray, mix some epoxy and pour it on the printed area. Tilt from side to side till the epoxy spreads evenly over all corners of the board.
How To Add Picture To Rolling Tray
Rolling Trays are very useful when smoking cigarettes, cigars, or cannabis. They make the process much more comfortable and convenient. But did you know it's also possible to use rolling trays as an organizer? Add a personal touch to a rolling tray with photos of your favorite things. Please choose an image that fits the theme of your smoking area and print it out on the vinyl material. Then, cut the image into pieces, peel them, and stick them on various parts of the tray. Small circle pictures for the small ashtray, a rectangular shape for the tray, and thin images for the lighter.
Custom-Made Rolling Tray Using Real Leaves
This rolling tray is a unique option for avid smokers, made from epoxy and real leaves. Working with epoxy, coloring, and leaves to create a unique item like this will make the perfect gift for anyone who appreciates the beauty of nature and the art of rolling accessories. This custom rolling tray is made from epoxy, coloring, and real leaves. Get four disposable cups and pour some epoxy into them. Make sure to weigh the cups to have a uniform volume. After that, add coloring to all the cups, with different colors in each cup. After painting, add more epoxy and empty the contents of the cups in another giant cup, small by small.
How To - Liquid Rolling Tray
You will need a tray, walnut, image, and glitter. Apply the liquid resin on the tray in the presence of a UV lamp. Cut down the image and allow it to dry before applying. The great thing about a liquid rolling tray is that it can be used for any project. You can use it to create mood boards, project life goal boards, and art projects. Make a custom liquid rolling tray by following these steps from Lady Esha. Mix up your resin, coat the tray with a glaze, apply your image and wait for it to dry. Then bake it under the UV lamp. Now you're ready to roll!
How To Make A Fabric Rolling Tray
This idea may be slightly different, but it's still cute. Rolling trays are generally made of wood or metal and are also used as trays where you can roll up your tapestry. You will need a rolling tray, fabric spray paint, Mod Podge, and your fabric of choice; lay out your fabric flat on the ground, then put some mod podge on the end of your brush and apply it to your roller tray. Once dried, flip over and trim the excess fabric so that only about half an inch sticks out from underneath for easy rolling.
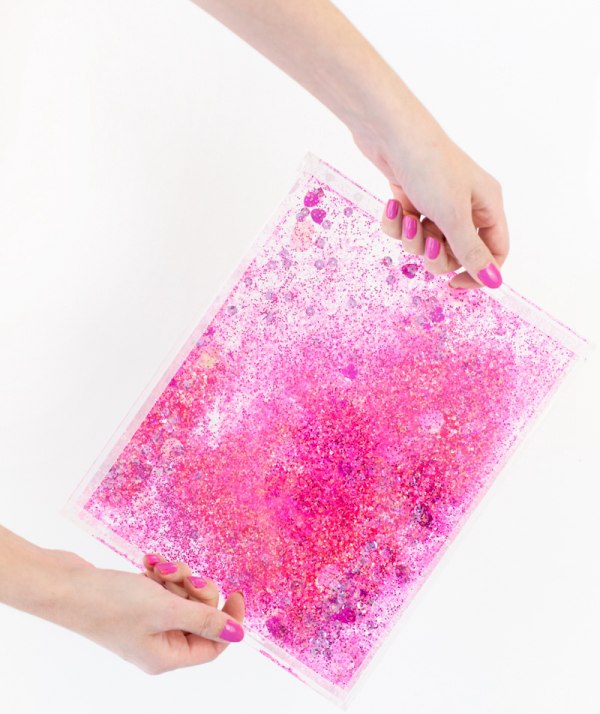
DIY Glitter Rolling Tray
This glitter rolling tray is so simple to make at home, and the results are amazing! This DIY makes the perfect gift or a one-of-a-kind piece for your home. This DIY Glitter Rolling Tray makes the perfect gift for any glitter lover. Start with a metal tray, then add some kid podge and glitter to make your rolling tray. Once the glitter is dried, mix up a batch of epoxy and pour it over all of your hard work! This crafty DIY project is perfect for a rainy day indoors. Make it extra special by choosing the perfect color of glitter.