
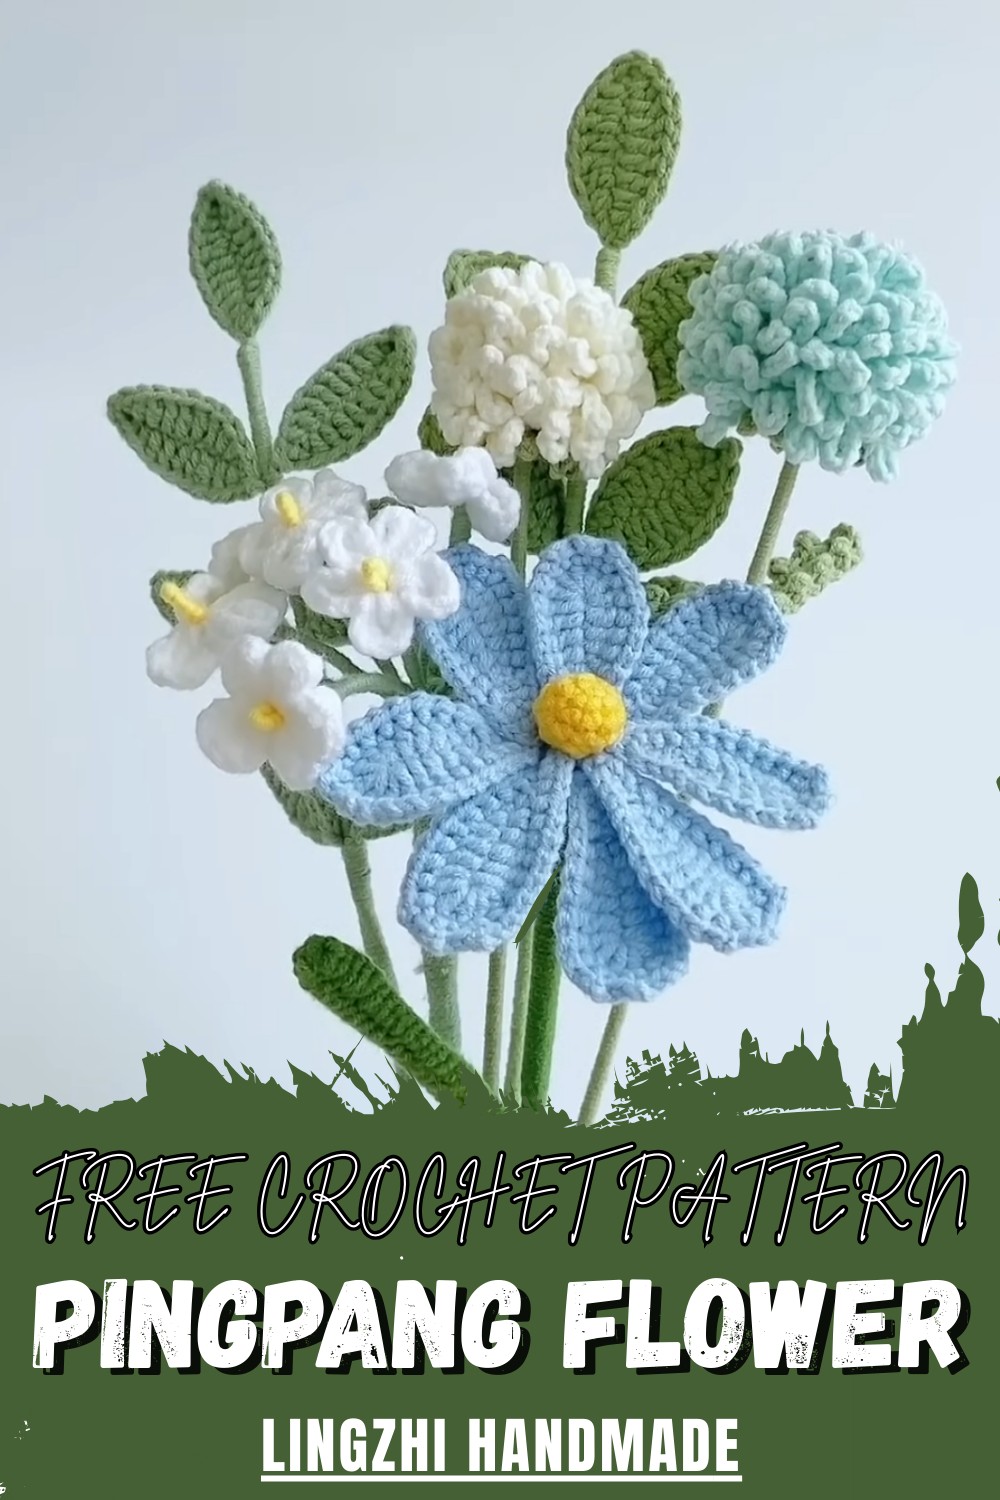
Delight in charming décor with this Free Crochet PingPang Flower Pattern for bold, vibrant flowers that lift your home’s mood naturally.
Cultivating a permanent indoor garden that radiates soft, spherical beauty is easily achieved through the use of a Crochet PingPang Flower Pattern. This artistic guide provides the foundation for producing a lifelike, pom-pom-style bloom that mirrors the lush, rounded form of the natural chrysanthemum. This floral elements serve as a versatile decorative solution, adding a touch of sophisticated texture to home arrangements, bridal bouquets, or even as high-end embellishments for seasonal accessories.
Radiating Crochet PingPang Flower Pattern Perfect for Table Decor
The primary benefit of this design lies in its everlasting nature, offering a vibrant and hypoallergenic alternative to real flowers that requires zero maintenance. By selecting premium, fuzzy yarns, you ensure a realistic, velvety feel that captures the eye with its architectural depth.
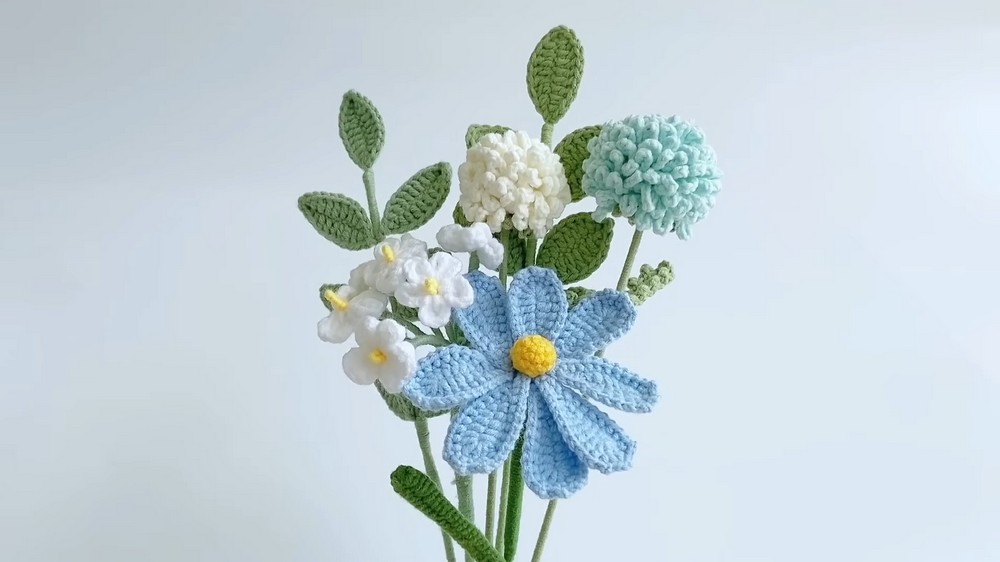
The overall look is one of refined, artisanal elegance, providing a cheerful pop of color and a soft, professional finish. This pattern empowers you to create a high-quality botanical masterpiece that maintains its pristine, joyful silhouette in any setting.
Step-by-Step Details
1. Materials
You’ll need the following materials for this project:
- Yarn in various colors (green, yellow, and customizable colors for petals)
- Crochet hook (compatible with the yarn size)
- Craft wire
- Scissors
- Filling material (e.g., polyester stuffing)
2. Flower Base
- Create a magic ring as the starting point for the flower base.
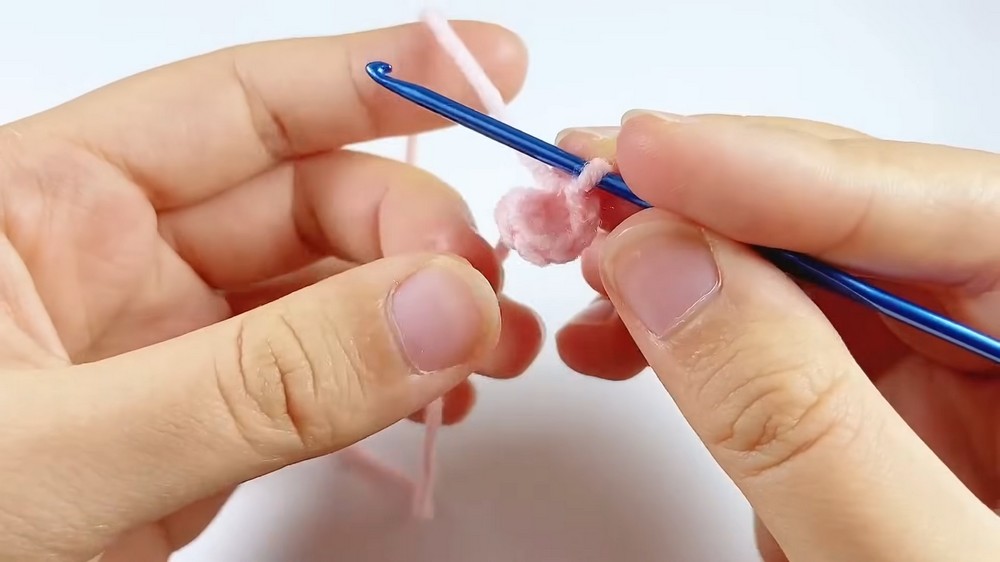
- Work 6 single crochets (SC) into the magic ring and pull it tight to close the circle.
- Slip stitch into the first stitch to close the round.
- For Round 2, chain 1 and work in the half side of each stitch. Add 6 increases (2 SC in each stitch) for a total of 12 stitches.
- Repeat this process for subsequent rounds, increasing or maintaining the stitch count as needed:
- Round 3: 1 SC in the first stitch, 1 increase in the next. Repeat for 6 sets.
- Round 4: 2 SC in each of the first two stitches, 1 increase in the third. Repeat 6 times.
- Work Round 5 to 7 with 1 SC in each stitch.
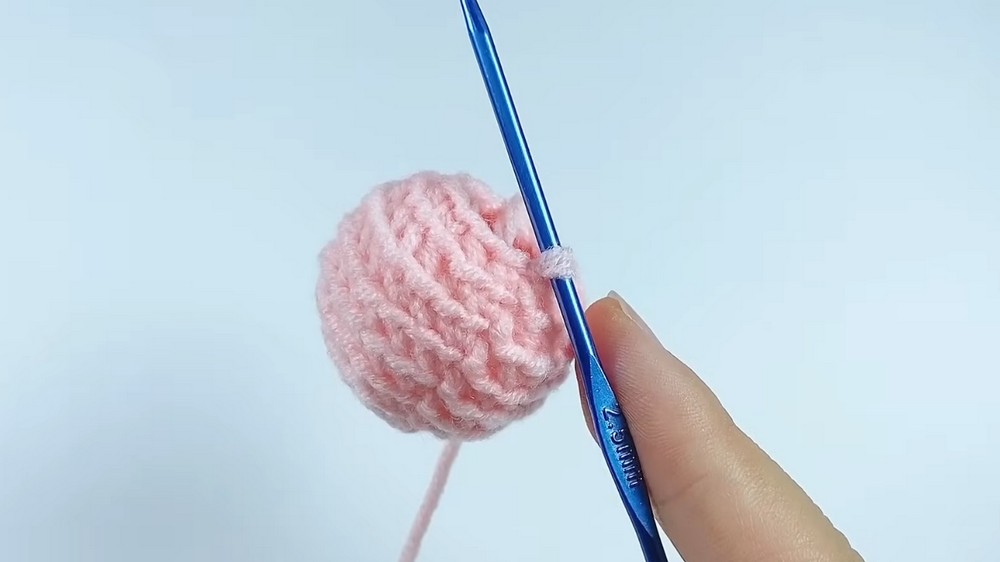
- Begin decreasing in Rounds 8 and 9 by working a SC in the first two stitches, then decreasing (crocheting 2 stitches together).
- After Round 9, insert filling material into the flower base.
- For Round 10, work only decreases (6 in total), and finish by cutting off the yarn.
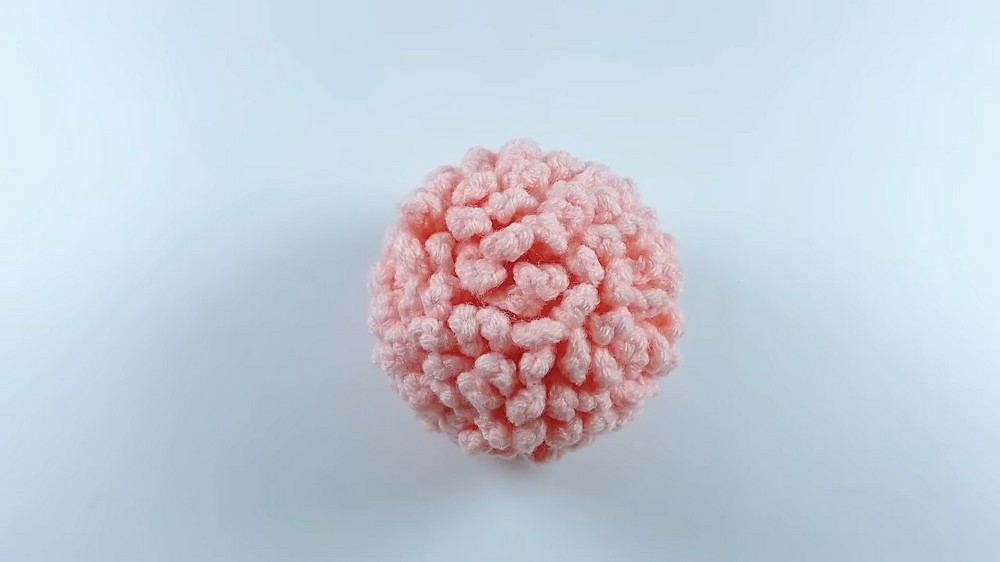
3. Fluffy Petals
- Reattach the yarn to the base to create petals.
- Work 8 chains, then slip stitch into the next space to form the first petal.
- Repeat by chaining 8 and slip stitching around for all spaces in the round.
- Continue adding layers of fluffy petals by repeating this pattern for Rounds 2-9. Finish by cutting off the yarn and hiding the tail.
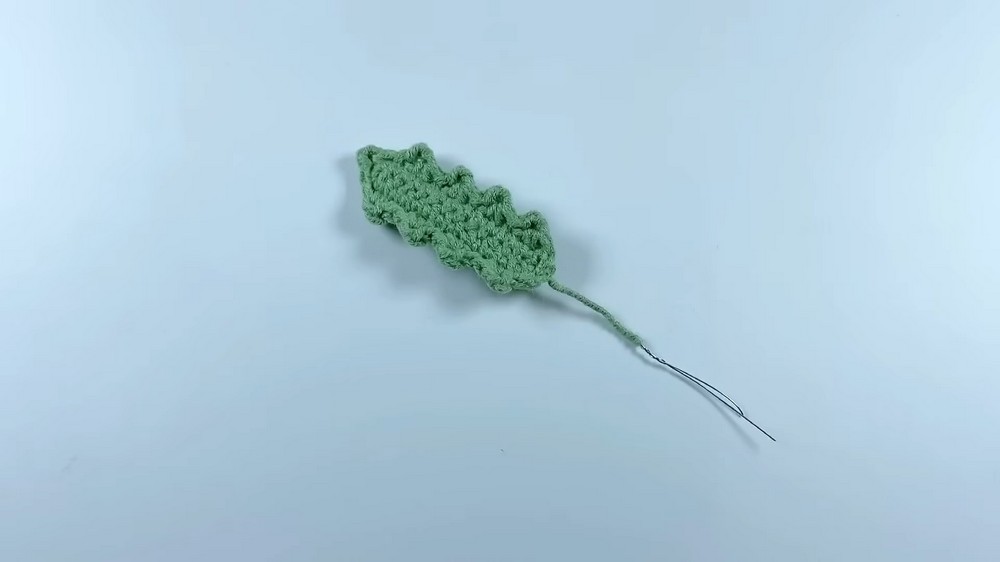
4. Leaf
- Create a slip knot and chain 15.
- Insert a piece of craft wire into the chain foundation for stability.
- Begin crocheting along the chain starting with 1 single crochet (SC) in the second chain from the hook. Work 13 SCs down the chain.
- At the last space, crochet 3 SCs to round the tip, then crochet along the opposite side of the chain.
- Start Round 2 by skipping the first space. Crochet 1 decrease, followed by 2 chains and a slip stitch through the chain's back bump to form the leaf's tip.
- Repeat for the length of the leaf, ending with a single crochet in the final space. Cut off the yarn and hide the tail.
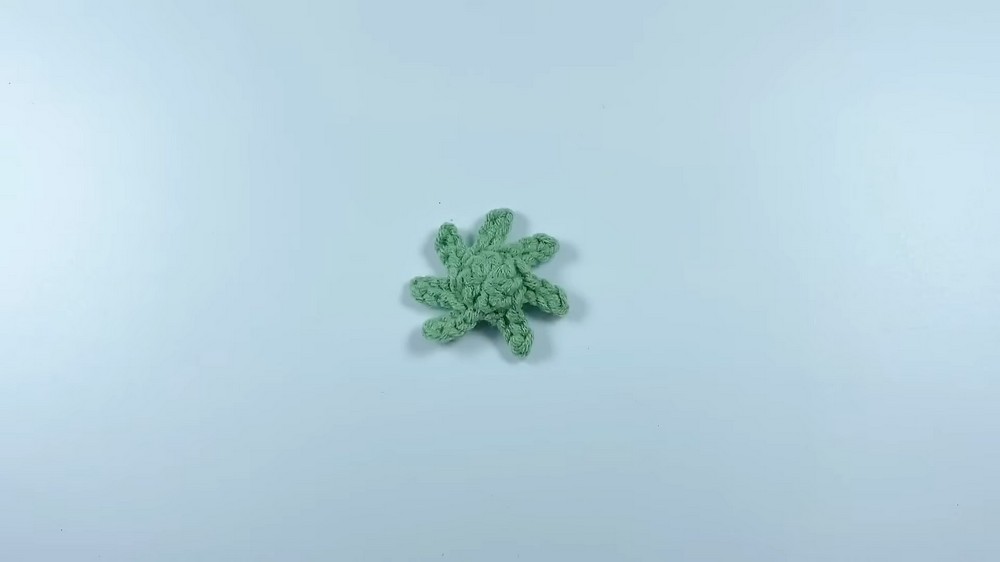
5. Flower Torus
- Start with a slip knot and crochet 2 chains to form the starting loop.
- Work 7 double crochets into the loop and close it with a slip stitch.
- Create petals by chaining 4, working slip stitches into the chain, and attaching them to the next space on the torus.
- Repeat to make 7 petals around the torus, cut off the yarn, and finish by tying and hiding the tail.
6. Assembly
Combine all parts—attach the completed leaf, flower base, and torus—to create the final crochet Ping Pong Flower.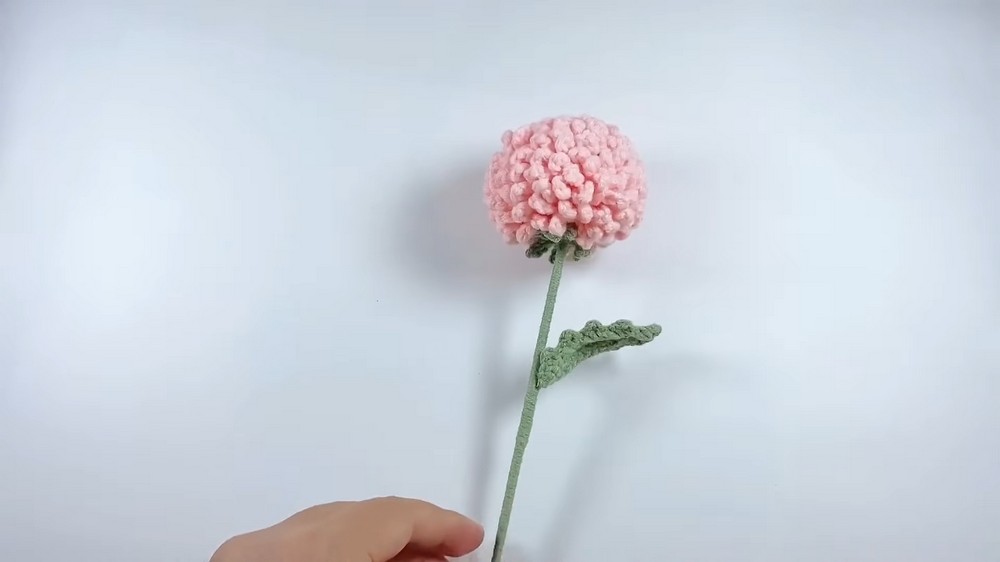
Special Features
- Realistic Design: The fluffy layered petals and textured center make the flower lifelike.
- Versatility: You can adjust the size of the petals and customize colors to suit your project.
- Stable Leaf Structure: The addition of craft wire makes the leaf sturdy and easy to shape.
- Layered Fluffiness: The multi-round petal technique ensures a full, dense flower bloom.
Level of Difficulty
The project is beginner to intermediate level. While the use of fundamental stitches (single crochet, increase, decrease) makes it accessible to beginners, the petal layering and addition of craft wire may require some patience for those new to crochet.
Tutor’s Suggestions
- Work slowly while decreasing stitches to avoid gaps in the base.
- Use consistent tension to create smooth and even petals.
- For a smaller or larger flower, adjust the number of chains in the petal round or the initial magic ring size.
- Hide the yarn tails properly for a clean, professional finish.
Uses
- Create floral arrangements or centerpieces.
- Use as embellishments for handmade cards or gift wraps.
- Add to hair accessories, brooches, or clothing for a unique touch.
- Gift individually or as part of a bouquet.
Tip for Success
Keep your work well-lit and organized. Use stitch markers if needed, especially while working on rounds, to avoid losing track and to ensure consistent results.
Conclusion
This Ping Pong Flower crochet pattern offers a step-by-step guide to creating a realistic and customizable flower. Its lifelike appearance, versatility, and simple design make it an excellent project for both beginners and intermediates looking to enhance their crocheting skills.


