
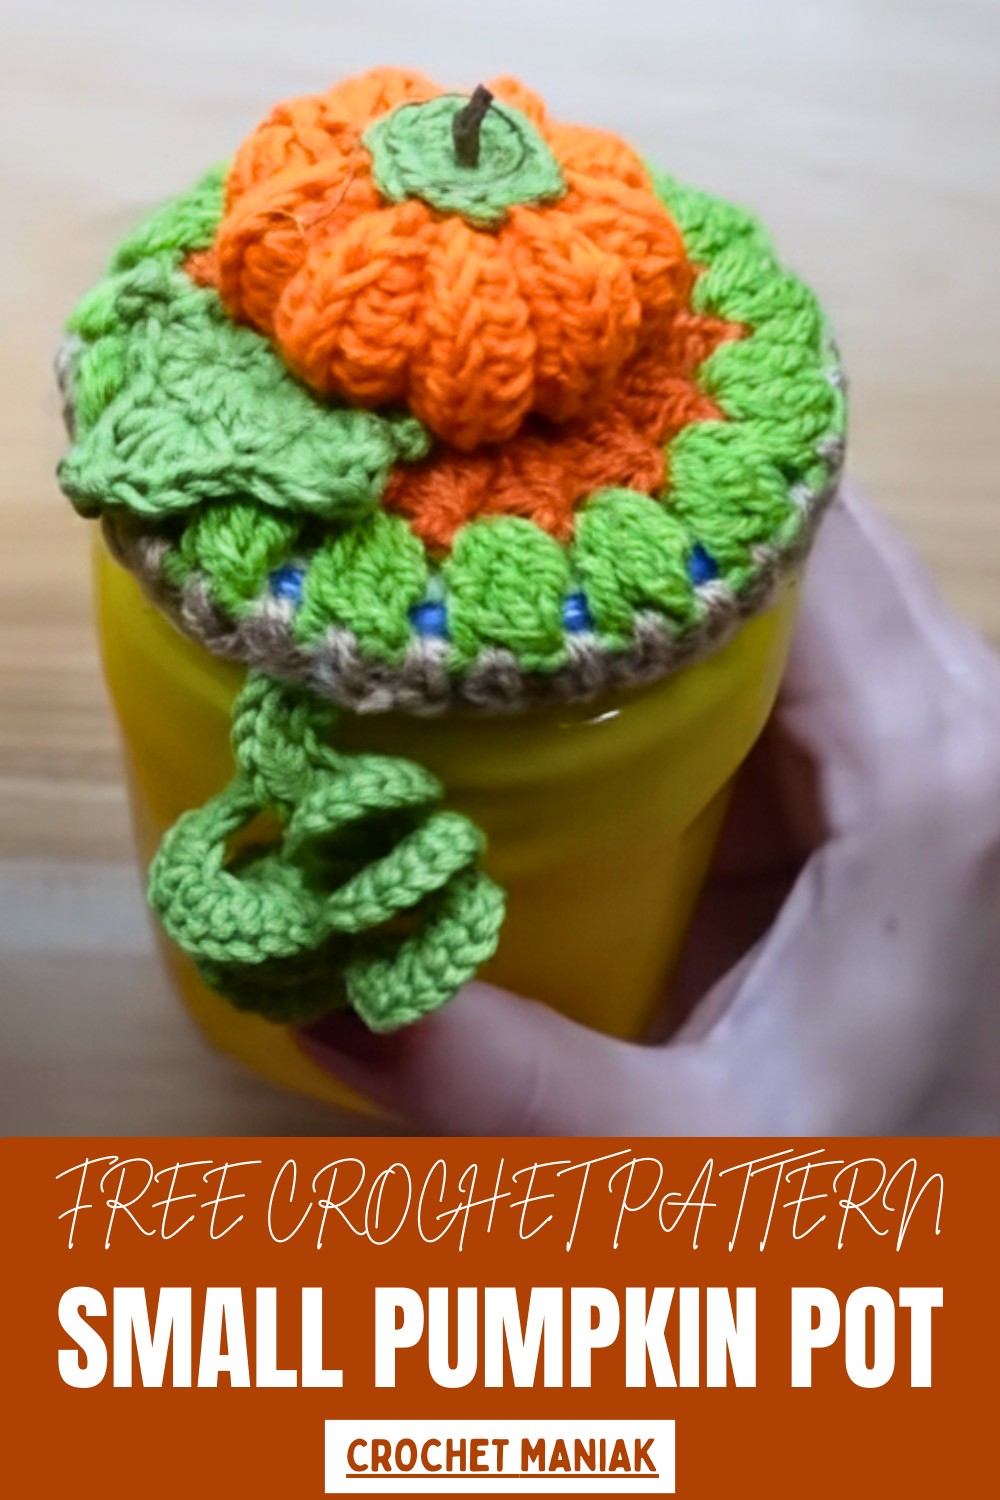
Spruce up décor with Free Crochet Pumpkin Pot Pattern, making cute handmade pumpkins that bring charm and warmth to any space or gift.
A small burst of autumn spirit can instantly lift the atmosphere of any room, bringing warmth, color, and a cozy seasonal touch. Soft yarn, playful shaping, and charming details combine to create a piece that feels both delightful and functional. A Crochet Pumpkin Pot Pattern transforms basic stitches into a cute pumpkin-shaped container, perfect for displaying plants, holding small items, or adding a festive accent to your décor.
Materials and Uses
Materials You Need:
-
Yarn: Caliber 2 cotton yarn in four or five colors:
-
Pumpkin color (e.g., Orange).
-
Stem/Leaf/Vine color (e.g., Green).
-
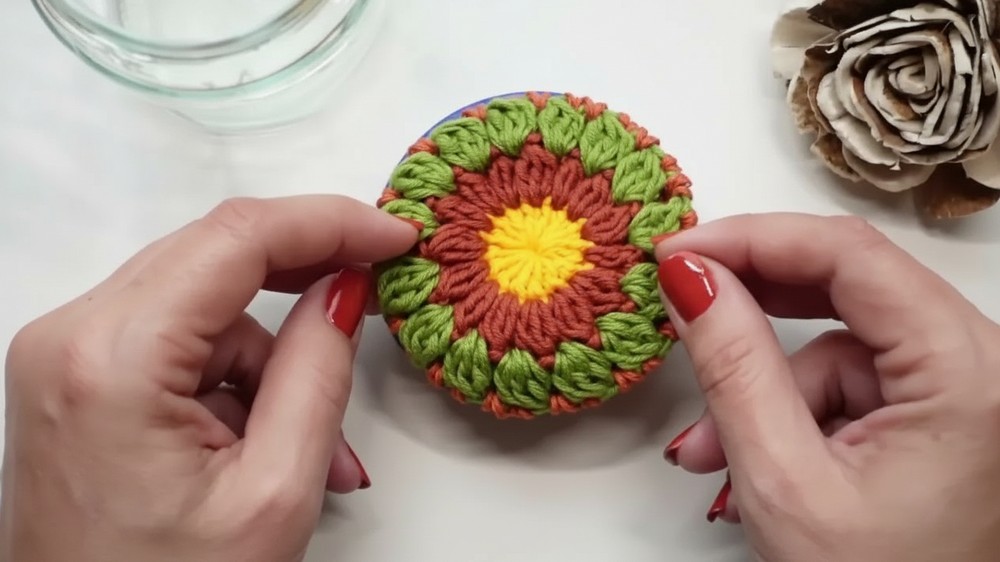
2-3 contrasting colors for the jar lid cover (e.g., Yellow, Rust, Brown).
-
-
Crochet Hooks: A 3 mm hook for the lid cover and a 2.5 mm hook for the pumpkin and accessories.
-
Tools: A tapestry needle, scissors, fiberfill stuffing, a small wooden stick or twig for the pumpkin stem, and a clean jar with a lid.
-
Adhesive: A hot glue gun or fabric glue is necessary for final assembly.
Uses:
-
You create a decorative, removable cover for a recycled jar lid.
-
You use the decorated jar as a festive storage container or a warm, handmade piece of autumn/fall decor.
-
You can utilize the pumpkin or leaf pieces separately for other craft projects.
Special Features and Difficulty
Special Features:
-
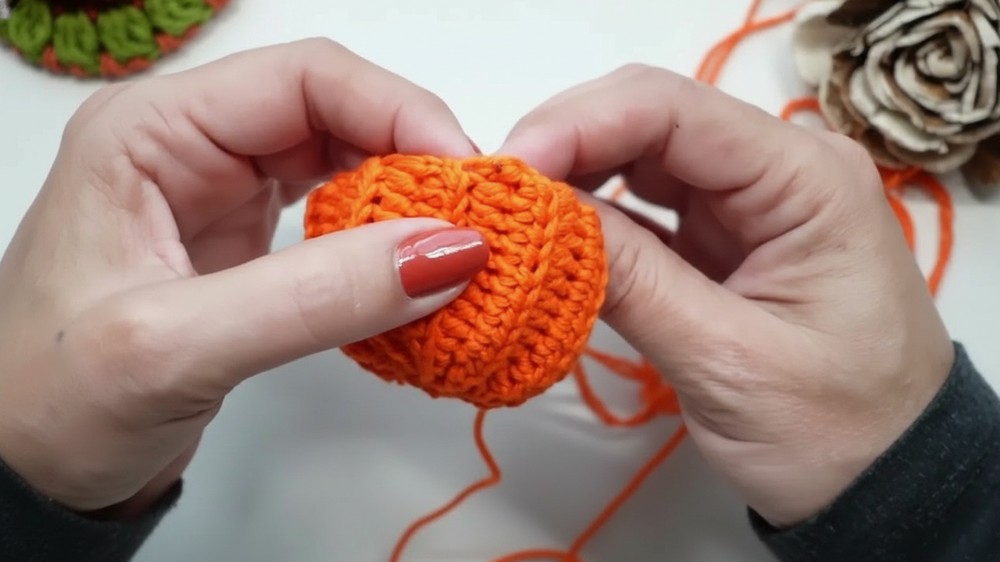
Ribbed Pumpkin Texture: You use the Back Loop Only (BLO) half double crochet technique to create pronounced ridges, beautifully mimicking the natural texture of a pumpkin.
-
Segmented Shaping: You employ a long yarn tail and a tapestry needle to pull through the center of the lightly stuffed pumpkin, creating distinct, compressed segments that give the pumpkin its realistic, flattened shape.
-
Natural Stem Integration: You secure a small, natural wooden stick or twig into the crocheted stem base, replacing a typical yarn stem with a realistic element.
-
Spiral Vine: You crochet a vine with a coiled spiral effect by working multiple single crochet stitches into a single foundation chain stitch.
Level of Difficulty:
You embark on an Intermediate project. You manage two different hook sizes, execute complex stitch clusters, and master the shaping and assembly of multiple small components to achieve the final design.
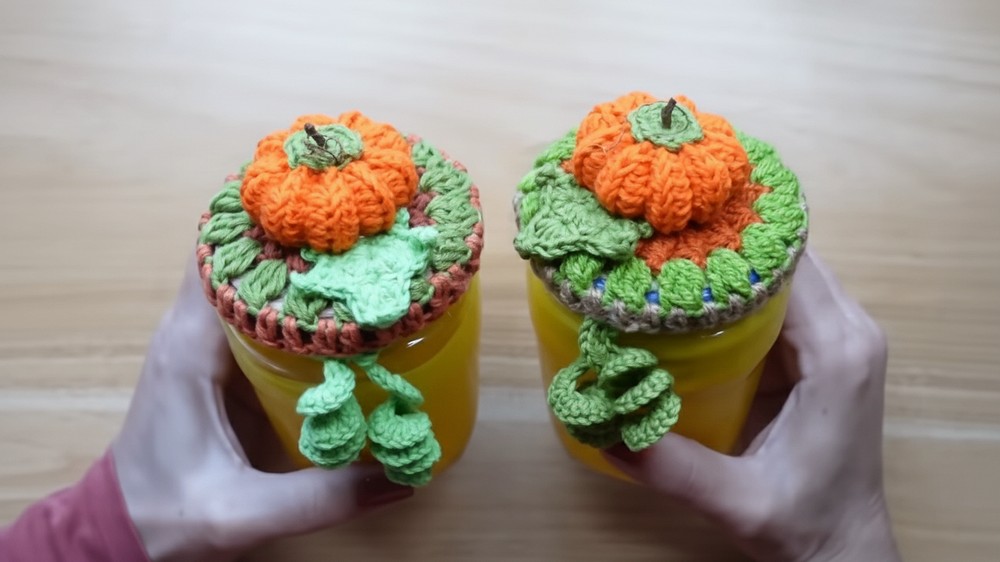
Soft Crochet Pumpkin Pot Pattern for Seasonal Decor
Tutor's Suggestions:
-
Tension: Use the smaller 2.5 mm hook for the pumpkin and crochet very tightly to achieve a dense fabric that maintains the pumpkin's shape.
-
Stuffing: Stuff the pumpkin lightly! Do not overstuff it. Keep the filling minimal to ensure the piece remains malleable for the segment-shaping process.
-
Stitch Count: Count your stitches carefully, especially the 12 Half Double Crochet stitches in the pumpkin rectangle, to keep the vertical sides perfectly straight.

The design is fun and versatile, featuring a rounded pumpkin body, subtle ridges, and a small stem that can be customized with different colors, textures, or added embellishments like leaves or vines.
Its uses are endless—it works beautifully as a fall centerpiece, a charming gift, a mini planter for succulents or flowers, or a stylish way to store everyday essentials. Beyond its decorative appeal, this pattern creates a sturdy, lightweight piece that holds its shape and adds a handmade touch wherever it’s placed.
Suitable for beginners and engaging for more experienced makers, this pattern allows creativity through stitch variations, color choices, and small details.
A piece made from this Crochet Pumpkin Pot Pattern blends festive charm with practicality, resulting in a cheerful, functional, and eye-catching accessory that brings personality and seasonal joy to any home.
Step by Step Guide
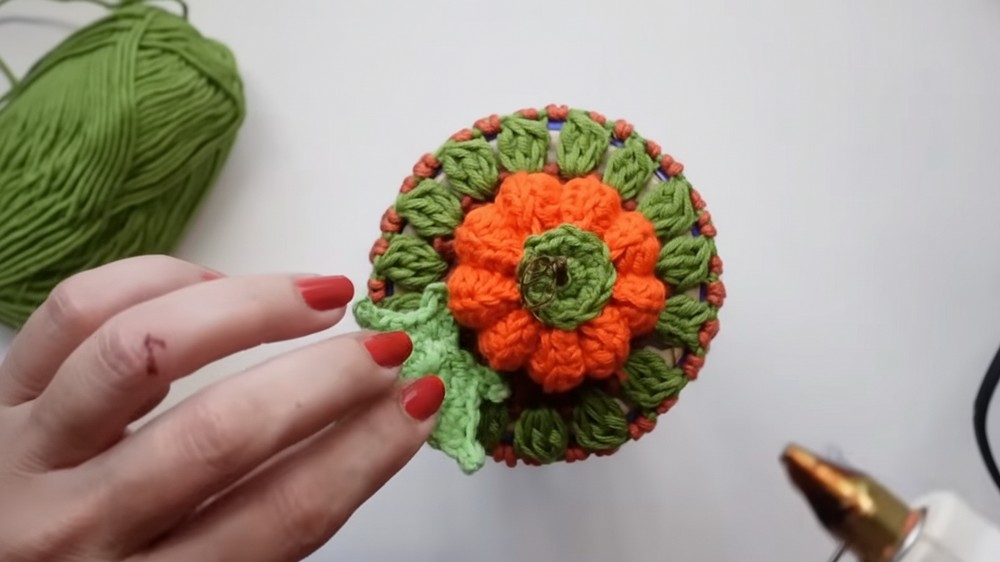
You create a charming autumn decoration by recycling a simple jar and adorning its lid with a crocheted pumpkin, leaf, and vine. This tutorial transforms an ordinary jar into a cozy, festive centerpiece for your home.
Conclusion
You have successfully completed a charming and festive crochet pumpkin jar cover! The finished piece features a beautiful textured pumpkin and a secure lid cover, ready to add a handmade touch to your autumn decorations.
Final Tip
When performing the segment shaping on the pumpkin, maintain careful control over the yarn tension as you pull the segments tight. Pull enough to define the ridges, but stop before you deform the overall oval shape of the pumpkin.


