
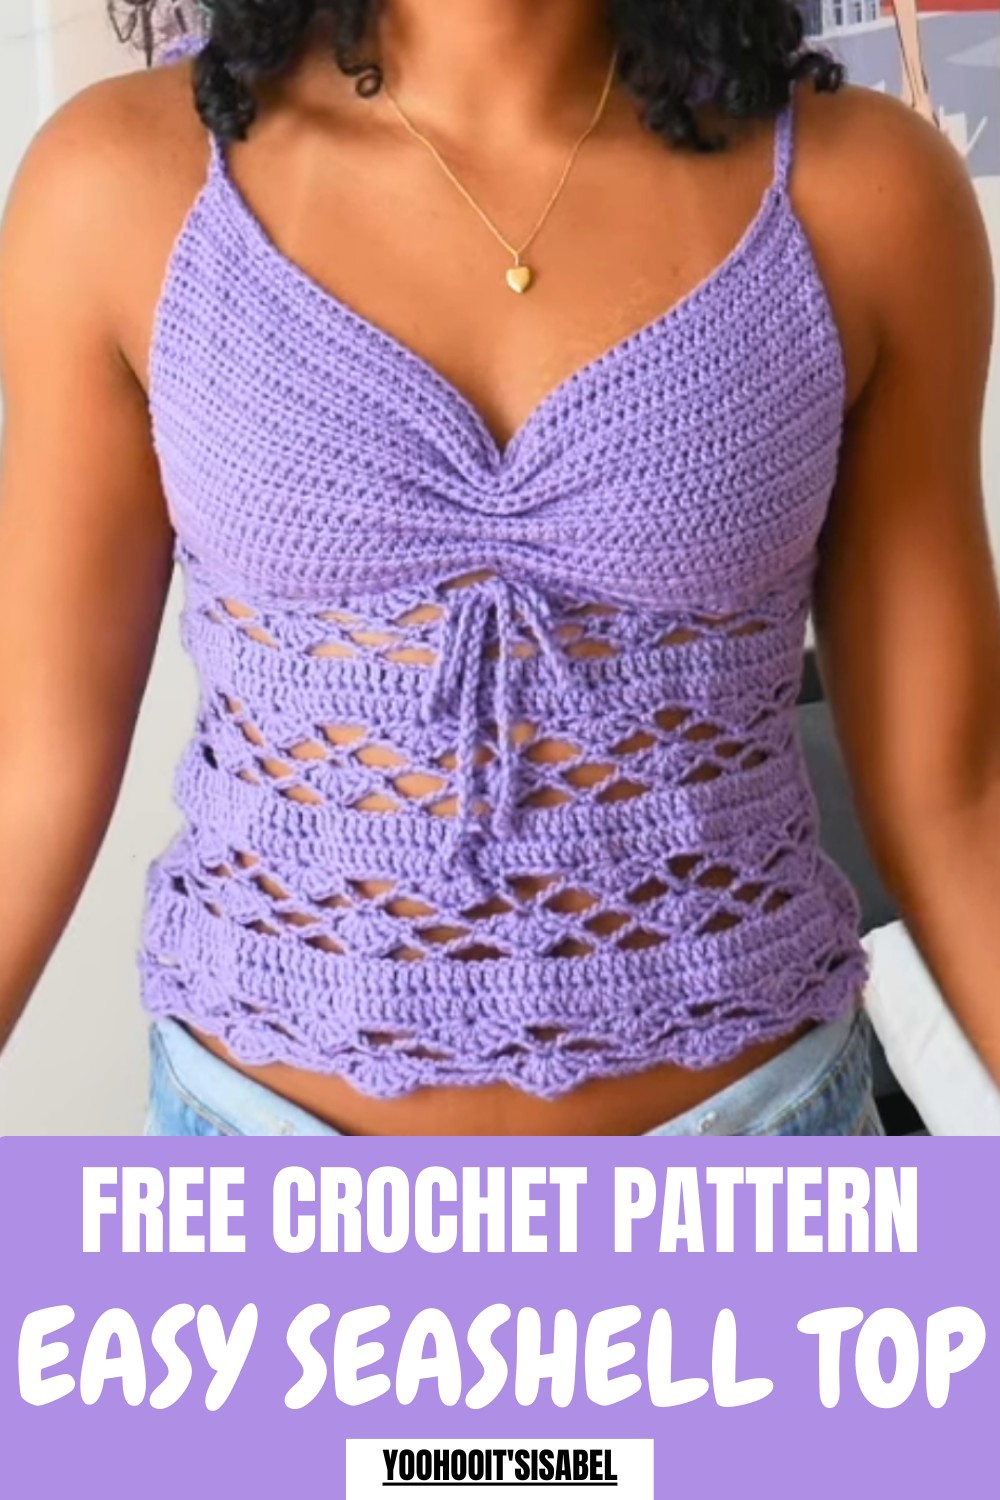
Bring seaside charm with the Crochet Seashell Top Pattern, a delicate and airy piece that adds elegance, comfort, and playful style to any look.
Turn heads this summer with a top that feels as playful as a day by the ocean. Its textured design, inspired by the graceful curves of seashells, gives every piece a unique, eye-catching charm. Lightweight and breathable, it keeps you cool and comfortable while adding a touch of handmade elegance to any outfit.
Glow Crochet Seashell Top Pattern That Feels Breezy and Cute
The Crochet Seashell Top Pattern lets crafters personalize colors, stitch styles, and lengths to suit individual taste, creating a piece that’s as versatile as it is beautiful. Perfect for beach outings, poolside parties, casual strolls, or layering with jackets for a chic city look, it’s both practical and stylish.
The pattern is beginner-friendly, offering a fun, rewarding project that hones crochet skills while producing a wearable, standout piece. Combining creativity, comfort, and adaptability, this top is a must-have for anyone seeking a handmade summer favorite.
Step-by-Step Guide: Clea Top Crochet
Special Features
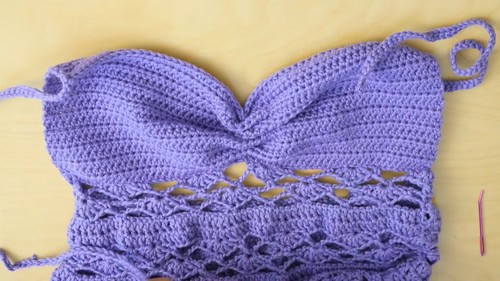
- Seashell Pattern Body: A standout feature, the body of the top is adorned with a repeating and flowy seashell pattern, giving it a summery and elegant vibe.
- Made-to-Measure Fit: The pattern is designed to be made to your measurements for a perfectly customized fit.
- Multiple Customizable Parts:
- Bust section.
- Flowy body with a drawstring for shaping.
- Adjustable ties at the front and back.
- Optional cinching in the middle of the bust for styling.
- Combination of Stitches: While the seashell pattern looks intricate, it uses relatively simple stitches, combining single, double, and chains.
Level of Difficulty
- Skill Level: Intermediate
- Why Intermediate?:
- Requires working with multiple parts of the top and combining them.
- Involves basic math to calculate measurements and increases for the flowy body.
- Increases and slip stitching require careful attention, especially for pattern accuracy.
- Suitable for crocheters comfortable with foundational stitches like chain, single crochet, and double crochet.
- Why Intermediate?:
Tutor's Suggestions
- Yarn Choices:
- The tutorial uses DK weight yarn, but since the pattern is made-to-measure, you can use different yarn weights.
- Ensure the yarn has enough elasticity for the bust by subtracting 1-2 inches from your measurement.
- Hook Sizes: Use different hooks for varying tension:
- 4mm hook for the bust portion (tighter fit).
- 5mm hook for the body (looser and flowier appearance).
- Customize Measurements:
- Take your underbust and top length measurements and adjust chain numbers based on these.
- Always round your chains to the nearest multiple of 12 to ensure the seashell pattern works.
- Keep Track of Stitch Counts:
- Pay close attention to stitch counts when working increases or joining sections to ensure proper symmetry.
Materials You’ll Need
- Yarn: DK weight yarn.
- Crochet Hooks:
- 4mm hook for the bust.
- 5mm hook for the body.
- Darning Needle: To weave in ends and for cinching details.
- Scissors
- Optional: Measuring tape for more precise measurements.
Step-by-Step Instructions
1. Bust Portion
- Step 1: Take Measurements & Start Chains
- Measure your full underbust circumference, divide it by two, and subtract 1 to 2 inches for elasticity. Use this as the length for your starting chain.
- Round up or down to the nearest multiple of 12.
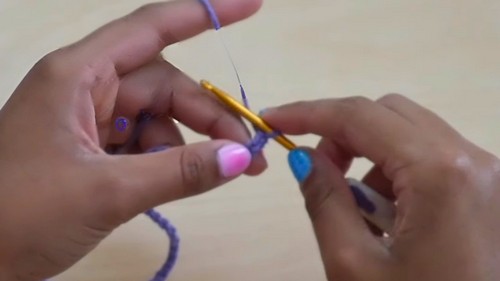
- Step 2: Create Chains
- Make a slip knot and chain until you reach the calculated length.
- Example: Isabelle created 60 chains for her bust portion.
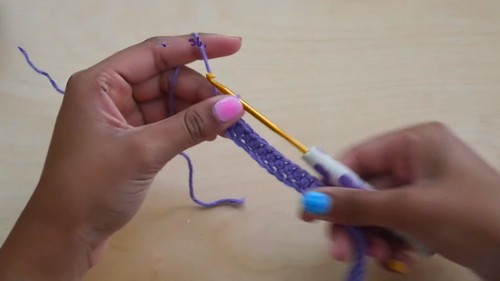
- Step 3: Work Half Double Crochet Rows
- Chain 2 for turning (does not count as a stitch).
- Begin in the third chain from the hook and work a row of half-double crochets (HDC).
- For subsequent rows: Chain 2, turn, and repeat HDC rows until the desired bust height is reached.
- Example: Isabelle made 19 total rows for the bust.

- Step 4: Finish the Bust
- Once complete, cut the yarn, leaving a tail, and secure with a knot.
2. Beginning the Body
- Step 1: Measure & Start Chains for the Body
- Measure your full top length and take your underbust measurement. Subtract the length of your bust from your underbust measurement to determine how many inches of chains you need for the body.
- Example: Isabelle needed 16 inches of chains for her top body.
- Round up or down to the nearest multiple of 12.
- Step 2: Attach Yarn and Create Chains
- With the right side of the bust facing up, attach the yarn to one corner of the bottom edge.
- Chain the calculated length for the body, ensuring a multiple of 12.
- Slip stitch the chain to the opposite corner of the bust (be careful not to twist the chain).
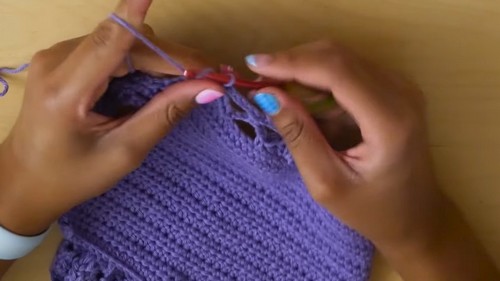
3. Add Seashell Pattern
- The body of the top is worked in rounds:
- Round 1:
- Chain 3 (counts as the first double crochet), then work 2 more double crochets into the same stitch.
- Skip 2 stitches, single crochet in the next stitch, chain 5, skip 5 stitches, then do 5 double crochets in the sixth stitch. Repeat this pattern across the round.
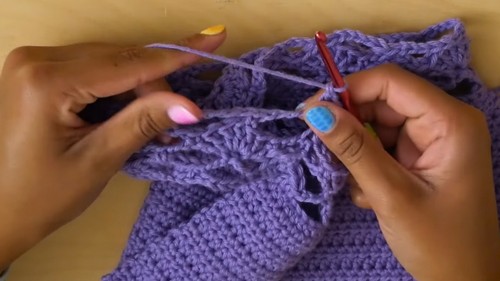
- Round 2 (Transition Row):
- Chain 1, single crochet in the first stitch, and chain 5. Work single crochets at the middle of each shell or chain space, creating loops for the next shell pattern.
- Round 3:
- Add new seashell rows inside the chain spaces from Round 2. Continue alternating row styles to build the flowy design.
- Round 6 (Increase Row):
- Perform an increase row (e.g., every 10th stitch gets an increase). This broadens the body for flow and comfort. Repeat round structure until desired length is achieved.
- Round 1:
4. Add Ties
- Front Tie Straps:
- Attach yarn to the top corner of the bust.
- Chain 70, then slip stitch back across each chain to create a sturdy strap.
- Cut yarn, secure, and repeat for the second strap.
- Back Tie Straps:
- Attach yarn 4 inches below the top edge for a lower back tie.
- Chain 100, slip stitch back, then secure. Repeat for the second strap.
5. Cinch the Bust
- Use a darning needle and a strand of yarn to weave vertically through two middle stitches of the bust. Pull to cinch and secure with a knot once it's tightened to your liking.
6. Add Drawstring
- Create a chain equal to your underbust measurement plus 20 inches.
- Weave this drawstring through the chain spaces at the underbust of the top, ending with equal lengths on both sides to tie a bow.
Uses of the Clea Top
- Summer Wear: A perfect lightweight top for casual summer outings, beach days, or sunny vacations.
- Customizable Fashion Piece: Great opportunity to play with color combinations, yarn weights, and length for a unique look.
- Skill Practice: Ideal for practicing chain stitching, slip stitching, and increasing for shaping.
- Handmade Gifts: A thoughtful, handmade present for a loved one.
Tip for Success
To ensure the seamlessness of the seashell pattern, double-check that every chain count and stitch aligns with the multiple of 12 rule. Using stitch markers can help keep track of rows and pattern sections, especially during increases.
Conclusion
The Clea Top is a fun and stylish project, perfect for sunny summer days. While it involves intermediate-level skills, Isabelle's detailed tutorial simplifies the process with clear math tips and easy stitch breakdowns. With its customizable features, you can tailor this design to your size, style, and color choices.


