
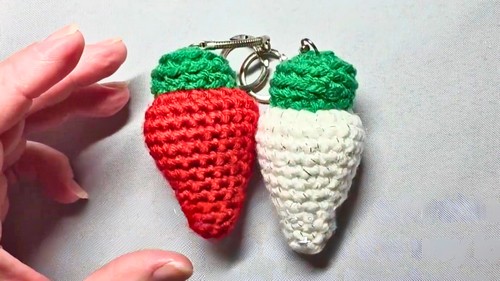
Decorate your keys with this Crochet Light Keychain Pattern, featuring a cute, Decorative design perfect for stylish and playful accessories.
Perfect as a festive accessory or a thoughtful handmade gift, this charming crochet light keychain pattern brings a delightful touch of creativity and functionality to your everyday life. Its compact size and vibrant design make it ideal for adding personality to your keys, bags, or even holiday decorations. The pattern showcases intricate yet beginner-friendly stitches, allowing both seasoned crocheters and novices to enjoy crocheting it.
Fun Crochet Light Keychain Pattern That Brings Joyful Vibes
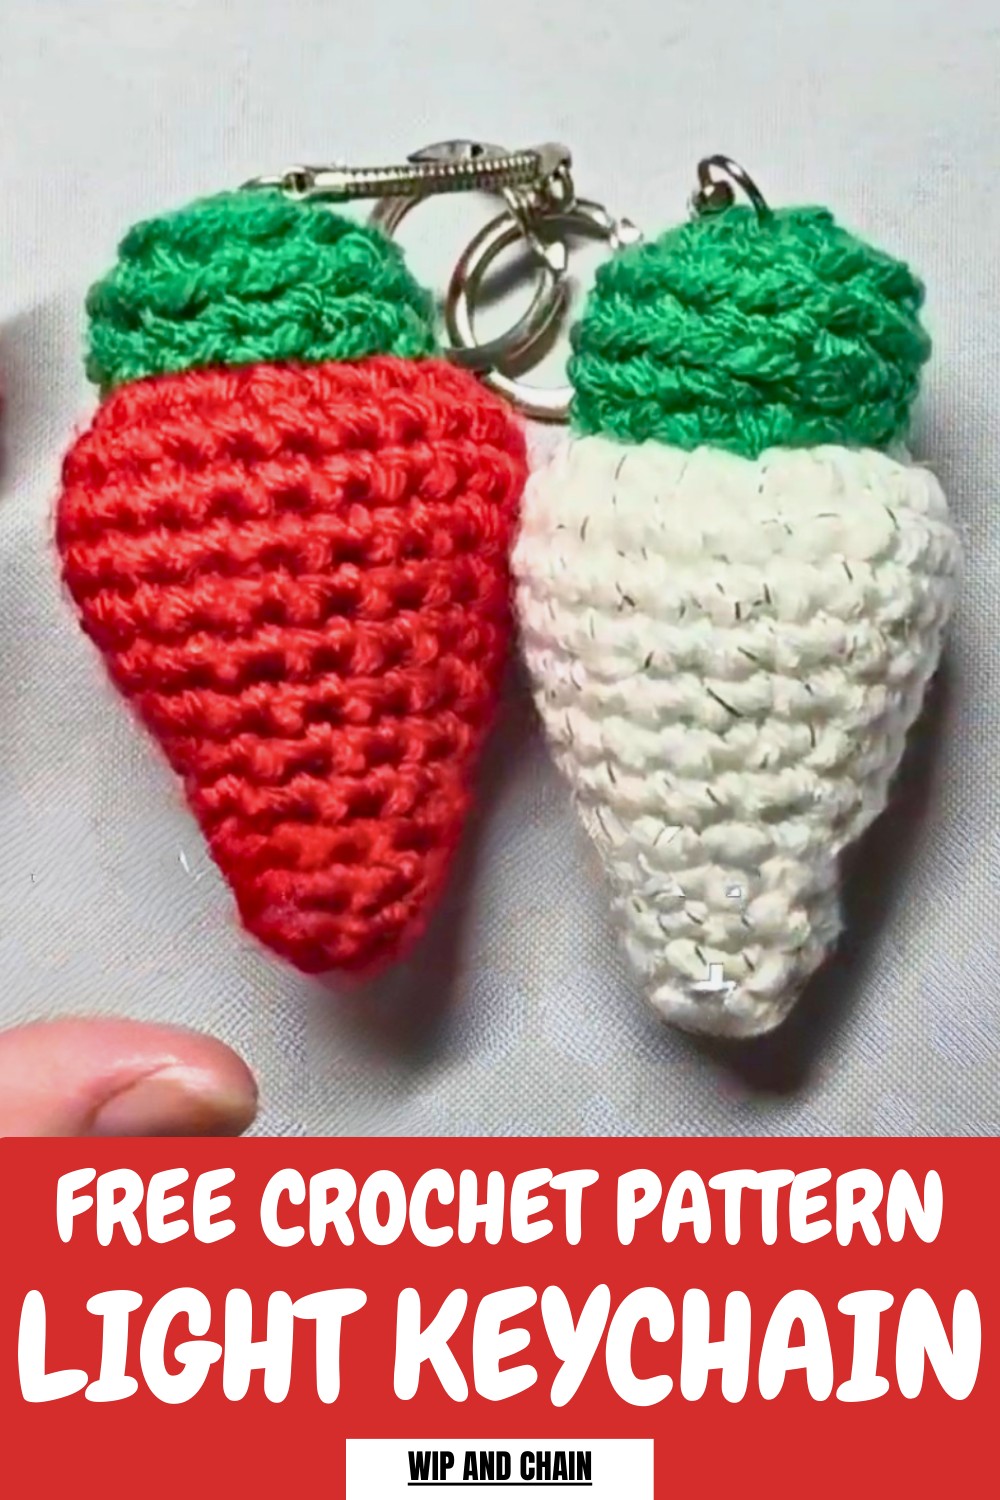
Its light bulb-inspired shape captures the essence of festive cheer, while the ability to customize colors lets crocheters create a range of unique designs. Beyond aesthetics, this project offers the added benefit of being a quick, stash-busting solution for leftover yarn, making it an eco-friendly option.
Furthermore, its playful appearance combines practicality with charm, adding a spark of joy wherever it’s used. The crochet light keychain pattern currently delights crochet lovers with its versatility, simplicity, and ability to spark holiday spirit in creative and personal ways.
Step-by-Step Details
Materials Needed
- Yarn: Any 4-ply yarn (acrylic or cotton).
- Crochet Hook: 4 mm.
- Scissors: For cutting yarn.
- Darning Needle: For weaving in ends and sewing parts together.
- Fiberfill: To stuff the bulb.
- Straight Pins: To help secure the parts during assembly.
- Keychain Ring: Optional, for attaching your finished light bulb.
Steps
-
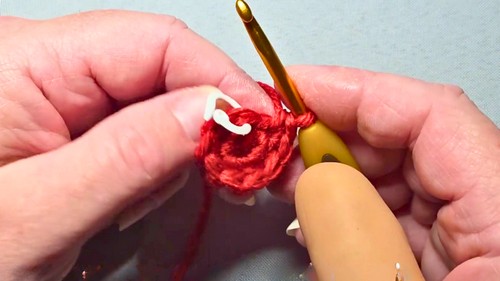
Begin with the Magic Ring
- Make a magic ring. If you struggle with this, you can chain 3 and slip stitch into the first stitch to form a ring instead.
- Inside the magic ring, work 6 single crochets. This completes Round 1.
-
Increase the Bulb
- Round 2: Work 1 single crochet in the first stitch, followed by an increase (2 single crochets in the same stitch). Repeat this pattern around. You should now have 9 stitches.
- Round 3: Work 1 single crochet in each stitch (no increase or decrease). Your count remains at 9 stitches.
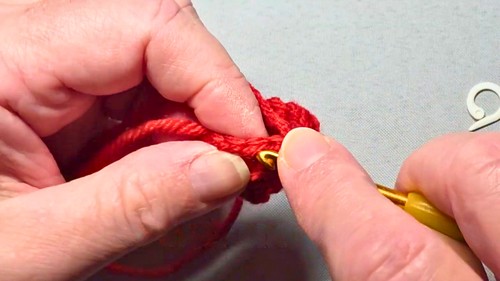
- Round 4: Work 2 single crochets, followed by an increase. Repeat this pattern around to make 12 stitches.
- Round 5: Single crochet in each stitch (no increase) to stay at 12 stitches.
-
Continue Shaping the Bulb
- Round 6: Work 3 single crochets, followed by an increase. Repeat this pattern for a total of 15 stitches.
- Round 7: Work 4 single crochets, then an increase. Repeat around to make 18 stitches.
-
Keep Expanding
- Round 8: Crochet 5 single crochets, then work an increase. You’ll have 24 stitches at the end.
- Rounds 9-10: Work 1 single crochet in each stitch. Your stitch count stays at 24, giving the bulb nice height and shape.
-
Begin Decreasing (Shaping the Top)
- Round 11: Work 2 single crochets, followed by an invisible decrease. Repeat this sequence to decrease the stitch count to 18 stitches.
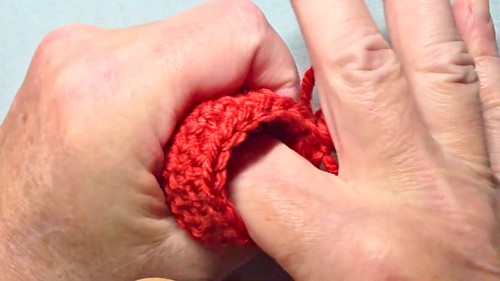
- Stuff the bulb lightly with fiberfill as you go, making sure to maintain the bulb’s rounded shape. Use the back of your hook to help shape the tip if needed.
- Round 12: Work 1 single crochet, then an invisible decrease. Repeat this pattern to decrease to 12 stitches.
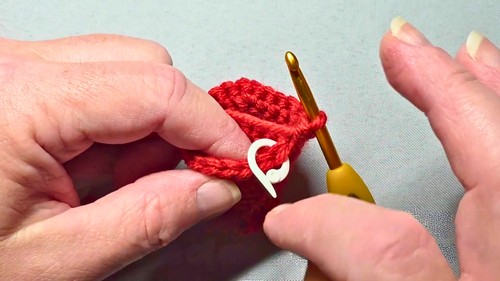
- Round 13: Work 6 consecutive invisible decreases. Pull the tail through the last stitch and weave it through the remaining stitches to close the bulb neatly.
-
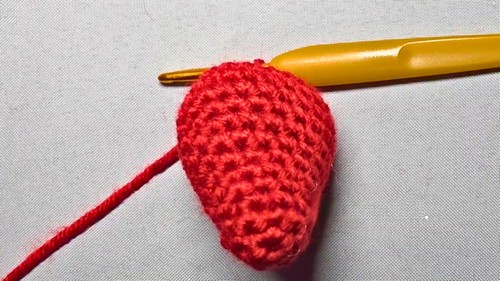
Create the Bulb Cap
- Make another magic ring and work 5 single crochets into it.
- Round 2: Increase in every stitch by working 2 single crochets into each. You should now have 10 stitches.
- Round 3: Work 1 single crochet, followed by an increase. Repeat around to make 15 stitches.
- Rounds 4-5: Work 1 single crochet in the back loops only to give the cap texture and definition. Maintain your stitch count at 15 stitches for both rounds.

-
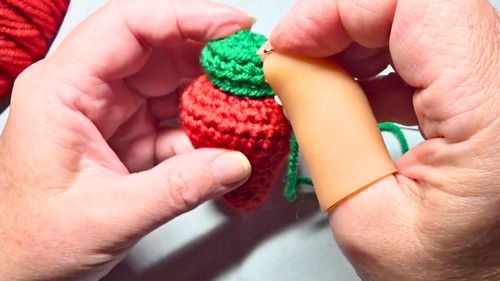
Attach the Cap to the Bulb
- Lightly stuff the cap with a touch of fiberfill to maintain its shape, being careful not to overfill.
- Position the cap onto the flattened top of the bulb and secure it with pins to ensure alignment.
- Using a darning needle, sew the cap onto the bulb by threading through corresponding stitches from the top of the bulb and the bottom of the cap. Use even stitching to avoid a crooked placement.
-
Optional Keychain Attachment
- Attach your keychain ring to the top of the bulb cap for a functional and festive accessory.
- Attach your keychain ring to the top of the bulb cap for a functional and festive accessory.
Special Features
- Festive Design: The light bulb shape is perfect for holiday-themed decor or gifting.
- Quick Project: The keychain takes only a few minutes, making it a great last-minute gift idea.
- Uses Scrap Yarn: This project is perfect for using up leftover yarn from previous projects.
- Customizable: Experiment with different colors to create a variety of bulb designs.
Level of Difficulty
This project is rated as beginner-friendly. The stitches are simple (single crochet, magic ring, invisible decreases), and it requires only basic crochet tools. If you’re new to the magic ring or invisible decreases, the tutorial is accommodating with alternative methods and clear instructions.
Tutor’s Suggestions
- Stretching the Magic Ring: Tighten the magic ring later in the process to make working with the stitches easier.
- Fit the Cap Properly: Use pins to secure the bulb cap when sewing to avoid uneven alignment.
- Don’t Overstuff: Lightly stuff the bulb and cap to maintain their shape without stretching the stitches. Overstuffing may make assembly difficult and distort the bulb.
Uses and Materials
- Uses: These cute light bulbs make excellent gifts, stocking stuffers, ornaments, or fun holiday-themed decorations for bags or keys.
- Materials:
- Small amounts of 4-ply yarn.
- 4 mm crochet hook.
- Scissors, darning needle, fiberfill, straight pins, and optional keychain rings.
Tip
When working on the invisible decreases, always use the front loops only. This technique creates a seamless and beautiful finish, ensuring your light bulb maintains its smooth shape.
Conclusion
This adorable crochet Christmas light bulb keychain is a quick and versatile project that’s perfect for the holiday season. Creator step-by-step instructions ensure that crocheters of all levels can follow along with confidence, creating a charming accessory in just a short amount of time.


