
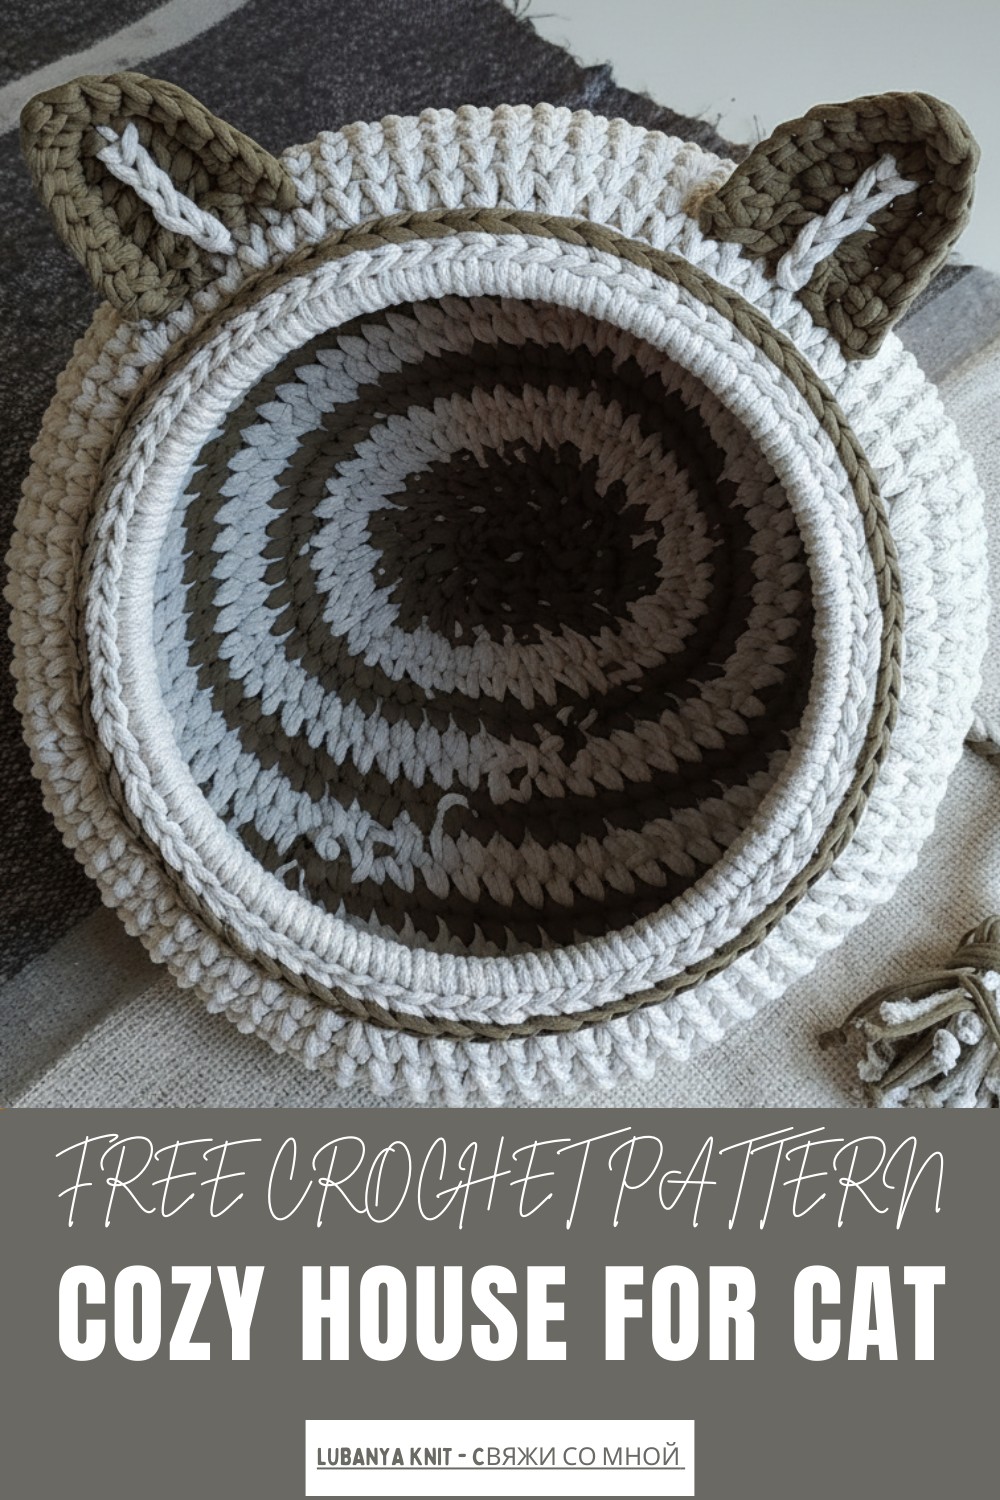
Delight your furry friend with Free crochet house for cat Pattern and create a cozy, stylish, and safe retreat they will love every day.
A soft and cozy hideaway can make any cat feel special and loved. This crochet house for cats transforms simple yarn into a snug little home with a welcoming entrance and cushioned walls, perfect for napping or curling up in comfort. Its charming design, often featuring rounded shapes and textured stitches, adds both strength and softness, making it sturdy enough to hold your pet yet gentle enough to provide a sense of security.
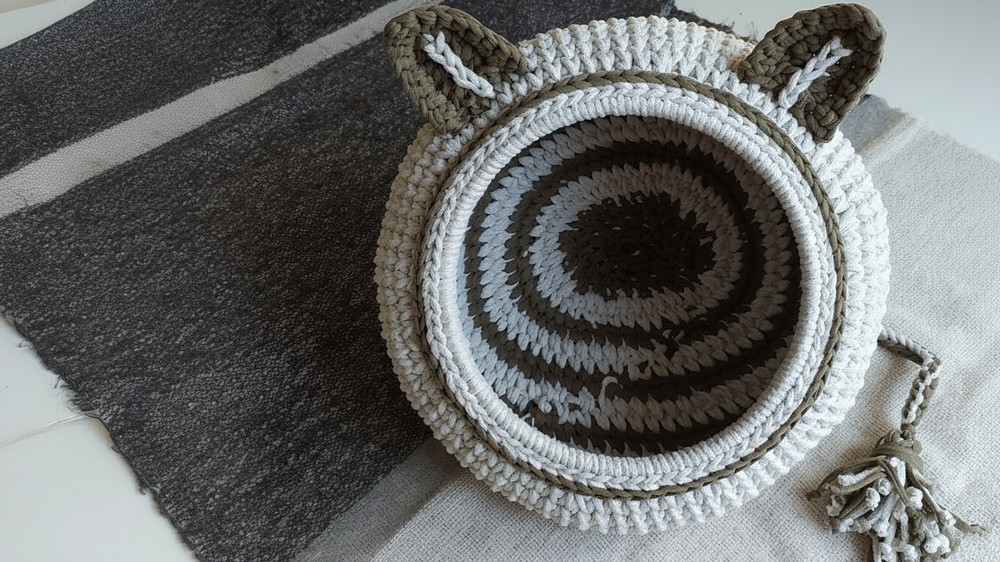
Easy Crochet House for Cat Pattern With Cute Design
The project is versatile, allowing you to customize the size, shape, and colors to match your cat’s personality and your living space. Enclosed spaces like this give cats a feeling of safety, reducing stress while giving them a personal spot for relaxation. Beyond being a delightful resting place, making a crochet cat house is a rewarding craft activity that improves stitching skills and offers a sense of accomplishment.
Step by Step Crochet House for Cat Pattern
Materials
-
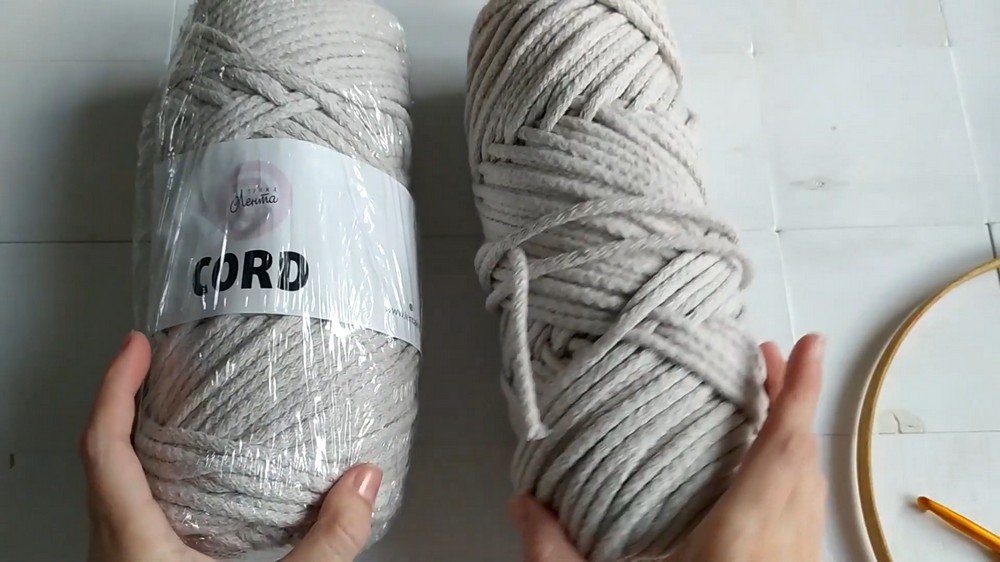
Yarn:
-
Cotton cord/shnur (approximately 5mm thickness) from a brand like Pryazha Lenta.
-
T-shirt yarn (thinner than the cord) for contrasting color or decorative sections.
-
-
Structure: Wooden ring (suggested diameter is 22 cm) for the entrance.
-
Reinforcement: Rigilene (plastic boning or stabilizing wire) for weaving into the fabric to help the top edge maintain its shape (optional, used when switching to thinner T-shirt yarn).
-
Tools:
-
Crochet hook (suggested size 6.0 mm, adjust based on your yarn thickness).
-
Stitch markers (to mark decrease points).
-
Scissors.
-
Uses
-
Create a durable and cozy cat house or bed for your pet cat.
-
The finished project stands approximately 37 cm high and 26 cm deep, offering a comfortable, enclosed space.
-
The techniques can be adapted to crochet large baskets or storage containers.
Special Features
-
Reinforced Entrance: The house utilizes a wooden ring for the opening, which is fully covered in single crochet stitches to create a neat, stable, and open doorway.
-
Cord for Structure: You work the main body using the "split single crochet" technique (or "v-stitch") into the center of the previous stitch. This, combined with the thick cord, creates a dense, sturdy fabric that holds its shape well without additional internal supports.
-
Seamless Transitions: The video demonstrates techniques for creating an invisible join when finishing a round, especially when switching between the thick cord and the thinner T-shirt yarn.
-
Regulated Decreases: The tutorial outlines a specific, gradual decrease pattern (6 decreases per round, then 4 decreases) over the height of the body, ensuring the dome closes smoothly.
Level of Difficulty
This project is Intermediate. You must be comfortable with basic crochet stitches (slip stitch, single crochet) and executing the "split single crochet" technique. The main challenge lies in maintaining consistent tension with thick cord, managing the yarn tails when joining rounds, and executing precise, staggered decreases to form the dome shape.
Tutor's Suggestions
-
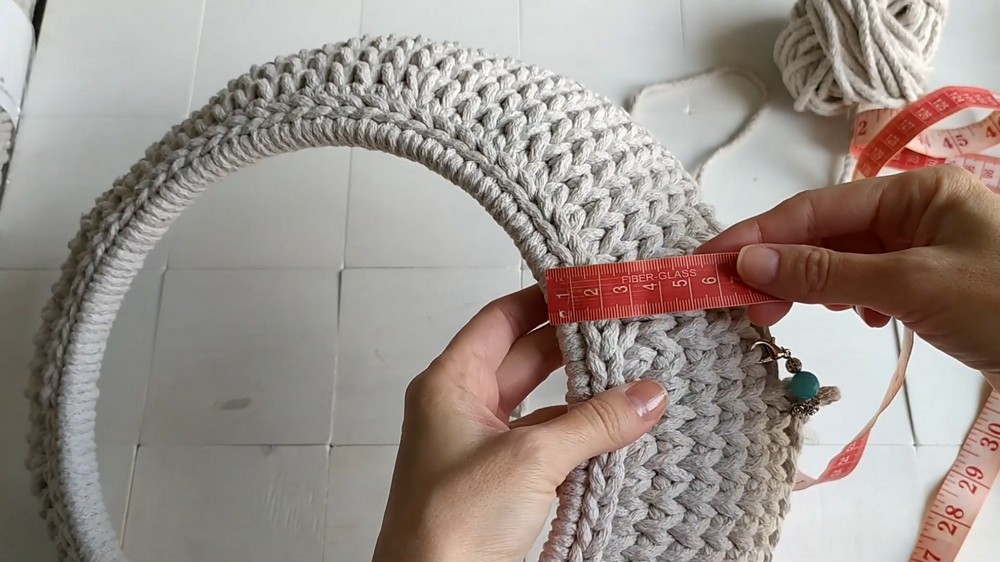
Keep Tension Tight: When covering the wooden ring, pull the stitches tightly and push them close together so the wooden base does not show through.
-
Check Gauge: Since everyone's yarn and tension are different, rely on the given measurements (e.g., 9 cm, 10 cm, 11 cm in height) rather than just counting the number of rows.
-
Use Markers for Decreases: Clearly mark the 6 or 4 points where you will perform decreases to ensure they are evenly distributed and that you properly stagger their placement in subsequent rows.
-
Always Carry Cord: As the dome narrows toward the top, weave the cord into the final rows of the T-shirt yarn section. This provides necessary stiffening to the closed section, helping it retain its intended domed shape.
Step-by-Step Instructions
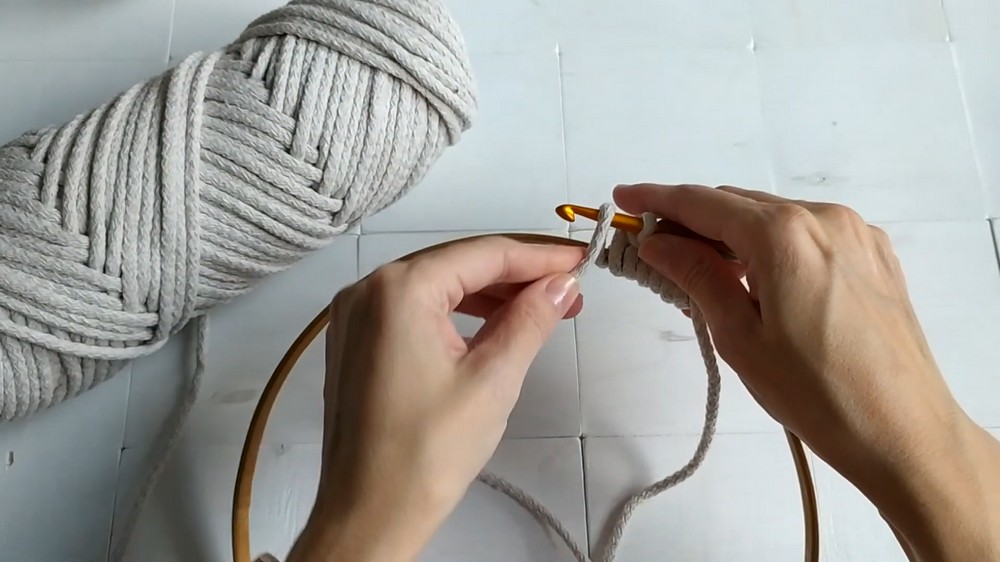
Part 1: Cover the Wooden Ring (Entrance)
-
Attach Yarn: Make a slip knot and position the wooden ring inside the loop. Hold the working yarn and the tail parallel to the ring.
-
Work Single Crochet: Insert the hook under the ring, catch the working yarn, and pull up a loop. Yarn over and pull through both loops (Single Crochet).
-
Encapsulate the Ring: Work a series of single crochet stitches around the entire circumference of the wooden ring. You must push the stitches together tightly to ensure the yarn covers the ring completely.
-
Close the Round: Complete the final stitch with the tail yarn (if applicable). Use the tail yarn to create an invisible join by threading it under the first stitch and back into the final stitch, bringing the working yarn to the back of the work.
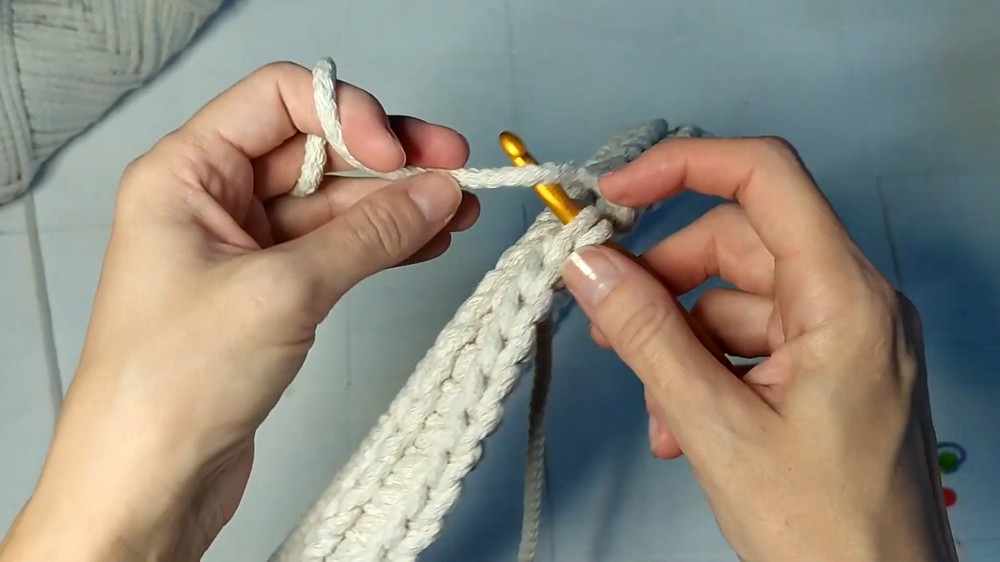
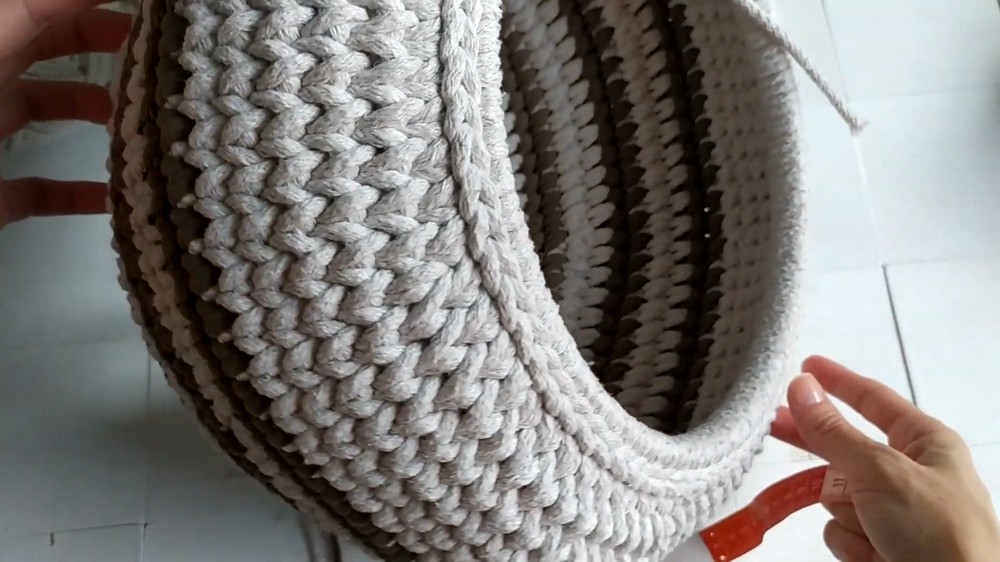
Part 2: Build the Vertical Walls (Split Single Crochet)
-
Work into Back Loop: For the first vertical row, only work into the back loop of the stitches from the covered ring. This forces the work to turn upward.
-
Establish Split Single Crochet (V-Stitch): From the second row onward, work all single crochet stitches into the center of the "V" of the stitch from the previous row (the split single crochet technique). This creates a dense, sturdy fabric.
-
Work Straight Rows: Work several rows without any increases or decreases until you reach a height of approximately 9–10 cm from the bottom edge of the entrance ring.
-
Incorporate New Yarn: When switching to a new yarn type or color, complete the final yarn-over and pull-through of the last stitch with the new yarn color/type.
3: Form the Dome (Decreases)
-
First Decrease Set: Distribute 6 markers evenly around the perimeter of the opening. In these marked locations, perform a decrease (insert hook, pull up loop, insert hook into next stitch, pull up loop, yarn over, pull through all three loops).
-
Work Straight Rows: Work 3 rows without decreases or increases.
-
Second Decrease Set: Change the decrease pattern to 4 decreases, evenly distributed (approximately 11 cm in height from the start).
-
Repeat and Adjust: Continue alternating rows of decreases (usually 3 or 6 decreases per round) with straight rows. As you go higher, you must visually check the dome's curvature and increase the frequency or number of decreases to ensure a smooth, rounded closing.
-
Add Reinforcement: When using thinner T-shirt yarn for the upper section, weave Rigilene (plastic boning) into the stitches as you crochet to help the top portion hold its rounded shape.
4: Close the Bottom
-
Weave Cord: Once the remaining hole is small (around 10 cm in diameter), begin to weave an additional strand of cord into every row as you work. This stiffens the base of the house.
-
Aggressive Decreases: Work a row by decreasing every second stitch. This reduces the size of the hole by approximately half.
-
Final Closure: Work the final rows by decreasing every single stitch until the hole is almost closed.
-
Connect with Slip Stitches: Close the remaining small hole using slip stitches, weaving in the cord. You must work the slip stitches in a staggered or zigzag pattern to pull the remaining hole tightly closed.
-
Fasten Off: Fasten off the cord and T-shirt yarn by threading the tails to the inside and securing them with a knot.
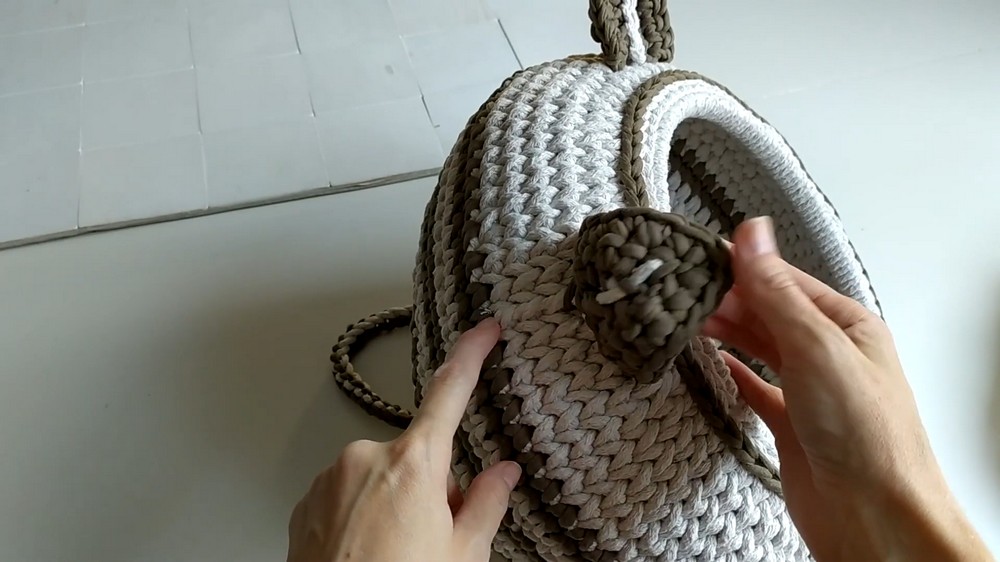
5: Add Finishing Touches (Tail and Ears)
-
Create the Tail: Work a single crochet chain using the T-shirt yarn while simultaneously weaving in a strand of the cord to add stiffness. Crochet a length of approximately half a meter, then fasten off both the yarn and the cord.
-
Attach the Tassel: Create a tassel (pom-pom) from cut strands of the cord and T-shirt yarn. Securely attach the tassel to the end of the crocheted tail.
-
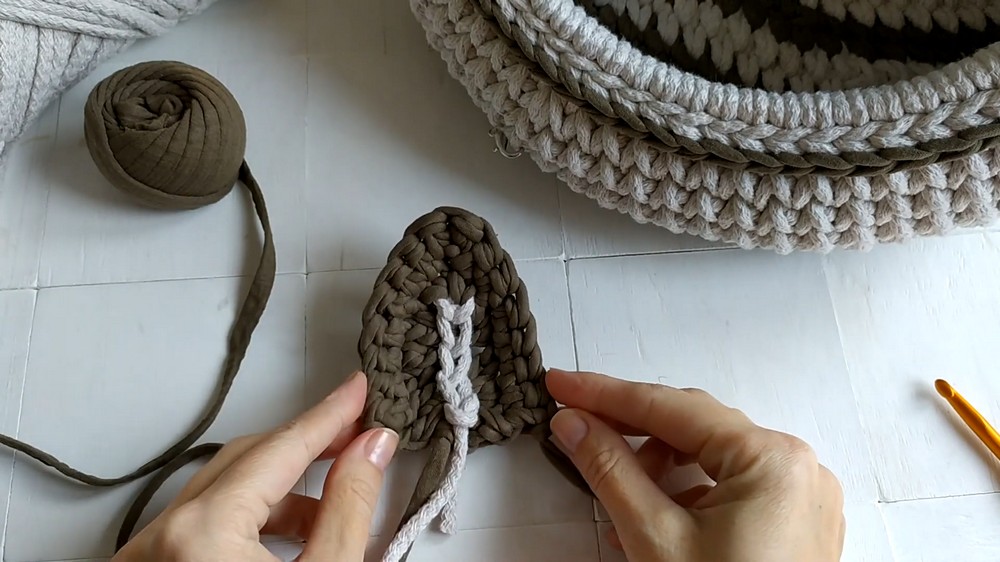
Crochet the Ears:
-
Work a small piece of cord with 4 simple stitches (SC). Fasten off.
-
Attach the T-shirt yarn to the back loops of the cord stitches and work a series of single crochet and double crochet stitches, adding chains to turn the work. This creates a small triangular shape with a central color block.
-
Complete two identical ears.
-
-
Attach Ears: Sew the ears to the top of the dome, hiding the ends of the yarn on the inside.
Conclusion
You successfully crocheted a stable, large cat house, transitioning seamlessly between materials to achieve both structure and design. The careful work on the base, the use of the wooden ring for the entrance, and the precise dome-shaping through staggered decreases result in a durable and attractive piece of pet furniture.
Tip
When you work the split single crochet (V-stitch) for the body, always insert your hook into the exact center of the 'V' on the previous row stitch. Avoid working under the entire stitch, as this is the key technique that gives the house its essential stiffness and prevents it from collapsing.
Its lightweight structure makes it easy to move around, while its durable design ensures long-term use. This charming accessory is perfect for playtime, cozy naps, or simply giving your cat a special retreat, making it both functional and visually appealing for any cat owner. With its neat, handmade look, it can blend seamlessly into any room, adding a warm, homey touch to your décor.


