
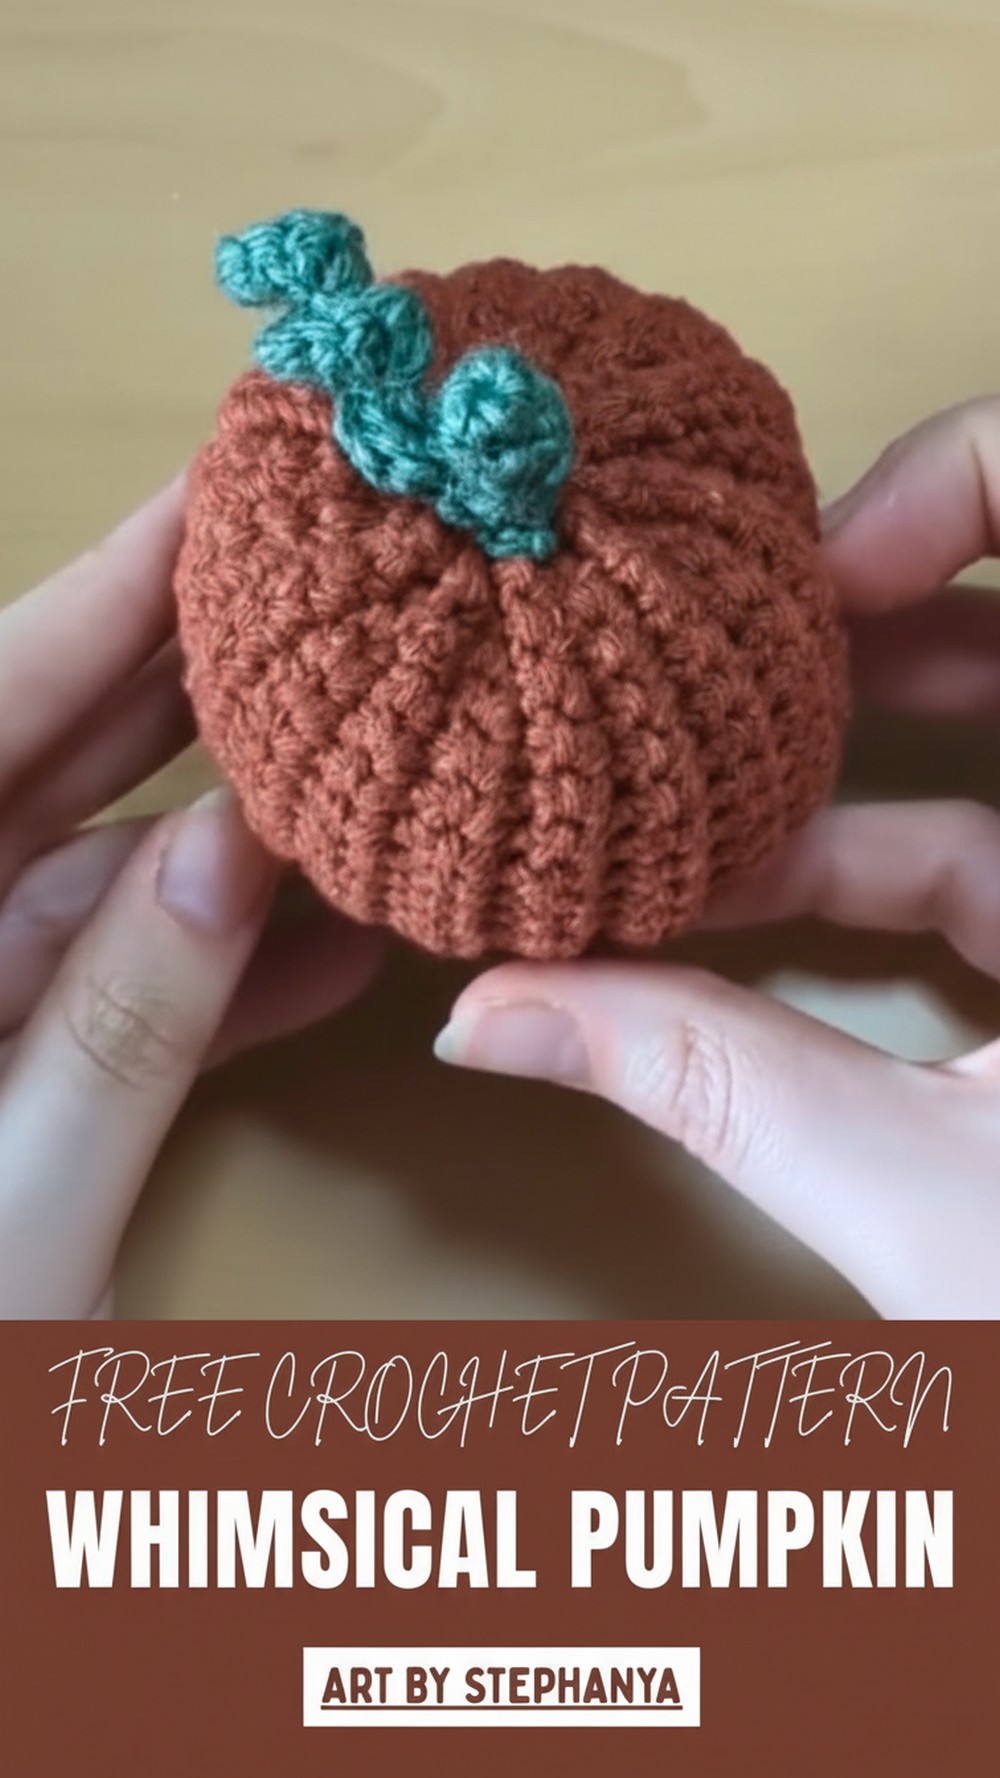
Bring a touch of autumn charm with this free crochet pumpkin pattern, perfect for making cozy and delightful decorations for your seasonal space.
A hand-crocheted pumpkin is more than just décor, it’s a touch of warmth that brings personality to any space. With its textured design, soft curves, and customizable colors, this project effortlessly blends rustic charm with modern creativity. Whether you’re enhancing your fall home aesthetic, giving a handmade gift, or crafting seasonal centerpieces, crocheted pumpkins offer a stylish yet heartfelt addition to your creations.
Trending Crochet Pumpkin Pattern for Autumn Charm
Where You Use This Pumpkin
These pumpkins aren’t just visually appealing, they’re lightweight, durable, and long-lasting, making them perfect for seasonal or year-round décor. Their soft, inviting look adds a cozy feel to mantels, dining tables, or entryways, all while showcasing your crafting talent. A crocheted pumpkin pattern helps you craft timeless pieces that mirror the charm of nature while showing off your creativity and skills.
How to Crochet a Pumpkin: Full Step-by-Step Guide
Materials Needed
For this project, gather the following supplies:
- Yarn for the pumpkin body (a rust-colored DK weight yarn is used here).
- Yarn for the stem and optional vine (using the same DK weight).
- Crochet hook that works with your yarn (tutorial uses a 4mm Susan Bates hook).
- Stuffing to fill your pumpkin.
- Scissors for cutting yarn ends.
- Yarn needle for sewing parts together.
Step-by-Step Instructions
Step 1: Start with the Pumpkin Body
- Tie a slip knot using the pumpkin body yarn and place it on your hook.
- Chain stitches to your desired pumpkin width. For a small pumpkin, chain 20 stitches plus one extra stitch.
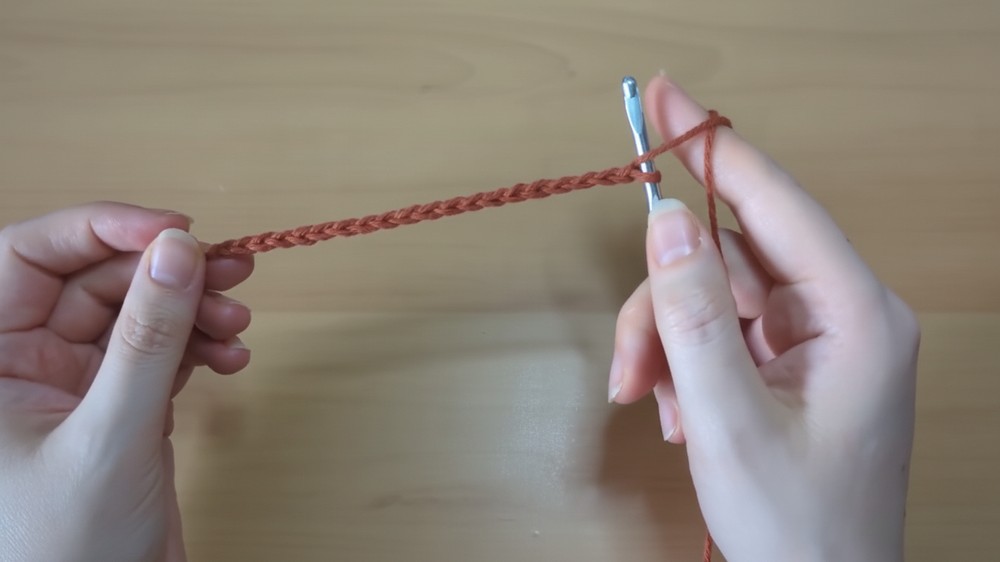
- Insert your hook into the second chain from the hook and work single crochet stitches across the row.
- Turn your work, chain one, and crochet only into the back loops to create ridges that give the pumpkin its textured look.
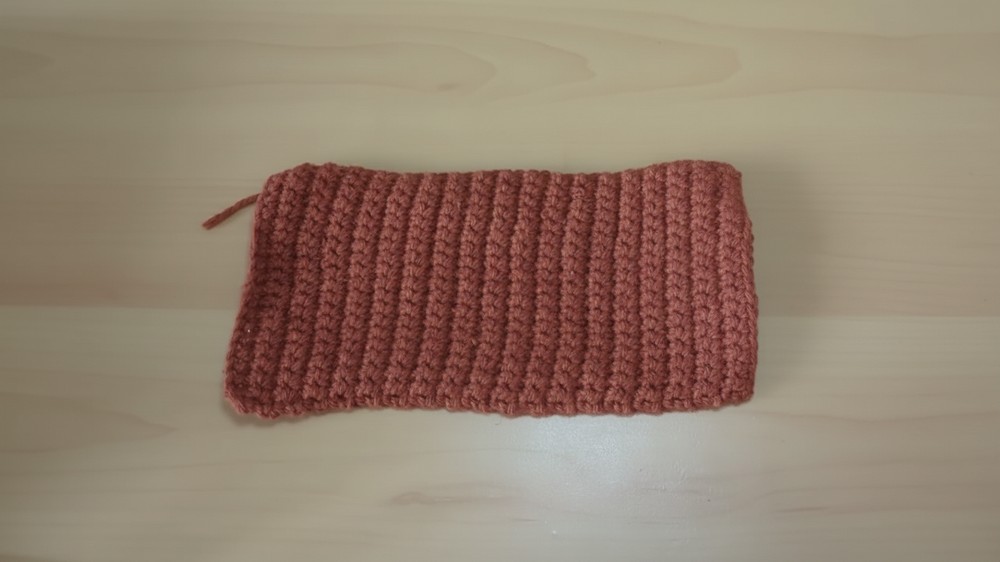
Step 2: Crochet Pattern Details
- Alternate rows between:
- Crocheting into back loops (to create ridges).
- Crocheting both loops (to even out the texture).
- Continue until you form a rectangle that's twice as long as it is high.
Step 3: Fold and Seam
- Fold the rectangle in half lengthwise with the side you want facing inside.
- Slip stitch the edges together by inserting the hook through both the back loops and opposite loops simultaneously.
- Cut a long yarn tail and sew closed the seamed edges in a plus-sign style, ensuring the bottom of the pumpkin is securely shut.
Step 4: Turning and Stuffing
- Turn the pumpkin right side out so the textured lines face outward.
- Take fluffy stuffing, pull it apart to fluff it, and gently push it into your pumpkin, adjusting the shape as desired.
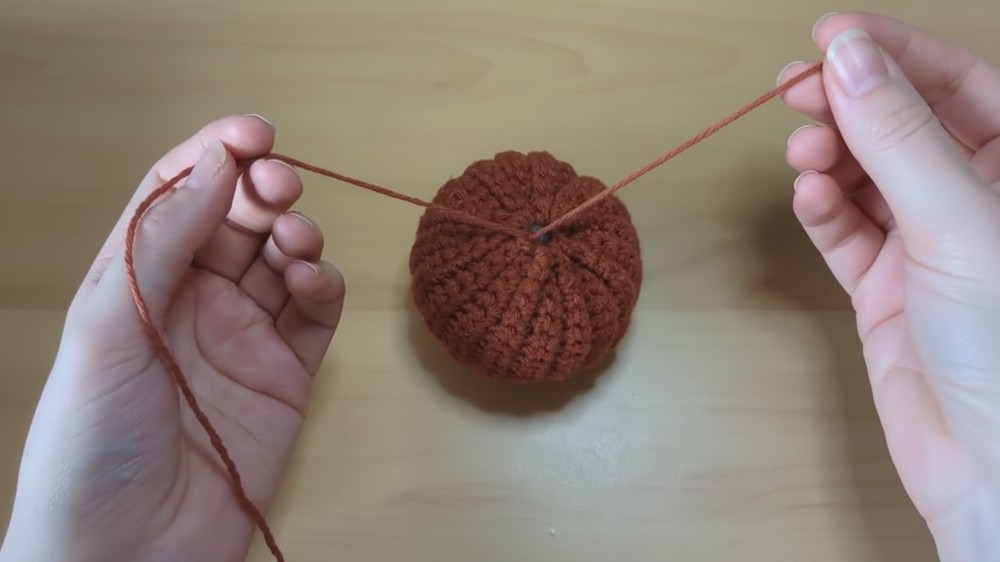
Step 5: Closing the Opening
- Thread the pumpkin-colored yarn onto your yarn needle.
- Weave the yarn through the top edges of your rows.
- Carefully pull both yarn ends to close the pumpkin securely, leaving enough opening for the stem attachment.
Adding the Stem and Vine
Step 6: Creating the Stem
- Start with a magic circle in a secondary color yarn for the stem.
- Crochet 6 single crochets into the circle and pull it tight.
- Continue adding single crochet stitches for each row until the stem reaches the desired length or thickness.
Step 7 (Optional): Adding the Vine
- Chain a few stitches (e.g., 9 chains) for a curly vine.
- Work 3 single crochets into each chain stitch to form a curly spiral.
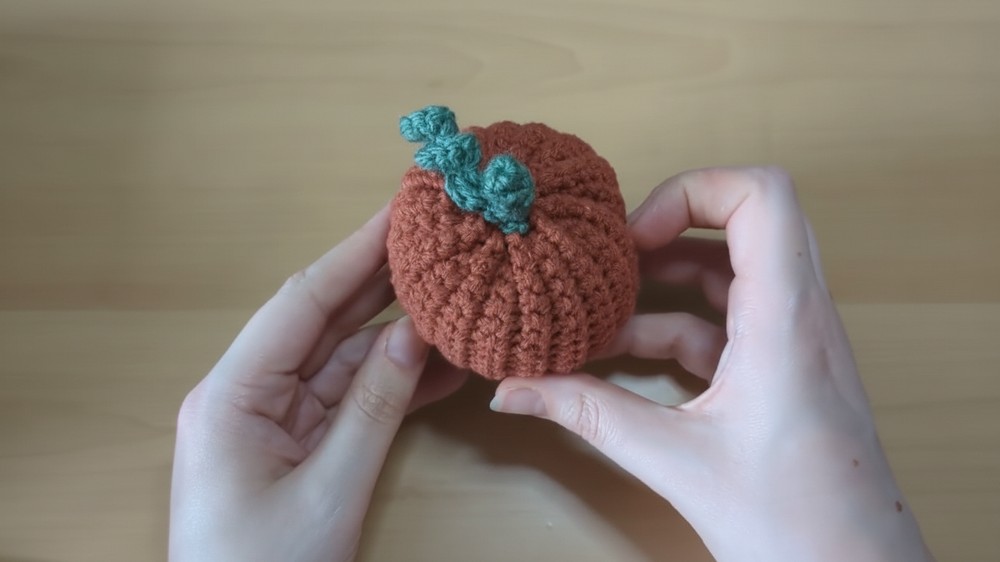
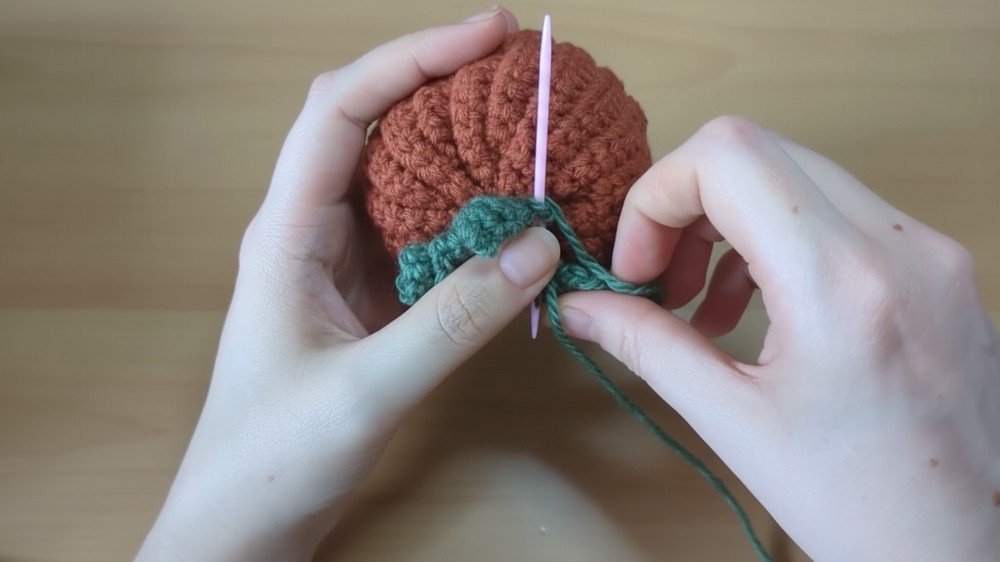
Step 8: Attaching the Stem
- Position the stem and optional vine on the top opening of the pumpkin.
- Sew the stem onto the pumpkin while pulling the yarn tight to ensure it's snug and secure. Knot the yarn securely at the end, weave in any remaining strands, and cut off excess yarn.
Special Features and Tutor Suggestions
- This project is beginner-friendly, with clear instructions even for those unfamiliar with slip knots, chains, or single crochets.
- Adaptable design: You can create pumpkins of different sizes by varying the initial chain length, the number of rows, or yarn strand thickness.
- Choose different colors for a festive pumpkin patch or add optional details like vines for a creative touch.
- The tutor emphasizes that no two pumpkins need to look identical, just like in nature.
Uses of Crochet Pumpkin
- Halloween and fall décor: Use it to decorate homes, tables, or mantels.
- Personalized gifts: Ideal as a handmade, thoughtful present.
- Craft collection: Start your own crocheted pumpkin patch!
Tip for Success
To help track rows effortlessly, note the tail position at the start of each row. If the tail is on the left, crochet into back loops only; if it's on the right, crochet into both loops.
Conclusion
This crochet pumpkin pattern is fun, versatile, and beginner-friendly, allowing you to unleash your creativity and embrace seasonal vibes. With step-by-step guidance, you can create unique pumpkins in various shapes, sizes, and colors.


