
Start your cozy project with the Free crochet Coffee Cup Pattern, featuring easy steps, quick stitching, and a cute mini cup perfect for gifts or decor.
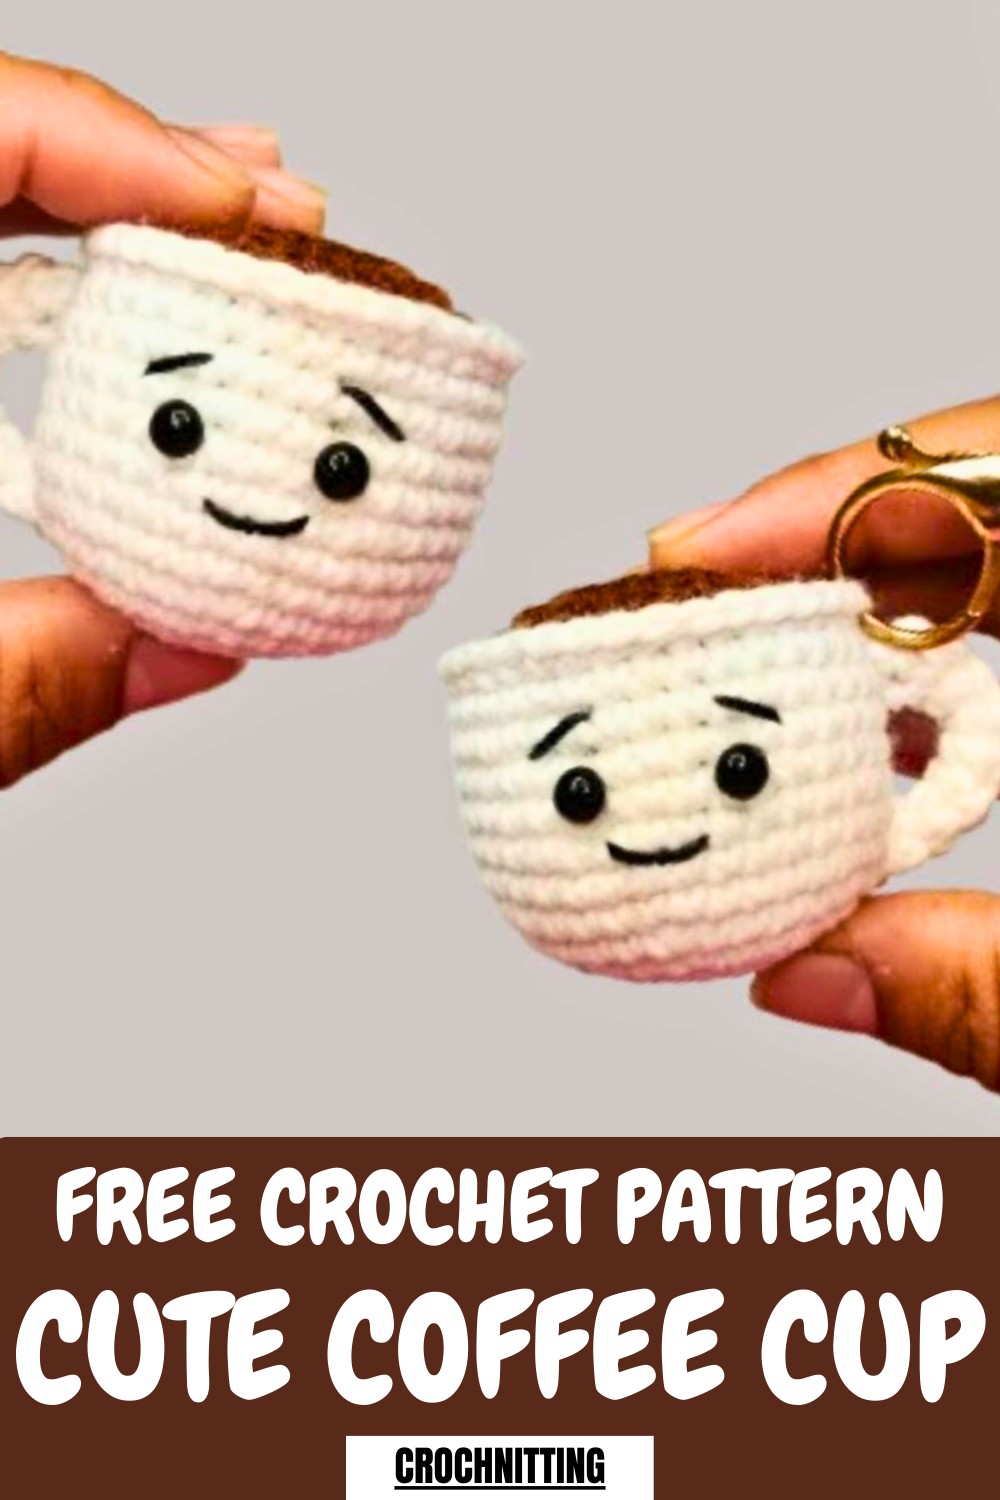
Nothing brightens up a desk or gift like a tiny, charming coffee cup that brings a touch of warmth and cheer to everyday life. This Crochet Coffee Cup Pattern focuses on easy shaping, basic stitches, and neat finishing, making it suitable for beginners while still enjoyable for experienced crafters. The finished cup often features a snug sleeve, smooth rim, and cute proportions that give it a realistic yet soft appearance.
Mini Joy Crochet Coffee Cup Pattern That Feels Extra Cozy
It works well as home décor, desk décor, pretend play items, keychains, or thoughtful handmade gifts. One major benefit is its small size, which allows quick completion without wasting yarn or time. The project also helps improve stitch control and consistency in a relaxed way. Color choices can reflect classic café styles or playful themes. This pattern combines usefulness and charm, adding warmth, personality, and a cozy vibe to any setting.
Step-by-Step Crochet Tutorial: Coffee Cup Amigurumi
Materials:
To make the coffee cup, you will need:
- White yarn for the cup body.
- Brown yarn for the coffee section.
- 6 mm safety eyes for a charming face.
- Cotton thread for embroidery (eyebrows and smile).
- Crochet hooks: 1.40 mm for the coffee section and 1.90 mm for the cup body.
- Stuffing material to fill the cup.
Uses:
Once completed, the coffee cup can serve as:
- A cute bag accessory.
- A keychain.
- A table decoration.
Special Features:
The coffee cup stands out with:
- Its adorable smiley face design, complete with embroidered features.
- Realistic textures and layers for the cup and coffee parts.
- A functional and decorative value, suitable for gifting or personal use.
Level of Difficulty:
The project is beginner-friendly, as each step is clearly explained in the tutorial. However, some techniques, like the magic ring and working with back loops, might require practice for first-timers.
Step-by-Step Instructions:
Cup Section (Body):
- Start with the Base:
- Make a magic ring and one chain.
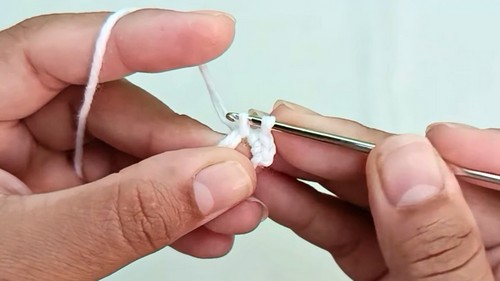
- Add six single crochet stitches into the ring. Pull the thread to tighten.
- Make a magic ring and one chain.
- Increase Rounds:
- Round 2: Place two single crochets in each stitch (12 stitches total).
- Round 3: Add one single crochet in the first stitch and two in the next. Repeat the pattern to make a total of 24 stitches.
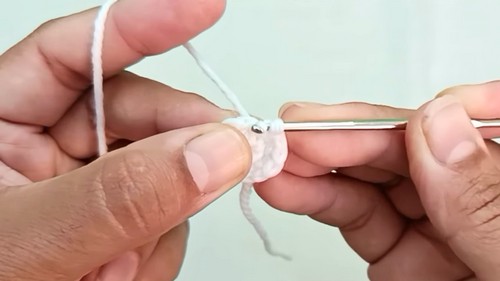
- Round 4: Work 24 single crochets in the back loops only to form the base.
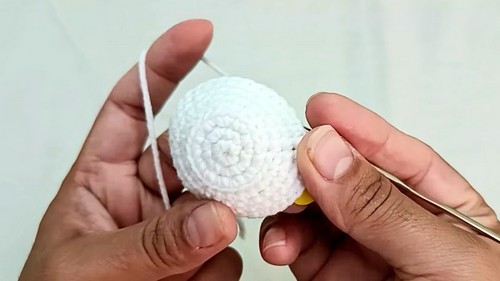
- Build the Cup:
- Round 5: Create three single crochet stitches followed by an increase (two single crochets in one stitch). Repeat for 30 stitches total.
- Round 6: Make four single crochets and one increase. Repeat for 36 stitches total.
- Rounds 7–13: Continue with 36 single crochets without any increases or decreases.

- Finalize the Cup:
- Attach with a slip stitch. Cut off excess yarn but leave a long tail to sew the coffee section onto the cup later.
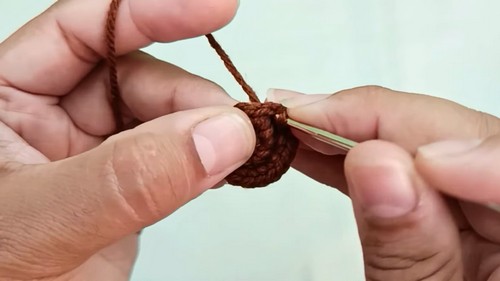
Coffee Section (Top Part):
- Start with a Magic Ring:
- Make a magic ring and one chain. Add six single crochet stitches.
- Make a magic ring and one chain. Add six single crochet stitches.
- Increase Rounds:
- Round 2: Work two single crochets in every stitch (12 stitches total).
- Round 3: Repeat the increase pattern to form 24 stitches.
- Round 4: Make three single crochets followed by an increase (30 stitches total).
- Round 5: Make four single crochets followed by an increase for 36 stitches.
- Finalize the Coffee Section:
- Attach the final row and cut off a long tail to sew this part to the cup.
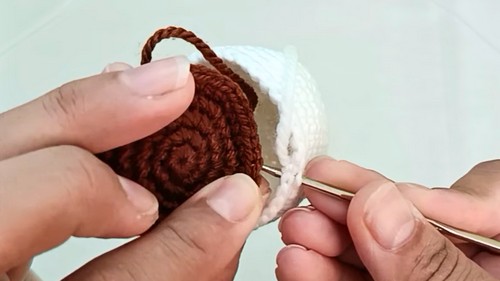
- Join the Sections:
- Attach the coffee section to the cup body using single crochets. Leave a small hole for stuffing.
- Once stuffed, close the hole and finish the stitching.
Handle Section:
- Create the Handle:
- Start with a magic ring and make five single crochet stitches into it.
- Rounds 2–9: Work five single crochets in each round with no increases or decreases.
- Attach the Handle:
- Sew the handle to the side of the cup securely.
- Sew the handle to the side of the cup securely.
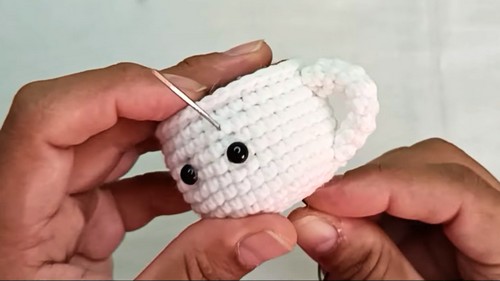
Adding Features:
- Attach Eyes:
- Place the safety eyes between the 10th and 11th rounds of the cup, leaving three stitches between them.
- Embroider Details:
- Use cotton thread to embroider the eyebrows and a smiling mouth to bring the coffee cup to life.
- Use cotton thread to embroider the eyebrows and a smiling mouth to bring the coffee cup to life.
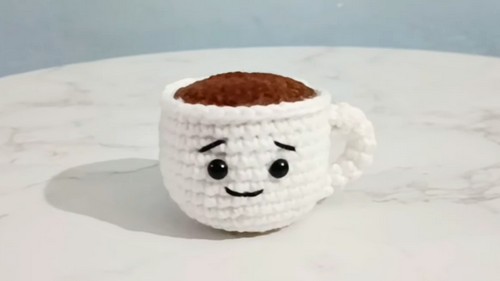
Conclusion:
This fun crochet project results in an adorable handcrafted coffee cup that is as charming as it is functional. With its simple and creative design, it is perfect for gifting, accessorizing, or decorating. The step-by-step instructions make it accessible and enjoyable for crocheters at various skill levels.
Tutor’s Suggestions:
- Follow the video tutorial from start to end for clarity and avoid skipping steps.
- Use a stitch marker to keep track of your rounds, especially during increases.
- Ensure each stitch is tight and precise for a neat finish.
Tip:
For beginners, practice making a magic ring separately before starting the project. This technique ensures a sturdy base and prevents the center from loosening over time.


