
Brighten your room with this Crochet Rainbow Round Blanket Pattern that transforms simple loops into a colorful cozy blanket for any space.
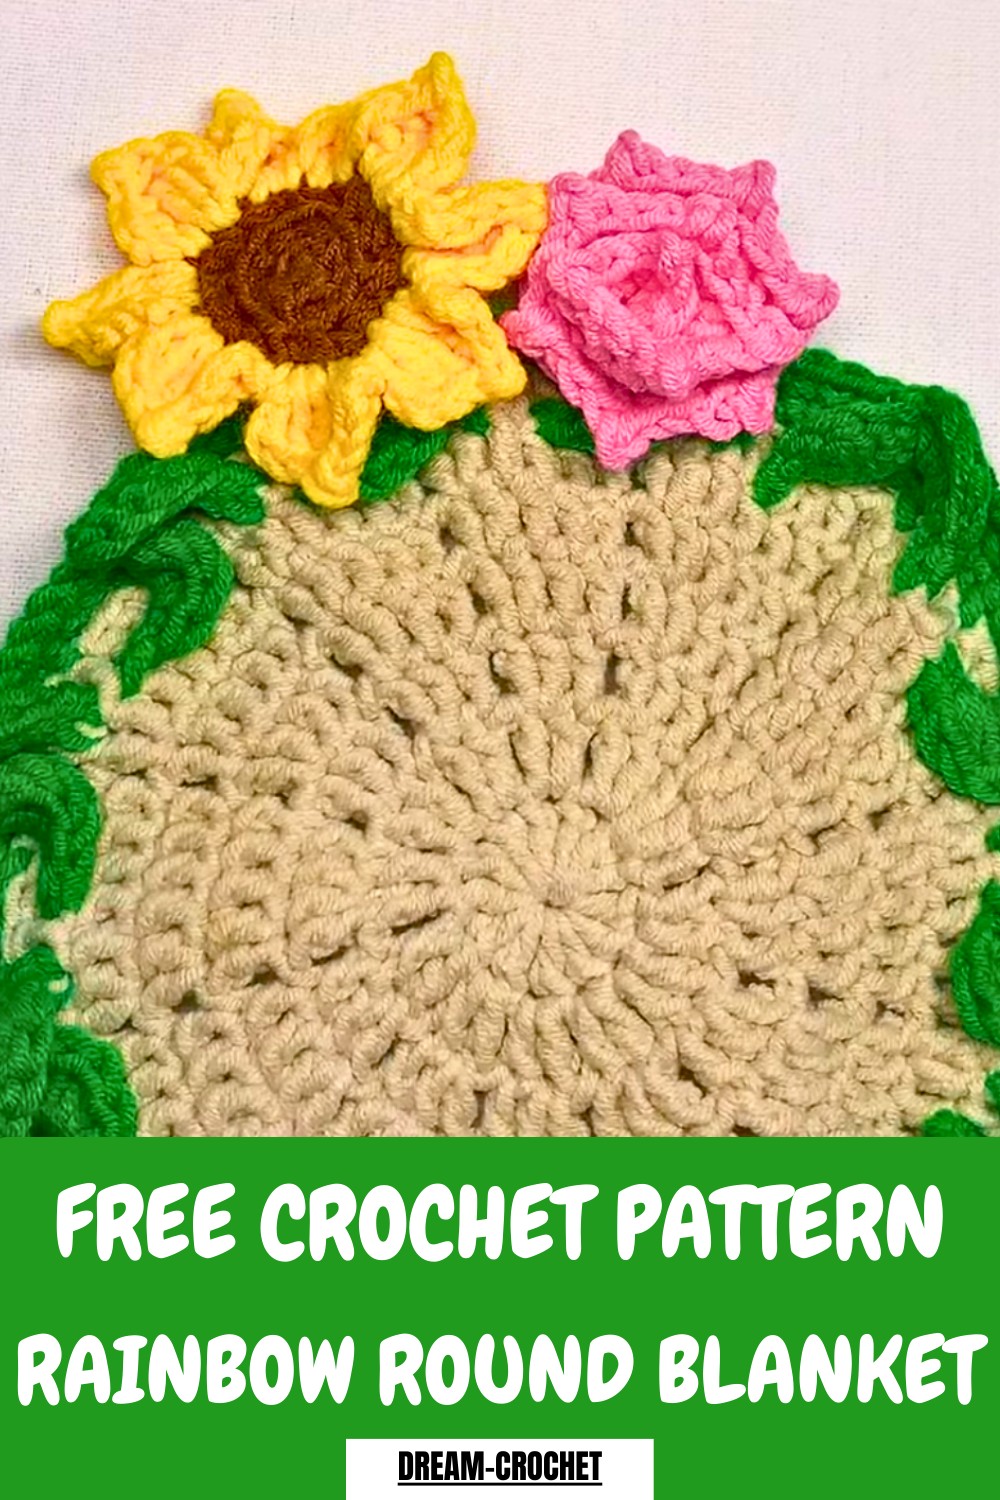
Bright, cheerful colors come together to form a striking round blanket that instantly lifts the mood of any room. The Crochet Rainbow Round Blanket Pattern transforms simple yarn into a vibrant and cozy piece, perfect for adding warmth and style to beds, sofas, or outdoor spaces. Its circular design and smooth gradient of hues create a visually appealing centerpiece, while the soft texture makes it inviting and comfortable to use.
Colorful Crochet Rainbow Round Blanket Pattern Bring Joy to Any Room
Following this pattern encourages focus, patience, and precision, providing a rewarding and mindful experience with every row. The design also allows for personalization through different color combinations, sizes, and finishing touches, making each blanket unique.
Ideal for gifting, home décor, or personal use, it combines functionality, charm, and aesthetic appeal. Every stitch contributes to a heartwarming creation that brings joy, comfort, and a sense of accomplishment to both the maker and anyone who enjoys its beauty.
Step-by-Step Details
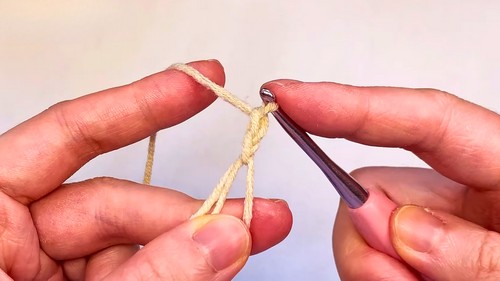
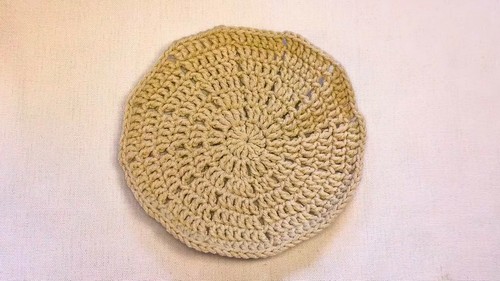
1. Start the Magic Ring and Round One
- Create a magic ring:
- Wrap the yarn around your pinky and middle fingers.
- Insert the hook under the strand, pull the yarn through, rotate the hook, yarn over, and pull it through the loop on the hook.
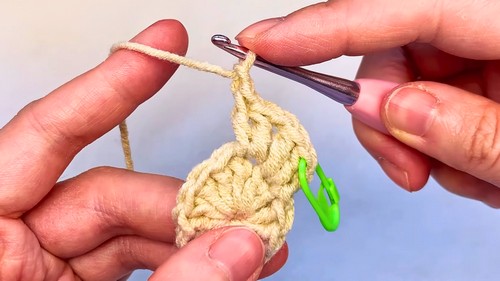
- Make 12 double crochets (DC) inside the magic ring:
- Yarn over, insert the hook into the ring, yarn over again, pull up a loop, yarn over, pull through the first two loops, and yarn over again to pull through the last two loops.
- Add a stitch marker to the first stitch to keep track.
- Tighten the magic ring by pulling the yarn tail tightly and close the round with a slip stitch on the first stitch.
2. Round Two: Double Crochet Groups
- Begin with two chains to start the round (these don’t count as stitches).
- Work two double crochets (DC) into the first stitch to create a double crochet increase group.
- Add a chain stitch to separate each group.
- Repeat the pattern of two double crochets and a chain stitch across all stitches to form 12 groups in total.
- Close the round with a slip stitch at the first stitch.
3. Round Three: Enlarging the Blanket
- Make two chains at the beginning of the round.
- Crochet one double crochet in the first stitch and two double crochets in the second stitch of each group from the previous round.
- Add a chain stitch after completing each group.
- Repeat this for all groups to increase the round.
- Join the round with a slip stitch.
4. Round Four: Continue Increasing
- Start with two chains and work one double crochet in the first two stitches.
- Make two double crochets in the last stitch of the group, followed by a chain stitch.
- Repeat this pattern for each group, gradually expanding the blanket.
- After finishing all groups, secure the round with a slip stitch.
5. Additional Rounds: Expanding Further
- For every new round, keep increasing stitches by adding one extra stitch into the last stitch of each group.
- Maintain a consistent pattern of double crochets and chain stitches to expand the blanket to your preferred size.
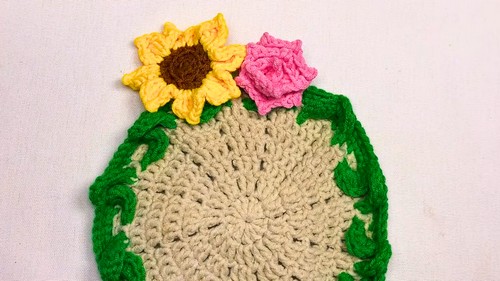
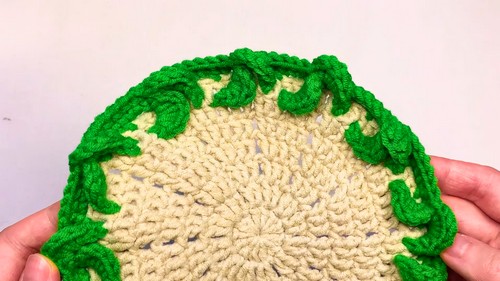
6. Creating 3D Leaves
- Switch to green yarn and attach it to the blanket.
- Begin the round with a single crochet followed by two chain stitches.
- Skip two stitches from the base and insert the hook into the third stitch for a single crochet.
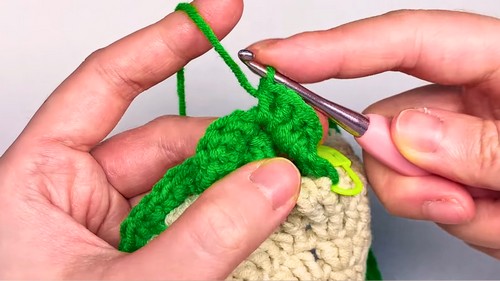
- Repeat the pattern of two chains and a single crochet across the round.
- Secure the round with a slip stitch and continue to add layers for a fuller leaf effect.
- To create 3D leaves, crochet groups of single crochets, half-double crochets, and double crochets symmetrically on each side of the chain space.
7. Creating Roses (Sharp Petals)
- Make a slip knot and crochet 17 chains for the base.
- Work three double crochets into the third chain, followed by a chain stitch and a slip stitch into the inverted V-shaped segment below.
- Repeat these steps to form rows of sharp-edged rose petals.
- Once finished, twist the petals into a circular rose shape, securing it with a yarn tail using a needle.
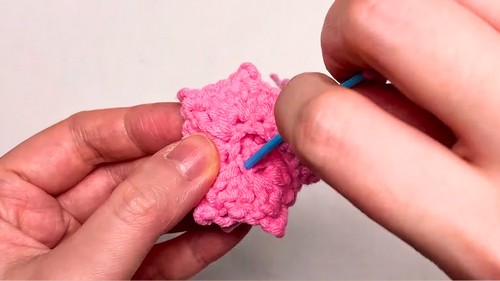
8. Crocheting Carnations (Layered Petals)
- Start with a magic ring and work 10 single crochets into the ring for the base.
- In the next round, crochet three double crochets into the front loops of each stitch to form the first layer of petals.
- Save the back loops for the second layer by marking them with a stitch marker.
- For the second layer, repeat the double crochet process in the back loops to create a layered carnation design.
- Add an edge round to the petals using chain stitches and single crochets.
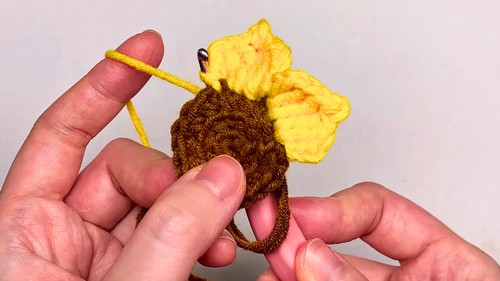
9. Crocheting Sunflowers (Easy Version)
- Begin with a magic ring and crochet 6 single crochets into the ring for the center.
- In the second round, work single crochet increases in the back loops only.
- Switch to yellow yarn to create the petals:
- Start with chains, work double and triple crochets symmetrically, adding chain stitches and slip stitches to form distinct petals.
- Complete nine petals around the brown center to finish the sunflower.
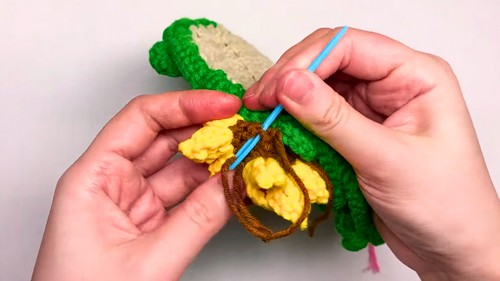
10. Connecting Flowers to the Blanket
- Use the yarn tails left on each flower to sew them onto the blanket.
- If the tails are too short, thread a new piece of yarn and sew the flowers at their overlapping segments for a secure attachment.
- Arrange the flowers however you like to create a cohesive design.
Special Features
- Multiple Flower Patterns: Choose from roses, carnations, and sunflowers to design a unique blanket.
- 3D Leaves: Pop-up double leaves add texture and vibrance to the design.
- Customizability: The blanket size, pattern arrangement, and color scheme are entirely customizable.
- Versatile Use: Snuggle under it, use it as décor, or wrap it around bouquets for events.
Level of Difficulty
The project is intermediate level. It requires familiarity with basic stitches (single crochet, double crochet, triple crochet, etc.), techniques like magic rings, and an understanding of increasing and layering. Beginners can attempt it with patience, thanks to the detailed step-by-step instructions.
Tutor’s Suggestions
- Choose Yarn Wisely: For the demo, the tutor used five-strand cotton yarn in a solid color to improve stitch visibility. For your final version, consider using gradient or multicolored yarn for a lively effect.
- Mark Back Loops for Layered Elements: Use stitch markers to keep track of back loops when making layered petals.
- Work with Tension: Maintain even tension, especially for the flower petals, to ensure a clean and sturdy finish.
- Customize Flower Counts: Adjust the number of flowers based on your blanket size.
Materials Needed
- Yarn: Choose colors for the blanket base, green yarn for leaves, and flower colors.
- Crochet Hook: Size appropriate for your yarn (commonly 2–5 mm).
- Stitch Markers: To track rounds and back loops.
- Needle: To sew flowers onto the blanket.
- Scissors: For cutting yarn.
- Stuffing (Optional): To create puffed flower centers.
Uses of the Blanket
- Home Décor: Use it as a tablecloth or couch throw.
- Event Accessory: Perfect for weddings or celebrations to wrap bouquets.
- Gift Item: A handmade, heartfelt gift for loved ones.
- Cozy and Snuggly: Wrap yourself in it for comfort.
Tip
For cleaner edges and vibrant flower designs, experiment with multicolored gradient yarns or combine two yarn colors for unique effects. This adds depth and personality to the project.
Conclusion
Crocheting this big cozy blanket is a rewarding and creative experience. From shaping the base to designing and attaching flowers like roses, carnations, and sunflowers, the project offers endless customization options. Use it to adorn your home, gift it for special occasions, or keep it as a cozy masterpiece for yourself.


