
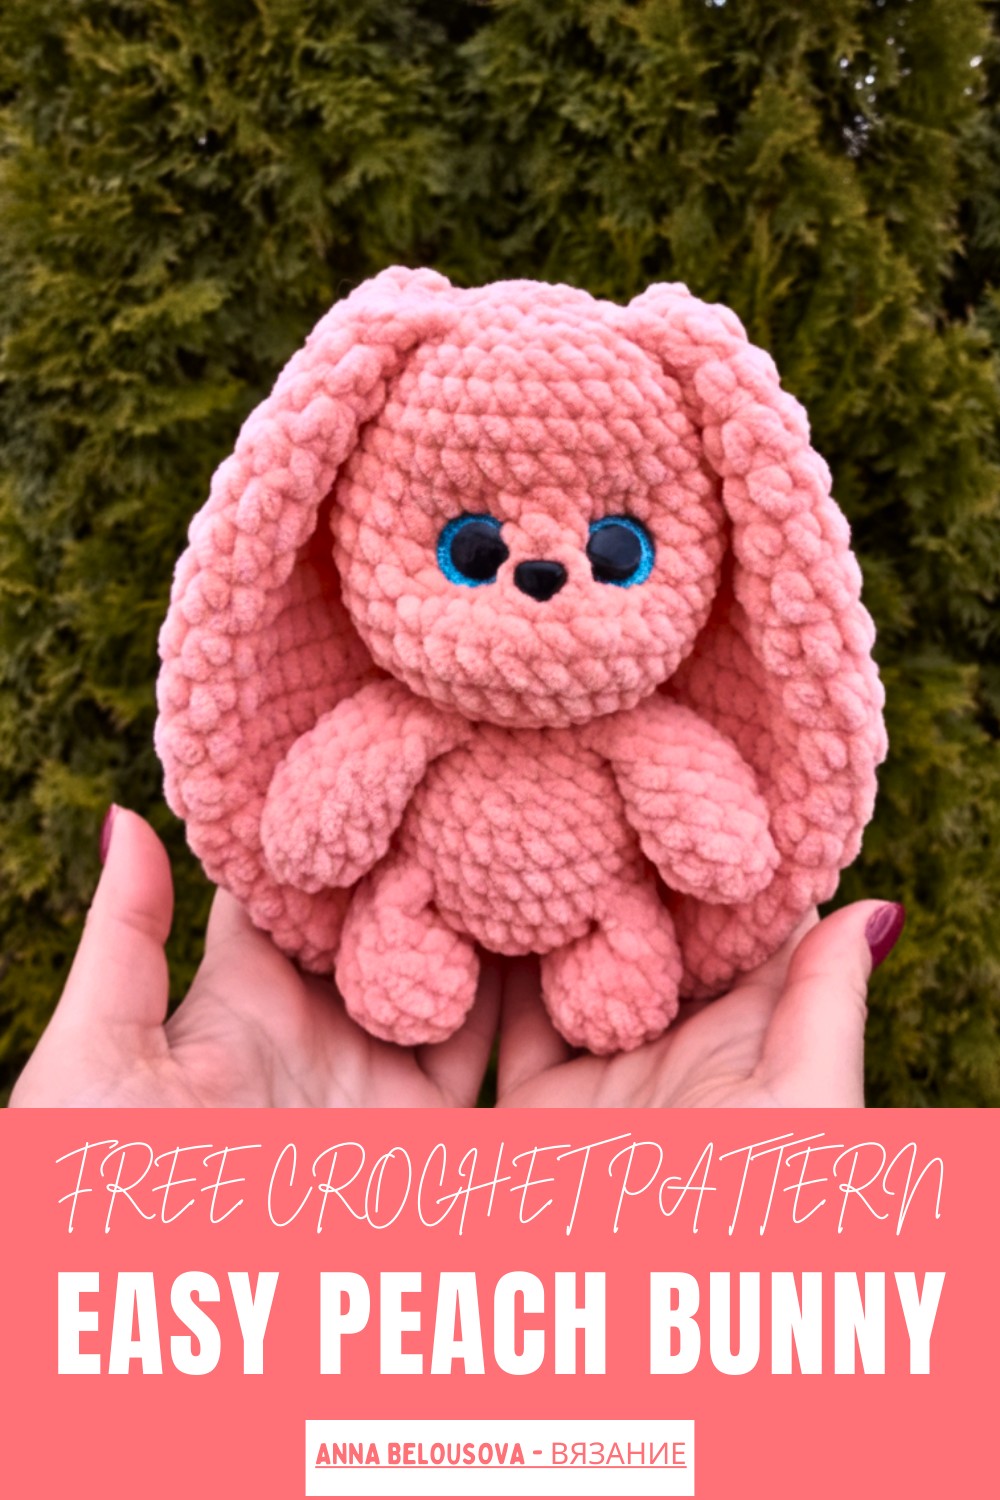
Bring to life a soft and adorable bunny with this Free crochet Peach Bunny Pattern, perfect for gifts, decorations, and handmade keepsakes.
Not everyone may notice its charm immediately, yet once you start crocheting, the result becomes surprisingly delightful. The peach bunny pattern creates a soft, plush bunny with floppy ears, a rounded body, and often a tiny peach-inspired hat. Using chenille or soft cotton yarn gives it a velvety texture, making it perfect as a comforting toy or a charming decoration.
Modern Crochet Peach Bunny Pattern You’ll Love
It can serve as a thoughtful handmade gift, a cozy decoration for any room, or a soft keepsake that carries personal effort and creativity. With a bit of patience and attention to detail, this project turns simple yarn into a delightful handmade bunny that is both visually appealing and practically useful.
Materials
Acquire the following items to create the Peach Bunny:
-
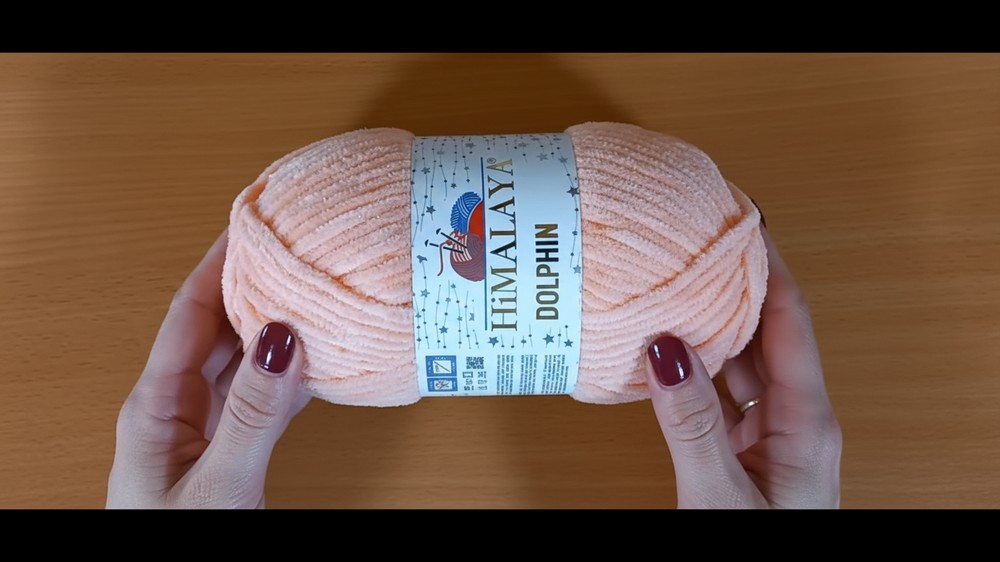
Yarn: One skein (120m) of plush yarn with Lurex (sparkle effect), such as Himalaya Dolphin Star, in a peach color. Tutor's Note: Have a little extra yarn ready if you are not sure about your gauge or yarn length.
-
Crochet Hook: Use a 4.5 mm hook.
-
Safety Eyes: Secure 18 mm safety eyes for the face.
-
Safety Nose: Use a 10 mm safety nose.
-
Stuffing: Gather synthetic stuffing (sintepuh/fiberfill) for filling the body and limbs.
-
 Notions: Prepare a stitch marker, a long darning needle, and thin sewing thread (double strand) for sculpting the face.
Uses
-
Amigurumi Toy: Create a soft, handmade plush toy for play or collection.
-
Decorative Accent: Use the finished bunny as a sweet decoration for a nursery or bedroom.
-
Handmade Gift: Produce a unique and heartfelt gift for children or amigurumi enthusiasts.
Special Features
-
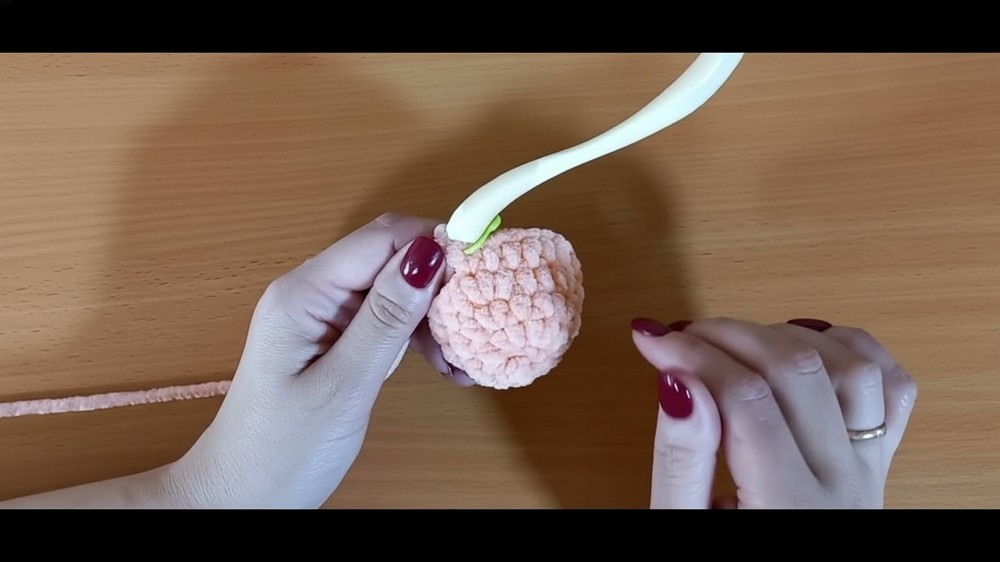
100% All-in-One Construction: This is the project's primary feature; you attach the ears and all four limbs directly into the main body piece as you crochet, eliminating the need for separate sewing, which simplifies assembly.
-
Sparkle Yarn: The recommended plush yarn includes Lurex thread, giving the bunny a subtle, elegant shimmer.
-
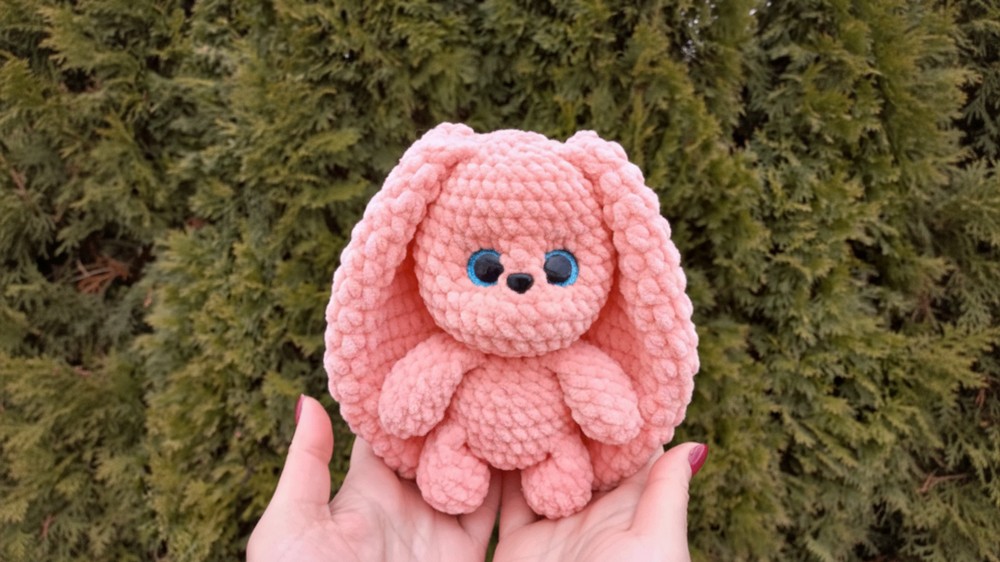
Single Skein Project: The entire 16 cm bunny requires only one 120m skein of the recommended yarn, making it a cost-effective and efficient project.
Level of Difficulty
This is an Advanced Intermediate project. The complexity lies in working with plush yarn, the intricate all-in-one construction (requiring precise placement of limbs/ears mid-row), and the specific face sculpting technique used to shape the head after assembly.
Tutor's Suggestions
-
Symmetry Check: When attaching the lower and upper limbs, ensure they align symmetrically. If the end of your round has shifted, adjust the number of simple stitches before incorporating the next limb to maintain beautiful alignment.
-
Eye Placement: Insert the safety eyes (18mm) between Rounds 7 and 8 of the head section, and the nose (10mm) between Rounds 6 and 7 (counting from the start of the head increases). Crucially, check the eye placement by gently squeezing the face to simulate the final sculpting before securing the washers.
-
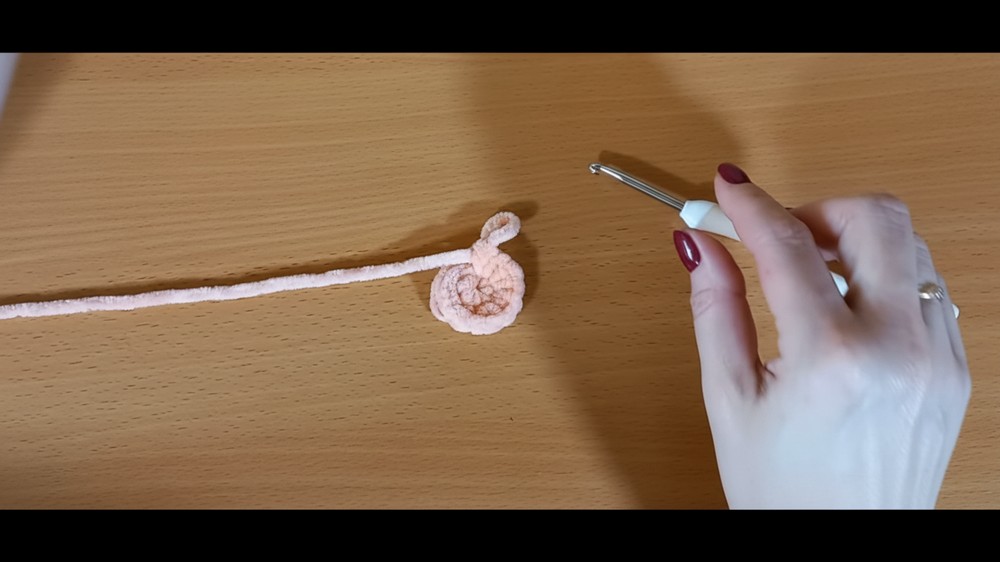
Tail Construction: When starting the tail, grab a new strand of yarn from the center of your skein to avoid cutting your main working thread.
Crochet Peach Bunny
The beauty of this pattern is not only in its appearance but also in the skills it helps develop.
Working on it allows you to practice basic crochet techniques like single crochet, increases, and decreases, while learning to shape three-dimensional forms.

This makes it an excellent project for both beginners and those looking to improve their crochet abilities.
The finished bunny is highly versatile. By adjusting the yarn thickness and hook size, you can create a small bunny that fits in your hand or a larger plush companion.
Conclusion
You have successfully crocheted the "Peach Bunny," a 100% all-in-one amigurumi project. By skillfully incorporating the ears and limbs as you worked, you created a sturdy, seamless, and adorable plush toy.
Tip
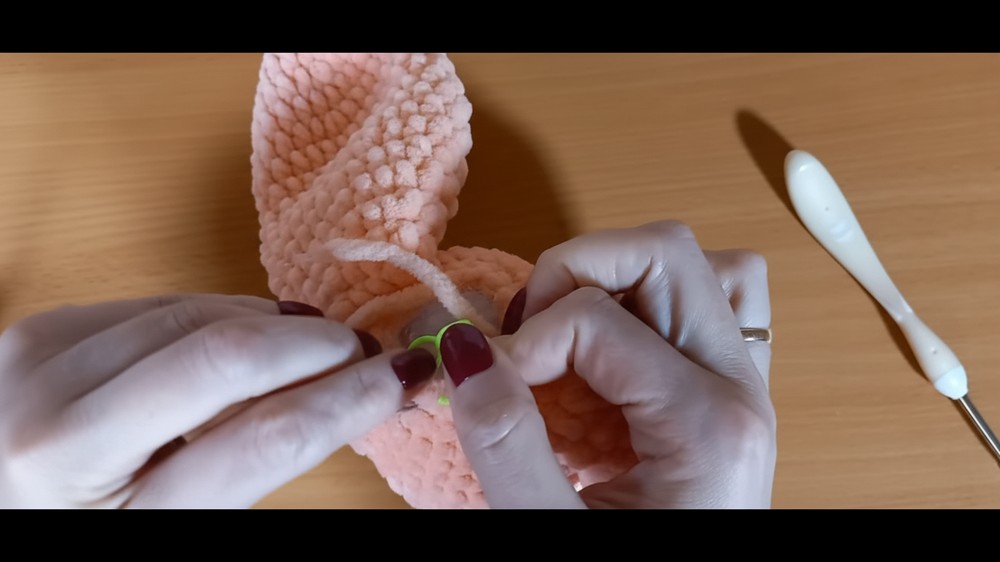
When attaching the four limbs (both lower and upper) in their respective rows, use the yarn tail from the limb to secure the small remaining gap around the connection point before continuing the main body section. This will prevent a hole from forming and ensure a neater attachment.


