
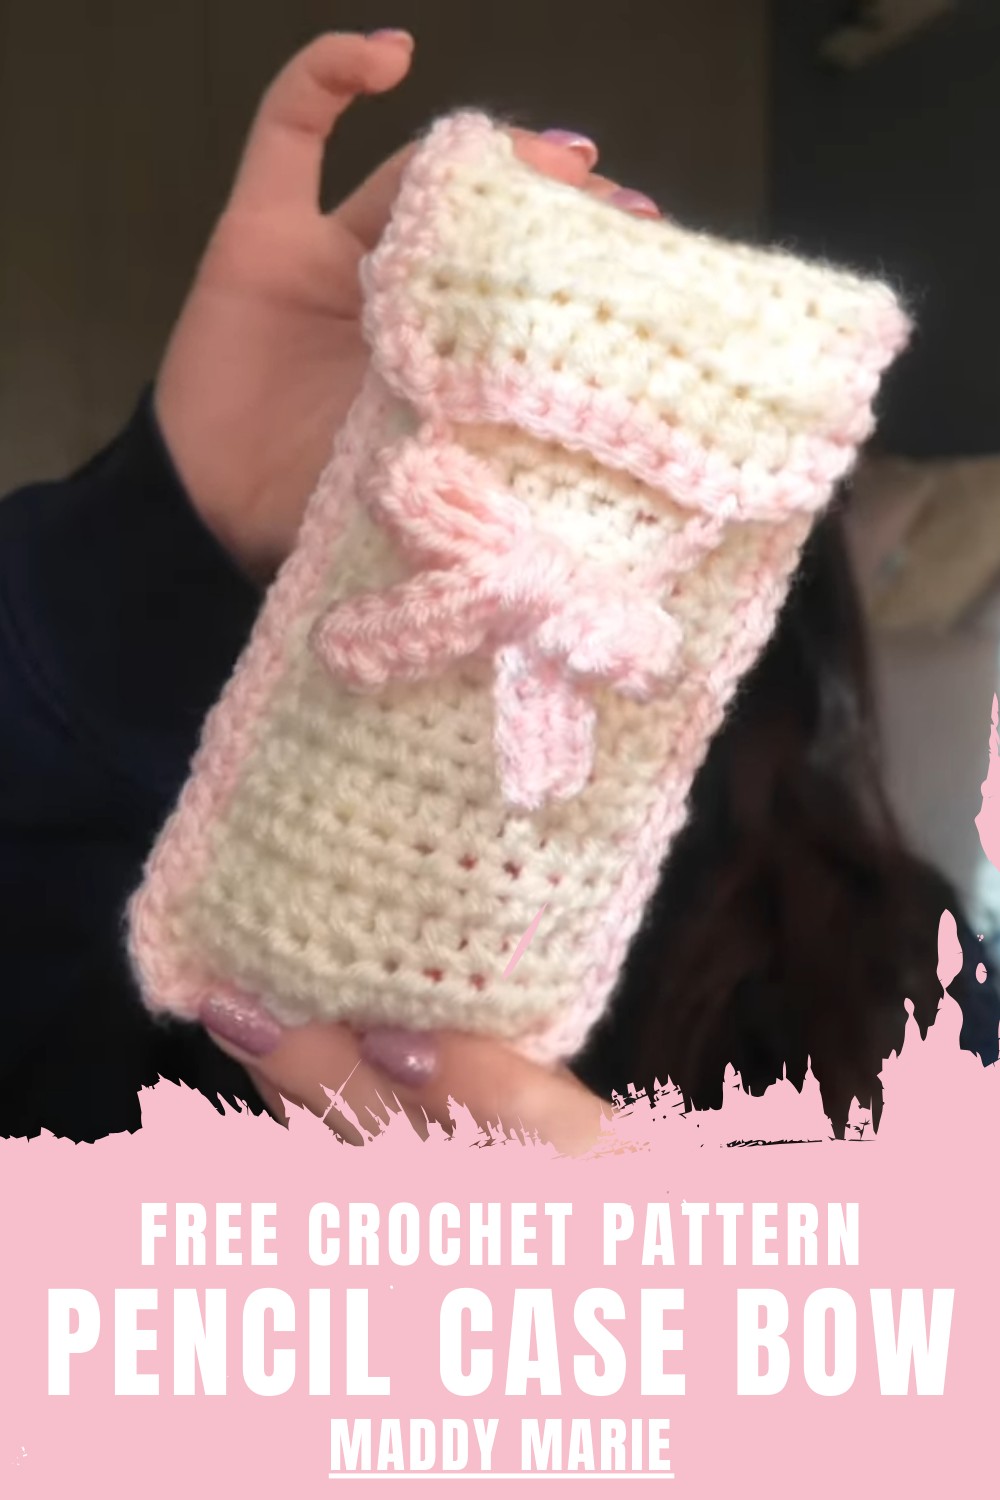
Neat storage feels personal with this Crochet Pencil Case Pattern offering tidy space, durable texture, and stylish daily use at school now.
Organized storage meets creative style in this practical accessory that suits both students and professionals. The Crochet Pencil Case Pattern offers a neat solution for keeping pens, pencils, markers, and small stationery items safely in one place. Its structured yet flexible form helps protect contents while remaining lightweight and easy to carry in bags or backpacks. The textured surface adds visual interest, giving it a charming, polished appearance that stands out from ordinary cases.
Handy Crochet Pencil Case Pattern Made for On-the-Go Storage
This pattern supports versatility, as size and color choices adjust easily to personal preferences or specific needs. It works well for school use, office desks, or travel organization, making everyday routines more convenient.
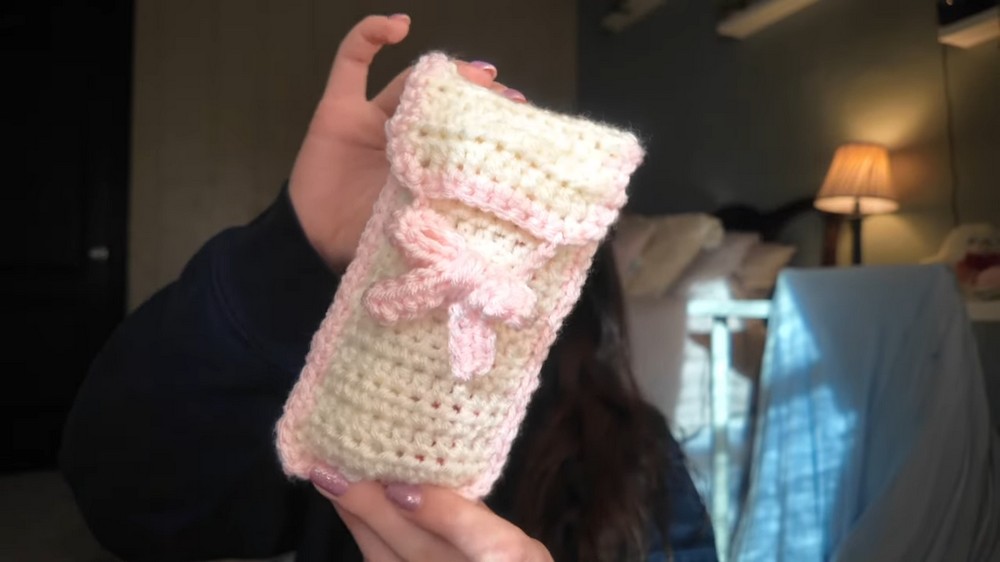
The compact shape encourages tidiness without taking up extra space, while the durable finish supports regular handling. Overall, it combines usefulness with aesthetic appeal, resulting in a stylish storage option that feels thoughtful, functional, and suitable for daily use across different lifestyles.
Step-By-Step Details:
Step 1: Materials Preparation
- Yarn: Use a medium weight acrylic yarn. Alternatively, cotton yarn works well for added durability and aesthetic appeal.
- Hook: Select the appropriate crochet hook size recommended for medium-weight yarn.
- Additional Supplies: Yarn needle and scissors.
Step 2: Start with a Slip Knot
- Hold the tail end of the yarn in your left hand.
- Form a loop by crossing the long strand over.
- Insert your fingers through the loop, grab the long strand, and pull tight to create the slip knot.
- Place the knot on your crochet hook and adjust tension by pulling the long yarn strand.
3: Creating the First Rectangle
- Chain 12: Yarn over and pull through the loop to make each chain. This chain determines the width of the case.
- Adjust the chain count for a smaller or larger case.
- Begin Row 1: Work 11 half-double crochets (HDC) into the chains, skipping the first chain next to the hook.
- Yarn over, insert the hook into the second chain, pull up a loop (3 loops on the hook), yarn over, and pull through all three loops.
- Repeat for each chain across the row.

- Row 2 and Beyond:
- Chain 1 at the end of each row and flip the work.
- Place 1 HDC into each stitch from the previous row.
- Continue crocheting rows until you complete 16 or 17 rows, depending on desired length. Use pens or sunglasses to adjust measurements.
- Fasten Off: Chain 1, cut yarn, and pull the yarn through the loop to finish off securely.
4: Creating the Second Rectangle (Back and Flap)
- Repeat Step 3 to crochet a larger rectangle but elongate it with 22–24 rows to create the flap.
- Use the first rectangle as a guide to measure the length of the flap based on how far you want it to fold over.
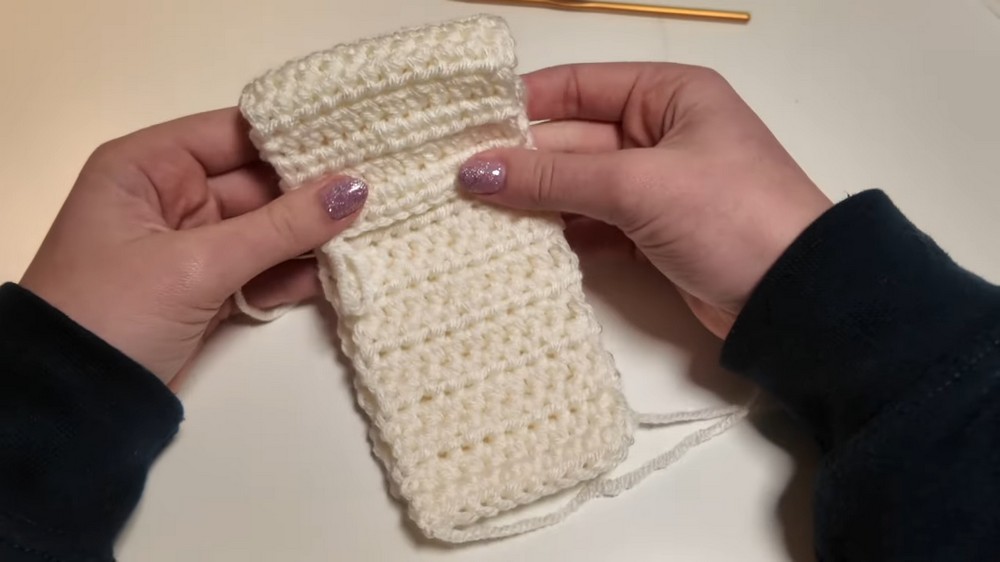
5: Assembly
- Align Pieces: Place the smaller rectangle on top of the larger one.
- Ensure both pieces align evenly, with the stitches visible at the top.
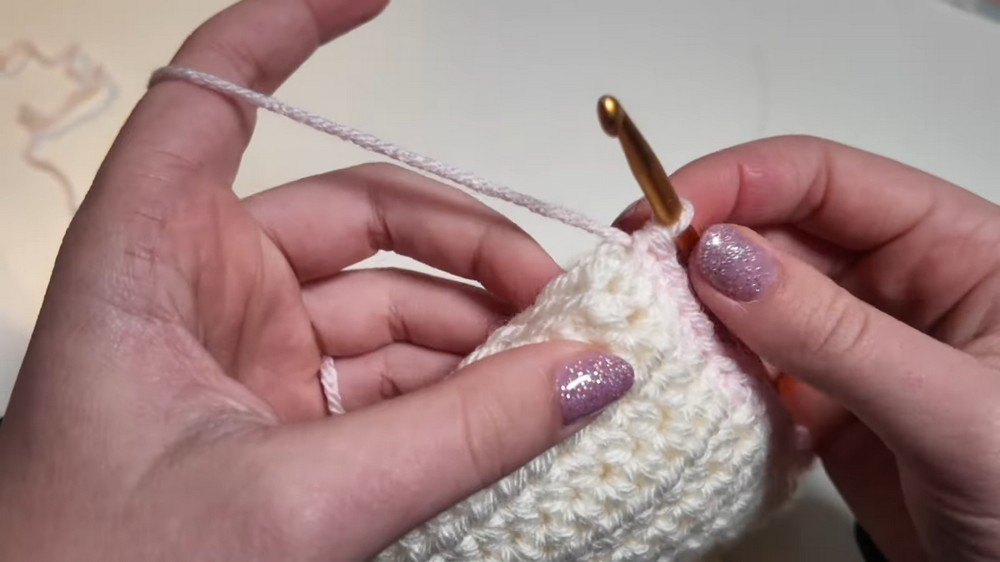
- Attach with Borders:
- Join the pieces by working single crochets using a contrasting color yarn.
- Insert the hook through both layers, yarn over, and pull up a loop, then yarn over again and pull through both loops.
- Add two single crochets in the corners for smooth finishing.
- Complete the border around the case and flap.
6: Crocheting the Bow
- Chain 28: Follow the chain method from Step 3.
- On the second chain from the hook, work HDCs across all chains.
- Form the bow:
- Fold the strip into a bow shape.
- Use the long yarn tail to wrap and secure the center.
- Sew the bow onto the front of the pencil case using a yarn needle.

7: Adding a Loop
- Attach pink yarn to the edge (second stitch from the corner).
- Create a chain long enough to wrap over the bow (12 chains recommended).
- Secure the loop with a slip stitch to the adjacent stitch and fasten off.
Final Touches:
- Sew in all loose ends using a yarn needle for a neat finish.
- Ensure the bow and loop are properly secured for durability.
Special Features:
- Beginner-Friendly Design: Uses simple stitches like chains, single crochets, and half-double crochets.
- Versatility: Functions as a pencil case, sunglasses holder, or small storage pouch.
- Customizable: Change the size, colors, or flap length based on your needs.
- Decorative Bow: Enhances the charm and serves as a closure system.
Level of Difficulty:
This tutorial is beginner-friendly, as it uses only basic crochet stitches. It is ideal for anyone new to crochet or looking for a quick and simple project.
Tutor’s Suggestions:
- Adjust the chain count and row count to match the size and purpose of the case (pens versus sunglasses).
- Use cotton yarn for a more durable product or acrylic for a softer texture.
- Be precise when aligning the rectangles and working the borders to ensure a uniform and neat finish.
- Measure the flap length using the first rectangle for accurate closure.
Uses:
- Pencil case for stationery.
- Sunglasses holder.
- Storage pouch for small items.
Tip:
When working on borders or sewing ends, take your time to ensure all stitches align perfectly. This prevents uneven edges and contributes to the durability and polished look of the case.
Conclusion:
This crochet pencil case tutorial provides a simple yet elegant method to craft a personalized storage case. With only basic stitches and a few materials, you can create a charming and functional piece that suits your preferences. Enjoy experimenting with colors, sizes, and decorations like bows, as Mata suggests.


