
Blend warmth and style with this Crochet Hooded Scarf Pattern for cozy, textured accessories that offer comfort, coverage, and everyday charm.
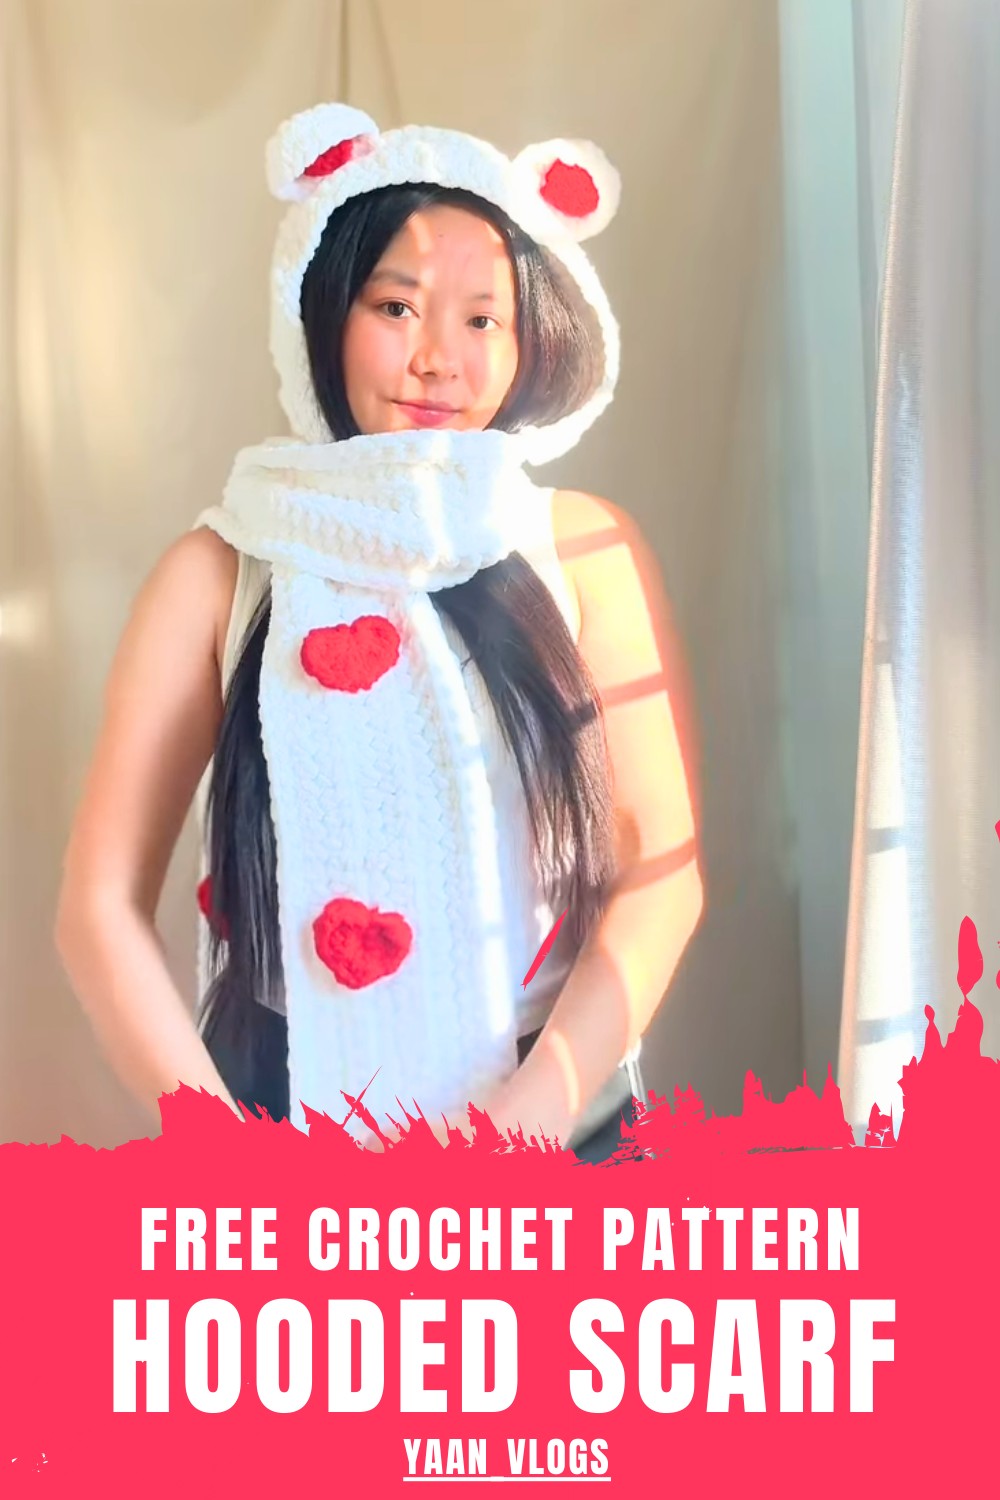
Perfect for outdoor walks, travel, or casual winter layering, it eliminates the need for multiple accessories. The texture-rich stitches enhance visual appeal and provide insulation without feeling bulky. Crocheters enjoy the creative freedom to customize colors, lengths, and stitch patterns, resulting in a truly personal creation.

Beyond its aesthetic value, this scarf ensures comfort, warmth, and durability, making it suitable for everyday wear. It balances functionality and artistry, transforming simple yarn into a statement accessory that elevates cold-weather style effortlessly.
Step-by-Step Details
Materials Needed:
- Yarn:
- White yarn for the hooded scarf (Blankie yarn).
- Red yarn for creating hearts (same brand).
- Crochet Hook: 9 mm hook for most of the work.
- Measuring Tape: For accurate measurements.
- Scissors/Cutter.
- Stitch Markers: To assist with decreases and alignment.
- Yarn Needle: For sewing the pieces together and weaving in the ends.
1. Making the Scarf
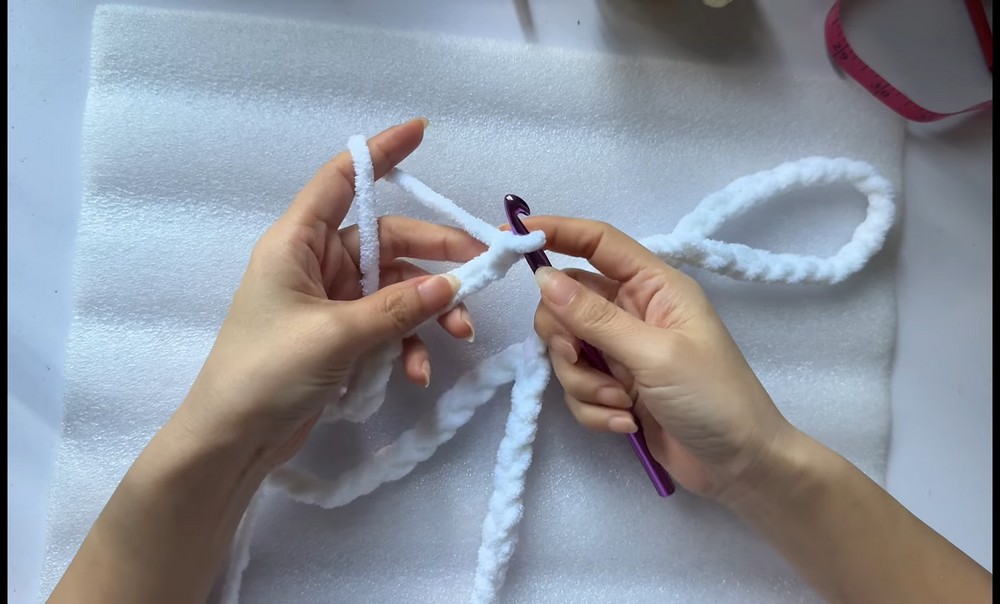
- Foundation Chain:
- Start with a slip knot.
- Make a chain according to your desired length (e.g., 65-75 inches). Yan made 130 chains for her scarf.
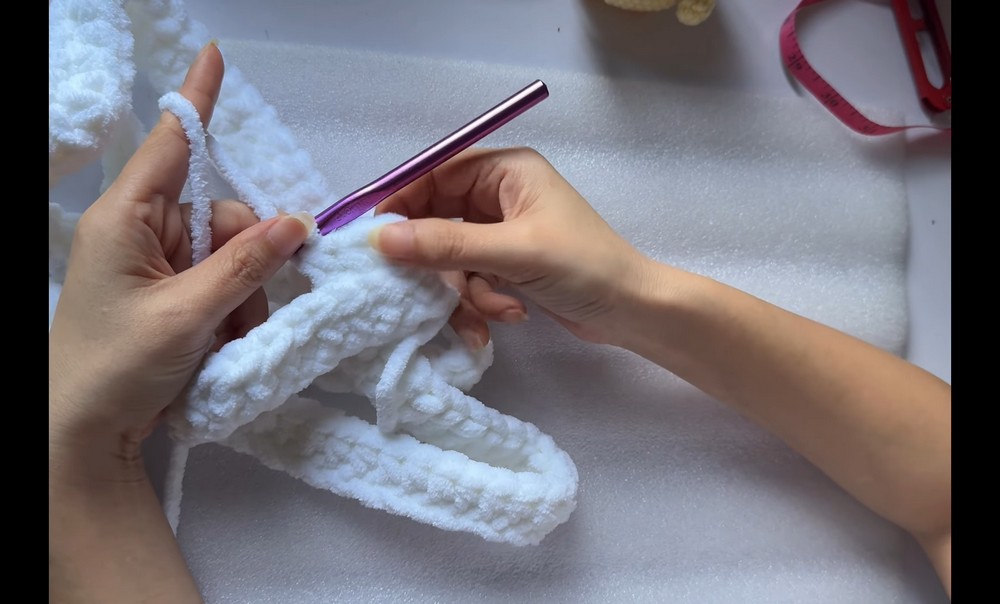
- First Row:
- Skip the first chain near the hook and start making Half Double Crochets (HDC) in each chain across the row.
- Second Row:
- Turn the work, chain 1, and make HDC stitches, but this time through the back loops only to create a knitted texture.
- Repeat the second row for the entire width of the scarf until it reaches your desired measurement. Yan made hers 6 inches wide.
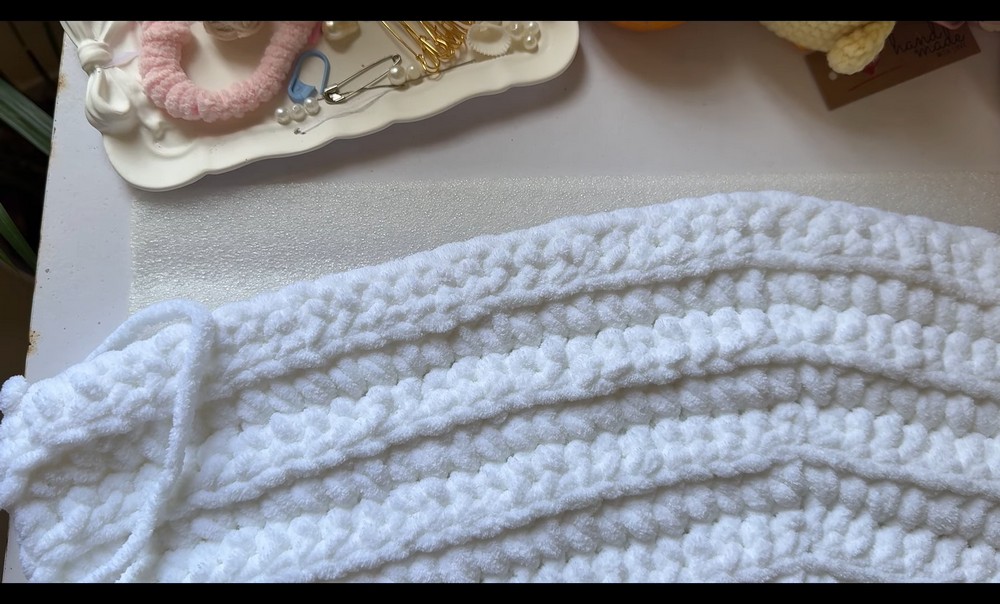
- Finishing the Scarf Base:
- Once complete, set the scarf aside while preparing the hood and decorations.

- Once complete, set the scarf aside while preparing the hood and decorations.
2. Making the Hood
- Measurement:
- Measure from the collarbone to the top of your head (e.g., 25 inches for Yan’s hood). Adjust according to your head size.
- Foundation Chain:
- Make a chain that equals your measurement’s length (e.g., 25 inches ≈ 51 chains).
- First Two Rows:
- Work two rows of HDC using the same back-loop-only method used for the scarf to maintain consistency in texture.
- Decreasing for the Hood Shape:
- Mark the middle stitch with a stitch marker, dividing the piece into two equal halves.
- On subsequent rows, decrease at the stitch marker by inserting into two back loops and finishing as a single stitch.
- Alternate decreases on either side of the hood as you progress toward the desired sloping shape.
5. Closing the Hood:
- Fold the hood piece in half lengthwise to form its shape.
- Use slip stitches in the back loops only on both edges to join the hood’s sides.
- Avoid a pointed look by decreasing any excess fabric at the base or trimming loose ends.
3. Attaching the Hood to the Scarf
- Align the hood's bottom edge with the scarf's center.
- Slip stitch the two pieces together, ensuring even alignment.
- Adjust for fit before finishing stitches.
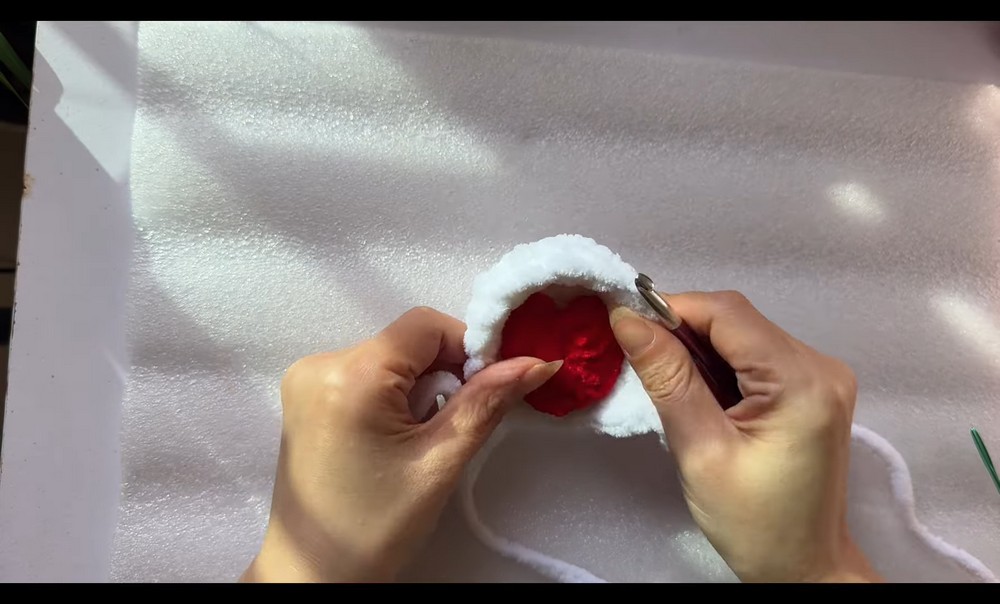
4. Making the Ears
- Magic Ring:
- Create a magic ring as the starting point.
- First Row:
- Work 5 HDC stitches into the ring. Tighten the loop, but don’t close it completely.
- Second Row:
- Chain 1, turn the work, and make 2 HDC in the first and last stitches for an increase.
- Work single HDCs for the rest.
- Additional Rows:
- Repeat Row 3, but without increases, until the ear has 5 rows total.
- Finishing:
- Perform a simple finishing stitch around the ear for a more refined edge.
- Make and attach a second ear to the hood, ensuring symmetrical placement.
5. Making the Heart Decoration
- Magic Ring:
- Create a magic ring and work the following stitches:
- Chain 3 (counts as 1 treble crochet).
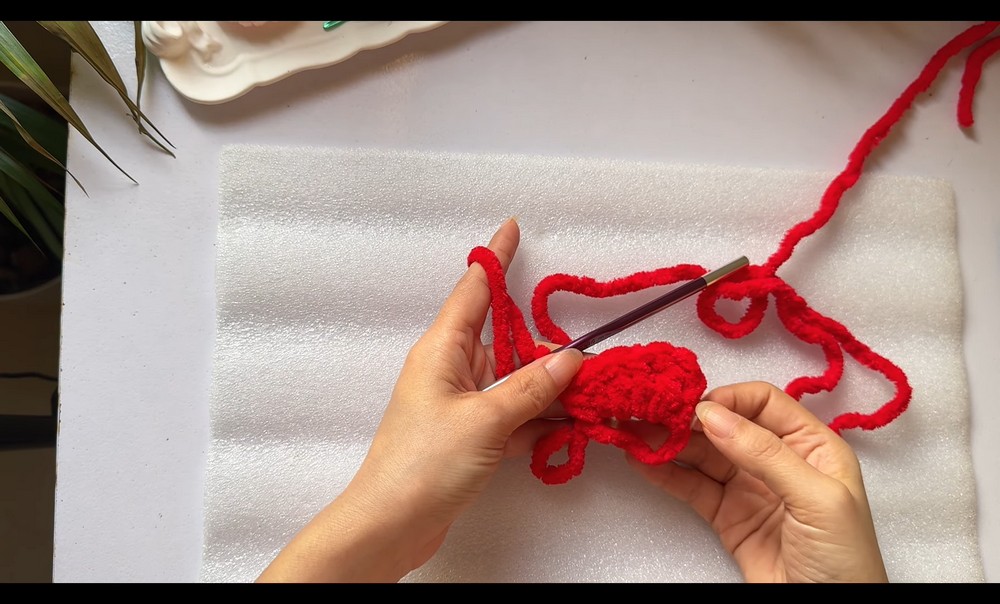
- Add 1 more treble crochet and 2 double crochets into the magic loop.
- Add 1 half-double crochet to complete one side.
- Create a magic ring and work the following stitches:
- Middle Stitch:
- Work 1 double crochet, chain 1 for the middle.
- Mirror the Stitches:
- Repeat the same pattern on the other side of the heart.
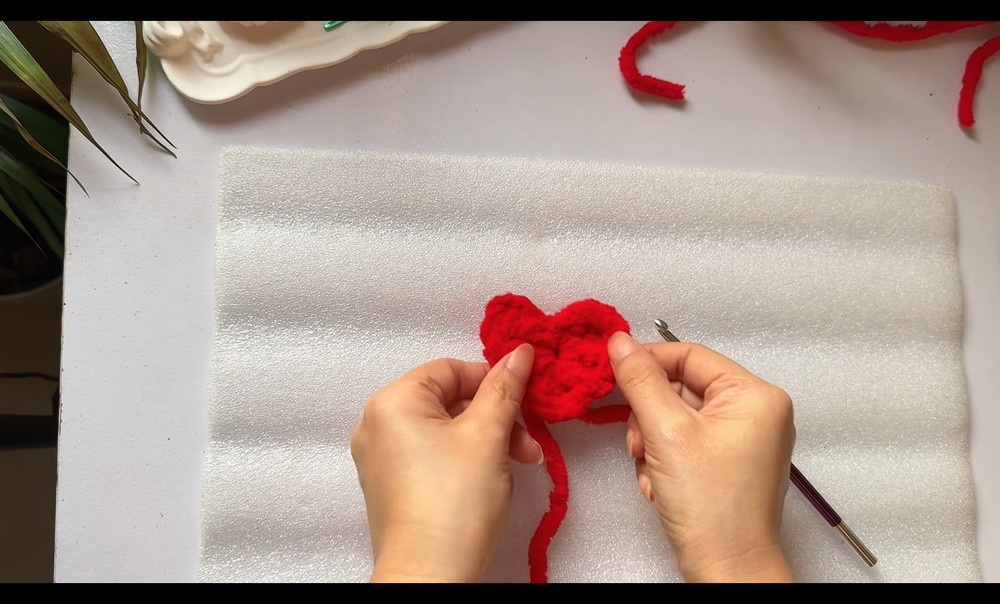
- Tighten the Magic Ring:
- Pull gently to avoid breaking the yarn, then secure the heart with a slip knot.
- Pull gently to avoid breaking the yarn, then secure the heart with a slip knot.
- Attachment:
- Sew the heart onto the scarf or hood using a long yarn tail.
- Sew the heart onto the scarf or hood using a long yarn tail.
Special Features
- Knitted Texture: Using HDC in the back loops creates a stylish faux-knitted look.
- Customizable: Easily adjust the size of the scarf, hood, ears, and hearts to match your preferences.
- Adorable Additions: The ears and hearts elevate this accessory into a unique, playful winter staple.
Level of Difficulty
This project is beginner-friendly with a few intermediate-level techniques, such as working in the back loops, decreasing, and creating pieces like ears and hearts. With the detailed instructions provided by Yan, anyone can follow along and succeed.
Tutor’s Suggestions
- Use soft and skin-friendly yarn (such as Blankie yarn) for ultimate comfort and warmth.
- Adjust measurements (scarf length, hood height) to fit your specific needs as sizes may vary.
- Be mindful of decreasing evenly for a proper hood shape.
- Take your time with the magic ring and stitches for the heart and ears to ensure neatness.
- For any questions, reach out to Yan via Instagram or the YouTube comment section. She actively responds to viewers.
Uses and Materials
- Uses:
- A cozy Christmas gift for loved ones.
- A playful, aesthetic accessory to stay warm during colder months.
- A creative project for honing crochet skills.
- Materials:
- Blankie yarn (or any soft yarn of your choice).
- 9 mm crochet hook.
- Measuring tape, scissors, and stitch markers.
Tip
To avoid a pointed hood, decrease carefully near the edges and stitch past any protruding corners for a rounded finish. Always try on the hood or check fit before attaching the scarf.
Conclusion
Yan’s hooded scarf pattern provides a clear and enjoyable way to create a cute, practical winter accessory. With its warm and trendy design, this project is perfect for gift-giving or personal use. Whether you’re a beginner or building your crochet skills, the tutorial ensures you achieve a charming result.


