
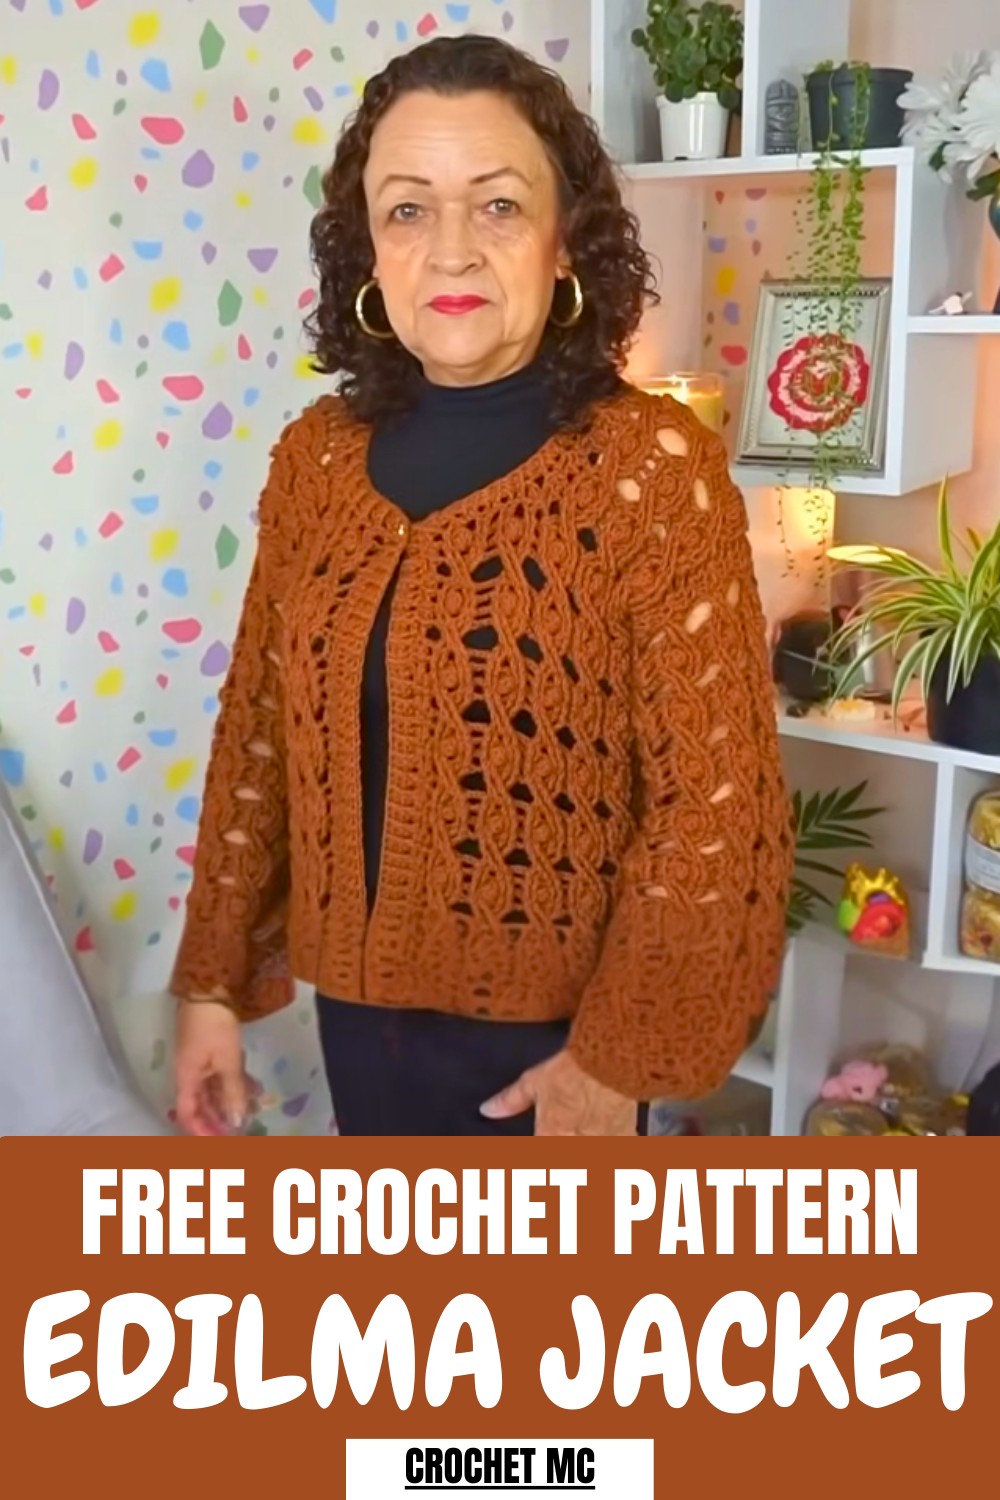
Refresh your wardrobe with this Free Crochet Edilma Jacket Pattern for unique outerwear that adds texture and charm to your daily ensembles.
Transform ordinary outfits into standout looks with this Crochet Edilma Jacket Pattern that combines texture, warmth, and effortless style. Its open design and delicate stitch patterns make it perfect for layering over casual or semi-formal clothing, giving every outfit a personalized touch. Lightweight yet cozy, it adapts beautifully to different seasons, and crocheting it allows endless possibilities for experimenting with colors, yarn types, and decorative details.
Vibrant Crochet Edilma Jacket Pattern Bring Joy to Your Closet
The result is a stylish, functional piece that feels handmade and luxurious. Its versatility, unique texture, and customizable features make it perfect for gifting or adding to your wardrobe.

Creating it not only sharpens crochet skills but also leaves you with a beautiful, wearable work of art. Beyond its fashion appeal, it’s a rewarding project for anyone looking to enjoy a relaxing and creative crochet experience.
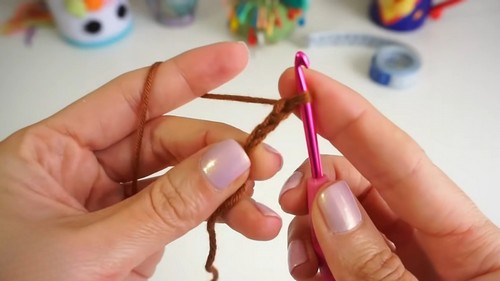
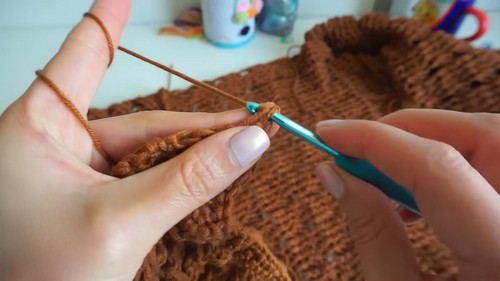
The process starts with a foundation chain that sets the jacket’s width.
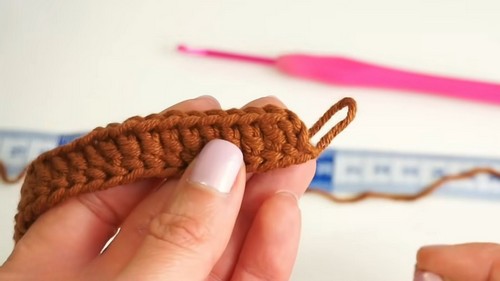
Working in rows of single and double crochet stitches builds the main body, while carefully placed increases and decreases shape the armholes and neckline.
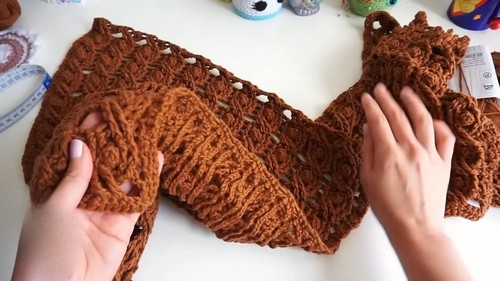
After the body is complete, additional stitches are picked up for the sleeves and finishing edges, creating a polished, professional look.
Special Features
-
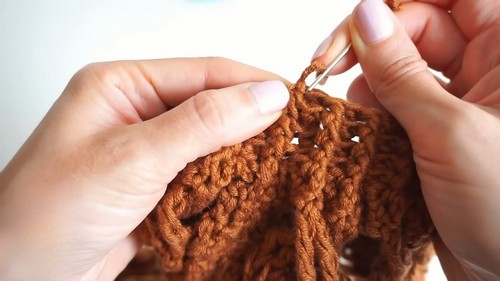
Braided Texture: The jacket features a stunning 3D braided effect created with triple high stitches (treble crochet).
-
Popcorn Stitches: Small "bodoque" or popcorn stitches add a playful and tactile relief to the design.
-
Professional Edges: The project uses a "chainless" starting method for a more elastic and polished finish.
-
Custom Fit: The tutor teaches the project based on personal measurements, making it adaptable for any body size.
Following step-by-step guidance ensures accuracy, making it suitable for beginners while offering opportunities for customization for more advanced crocheters.
Materials
-
Yarn: Approximately 510g of acrylic yarn (the tutor uses "Copito," 100g/250m per skein).
-
Crochet Hooks: A 4.0 mm hook (recommended to go slightly larger than the yarn label suggests to prevent shrinking).
-
Tools: Scissors, wool needle (tapestry needle), stitch markers, and a measuring tape.
Level of Difficulty
Intermediate. While the construction involves basic shapes (rectangles for the back, fronts, and sleeves), the stitch pattern requires focus. You must master triple high stitches, relief stitches (front and back post), and crossing stitches to form the braids.
Uses
This jacket serves as a warm, medium-weight layer. Its elegant texture makes it suitable for:
-
Special Occasions: A refined gift for Mother's Day or birthdays.
-
Outerwear: A cozy cardigan for spring or autumn weather.
Tutor's Suggestions
-
Hook Size: Use a hook larger than what the yarn manufacturer recommends. This specific stitch pattern tends to shrink and "consume" material if worked too tightly.
-
Elastic Start: Use the chainless foundation method described in the video to ensure the bottom of the jacket remains flexible and doesn't pull.
-
Neckline Adjustment: If the neckline feels too wide after finishing, work the border stitches more tightly or reduce the number of stitches in that area to pull it closer to the body.
Step-by-Step Instructions
The "Edilma Jacket" through this comprehensive crochet tutorial. This guide transforms simple yarn into a sophisticated, textured garment featuring elegant braids and popcorn stitches, perfect for a heartfelt gift or a stylish addition to your wardrobe.
Conclusion
By combining traditional techniques with modern textured stitches, the Edilma Jacket offers a rewarding project for any dedicated crocheter. The result is a high-quality, professional garment that showcases your skill and provides lasting comfort.
Pro Tip: When working the relief stitches for the braids, use your fingers to "pinch" and hold the stitch base. This helps you clearly see where to insert the hook, preventing you from accidentally grabbing the wrong part of the crossed stitches.


