
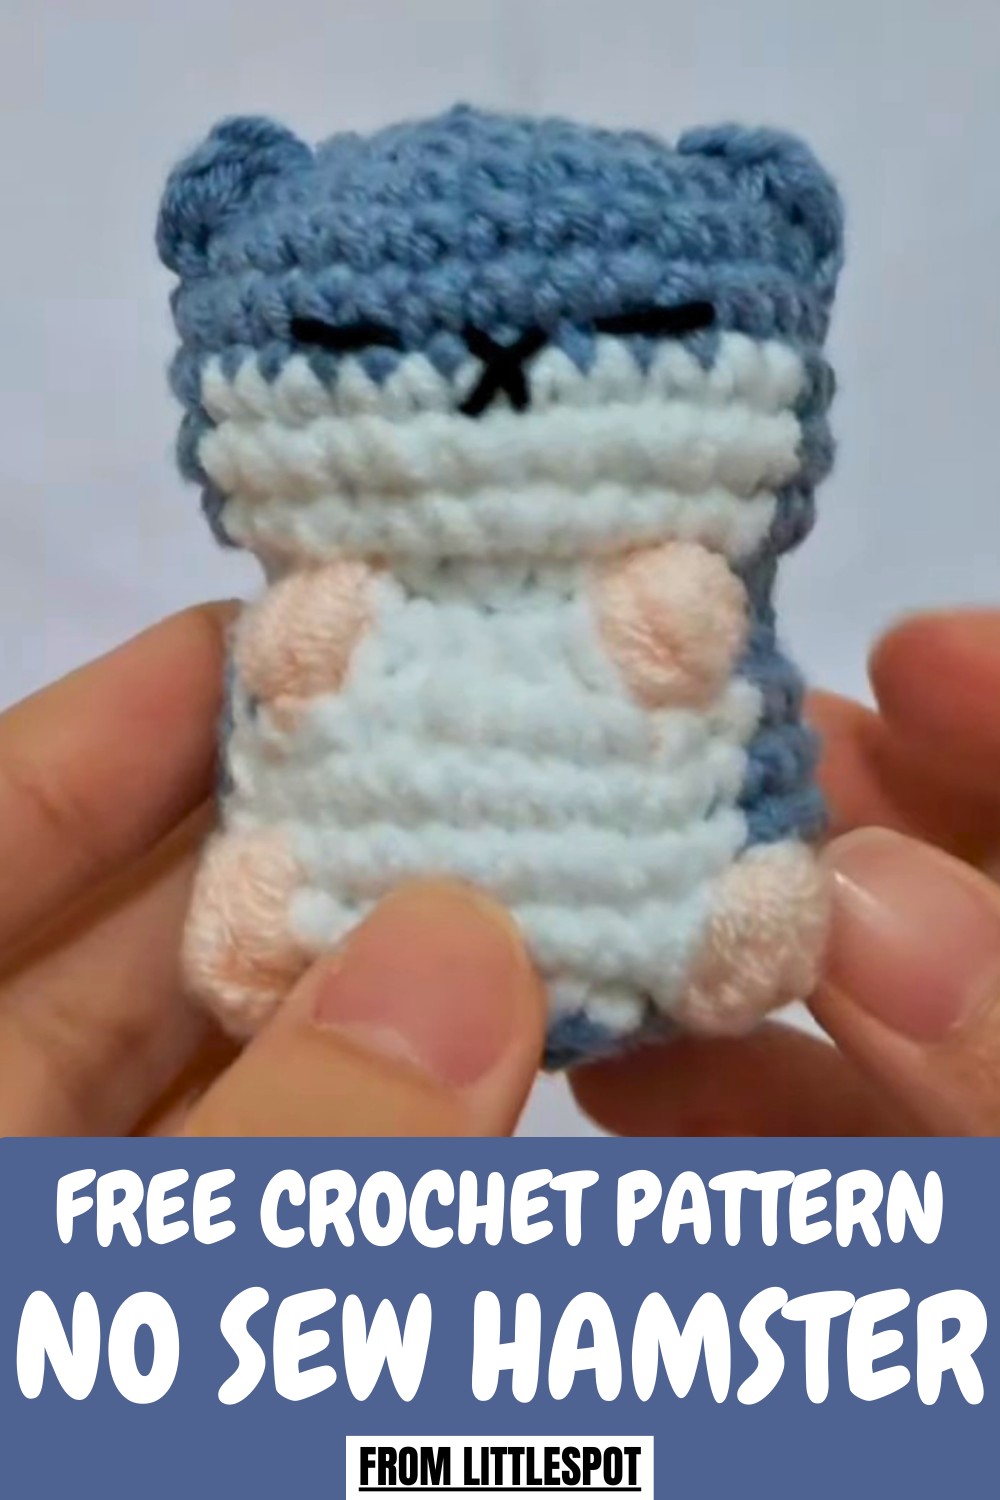
Stitch your own adorable playful toy with this free crochet hamster pattern, perfect for charming and cuddly handmade toy everyone will love.
A tiny bundle of charm begins to emerge with every stitch, transforming yarn into an irresistibly cute little companion that brightens any space. Perfect for gifting, room décor, or adding a playful touch to a collection of soft figures, this adorable design combines whimsy with thoughtful detail. As the Crochet Hamster Pattern guides each step, the hamster’s rounded body, tiny ears, expressive eyes, and delicate paws gradually take shape, resulting in a lifelike yet endearing figure that appeals to all ages.
Step-by-Step Details
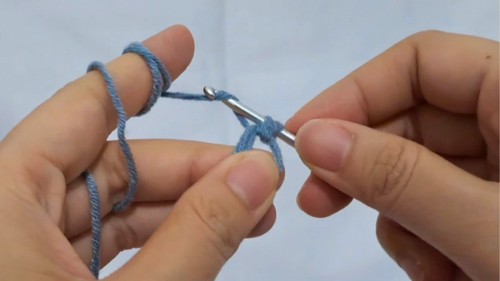
Step 1: Magic Ring
- Wrap the yarn around your fingers and create two lines.
- Slide the hook under the first line and hook the second.
- Make a chain, which forms the magic ring.
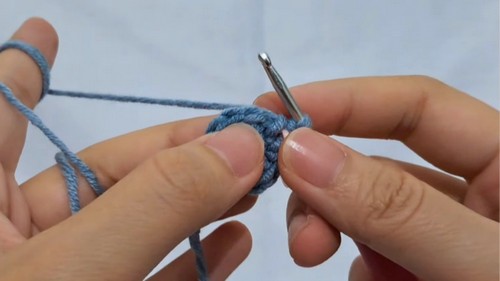
Step 2: Single Crochet in the Magic Ring
- Insert the hook into the ring, yarn over, and pull the yarn out.
- Yarn over again and pull the yarn through the loops to form one single crochet.
- Repeat this process six times to complete the first round. Finally, pull the yarn to close the ring.
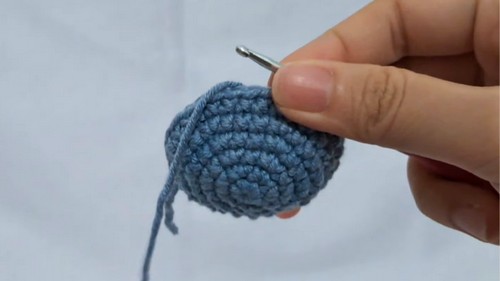
3: Second Round - Increases
- Make two single crochets in each stitch (this is called an increase). Repeat this across all six stitches.
4: Subsequent Rounds
- Round 3: Alternate between a single crochet and an increase (repeat six times).
- Round 4: Make two single crochets followed by an increase (repeat across the round).
- Round 5: Make three single crochets followed by an increase.
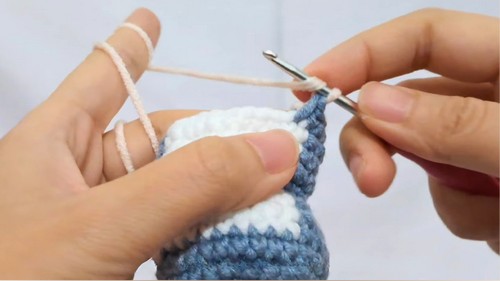
5: Adding Second Yarn Color
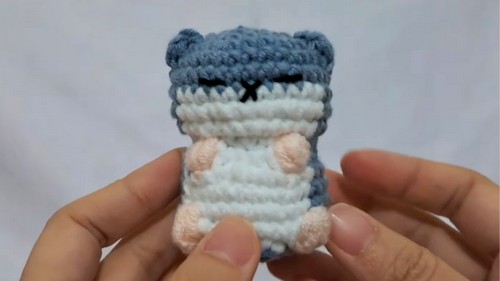
- By Round 7, incorporate a second yarn color for a contrasting design. Use double knots to secure the color change by alternating between gray and white yarn.
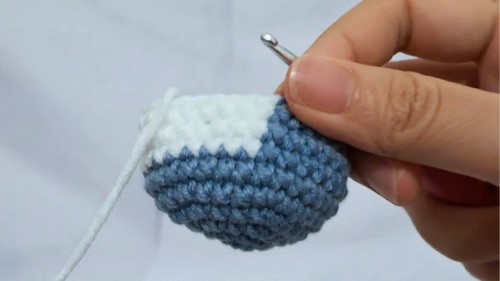
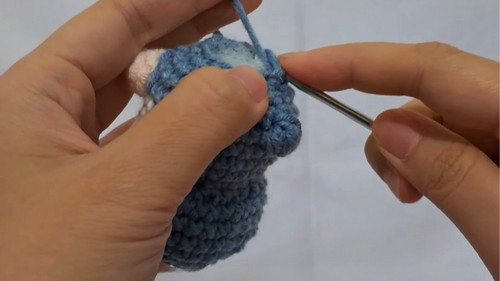
6: Shape the Hamster
- Continue crocheting additional rounds with specified patterns, using increases, decreases, and color changes to shape the body. In Round 10, incorporate decreases to form distinct edges.
7: Create Bubble Stitches for Arms and Feet
- Use "bubble stitches" to create small rounded shapes for the hamster’s hands and feet. The tutor guides you through wrapping the yarn around the hook multiple times to achieve this effect.
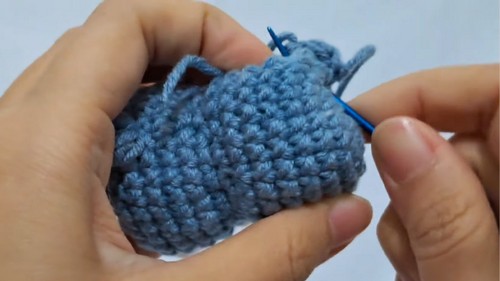
8: Final Rounds
- Follow patterns involving decreases (e.g., single crochet and decrease combinations) to close the hamster's body while inserting stuffing for volume.
9: Add Face Details
- Use black yarn to embroider the nose and eyes, positioning them between specific crochet rounds for accurate placement.
10: Make Ears
- Use slip knots, chains, slip stitches, and half-double crochets to form the ears. Place them between specific rounds on the hamster’s head.
Chubby Crochet Hamster Pattern That Everyone Will Love
The project uses approachable stitches and subtle shaping techniques, making it satisfying for both beginners and more experienced creators while producing a polished final piece. Personalization enhances its charm, allowing adjustments in size, fur texture, or color to create a unique version that reflects individual style and creativity. Working through the steps encourages focus and mindfulness, offering a calming, meditative experience that is both relaxing and rewarding.
Once finished, the figure is lightweight, durable, and versatile, perfect for display on shelves, desks, or as a playful companion for children. Combining aesthetic appeal with tactile delight, this pattern transforms simple materials into a treasured keepsake. The result is more than a soft toy; it is a charming companion that brings joy, warmth, and personality wherever it is placed.
Special Features
- The pattern emphasizes flexibility by offering patterns for both single-color and two-color hamsters.
- It introduces bubble stitches, which create cute, rounded shapes for the hamster's hands and feet.
- Clear instructions for color changes and using loops make it approachable for crocheters looking to improve their technical skills.
- Includes tips for positioning facial features and shaping the hamster accurately.
Level of Difficulty
This project is intermediate level. While basic stitches like single crochet and magic rings are beginner-friendly, techniques like bubble stitches, color changes, and precise shaping may pose a challenge for new crocheters. The tutor’s clear explanations make the process easier to follow.
Tutor’s Suggestions
- Take your time with the magic ring and ensure it is closed tightly for a clean starting point.
- Secure yarn changes with double knots to prevent unraveling.
- Use stuffing gradually and evenly to shape the hamster's body correctly.
- Follow the stitch count closely to avoid uneven shaping.
Uses and Materials
Uses
The crocheted hamster serves as a decorative item, a charming gift, or even a playful toy. It’s an ideal handmade craft for collectors or those who appreciate small plushies.
Materials Needed
- Yarn in gray, white, and skin color (for accents).
- Crochet hook.
- Stuffing.
- Black yarn for facial details.
- Scissors and a yarn needle for weaving in ends.
Pro Tip
When creating bubble stitches, ensure the loops are even in size to maintain a smooth and uniform appearance. Additionally, track the stitch count carefully during decreases to avoid a misshapen body.
Conclusion
Crocheting a hamster using this tutorial is a fun and rewarding project. The step-by-step approach ensures that both single-color and two-color hamsters can be crafted smoothly. Special features like bubble stitches help improve your crochet techniques while adding unique touches to your creation. Whether you're a hobbyist or gifting enthusiast, this project is a perfect blend of creativity and utility.