
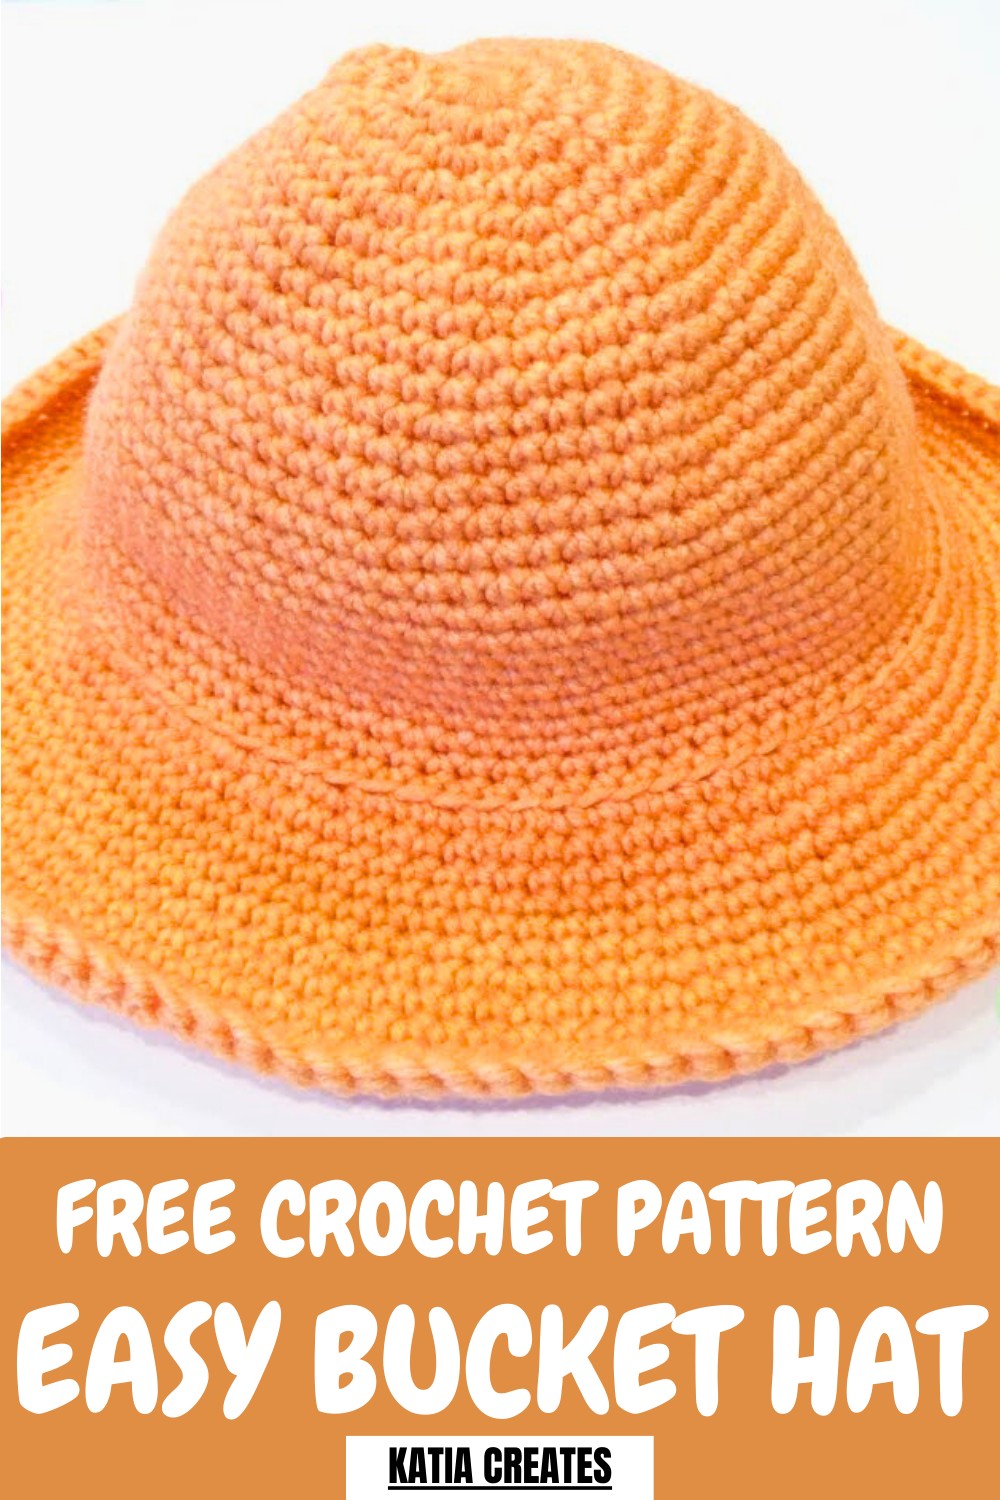
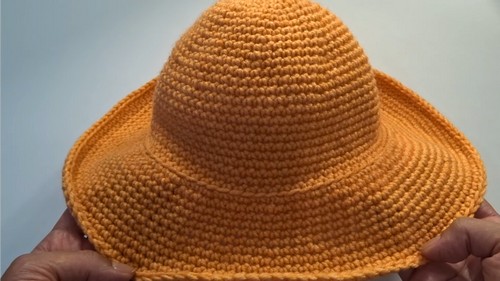
Top off your style with the Free crochet Bucket Hat Pattern, perfect for sunny days, gifting, or adding a trendy and charming accent to any outfit.
A versatile and stylish accessory, the hat seamlessly combines practicality with charm. A crochet bucket hat pattern offers a unique, textured design that allows for creative customization with an array of color combinations and yarn types. Its lightweight and breathable construction make it ideal for outdoor activities like picnics, gardening, or casual outings, while also providing moderate sun protection.
Bold Crochet Bucket Hat Pattern for Statement Fashion Pieces
The timeless design adds an elegant, fashionable touch to any outfit, making it suitable for multiple occasions. Additionally, the process of crocheting this hat is both relaxing and rewarding, appealing to beginners and experienced crocheters alike.
Its durability and adaptability make it a sustainable choice for personal use or as a handmade gift. Combining beauty and functionality, the crochet bucket hat stands out as a classic accessory that enhances any wardrobe with its simple yet sophisticated charm.
Step-by-Step Guide to Crochet a Bucket Hat
Materials Needed
- Yarn: 4-ply yarn (Acrylic is used, but Cotton is also an option)
- Hook: 4.25 mm crochet hook (can go up to 4.5 mm if needed)
- Tools: Scissors and a tapestry needle
Key Features
- The hat is lightweight and breathable, especially when made with cotton.
- It is versatile and functional, suitable for different styles and occasions.
- It offers a delicate yet durable finish thanks to the single crochet technique.
Pattern Instructions
Start with the Magic Ring
- Wrap the yarn around two fingers and secure it.
- Insert the hook into the circle to pull up a loop and chain 1.
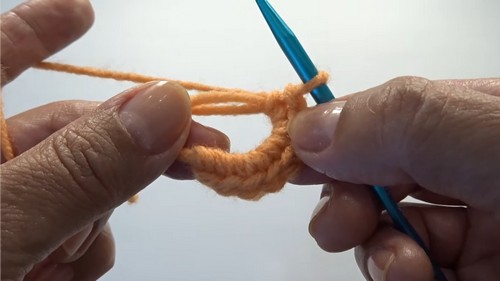
- Work 8 single crochets into the magic ring.
- Tighten the ring by pulling the tail, then slip stitch into the first crochet.
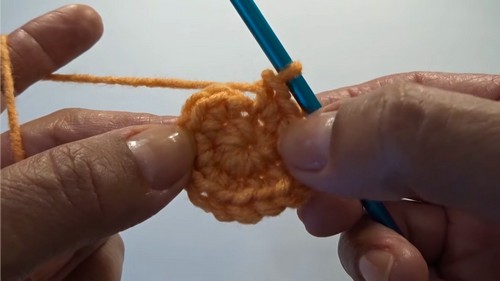
Increase Rounds
Each round involves specific increases. Here's the breakdown:
- Round 1: 8 single crochets (as above).
- Round 2: 16 single crochets (2 single crochets in each stitch).
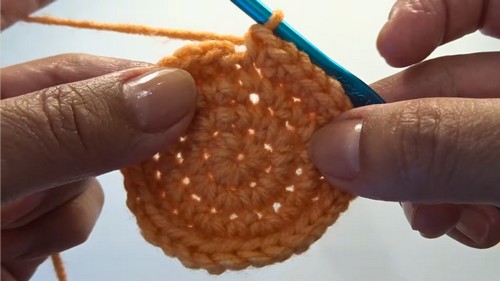
- Round 3: Alternate between 2 single crochets in one stitch and 1 single crochet in the next. Total = 24.
- Round 4: Alternate between 1 single crochet in the next two stitches and 2 single crochets in the next. Total = 32.
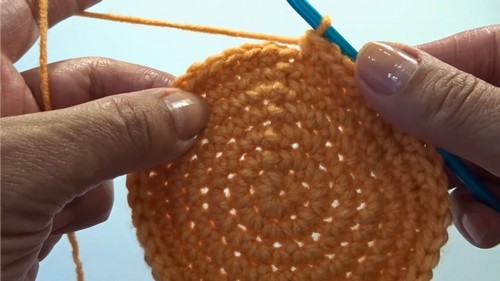
- Round 5: Work 2 single crochets in one stitch, followed by 3 single crochets in the next three stitches. Total = 40.
Continue increasing using similar patterns until the crown of the hat reaches your desired size.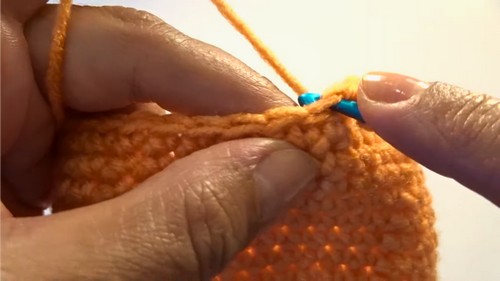
Body of the Hat (Rounds 16–25)
- Work one single crochet into each stitch around without any increases.
- This step gives the hat its desired depth.
Brim of the Hat
- Round 1 (Brim): Work in back loops only for a clean, flexible edge. Alternate between 2 single crochets in one stitch and 1 single crochet in the next two stitches.
- Rounds 2–6: Work single crochets as normal (both loops).
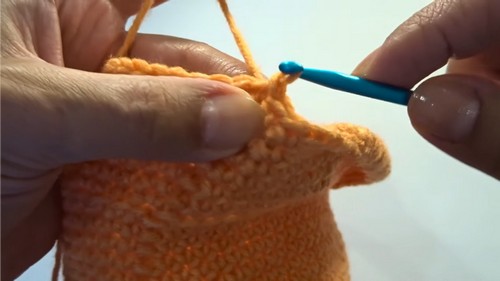
- Round 7: Alternate between 2 single crochets in one stitch and 1 single crochet in the next three stitches.
- Rounds 8–12: Work 1 single crochet in each stitch to finish the brim.
Fastening Off
- Cut the yarn and secure it by weaving the ends into the stitches using the tapestry needle. Repeat this process for all loose yarn tails, ensuring a neat finish.
Level of Difficulty
This project is categorized as Beginner-Friendly, as it primarily uses single crochets and simple increases. It's perfect for crocheters who want to practice working in the round and mastering even tension.
Tutor's Suggestions
- Use cotton yarn if you want a breathable, summer-friendly hat.
- Tighten the magic ring firmly to avoid gaps at the crown.
- Maintain even tension for a consistent look.
- Use a slightly larger hook size if you tend to crochet tightly to avoid making the hat too stiff.
Uses of This Bucket Hat
- A stylish accessory for everyday wear.
- A handmade gift for friends or family.
- Practical sun protection during warmer months when paired with cotton yarn.
Conclusion
This crochet bucket hat project is a fun, straightforward way to make your own fashionable accessory. The step-by-step instructions help you achieve a polished and professional finish while giving you room to experiment with colors and yarn types. With its adaptability and versatile design, this hat will quickly become a staple in your crochet wardrobe.
Tip
To ensure the brim remains structured, lightly block your hat after finishing. Wet it, shape it, and allow it to dry for a crisp edge that maintains its form. Adjust the brim for a floppier or stiffer style depending on your preference.


