
Festive home style shines with this Free Crochet Wreath Ornament Pattern, perfect for doors, trees, and cozy seasonal holiday decorations.
Delight in the creation of charming holiday decor with a beautifully detailed crochet wreath ornament pattern. This versatile design serves as an excellent outlet for leftover yarn and promotes sustainable crocheting by incorporating repurposed materials such as milk jug rings. Offering a delightful touch to your Christmas tree, this ornaments also make thoughtful gifts, unique gift toppers, or elegant table decor.
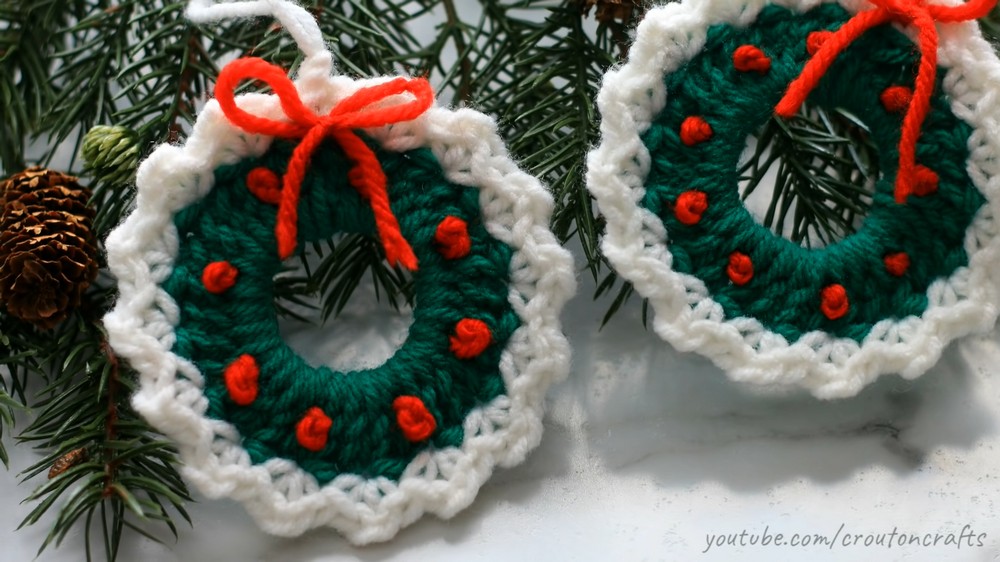
Petite Crochet Wreath Ornament Pattern Perfect for Small Trees
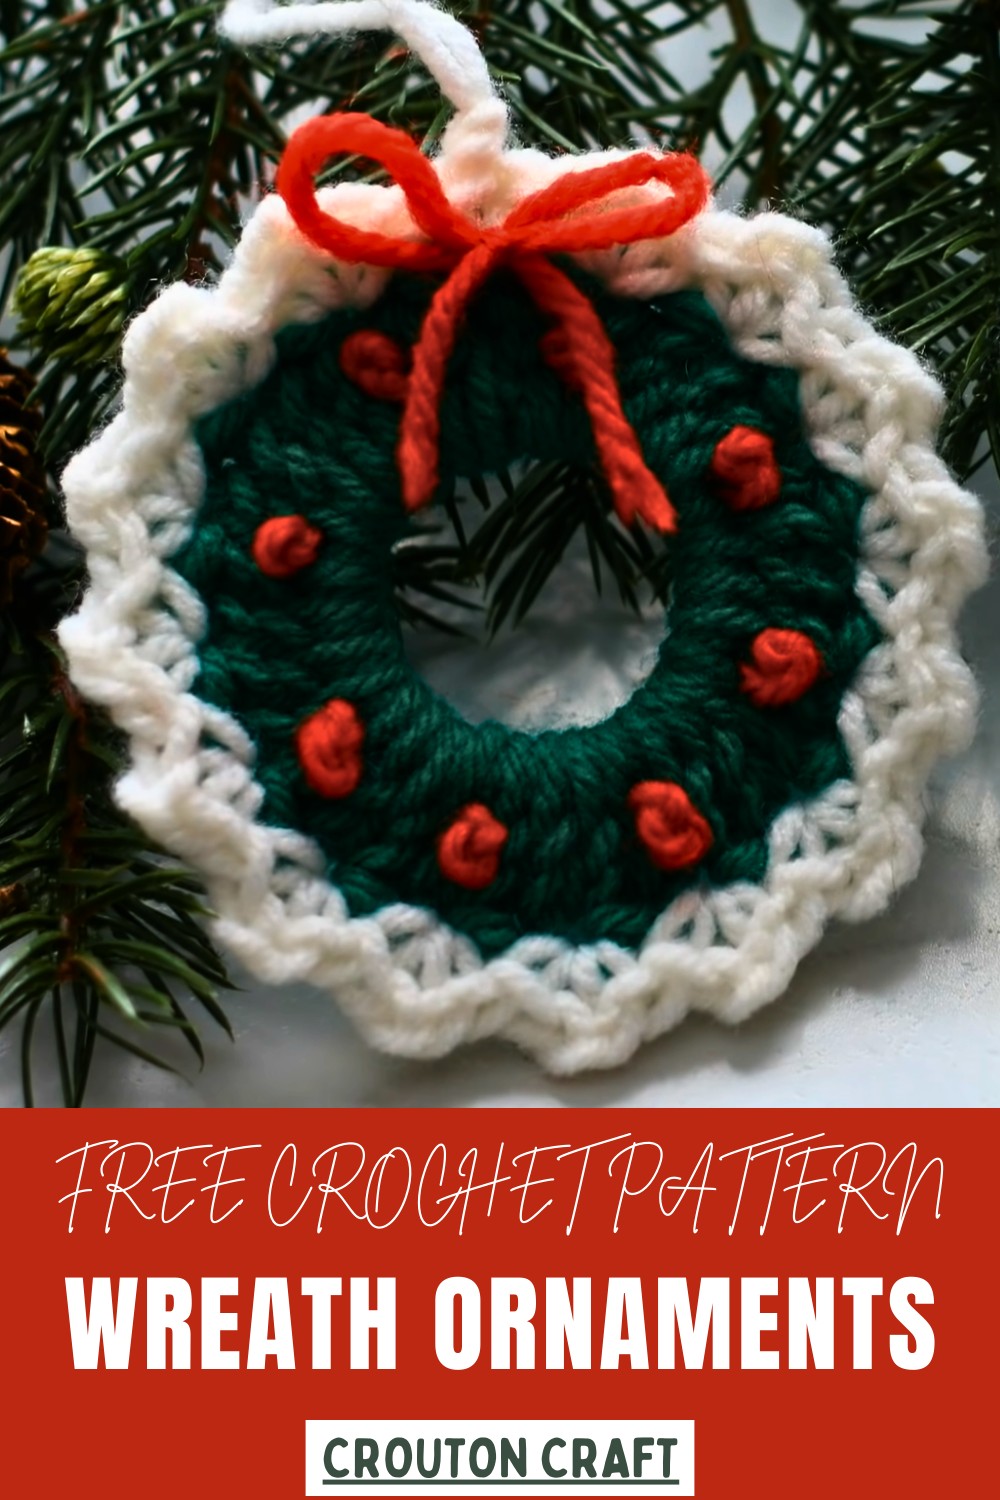
Enjoy the blend of simplicity and elegance in this project, which is beginner-friendly yet sophisticated. The wreath pattern incorporates basic crochet techniques, along with decorative elements like French knot berries and dainty bows, resulting in a polished and festive look.
Quick to complete and requiring minimal materials, this pattern rewards crocheters with a sense of accomplishment and an enchanting addition to their holiday decorations. The pattern embraces customization, allowing you to experiment with various colors and textures, ensuring a perfectly tailored finish for any festive theme.
Step-by-Step Details
Step 1: Gather Your Materials
- A milk jug ring (acts as the base of the ornament). Thoroughly wash it to remove any debris or residue.
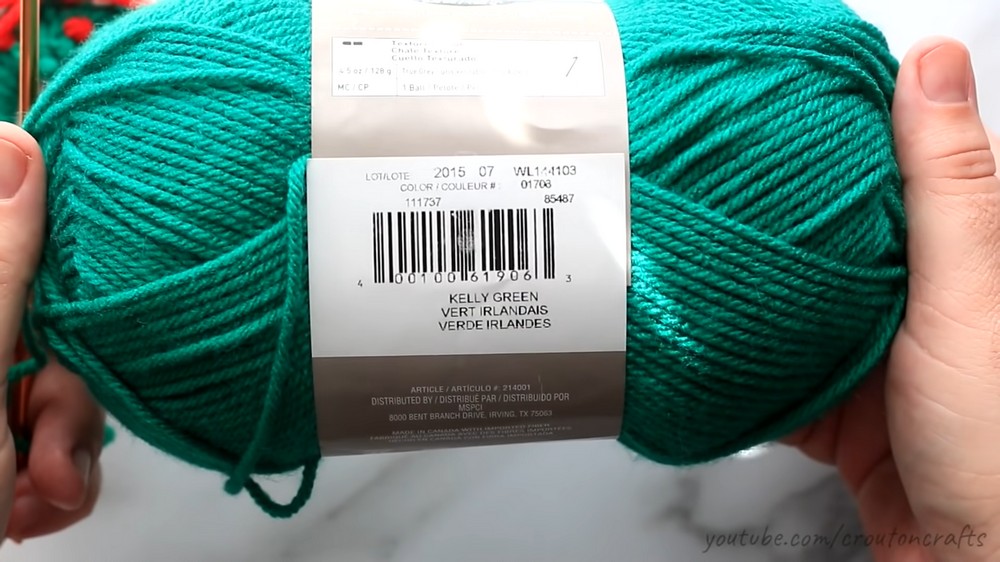
- Yarn in green, red, and white (or any colors of your choice). The tutor uses Loops & Threads Impeccable Yarn, color Kelly Green.
- A G-size crochet hook (the size doesn’t matter; use what you’re comfortable with).
- A tapestry needle for weaving ends and making French knots.
- Scissors.
Step 2: Prepare the Ring
- Remove the milk jug ring. If it's tight, take a little care to pull it off without damaging it. Ensure the ring is clean and dry before starting.
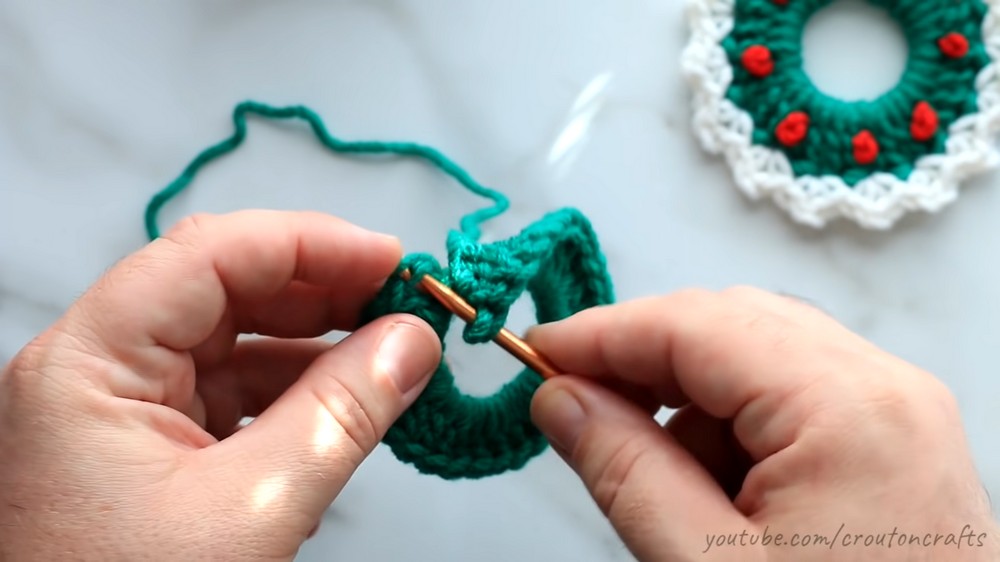
3: Create the Base Wreath with Green Yarn
- Begin with a slipknot and attach it to your hook.
- Secure the green yarn to the milk jug ring by inserting your hook into the ring, pulling the yarn through under the ring, and looping it through the slipknot.
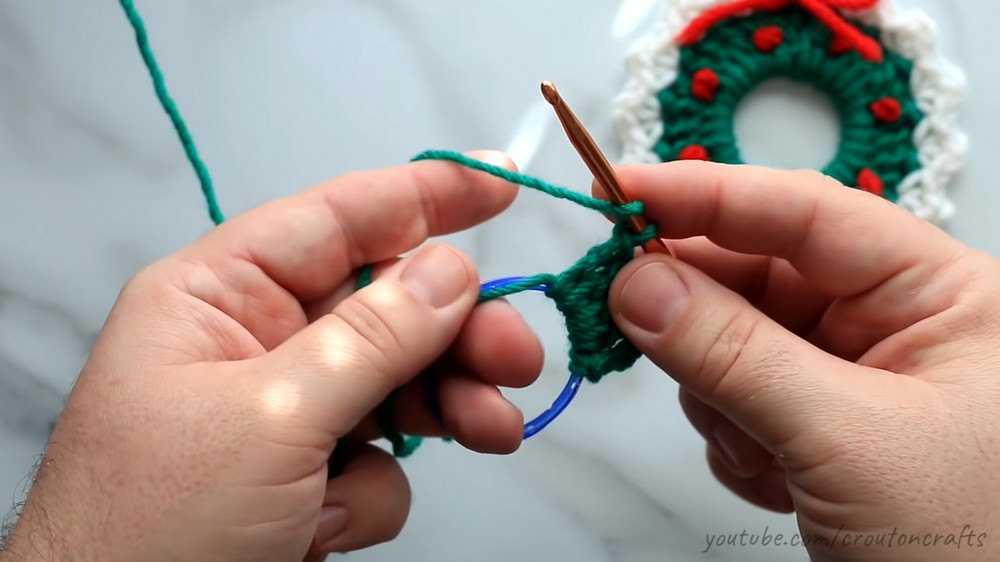
- Create a chain of 3 stitches (counts as your first double crochet).
- Work 31 more double crochets around the ring for a total of 32 stitches, including the initial chain-3. (Keep the yarn tail in place to avoid weaving it in later.)
- Once 32 stitches are complete, cut the green yarn and leave that row.
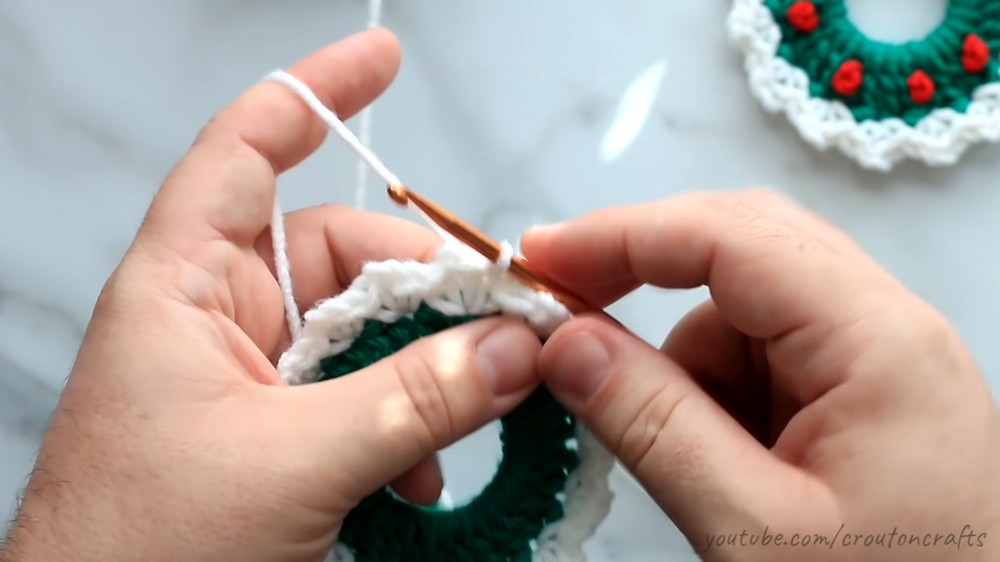
4: Add a White Border with V-Stitches
- Join white yarn at the top of the chain-3 from the green row using a slip stitch.
- Start with a chain-1, then proceed with V-stitches:
- Work single crochet, chain 2, single crochet all into the same stitch.
- Skip the next stitch and repeat the V-stitch into every second stitch around the ring.
- The tutor explains that the total stitch count may vary depending on your yarn or hook size, but for this border to work, it must be a multiple of 2.
- Once the border is complete, join with a slip stitch into the first single crochet and cut the white yarn.
5: Make a Loop for Hanging
- Pull a loop with green yarn at the top of the ornament. Create a chain to your desired length (e.g., 2–3 inches for a hanging loop).
- Make an overhand knot to secure the loop. Trim the tail and adjust the loop length as necessary.
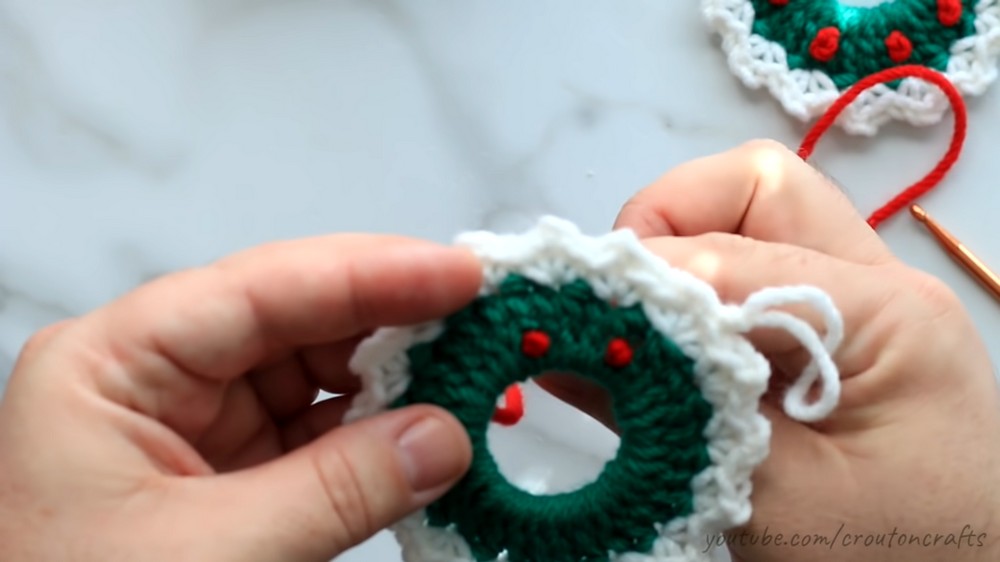
6: Add Red Berries (French Knots)
- Cut a length of red yarn (roughly 18 inches) and thread it into a tapestry needle.
- Work French knots around the green section to mimic berries:
- Choose a stitch, bring the needle up through it, wrap the yarn around the needle twice, and insert back next to where you came out (not in the same hole).
- Repeat every 4 stitches around the wreath for a total of 8–9 berries.
- The tutor notes that it's okay to make the placement random if you prefer.
7: Attach a Bow
- Use red yarn to tie a small bow. Position the bow where the green and white sections meet on the top of the wreath.
- Secure the bow in place using the needle and red yarn before trimming and neatening the ends.
Final Touches:
- Weave in any loose yarn ends. Trim carefully to ensure a clean finish.
- Your ornament is now complete!
Special Features
- Sustainability: The base of the ornament is made using milk jug rings, promoting upcycling and reducing waste.
- Customizable Design: You can personalize every aspect of the ornament – colors, hook size, and number of stitches – to suit individual preferences.
- Quick Project: Each ornament takes less than 10 minutes to complete, making it perfect for last-minute holiday decorations or gifts.
Level of Difficulty
This project is beginner-friendly since it involves basic crochet stitches (slipknot, chain, double crochet, and single crochet). The only moderately challenging step is the addition of French knots, but the pattern explains it clearly, making it accessible even to those with minimal stitching experience.
Tutor's Suggestions
- If you use chunky yarn, reduce the number of stitches (e.g., fewer than 32) to prevent overcrowding. Adjust the stitch count based on your yarn weight.
- Slow down the video playback if you struggle to keep up. It’s okay to pause and replay sections as needed.
- Experiment with different colors and yarn textures to create unique wreath designs. For example, try pastel colors for non-traditional holiday ornaments.
Uses:
- Hang these wreaths on a Christmas tree.
- Use them as gift toppers or table decor.
- Make several to string as garlands or window decorations.
- Give them as personalized handmade gifts.
Tip
When working on the V-stitch border, be mindful of your stitch count. If the total number of stitches is not a multiple of two, the border pattern may not align perfectly – adjust as necessary.
Conclusion
This charming crochet wreath ornament combines creativity, practicality, and holiday spirit. It utilizes simple stitches, sustainable materials, and customizable designs, making it accessible to both beginners and experienced crocheters alike. In just a few minutes, you’ll have a delightful ornament ready to enhance your holiday decorations or become a heartfelt gift.


