
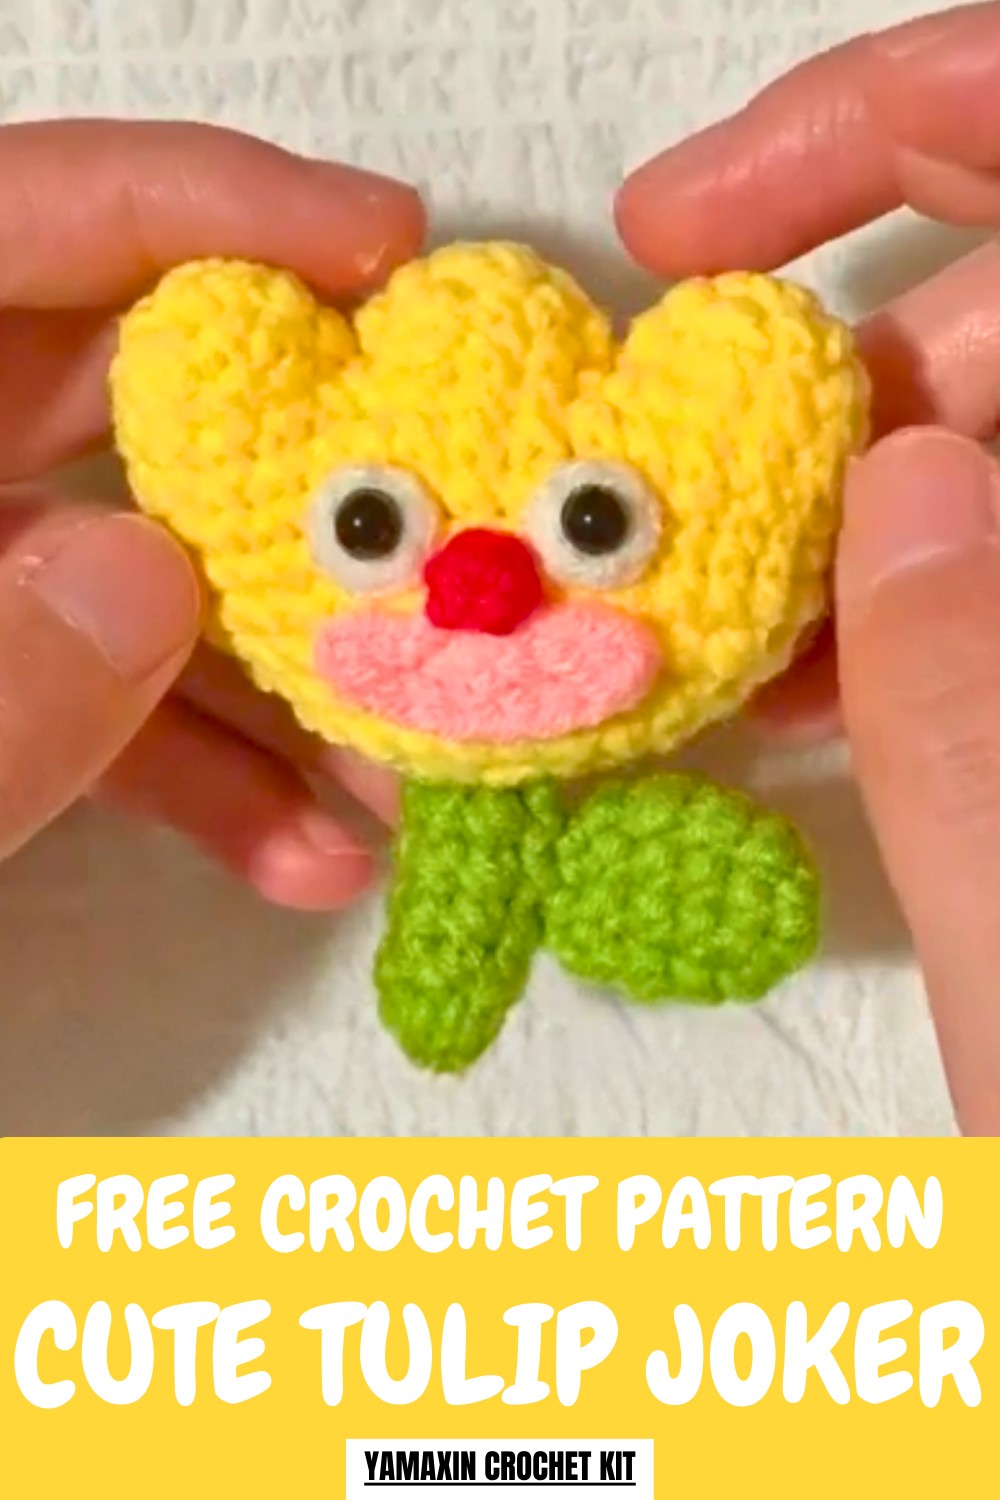
Surprise with a playful twist using this Free Crochet Tulip Joker Pattern that's perfect for small gifts or a fun and whimsical collection.
Radiating elegance and creativity this Crochet Tulip Joker Pattern blends the grace of tulips with playful joker-inspired themes to create a remarkable design. Its vibrant colors and intricate details make it an eye-catching piece that instantly enhances any space or occasion. Whether used as a decorative highlight for your home a thoughtful gift for loved ones or a unique addition to themed celebrations it brings a joyful and artistic touch wherever it is displayed.
Mini Crochet Tulip Joker Pattern Bring Happiness to Your Space
The design allows for endless customization with various yarn colors and accents ensuring a completely personalized masterpiece every time. Its structure ensures simplicity while maintaining a refined appearance making it enjoyable for anyone to create and showcase.

The final result is both beautiful and lively adding a cheerful charm that leaves a lasting impression. This pattern merges creativity and elegance effortlessly making it a treasured and versatile piece that brightens any setting with its unique appeal.
How to Crochet a Tulip: Step-by-Step Guide
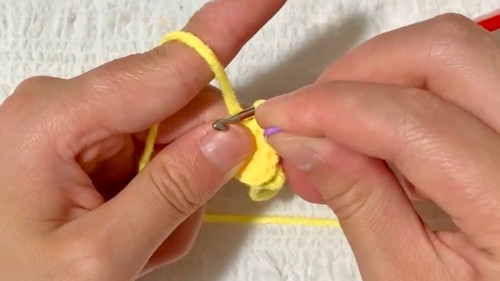
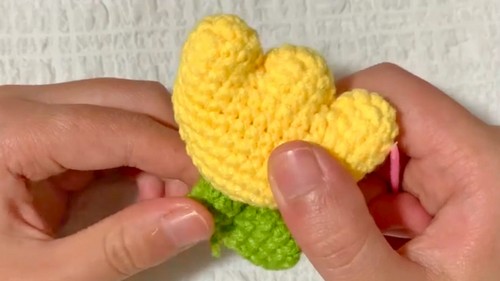
1. Crochet the Petals (Yellow Thread)
- Start with a magic ring: Wrap the thread around your middle finger, grab the crossing point, and pull the thread through to create the loop.

- Round 1: Make one chain stitch, followed by 6 single crochets in the loop. Tighten it by pulling the loop.
- Round 2: Begin with one shape stitch (chain) and proceed with alternating single crochets and increases (2 single crochets in 1 stitch). Continue until the round is complete.
- Round 3: Crochet ten single crochets using one stitch for each. Tie off the thread and secure the final stitch using a slip stitch. Repeat this process to make three identical petals.
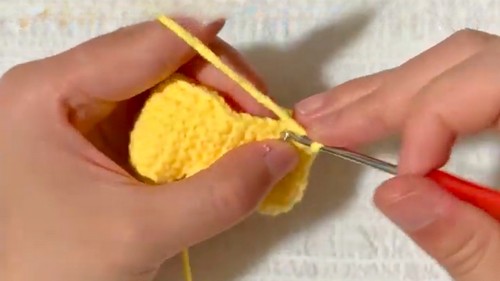
2. Assemble the Flower
- Connect the three petals by slip-stitching them together in the center. Start at one petal’s edge, move to the next, and secure them with chain stitches.

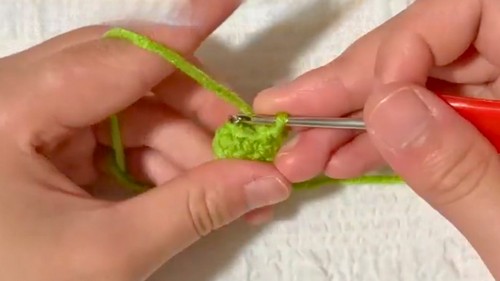
3. Crochet the Stem (Green Thread)
- Using the magic ring method, crochet 6 single crochets for the base.
- For Rounds 2-5, continue working 6 single crochets in the round without increases. Tighten the loop to ensure a consistent stem.
4. Create the Leaves (Green Thread)
- Start with another magic ring, making 6 single crochets to form the center.
- In Round 2, work in this pattern: 2 single crochets, 1 increase. Repeat until you complete the round.
- Rounds 3-4: Crochet 8 single crochets in each round.
- Round 5: Use this pattern: 2 single crochets, 1 decrease. Cut the thread and secure the stitch.
5. Add the Features (White and Red Threads)
- Eyes: Use white thread to make a magic ring, creating 6 single crochets. Pull the loop tight and connect the first stitch to the last. Repeat for the second eye.
- Nose: With red thread, follow the same method as the eyes, but only crochet 5 single crochets.
- Mouth: Chain 15 stitches with red thread. Cut and secure the chain, sewing it in place.
6. Finishing Touches
- Stuff the petals and stem using cotton.
- Attach the eyes, nose, and mouth to the tulip’s face for a playful, expressive look.
Special Features and Uses
This tulip stands out for its intricate but approachable design, combining multiple components (petals, stem, leaves, and face) for a realistic yet whimsical flower. Its primary uses include:
- Decorative Piece: Brighten rooms, desks, or craft displays.
- Gifting: A thoughtful handmade gift for special occasions.
- Learning Tool: Great for practicing crochet fundamentals like magic rings, increases, and decreases.
Materials Needed
- Yellow, green, white, and red threads
- Crochet hook (size depends on thread type)
- Cotton stuffing
- Scissors, yarn needle for assembly
Level of Difficulty
The level of difficulty is beginner to intermediate. The steps are straightforward, but they require knowledge of basic crochet stitches (magic ring, single crochet, increase, decrease). Beginners can follow along easily with patience.
Tutor’s Suggestions
The instructor emphasizes repeating and practicing the fundamental stitches to get them consistent. Mark your first stitch in each round for accuracy. Adjust tension to achieve uniform shapes, and don’t overfill the stuffed parts.
Tip
Use a stitch marker to identify the beginning of each round. This will help you avoid mistakes and keep track of increases and decreases effortlessly.
Conclusion
This crochet tulip project is a creative, beginner-friendly design with a charming result. Its customizable elements, simplicity, and functionality make it a delightful addition to any crochet enthusiast's repertoire.


