
Learn This Easy Crochet Tulip Flower Pattern for Lovely Looks
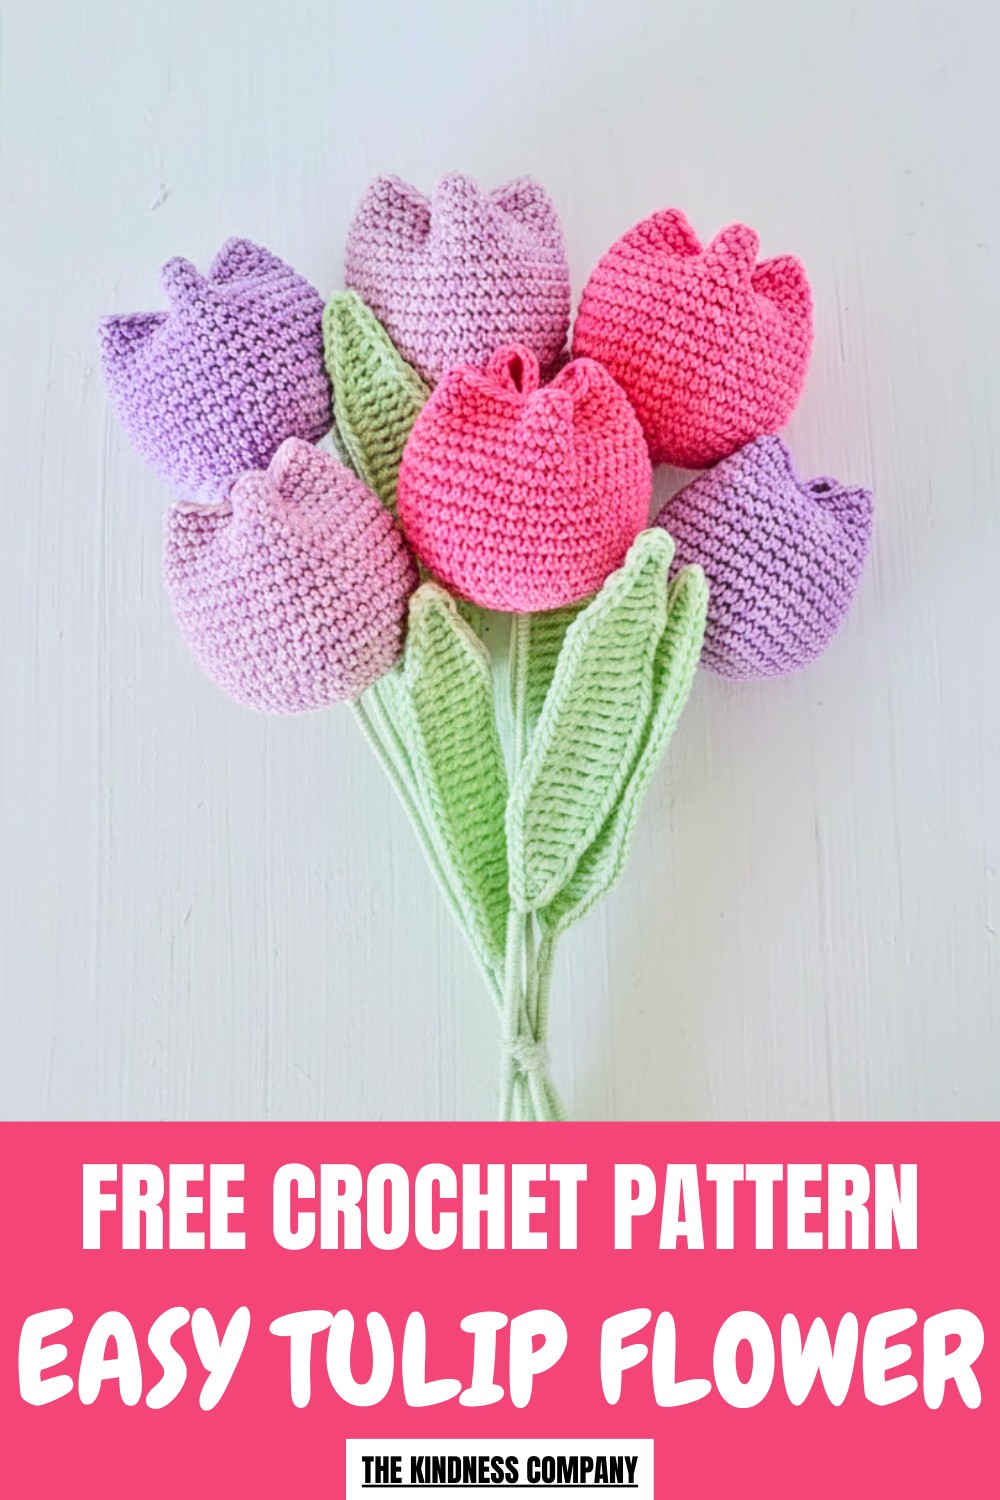
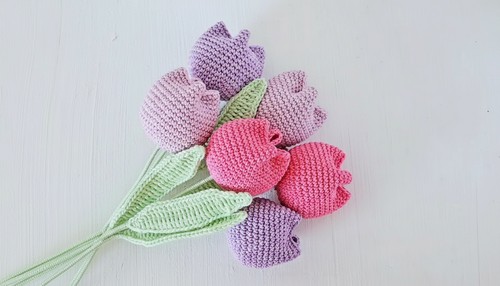
Tensioning the yarn appropriately ensures evenly formed stitches, while carefully shaping the flower after sewing adds to its realism. Whether creating one or an entire bouquet, this tulip crochet pattern lets you combine creativity and functionality beautifully.
Materials You’ll Need:
Before starting, gather the following materials:
- Yarn: DK weight yarn (approximately 6g for the flower and 2g for the leaf and stem). You may also use worsted-weight yarn for larger flowers. Lilac and pastel green yarn are used for this project.
- Hook: A 3mm crochet hook for DK yarn, but if using worsted weight, a 4mm hook is recommended.
- Stuffing: To give volume and shape to the tulip flower.
- Craft Wire: Ideal for creating a sturdy and bendable stem.
- Hot Glue or Craft Adhesive: For securing certain parts of your stem and flower.
- Additional Tools: Yarn needles, stitch markers, and scissors.
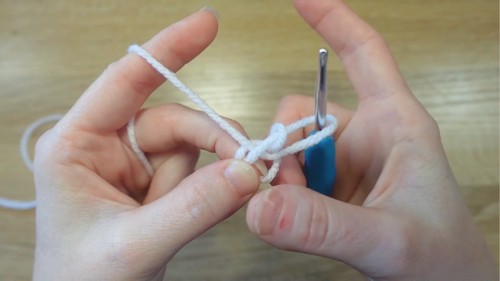
To begin the process, you’ll start with a magic ring, which serves as the foundation for the tulip’s head.
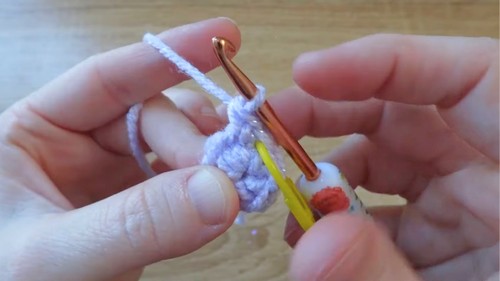
The flower uses single crochet stitches to form its structure and gradual increases to shape it into a rounded, realistic pattern.
For best results, it’s recommended to work over the yarn tails while crocheting to avoid loose ends and maintain neatness.
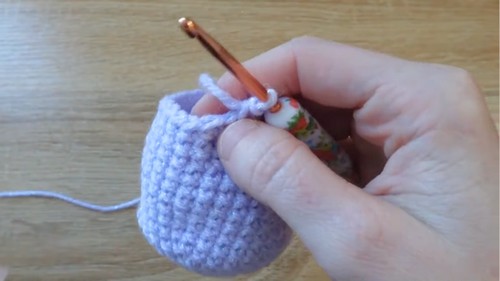
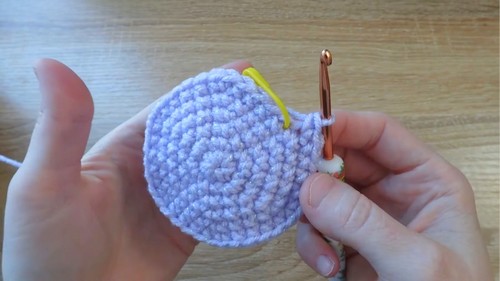
The pattern progresses with rounds of uniform crocheting to achieve the desired size, followed by stuffing the flower lightly to ensure it keeps its shape without bulging.
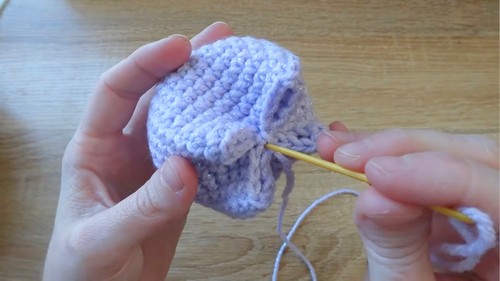
The crocheting of the stem involves wrapping crochet wire with yarn for durability and inserting it securely into the flower base using hot glue for stability.
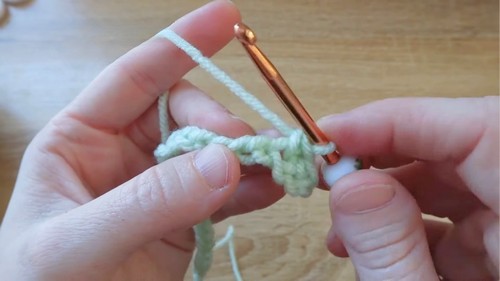
The leaf, crocheted separately, involves chaining and working single crochet, half double crochet, and double crochet stitches to achieve its natural curve and proportional length. 
Sew or glue the leaf to the stem to easily attach it and give it a completed look.
Special Features
- Beginner-Friendly Magic Ring Technique
You’ll use a simple magic ring to start the tulip, ensuring a neat and secure circular base. - Customizable Design
The pattern allows flexibility in size—use different weights of yarn and hooks to increase or decrease the overall size of your flower. - Elegant Leaf and Sturdy Stem
The addition of a crochet-covered wire stem and beautifully shaped leaf adds a realistic and finished touch to your tulip.
Level of Difficulty
The pattern is designed to suit beginners, using basic stitches and easy-to-follow steps. However, intermediate crocheters can modify the design for enhanced detailing or larger bouquets. The guide includes clear instructions, ensuring accessibility for all experience levels.
Tutor’s Suggestions
- Adjusting Your Yarn and Hook: While the pattern uses DK weight yarn and a 3mm hook, you can use any yarn weight with an appropriately sized hook. Remember that heavier yarn will require more yardage.
- Shaping the Flower: Roll the tulip head between your hands gently to form a natural shape before finishing.
- Use Craft Accessories: The tutor suggests creating a matching greeting card for gifting purposes and recommends securing stems and leaves with hot glue for a professional finish.
Uses
- Home Decor: Add a handmade touch to your living space with floral arrangements or as table accents.
- Personalized Gifts: Pair a crochet tulip with a greeting card for an unforgettable, one-of-a-kind present.
- Bouquets: Combine several tulip flowers into a colorful bouquet for weddings or special events.
- Handmade Crochet Projects: Use the flowers as accessories, keychains, or embellishments for other crochet items.
Step-by-Step Instructions
In this detailed tutorial, we’ll walk through the process of crocheting a beautiful tulip flower, based on the information you’ve provided. This project is a great option for beginners and experienced crocheters alike, offering an opportunity to crochet a stunning tulip flower and stem for decoration, gifts, or bouquet arrangements.
Conclusion
This crochet tulip flower pattern is an excellent choice for beginners and seasoned crocheters alike. With its adaptability, elegant design, and simple-to-follow steps, it’s a project that delivers both fun and satisfaction. Whether creating a thoughtful gift or decorating your space with handmade artistry, these tulips are sure to impress.
Bonus Tip
Ensure you tighten your stitches and evenly distribute the stuffing to prevent uneven shaping when sewing the tulip together. To make the leaf curve naturally, glue it midway along the stem and allow the tip to arc gently outward for a realistic effect.


